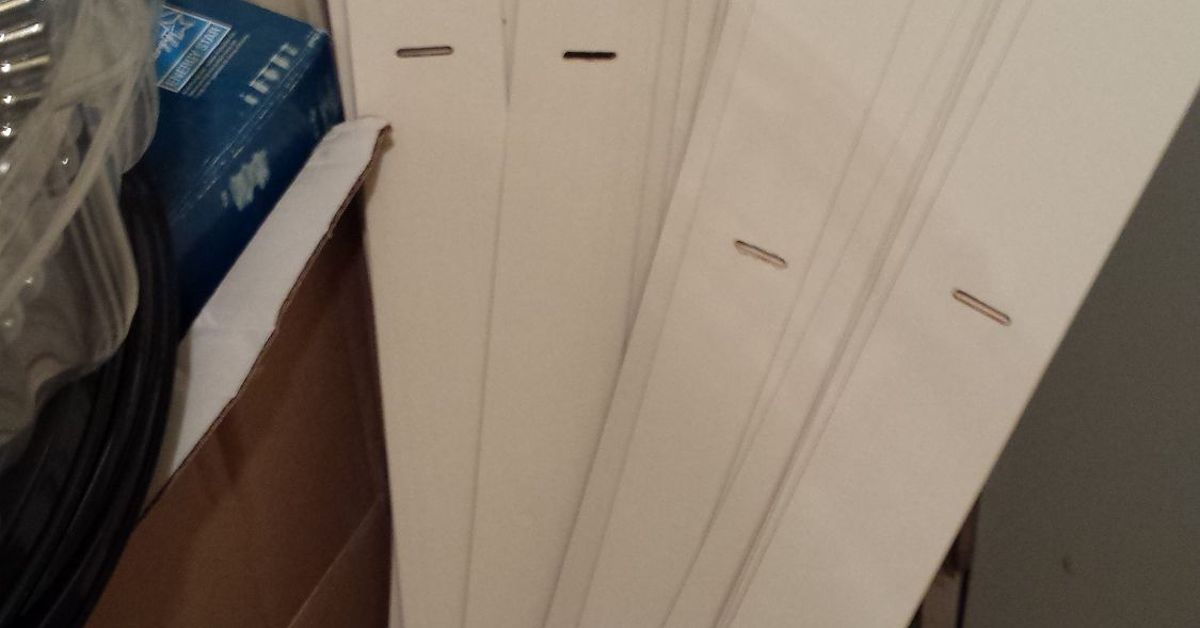
Some Christmas decorations arrive in velvet-lined boxes. Others arrive after you stare at old window blinds in the garage and think, “Surely these can become something more festive than dust collectors.” Good news: they absolutely can. Reusing window blinds as Christmas wall art is one of those delightful DIY projects that feels thrifty, creative, eco-friendly, and just a little mischievousin the best possible way.
Instead of tossing outdated mini blinds, faux wood blinds, bamboo shades, or leftover slats, you can transform them into rustic Christmas trees, starburst displays, modern wall hangings, framed holiday signs, advent calendars, ornament backdrops, and cozy farmhouse-style wall decor. The project is especially handy for renters, small-space dwellers, budget decorators, and anyone who believes the phrase “I might need this someday” should occasionally be rewarded.
This guide explores how to turn old window blinds into Christmas wall art that looks intentional, not like the North Pole had a minor hardware-store accident. We will cover materials, design ideas, safety tips, step-by-step instructions, finishing techniques, and real-life lessons from tackling a reused blinds holiday project.
Why Reuse Window Blinds for Christmas Wall Art?
Window blinds are surprisingly useful craft material. The slats are lightweight, easy to cut, and already shaped into clean horizontal strips. That makes them perfect for Christmas tree silhouettes, layered snowflake patterns, rustic signs, and geometric holiday wall decor. Faux wood and vinyl blind slats can mimic painted wood when properly cleaned, sanded, primed, and sealed. Bamboo blinds can bring a warm natural texture that looks right at home with greenery, twine, bells, plaid ribbon, and warm white lights.
Reusing blinds also supports the practical side of sustainable decorating. Upcycling keeps usable material out of the trash and reduces the urge to buy another plastic decoration that will spend eleven months a year buried under tangled lights. A reused window blind Christmas craft is not just cute; it is a tiny rebellion against waste, wrapped in ribbon.
The Best Types of Blinds for Holiday Wall Art
Not every blind is equally craft-friendly, but most can be used with the right approach:
- Vinyl mini blinds: Lightweight, easy to cut, and ideal for indoor wall art, signs, and layered shapes.
- Faux wood blinds: Thicker and sturdier, great for a rustic Christmas tree wall hanging or farmhouse-style sign.
- Bamboo shades: Excellent for natural, boho, or woodland Christmas decor.
- Wood blinds: Durable and paintable, though they may need more sanding and sealing.
- Fabric shades: Better for soft wall hangings, wrapped panels, or mixed-media art than slatted designs.
Before starting, inspect the blinds. If they are brittle, cracked, moldy, heavily warped, or coated with an unknown sticky substance that may have come from 2009, let them retire with dignity. Reuse only clean, stable material.
Safety First: Remove Cords Before Crafting
Old blinds often include cords, loops, tassels, and internal strings. These should be removed before the project begins, especially if children or pets live in or visit the home. Corded window coverings are a known household hazard for young children, so treat the cords as scrap material, not decoration.
Cut away all pull cords and loops. Do not reuse long blind cords as hanging string, garland, or ornament ties. Use safer alternatives such as short jute loops, ribbon, picture-hanging wire, sawtooth hangers, or adhesive wall strips rated for the finished weight of your piece. Also check for small plastic parts that could become choking hazards. A good DIY project should end with cocoa and compliments, not a safety lecture from your future self.
Project Idea: A Wall-Mounted Christmas Tree Made from Blind Slats
The most popular and beginner-friendly design is a wall-mounted Christmas tree. It uses cut blind slats arranged from shortest to longest, creating a simple triangular tree shape. The final piece can hang like wall art, lean on a mantel, or decorate a narrow hallway where a real tree would block traffic and test everyone’s patience.
Materials You Will Need
- Old blind slats, cleaned and dried
- Measuring tape or ruler
- Pencil
- Scissors, utility knife, hand saw, or miter box depending on slat material
- Fine-grit sandpaper
- Primer suitable for plastic, vinyl, or wood
- Acrylic craft paint, spray paint, chalk paint, or stain
- Strong craft glue, hot glue, brad nails, or small screws
- Backing board, canvas, cardboard, foam board, or thin plywood
- Ribbon, ornaments, beads, bells, faux greenery, or small battery lights
- Picture hanger, adhesive strips, or twine for hanging
Step 1: Clean and Prepare the Slats
Blinds collect dust with the enthusiasm of a golden retriever collecting burrs. Wash the slats with warm water and mild dish soap, then dry them thoroughly. If you are painting vinyl or faux wood, lightly sand the surface so primer and paint can grip. Wipe away sanding dust before applying primer. For plastic slats, a primer designed for hard-to-paint surfaces can help prevent peeling.
Preparation is the difference between “handcrafted holiday heirloom” and “paint flakes falling like sad confetti.” Do not skip it.
Step 2: Plan the Tree Shape
Lay your slats on a table or floor. Start with a short piece at the top and gradually increase each row until you reach the bottom. For a medium wall tree, try these rough lengths: 4 inches, 7 inches, 10 inches, 13 inches, 16 inches, 19 inches, and 22 inches. Adjust based on your wall space and available material.
Leave equal spacing between each slat for a modern look, or overlap them slightly for a fuller rustic style. A vertical strip down the back can act as the trunk and support. You can also mount the slats onto a rectangular backing board for a framed art effect.
Step 3: Cut the Slats
Vinyl mini blind slats can often be cut with sturdy scissors. Faux wood and real wood slats may require a small saw or miter box. Bamboo shade pieces can be trimmed with garden snips or a fine-tooth saw, depending on thickness.
Sand rough edges after cutting. If you want a polished look, angle the ends slightly so each slat resembles a branch. If you prefer rustic charm, imperfect edges are welcome. Christmas is forgiving. Glitter hides many sins.
Step 4: Paint or Stain
Classic green is always cheerful, but old blinds can become much more than a traditional tree. Try matte white for Scandinavian Christmas decor, deep forest green for a cozy cabin look, black and gold for modern holiday wall art, or red and cream for vintage charm. Faux wood blinds can be stained or dry-brushed to create a reclaimed wood effect.
Apply several light coats rather than one thick coat. Spray paint should be used outdoors or in a well-ventilated area, with a drop cloth underneath. Let each coat dry according to the product directions. For extra durability, finish with a clear topcoat, especially if the art will be stored and reused each year.
Step 5: Assemble the Wall Art
Arrange the painted slats in tree form on your backing board. Use a ruler to keep spacing even. Glue each piece in place, or secure thicker slats with small brad nails or screws. Add a trunk piece at the bottom, then attach a star, bow, or small ornament at the top.
For a lightweight piece, foam board or canvas works well. For a sturdier decoration, use thin plywood or a repurposed picture frame. If you want the design to look like floating branches, attach the slats to a hidden vertical support on the back instead of a full board.
Step 6: Decorate Without Overloading
Now comes the dangerous part: embellishments. A few tiny ornaments? Wonderful. A ribbon garland? Lovely. Seven pounds of bells, pinecones, battery lights, and one ceramic reindeer? Perhaps we pause.
Because blind slats are lightweight, keep decorations balanced and modest. Mini ornaments, small wood cutouts, felt stars, paper snowflakes, tiny bows, and faux greenery work beautifully. If you add battery lights, choose lightweight fairy lights and secure the battery pack to the back of the board.
More Christmas Wall Art Ideas Using Old Blinds
A Christmas tree is only the beginning. Once you see blinds as craft material, your garage may start looking like an art supply store with questionable lighting.
1. Rustic Christmas Sign
Cut faux wood blind slats into equal lengths and glue them side by side onto backing strips. Paint the surface white, cream, or weathered gray. Add lettering such as “Merry Christmas,” “Joy,” “Peace,” or “Let It Snow.” Use stencils, vinyl decals, hand lettering, or printed transfer paper. Finish with greenery and a plaid bow.
2. Starburst Snowflake Wall Art
Use narrow vinyl slats to create a snowflake or starburst pattern. Cut several pieces in matching lengths, paint them white or metallic silver, and glue them in layers around a center point. Add a wood bead, button, or small ornament in the middle. This design looks great above a mantel or grouped in sets of three.
3. Advent Calendar Display
Mount slats horizontally on a board and add tiny clips, clothespins, or hooks. Attach numbered envelopes, paper ornaments, or small treat bags. This creates a reusable Christmas countdown calendar that looks charming without requiring a giant tabletop footprint.
4. Ornament Display Board
Blind slats can become rails for hanging lightweight ornaments. Paint the slats, mount them in rows, and add small hooks. This is perfect for fragile keepsake ornaments you want to display away from pets, toddlers, or one enthusiastic uncle who gestures too broadly near the tree.
5. Minimalist Nativity or Village Silhouette
For a simple wall piece, paint several slats in dark navy, black, or charcoal and cut them into rooflines, stable shapes, or little house silhouettes. Mount them on a pale background with a small star above. The result feels peaceful, modern, and handmade without being overly busy.
Design Styles That Work Beautifully
The beauty of reused blind slats is that they can adapt to almost any Christmas decorating style.
Farmhouse Christmas
Use whitewashed faux wood slats, buffalo-check ribbon, jute, pine sprigs, and tiny galvanized bells. Keep the palette soft: white, black, sage, natural wood, and muted red.
Modern Christmas
Paint slats matte black, deep green, or warm white. Use clean spacing, simple shapes, metallic accents, and minimal lettering. Less clutter, more confidence.
Vintage Christmas
Choose red, cream, mint, and gold. Add pom-poms, old greeting-card images, retro ornaments, and playful lettering. The goal is cheerful nostalgia, not a museum exhibit curated by elves.
Scandinavian Christmas
Use pale wood tones, white paint, simple stars, and natural textures. Bamboo blinds are especially good for this style because they already bring warmth and simplicity.
Kids’ Craft Christmas
Let children paint individual slats, add fingerprints as ornaments, or write holiday wishes on each “branch.” Keep cords and small loose parts away from young children, and use washable paint if artistic enthusiasm tends to escape the table.
Where to Display Reused Blind Christmas Wall Art
This type of holiday wall art works in more places than you might expect. Hang a narrow slat tree in an apartment entryway, above a console table, beside a fireplace, in a kitchen nook, or over a child’s desk. A small version can decorate a guest bathroom, because nothing says “holiday hospitality” like surprising people with Christmas cheer while they reach for hand soap.
If you live in a small home, a wall-mounted Christmas tree made from reused window blinds can replace a traditional tree. It saves floor space, costs very little, and can still hold lightweight ornaments. It also works well for dorm rooms, offices, classrooms, craft rooms, and rental homes where drilling holes may not be an option.
Common Mistakes to Avoid
The most common mistake is using dirty or glossy slats without prep. Paint needs a clean, slightly scuffed surface. Another mistake is choosing glue that cannot handle the material. Hot glue works for lightweight indoor pieces, but construction adhesive, E6000-style craft glue, or small fasteners may be better for heavier faux wood slats.
Do not overload the finished art. Blind slats are not lumber, even if they are pretending very hard. Keep ornaments lightweight and check the hanger before placing the piece on the wall. Finally, avoid placing the decoration near candles, fireplaces, heaters, or damp areas. Vinyl and faux wood materials can warp, soften, or discolor when exposed to heat.
Storage Tips for Next Year
One reason this project is so satisfying is that it can be reused year after year. Wrap the finished wall art in tissue paper, kraft paper, or an old sheet. Store it flat when possible, especially if the slats are thin. Keep it away from attic heat or garage moisture if the piece is painted or glued. Label the storage box clearly so you do not rediscover it in July and wonder why a tiny wooden star is staring at you from behind the camping gear.
Budget Breakdown
If you already have old blinds, this project can be nearly free. Basic supplies such as paint, glue, ribbon, and a backing board may cost between $10 and $30 depending on what you already own. Using leftover house paint, scrap plywood, old picture frames, broken ornaments, and saved gift ribbon can reduce the cost even more.
Compared with buying large Christmas wall decor, reused blind art offers strong value. It gives you a custom piece sized to your wall, matched to your color scheme, and filled with personality. Store-bought decorations are convenient, but they rarely come with the thrill of saying, “Thanks, I made it from old blinds,” while guests look both impressed and slightly concerned.
Personal Experience: What It Is Like to Make Christmas Wall Art from Old Blinds
The first time you reuse window blinds as Christmas wall art, the project may begin with optimism and a screwdriver. You take down the old blinds, expecting a quick craft session, and immediately meet the first surprise: blinds have more cords than a forgotten electronics drawer. Removing them takes patience, but it is worth doing carefully. Once the cords are gone and the slats are separated, the material suddenly looks less like window hardware and more like a stack of blank creative possibilities.
Cleaning is not glamorous, but it is weirdly satisfying. Old blinds often hold a thin film of dust, kitchen grease, or mystery life residue. A sink of warm soapy water makes a big difference. After drying the slats, you can see which pieces are still straight and which ones have retired emotionally. Sorting them before cutting saves frustration later.
Cutting vinyl slats is easy, almost too easy. The first few pieces may curl slightly, so it helps to place them under books for a while or mount them to a sturdy backing board. Faux wood slats feel more substantial and give the finished piece a better “real decor” look, but they require more careful cutting. If the ends splinter, sandpaper becomes your best friend. Not your most exciting friend, but reliable.
Painting is where the project starts to become fun. A coat of primer turns mismatched slats into one unified surface. Matte green creates a classic tree, but white paint gives the piece a snowy modern look. Dry-brushing brown or gray over white can make faux wood slats look like reclaimed barn wood. It is the kind of finish that makes people say, “Where did you buy that?” which is the crafter’s equivalent of winning a small trophy.
Assembly takes more measuring than expected. Eyeballing the spacing sounds charming until the tree starts leaning like it heard bad news. A ruler, painter’s tape, or lightly penciled guide lines keep everything aligned. Hot glue works quickly, but a stronger adhesive gives more confidence if the piece will be stored and reused. The best approach is to lay out every slat first, take a photo, then glue. The photo helps when one curious family member walks by and says, “What happens if this piece goes here?” and suddenly your tree has become a holiday puzzle.
Decorating is the moment when restraint matters most. The slat tree looks best when the ornaments are small and intentional. A tiny star at the top, a short ribbon garland, a few miniature ornaments, and maybe a sprig of faux pine are enough. Too much decoration hides the clever reused material. The goal is not to make the wall art scream “Christmas!” from across the county. It should warmly announce itself from the wall, preferably while looking like it belongs in a cozy magazine spread.
Hanging the finished piece is deeply satisfying. It is lightweight, unique, and easy to move. In a small apartment, it can replace a full Christmas tree. In a larger home, it becomes an accent piece in an entryway, kitchen, guest room, or hallway. The best part is the story behind it. Anyone can buy holiday decor, but turning old blinds into Christmas wall art gives the decoration a second life and gives you bragging rights that are completely justified.
The experience also changes how you look at household castoffs. Broken blinds, scrap ribbon, leftover paint, cardboard backing, old frames, and spare ornaments stop looking like clutter and start looking like ingredients. That does not mean every object deserves to become a Christmas craftsome things should absolutely go to the trash, and we salute them on their journey. But window blinds are one of those surprisingly useful materials that can become something beautiful with a little patience.
In the end, reused blind Christmas wall art is not just about saving money. It is about making decor that has character. It is about slowing down during a season that often feels too fast. It is about creating something personal from something overlooked. And yes, it is also about finally proving that the old blinds in the garage were not “junk.” They were future holiday art wearing a very boring disguise.
Conclusion
Window blinds reused as Christmas wall art are a smart, stylish, and sustainable way to decorate for the holidays. With a little cleaning, cutting, paint, and imagination, old blind slats can become wall-mounted Christmas trees, rustic signs, snowflake art, advent displays, ornament boards, and modern holiday accents. The project is affordable, customizable, and friendly to small spaces, making it ideal for apartments, rental homes, classrooms, offices, and budget-conscious holiday decorators.
The key is to prepare the material properly, remove all old cords, keep embellishments lightweight, and choose a design that fits your home’s style. Whether your look is farmhouse, vintage, Scandinavian, modern, or kid-crafted chaos with glitter diplomacy, reused blinds can bring warmth and personality to your Christmas decor. Best of all, every piece tells a story: something old became something festive, and your wall got dressed for the season without your wallet needing a support group.