There are few tiny household disasters as instantly dramatic as realizing you have just rubbed black polish onto brown shoes, brown polish onto tan loafers, or a mysterious “almost burgundy” cream onto shoes that are very much not asking for a personality change. The good news? Wrong shoe polish is usually fixable, especially if you catch it early and avoid the two classic panic moves: scrubbing like you are sanding a deck and soaking leather like it owes you money.
This guide explains how to remove wrong shoe polish safely in 11 practical steps. It focuses mainly on smooth leather shoes, because that is where polish mistakes happen most often. You will also find special notes for suede, nubuck, patent leather, light-colored shoes, stitched areas, and old polish buildup. The goal is not just to erase the color error, but to protect the leather so your shoes look clean, even, and wearable again.
Before you start, remember that leather is skin. Fancy, tanned, shoe-shaped skin, but skin all the same. It can dry out, stain, absorb pigment, and become dull if handled too aggressively. So the winning strategy is gentle patience: lift the excess polish, clean in controlled passes, dry naturally, condition, and then repolish with the correct shade.
Why Wrong Shoe Polish Is Tricky
Shoe polish is designed to stay put. That is literally its job. Cream polish adds pigment and moisture, while wax polish creates shine and a protective surface layer. When the wrong color gets on the shoe, the pigment may sit on top of the leather, settle into creases, cling to stitching, or darken porous areas. The faster you act, the more likely you are removing surface residue rather than correcting a full-on dye situation.
Black polish on brown leather is the most feared mistake because black pigment is powerful and dramatic, like espresso in a white shirt. Dark brown polish on tan shoes can also leave uneven shadows. Neutral polish is usually safer, but even neutral wax can build up and trap dirt, making shoes look cloudy or dull. The method below starts with the least aggressive approach and only moves stronger when needed.
What You Need Before You Begin
Gather your supplies first. Once the shoe is damp or partly cleaned, you do not want to sprint around the house looking for a cloth while your footwear sits there judging your life choices.
- Four to six clean soft cloths or microfiber towels
- A horsehair shoe brush or soft-bristled brush
- Warm water
- Mild soap, saddle soap, or leather cleaner
- Cotton swabs for seams and brogue holes
- Leather conditioner or leather lotion
- Correct color cream polish or neutral conditioner
- Optional: white vinegar diluted with water for stubborn residue
- Optional: leather polish remover or cleaner such as a renovator product for severe buildup
- Shoe trees or clean paper for shaping while drying
Avoid bleach, ammonia cleaners, harsh household degreasers, acetone, and aggressive alcohol use unless a professional specifically recommends them for that exact leather. These products may remove the polish, but they can also remove the finish, color, moisture, and your will to ever polish shoes again.
How to Remove Wrong Shoe Polish: 11 Steps
Step 1: Stop Polishing Immediately
The moment you notice the wrong color, stop. Do not try to “blend it in” by adding more polish. That is how a small mistake becomes a leather crime scene. Put the polish down, take a breath, and inspect the shoe under good light.
Check whether the polish is still soft and fresh or already dry and buffed. Fresh polish is easier to lift because it has not fully bonded to the surface. Dry wax may require more brushing and gentle cleaning. If only one area is affected, focus there first, but plan to clean the whole shoe lightly afterward so the finish looks even.
Step 2: Remove the Laces
Take out the laces before cleaning. Laces absorb polish quickly and can drag pigment across the tongue and eyelets. Removing them also gives you better access to the tongue, facing, seams, and creases where polish loves to hide like it pays rent.
If the laces are stained, wash them separately with mild soap and warm water. If they remain discolored, replace them. New laces are inexpensive and can make freshly cleaned shoes look surprisingly revived.
Step 3: Brush Away Loose Dirt and Surface Polish
Use a clean horsehair brush or soft cloth to remove dust, grit, and loose polish. Brush lightly in short strokes. This step matters because dirt can scratch leather during cleaning. You are not trying to scrub the mistake away yet; you are removing anything sitting on top of the shoe.
For fresh polish, use a dry cloth and gentle buffing motions. Turn the cloth frequently so you are not smearing the wrong color back onto the leather. If the cloth keeps picking up pigment, continue until the transfer slows down. This can remove a surprising amount before water or soap ever enters the story.
Step 4: Blot, Do Not Grind
If the wrong polish is thick, blot it with a clean cloth. Press lightly, lift, and move to a fresh section of cloth. Do not grind the polish into the leather. Circular scrubbing can be useful later with soap, but at this stage it may push pigment deeper into pores, stitching, and creases.
Think of this step like picking up spilled sauce from a shirt. You dab first. You do not attack it with the rage of someone who just missed a flight. Shoes respond better to calm hands.
Step 5: Lightly Dampen the Leather
Dampen a clean cloth with warm water and wring it out thoroughly. The cloth should be damp, not dripping. Wipe the affected area gently, then wipe the surrounding panels so the moisture is distributed evenly. Smooth leather can tolerate careful damp cleaning, but too much water may cause discoloration, stiffness, or water marks.
Never soak leather shoes in a sink or run them under the faucet. That might feel decisive, but it is the footwear equivalent of using a fire hose to water a houseplant.
Step 6: Clean With Mild Soap, Saddle Soap, or Leather Cleaner
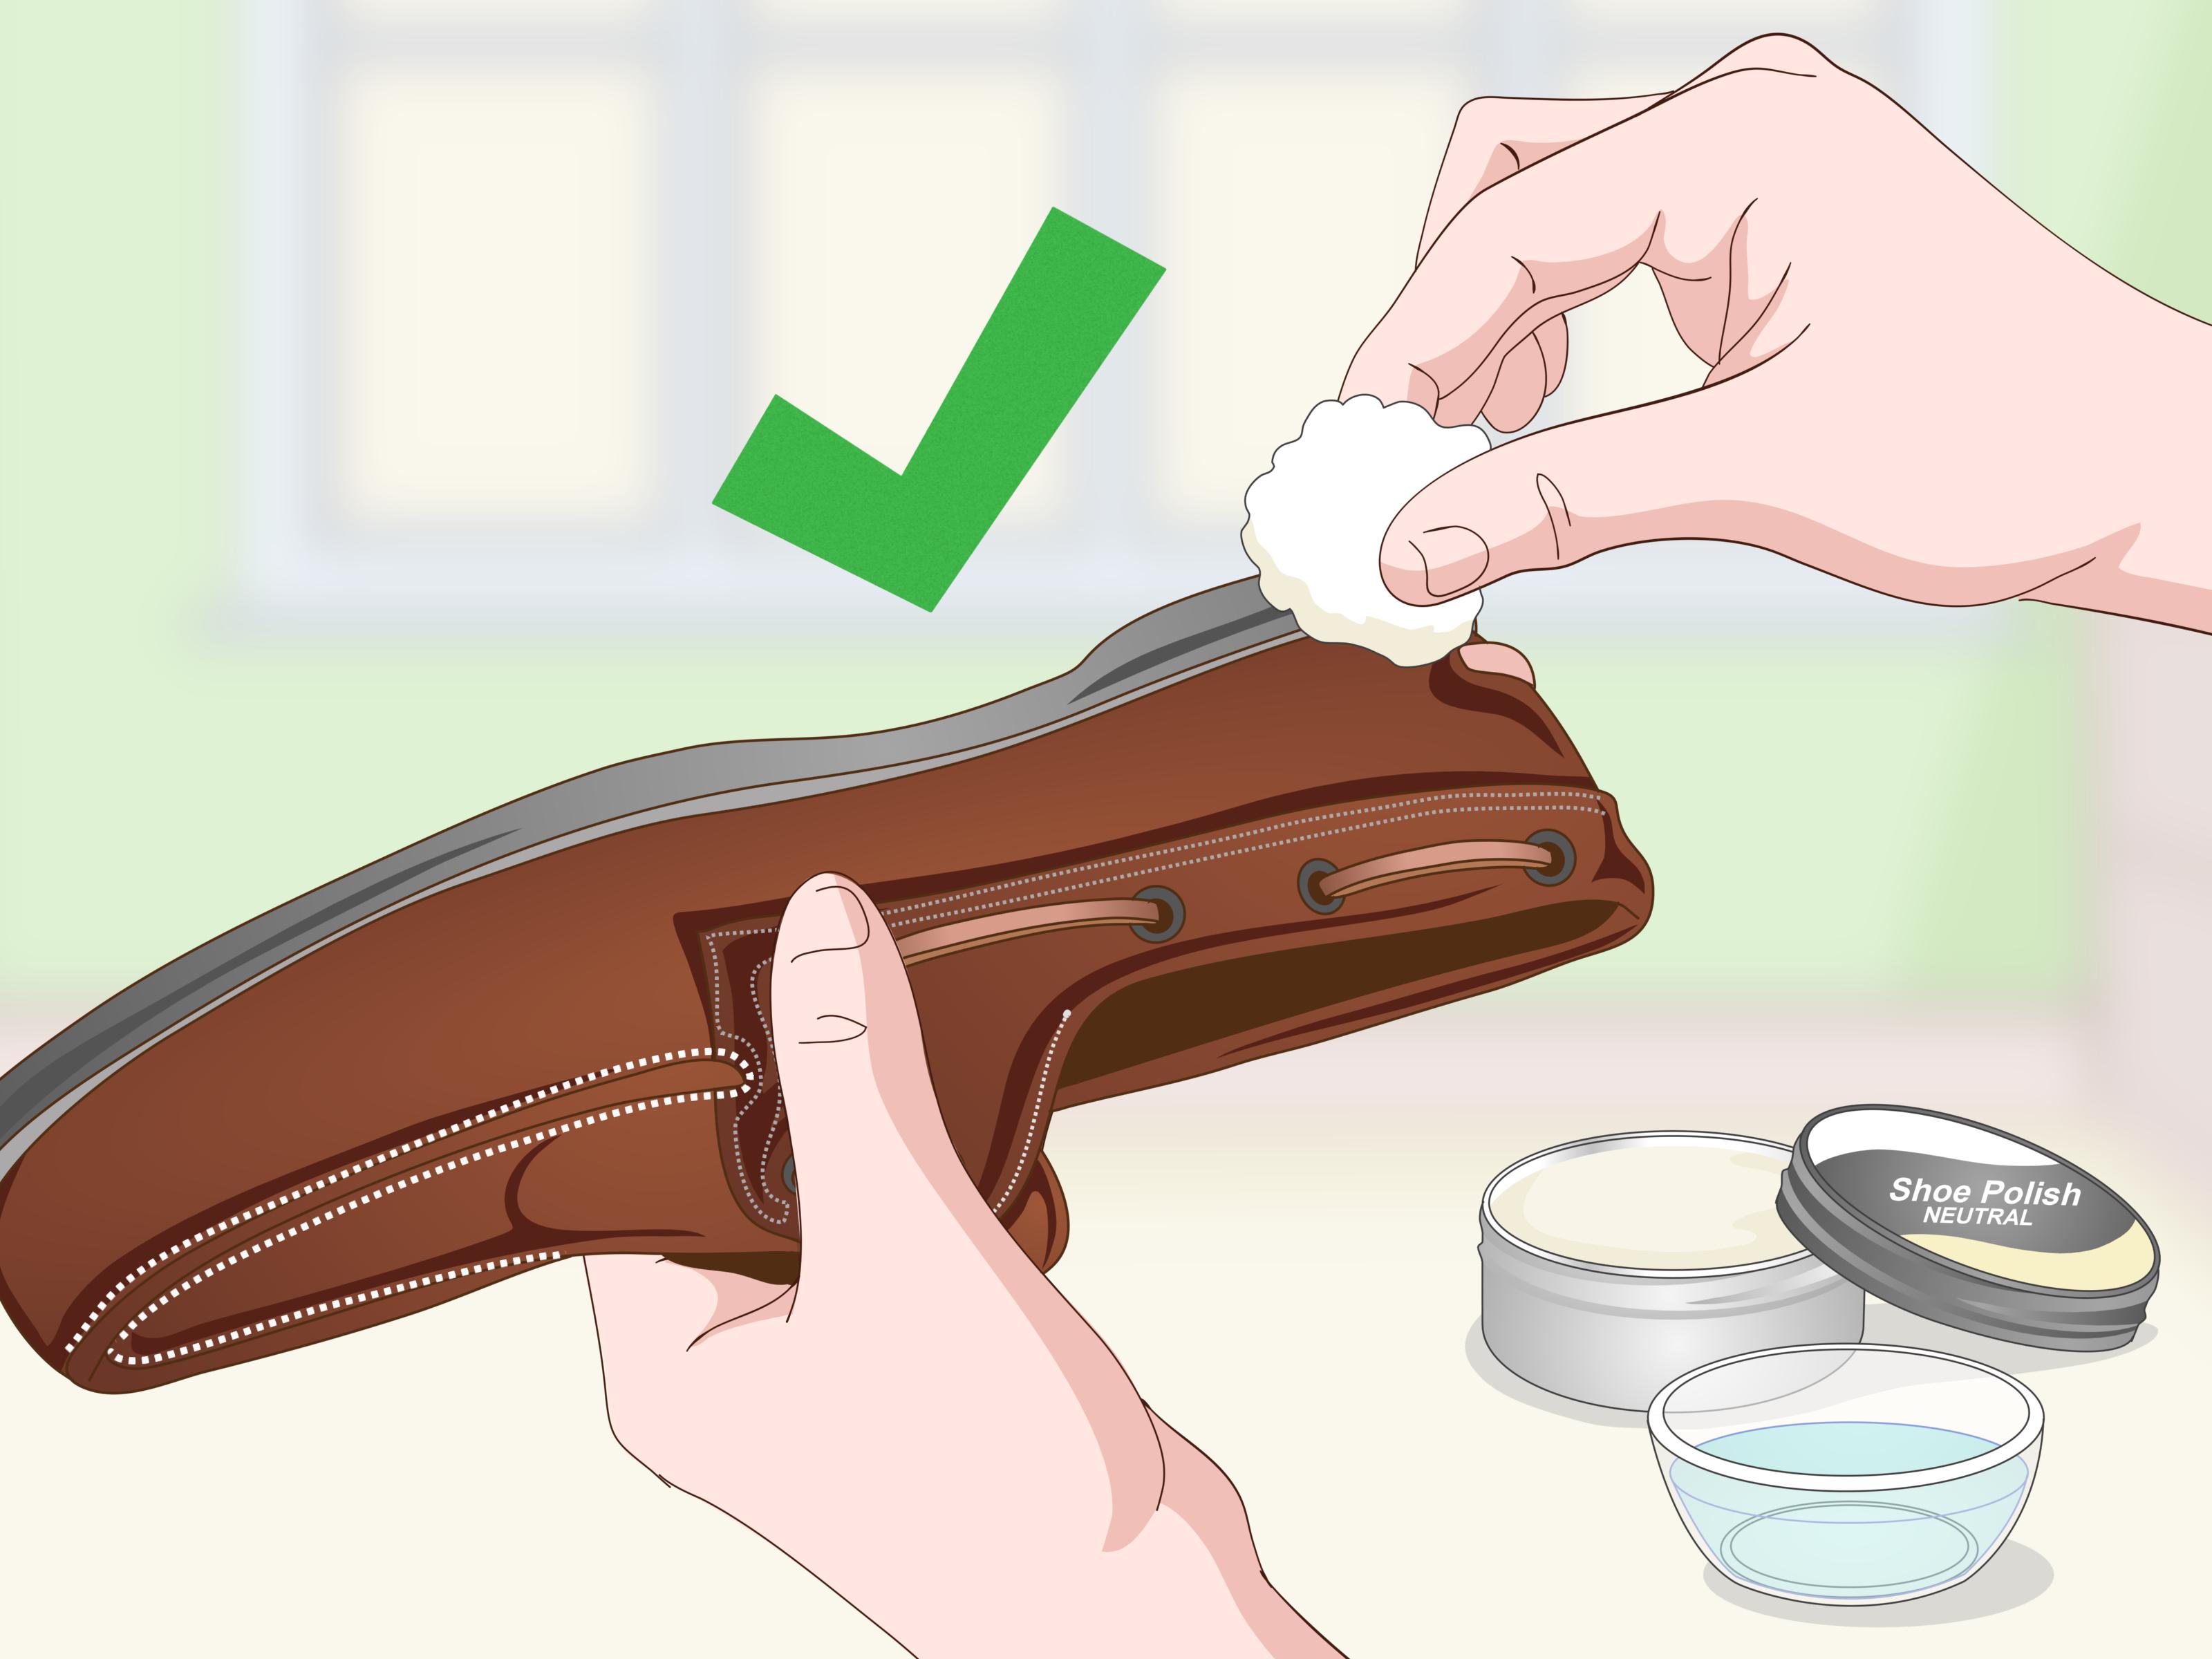
Apply a small amount of saddle soap, mild soap, or leather cleaner to a damp cloth. Work up a light lather and clean the stained area using small, gentle circular motions. Use minimal pressure. The goal is to loosen the polish film without stripping the leather finish.
For dress shoes, saddle soap can help with old polish buildup, but it should not be overused. Leather cleaner is often a safer choice for regular maintenance. If the wrong polish is concentrated in brogue holes, seams, or welt stitching, use a cotton swab or soft toothbrush with very light pressure. The toothbrush should be for shoes only. Your dentist does not need to be involved in this chapter.
Step 7: Wipe Away Soap and Lifted Polish
Use a fresh damp cloth to remove the soap residue and loosened polish. Then follow with a dry cloth. Repeat the cleaning pass only if needed. Multiple light passes are safer than one aggressive scrubbing session.
As you wipe, check the cloth. If it shows the wrong polish color, the cleaning is working. Keep rotating to clean cloth sections. Dirty cloth plus wet leather equals pigment redistribution, which is a polite way of saying “you just made modern art on your shoe.”
Step 8: Treat Stubborn Stains Carefully
If a faint wrong-color stain remains, test a stronger method on a hidden area first, such as the inside edge of the tongue or heel area. A small amount of diluted white vinegar on a cloth may help with certain residues, especially if soap has not fully removed the mark. Use it sparingly, then wipe with a clean damp cloth.
For heavy wax buildup or several layers of old polish, a dedicated leather polish remover or renovator cleaner may be needed. These products can be effective, but they can also remove existing finish or lighten leather if overused. Apply only a small amount, work in a ventilated space, and test first. If the shoes are expensive, vintage, exotic leather, shell cordovan, or emotionally priceless because they survived your cousin’s wedding, consider taking them to a cobbler.
Step 9: Let the Shoes Air Dry Naturally
After cleaning, let the shoes dry at room temperature. Insert cedar shoe trees if you have them, or use clean white paper to help maintain shape. Keep the shoes away from radiators, hair dryers, direct sunlight, and heaters. Heat can dry, warp, shrink, or crack leather.
Drying may take several hours. Overnight is often best. Do not condition or repolish while the leather is still damp, because products may absorb unevenly and create blotches.
Step 10: Condition the Leather
Cleaning removes unwanted polish, but it can also remove some natural oils. Once the shoes are fully dry, apply a small amount of leather conditioner or leather lotion with a clean cloth. Work it in evenly, let it absorb, and wipe off any excess.
Conditioner helps restore flexibility and reduces the risk of cracking. Use a light hand, especially on lighter leather, because some conditioners can darken shoes temporarily or permanently. When in doubt, test first. The shoe care motto is simple: tiny amount, hidden spot, no drama.
Step 11: Reapply the Correct Polish
Once the leather is clean, dry, and conditioned, apply the correct color cream polish in a thin layer. Cream polish is useful for restoring color evenly. Let it sit for a few minutes, then brush with a horsehair brush. If you want a higher shine on the toe and heel, apply a small amount of wax polish only after the cream has been buffed.
Do not try to fix uneven color with a thick layer of polish. Thin layers look better, dry better, and are easier to control. If the cleaned area is slightly lighter, build color gradually over two or three light applications. Shoes appreciate subtlety, even if your sock drawer does not.
Special Cases: Different Shoe Materials Need Different Care
Suede and Nubuck
If you used smooth leather polish on suede or nubuck, stop immediately and do not add water right away. Suede and nubuck have a raised nap that can flatten, stain, or darken when treated like smooth leather. Start with a suede brush or suede eraser. If polish has deeply stained the nap, professional cleaning may be the safest option.
Patent Leather
Patent leather has a glossy coated surface. Wrong polish usually sits on top rather than soaking in deeply. Wipe it gently with a damp cloth and mild soap, then dry with a soft cloth. Avoid abrasive brushes, strong solvents, and rough scrubbing because they can dull or scratch the shiny coating.
Light Tan, Cream, or White Leather
Light leather is less forgiving. Even a little dark polish can leave a shadow. Work slowly, use clean cloths constantly, and avoid spreading the stain. After cleaning, a matching cream polish or professional recoloring cream may be needed to restore an even tone.
Shell Cordovan and Luxury Leather
Shell cordovan and high-end calfskin require extra caution. They often respond well to brushing and minimal product, but harsh cleaners can damage the finish. If wrong polish has stained luxury shoes, contact a cobbler or the shoe manufacturer before experimenting.
Common Mistakes to Avoid
First, do not soak the shoes. Water is helpful in tiny controlled amounts, but too much can cause marks and stiffness. Second, do not use heat to speed drying. Leather is not pizza; it does not belong near a blast of hot air. Third, do not use random household cleaners. Products made for countertops, bathrooms, or ovens are not suitable for leather footwear.
Another common mistake is overcorrecting the color. If black polish darkened a brown shoe, some people immediately cover the entire shoe in dark brown polish to “match.” Sometimes that works, but often it creates a muddy finish. Clean first, assess the true color after drying, then decide whether recoloring is necessary.
How to Prevent Wrong Polish Problems Next Time
Store polish colors separately and label them clearly. Black, dark brown, burgundy, oxblood, and neutral tins can look confusing in a dim closet. Open the polish and check the color before applying it. Better yet, test a tiny amount on the inside edge or tongue before touching the visible upper.
Use neutral conditioner when you only want to moisturize the leather. Use cream polish when you need color restoration. Use wax polish sparingly for shine, especially on toe caps and heel counters. Keeping these roles separate reduces buildup and makes future cleaning easier.
Also, maintain a dedicated brush for each polish color. A brush loaded with black wax can darken brown shoes even if the polish tin is correct. Color-contaminated brushes are sneaky little traitors.
When to Call a Professional Cobbler
Call a cobbler if the shoes are expensive, sentimental, made from delicate leather, badly stained, or already damaged. You should also seek help if the wrong polish has changed the leather color rather than simply sitting on the surface. Cobblers can strip, recolor, refinish, and condition shoes with tools and products that are not always beginner-friendly.
Professional help is also smart for designer shoes, vintage footwear, exotic skins, shell cordovan, and handmade dress shoes. A cleaning experiment may save $20, but it can also ruin $500 shoes. Sometimes the bravest DIY move is knowing when to hand the problem to someone wearing an apron and holding mysterious brushes.
Real-Life Experience: What Removing Wrong Shoe Polish Teaches You
The first time you remove wrong shoe polish, you learn that shoe care is less about brute force and more about patience. Many people panic because the mistake looks permanent at first. A brown shoe with black polish across the toe can look like it has joined a biker gang. But after a dry wipe, a gentle soap pass, and a proper buff, the situation often becomes far less terrifying.
One useful experience is learning to read the cloth. When the cloth picks up heavy pigment, you know the polish is still lifting. When the transfer becomes faint, it is time to pause rather than scrub harder. Leather often looks worse while it is damp, so judging the final result too early can lead to over-cleaning. Letting the shoes dry overnight gives a more honest view of what remains.
Another lesson is that the wrong polish often exposes old buildup. You may think you are removing one fresh mistake, only to discover layers of wax from months or years of polishing. This is especially common on dress shoes that have been polished before every event but rarely cleaned. The toe may feel sticky, cloudy, or uneven because wax has accumulated. Removing the wrong polish can become a reset button for the whole shoe.
People also discover that stitching and brogue details are the hardest parts. Smooth leather panels clean fairly easily, but decorative holes, seams, and welt edges hold onto pigment. Cotton swabs help, but perfection may take time. If a tiny shadow remains in deep stitching, it may be better to accept it or have a cobbler handle it instead of damaging the surrounding leather.
Light-colored shoes teach the strictest lesson: always test first. Tan, cream, cognac, and white leather can darken quickly. A product that looks harmless on black shoes may leave a visible mark on pale leather. Owners of light shoes should keep neutral conditioner, clean cloths, and a matching cream polish on hand. They should also avoid polishing in low light, because that is how “medium brown” becomes “surprise espresso.”
The best long-term habit is creating a shoe care station. Keep brushes separated by color, wipe tins before storing them, label polish clearly, and never polish in a rush. Most wrong-polish disasters happen five minutes before leaving the house, which is also when humans are least qualified to make calm leather-care decisions. A slow Sunday cleaning session is safer than frantic pre-wedding shoe surgery.
Finally, removing wrong shoe polish reminds you that good shoes are repairable. A mistake does not automatically mean the pair is ruined. With careful cleaning, natural drying, conditioning, and correct repolishing, many shoes come back beautifully. They may even look better than before because the process removes old grime and forces you to care for the leather properly. In other words, your polish mistake may become a tiny shoe-care education. Annoying? Yes. Useful? Also yes. Fashion is weird like that.
Conclusion
Removing wrong shoe polish is completely manageable if you act quickly and treat the leather gently. Start by removing laces, brushing away loose residue, blotting excess polish, and cleaning with a lightly damp cloth and mild leather-safe soap. For stubborn buildup, use stronger cleaners only after testing in a hidden area. Let the shoes air dry naturally, condition the leather, and then reapply the correct polish in thin, controlled layers.
The most important rule is to respect the material. Smooth leather, suede, nubuck, patent leather, and luxury leather do not all respond to the same treatment. When the shoes are valuable or the stain is severe, a cobbler is not a defeat; it is a very sensible adult decision. Your shoes can survive a wrong-polish mishap. They just need patience, the right supplies, and perhaps a gentle reminder that black polish does not belong everywhere.