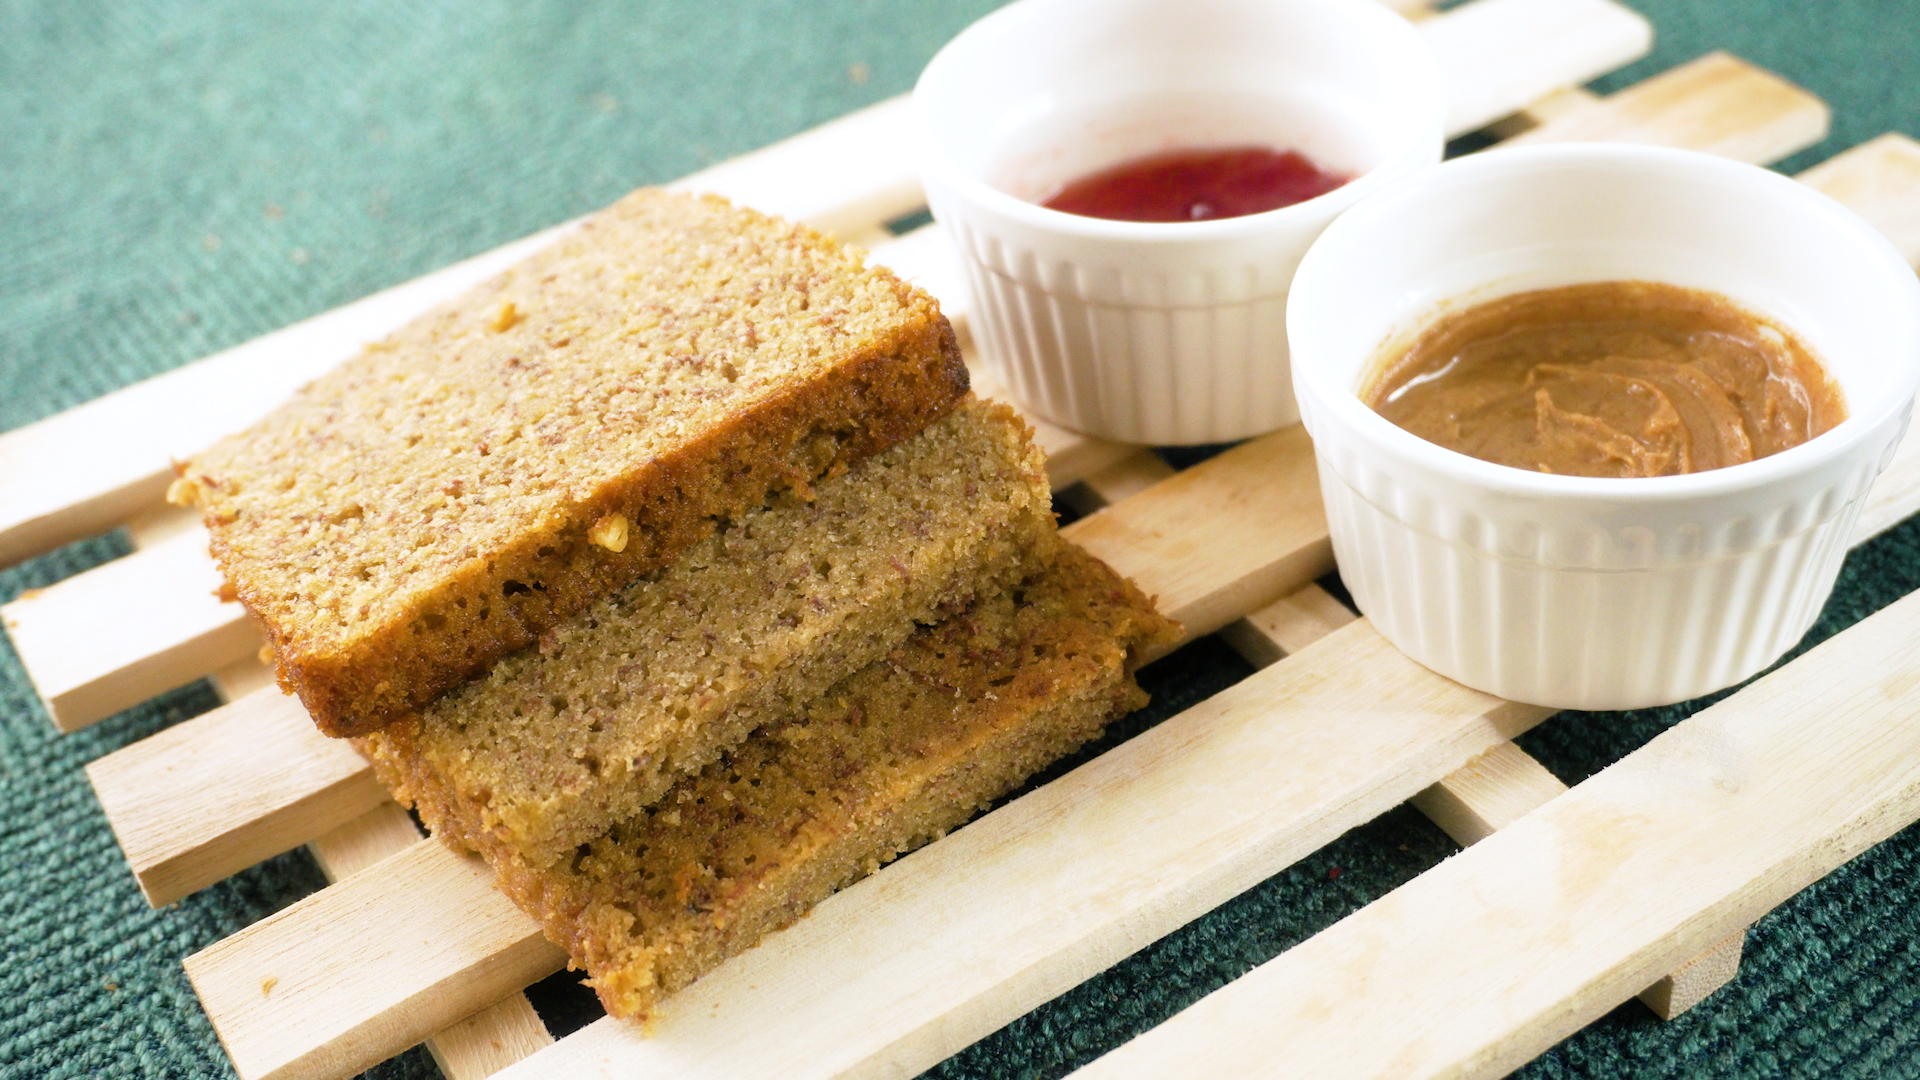
There are complicated recipes in this world, and then there is the peanut butter and jelly sandwich: two slices of bread, one creamy-or-crunchy spread, one fruity spread, and absolutely no need to pretend you are auditioning for a cooking competition. Still, a great PB&J is not just “slap, smear, squish, done.” The difference between a forgettable sandwich and a lunchbox legend comes down to bread choice, spread ratio, texture, freshness, and one tiny trick that keeps jelly from turning your bread into a sad sponge.
This guide explains how to make a peanut butter and jelly sandwich in 11 simple steps, with practical tips for beginners, parents packing lunches, students making a quick snack, and adults who suddenly realize the childhood classic is still undefeated. We will cover ingredients, spreading technique, flavor combinations, storage, nutrition-minded upgrades, and the all-important question: should peanut butter go on one slice or both? Spoiler: both slices may save your sandwich from soggy doom.
Why the Peanut Butter and Jelly Sandwich Still Works
The peanut butter and jelly sandwich survives because it solves several problems at once. It is quick, affordable, portable, sweet, salty, soft, filling, and endlessly customizable. Peanut butter brings richness, protein, and healthy fats; jelly, jam, or preserves bring fruit flavor and brightness; bread holds everything together like the unpaid project manager of lunch.
A classic PB&J can be made in under five minutes, but a better PB&J asks for a little attention. Not fancy attention. Nobody is requesting tweezers or edible flowers here. Just enough care to choose the right bread, spread evenly, balance sweetness, and build the sandwich so each bite tastes intentional instead of like a pantry accident.
Ingredients You Need for a Classic PB&J
Basic Ingredients
For one peanut butter and jelly sandwich, gather:
- 2 slices of sandwich bread
- 2 tablespoons peanut butter, creamy or crunchy
- 1 to 2 tablespoons jelly, jam, or fruit preserves
- 1 clean butter knife or small spreader
- 1 plate or clean cutting board
White bread gives the classic soft lunchbox texture. Whole wheat bread adds more fiber and a nuttier flavor. Sourdough gives the sandwich a grown-up tang, which is useful when you want to eat a PB&J while pretending you are a sophisticated person with a calendar app. Brioche makes it richer and slightly dessert-like. Toasted bread adds crunch and helps resist sogginess.
Peanut Butter Options
Creamy peanut butter spreads easily and creates a smooth bite. Crunchy peanut butter adds roasted peanut texture and makes the sandwich feel more substantial. Natural peanut butter can taste wonderfully peanut-forward, but it may require stirring because the oil often separates. Sweetened peanut butter gives a nostalgic flavor, while unsweetened peanut butter lets the jelly do the sweet talking.
Jelly, Jam, or Preserves?
Grape jelly is the classic American choice. Strawberry jam is bright and familiar. Raspberry preserves add a tart edge. Apricot jam tastes sunny and slightly fancy. Blueberry preserves turn the sandwich into something that feels suspiciously close to breakfast. Jelly is smooth, jam has more fruit texture, and preserves usually contain larger fruit pieces. All three work; your taste buds are the committee.
How to Make a Peanut Butter and Jelly Sandwich: 11 Steps
Step 1: Start With a Clean Surface
Place a plate or cutting board on the counter. Make sure your knife is clean, your hands are washed, and your ingredients are easy to reach. This sounds basic, but PB&J construction becomes surprisingly chaotic when the jelly jar is across the kitchen and the peanut butter lid has mysteriously rolled under a cabinet.
Step 2: Choose Two Good Slices of Bread
Pick two slices that are fresh, flexible, and not torn. If the bread is too dry, it may crack when folded or pressed. If it is too soft, it may collapse under thick peanut butter. For a lunchbox sandwich, slightly sturdier bread is best. For an eat-it-right-now sandwich, soft bread works beautifully.
Step 3: Decide Whether to Toast the Bread
Toasting is optional, but it changes the sandwich. Lightly toasted bread adds crunch and helps keep the jelly from soaking in too quickly. Avoid over-toasting unless you enjoy sandwiches that shed crumbs like autumn leaves. A gentle golden toast is enough.
Step 4: Stir the Peanut Butter if Needed
If you use natural peanut butter, stir it until the oil and solids are blended. A separated jar can lead to one bite that is dry and another that is basically peanut oil with ambition. For standard creamy or crunchy peanut butter, you can usually skip this step.
Step 5: Spread Peanut Butter on the First Slice
Scoop about 1 tablespoon of peanut butter onto one slice of bread. Spread it from edge to edge in an even layer. Going all the way to the edges matters because it gives every bite flavor and helps prevent jelly leakage. Think of peanut butter as both ingredient and edible weatherproofing.
Step 6: Add a Thin Peanut Butter Layer to the Second Slice
Here is the anti-soggy secret: spread a thin layer of peanut butter on the second slice too. This creates a barrier between the jelly and the bread. It is especially helpful if you are packing the sandwich for later. Your future self, standing hungry at lunch, will thank you with great enthusiasm.
Step 7: Spoon Jelly Onto One Peanut-Buttered Slice
Add 1 to 2 tablespoons of jelly, jam, or preserves on top of the peanut butter layer. If you like a cleaner sandwich, use less jelly. If you like a dramatic sandwich that requires napkins and courage, use more. Spread gently so the jelly sits on the peanut butter instead of sliding off like it has somewhere better to be.
Step 8: Balance the Ratio
The ideal peanut butter to jelly ratio depends on personal taste, but a practical starting point is 2 tablespoons peanut butter to 1 tablespoon jelly. This keeps the sandwich rich without becoming sticky-sweet. For kids, a little less peanut butter may make the sandwich easier to chew. For adults who love bold flavor, tart preserves can handle a thicker peanut butter layer.
Step 9: Put the Slices Together
Place the second slice on top, peanut-buttered side facing inward. Press gently with your palm. Do not smash the sandwich as if it owes you money. A light press helps the layers meet without forcing jelly out the sides.
Step 10: Cut the Sandwich
Cut the sandwich diagonally for classic triangles, straight down the middle for rectangles, or into quarters for smaller hands. Diagonal cuts feel more nostalgic; rectangles are efficient; quarters are excellent for snack plates. If crusts are not welcome in your household, trim them after assembling so the sandwich keeps its shape.
Step 11: Serve, Pack, or Upgrade
Serve immediately for the freshest texture. If packing for later, wrap the sandwich in parchment paper, wax paper, foil, or a reusable sandwich container. Keep it cool if it will sit for a while, especially on warm days. For a heartier meal, pair it with fruit, milk, yogurt, carrot sticks, or a small handful of pretzels.
Best Tips for a Better Peanut Butter and Jelly Sandwich
Use the Peanut Butter Barrier Method
The biggest PB&J problem is soggy bread. The simplest fix is peanut butter on both slices with jelly in the middle. Peanut butter acts like a seal, keeping moisture from the jelly away from the bread. This is the sandwich equivalent of putting a tiny raincoat on lunch.
Warm the Peanut Butter Slightly
If your peanut butter is stiff, let it sit at room temperature for a few minutes or stir it well before spreading. Do not microwave the whole jar. That is how small kitchen regrets begin. A spreadable texture prevents bread tearing and gives you a smoother layer.
Choose Fruit Spread With Real Flavor
A good jelly or jam should taste like fruit, not just sugar wearing a fruit costume. Grape, strawberry, raspberry, blackberry, apricot, and mixed berry are all excellent choices. If your peanut butter is sweetened, consider a tart jam to keep the sandwich balanced.
Add a Pinch of Salt if Needed
If you use unsalted peanut butter, a tiny pinch of salt can make the flavors pop. Salt brings out peanut flavor and balances the sweetness of jelly. Use a light hand. You are making a sandwich, not preserving a ship’s cargo.
PB&J Variations Worth Trying
Banana PB&J
Add thin banana slices between the peanut butter and jelly. Banana makes the sandwich creamier, sweeter, and more filling. It works especially well with strawberry or honey-sweetened peanut butter.
Crunchy Apple PB&J
Add very thin apple slices for crunch. Granny Smith gives tartness; Honeycrisp adds sweetness. This version is best eaten fresh so the apple stays crisp.
Toasted Cinnamon PB&J
Toast the bread lightly and sprinkle a little cinnamon over the peanut butter before adding jelly. This turns a basic sandwich into something that smells like breakfast and tastes like recess got a promotion.
Grilled Peanut Butter and Jelly
Butter the outside of the bread and grill the sandwich in a skillet over medium-low heat until golden. The peanut butter softens, the jelly warms, and the whole thing becomes dangerously close to dessert. Let it cool for a minute before biting, because hot jelly is not here to make friends.
Nutrition Notes for a Smarter Sandwich
A peanut butter and jelly sandwich can fit into a balanced eating pattern, especially when you choose whole grain bread, peanut butter with simple ingredients, and fruit spread that is not overwhelmingly sugary. Peanut butter contributes plant-based protein and fat, while whole grain bread can add fiber and important nutrients. Jelly adds sweetness and fruit flavor, but it is usually the ingredient most likely to increase added sugar.
For a more balanced PB&J, try whole wheat bread, unsweetened peanut butter, and a lower-sugar fruit spread. You can also replace some jelly with sliced fruit, such as strawberries or bananas. If you need a more filling meal, serve the sandwich with fruit, vegetables, or a dairy option instead of relying on the sandwich alone to do all the nutritional heavy lifting.
Food Allergy and School Lunch Safety
Peanuts and wheat are major food allergens, so always consider allergies before serving a PB&J to someone else or packing it for school, camp, sports, or a group event. Some classrooms or schools have nut-free policies to protect students with severe allergies. Read labels carefully, avoid cross-contact, and choose sunflower seed butter, soy nut butter, or another approved alternative when peanuts are not allowed.
If you are preparing sandwiches for a group, label them clearly. Do not use the same knife in peanut butter and then in another spread unless everyone eating can safely have peanuts. Cross-contact can matter for people with allergies. In short: be kind, be careful, and do not make the jelly jar part of the peanut butter witness protection program.
Common PB&J Mistakes to Avoid
Using Too Much Jelly
Extra jelly sounds fun until it escapes through the edges and decorates your shirt. Start with 1 tablespoon, then add more if needed. A sandwich should be juicy, not structurally unstable.
Spreading Peanut Butter Too Thick in the Center
A giant mound of peanut butter in the middle makes the first bite intense and the edges boring. Spread evenly from corner to corner. Consistency is the quiet hero of sandwich making.
Forgetting to Close the Jars
Close the peanut butter and jelly jars after use. This keeps them fresh and prevents crumbs, sticky fingerprints, and mystery kitchen particles from joining the party.
Packing It Loose
A PB&J tossed into a backpack without wrapping will become abstract art. Wrap it or place it in a container. Your sandwich deserves boundaries.
Extra Experience: What Making PB&J Teaches You
The peanut butter and jelly sandwich looks simple, but it teaches the small kitchen lessons that make every cook better. First, it teaches balance. Too much peanut butter and the sandwich sticks to the roof of your mouth like it is trying to become a permanent resident. Too much jelly and the bread gives up halfway through lunch. The sweet spot is not complicated, but it does require paying attention.
Second, PB&J teaches texture. Soft bread with creamy peanut butter gives one kind of comfort. Toasted bread with crunchy peanut butter gives another. A thin layer of raspberry preserves feels different from a thick spoonful of grape jelly. Even the cut matters. Triangles somehow taste more like childhood, while rectangles feel practical and lunchbox-ready. Nobody can fully explain this. Sandwich geometry is powerful.
Third, making PB&J teaches preparation. When you pack a sandwich for later, you learn quickly that moisture matters. Jelly directly on bread may be fine if you eat immediately, but after a few hours, it can make the bread soggy. Spreading peanut butter on both slices is one of those tiny tricks that feels almost too simple, yet it changes everything. It is the kind of kitchen wisdom people pass down with the seriousness of a family secret.
Fourth, PB&J teaches customization. One person wants creamy peanut butter and grape jelly on white bread. Another wants crunchy peanut butter, strawberry preserves, and whole wheat bread. Someone else adds banana, honey, cinnamon, or apple slices. There is no single correct sandwich for everyone. The best version is the one that fits the moment: quick breakfast, school lunch, post-practice snack, road-trip meal, late-night bite, or nostalgic comfort food after a long day.
Finally, PB&J teaches that food does not need to be complicated to be meaningful. Some meals are memorable because they take hours. Others are memorable because they are ready in three minutes and taste exactly like home. A peanut butter and jelly sandwich is humble, but it has range. It can be a kid’s lunch, a college dorm survival meal, a parent’s emergency dinner backup, or a grown-up snack eaten over the sink while pretending that counts as a plate. And honestly? Sometimes it does.
Conclusion
Learning how to make a peanut butter and jelly sandwich is easy, but learning how to make a great one is all about small improvements. Choose fresh bread, use a balanced peanut butter-to-jelly ratio, spread evenly, protect the bread from sogginess, and customize the flavor to match your mood. Whether you keep it classic with grape jelly or upgrade it with bananas, cinnamon, toasted bread, or tart preserves, the PB&J remains one of America’s most beloved quick meals for a reason.
It is affordable, flexible, filling, and almost impossible to outgrow. A well-made PB&J does not need drama. It just needs two good slices of bread, the right amount of peanut butter, a bright swipe of jelly, and maybe a napkin if you are feeling ambitious with the fruit spread.