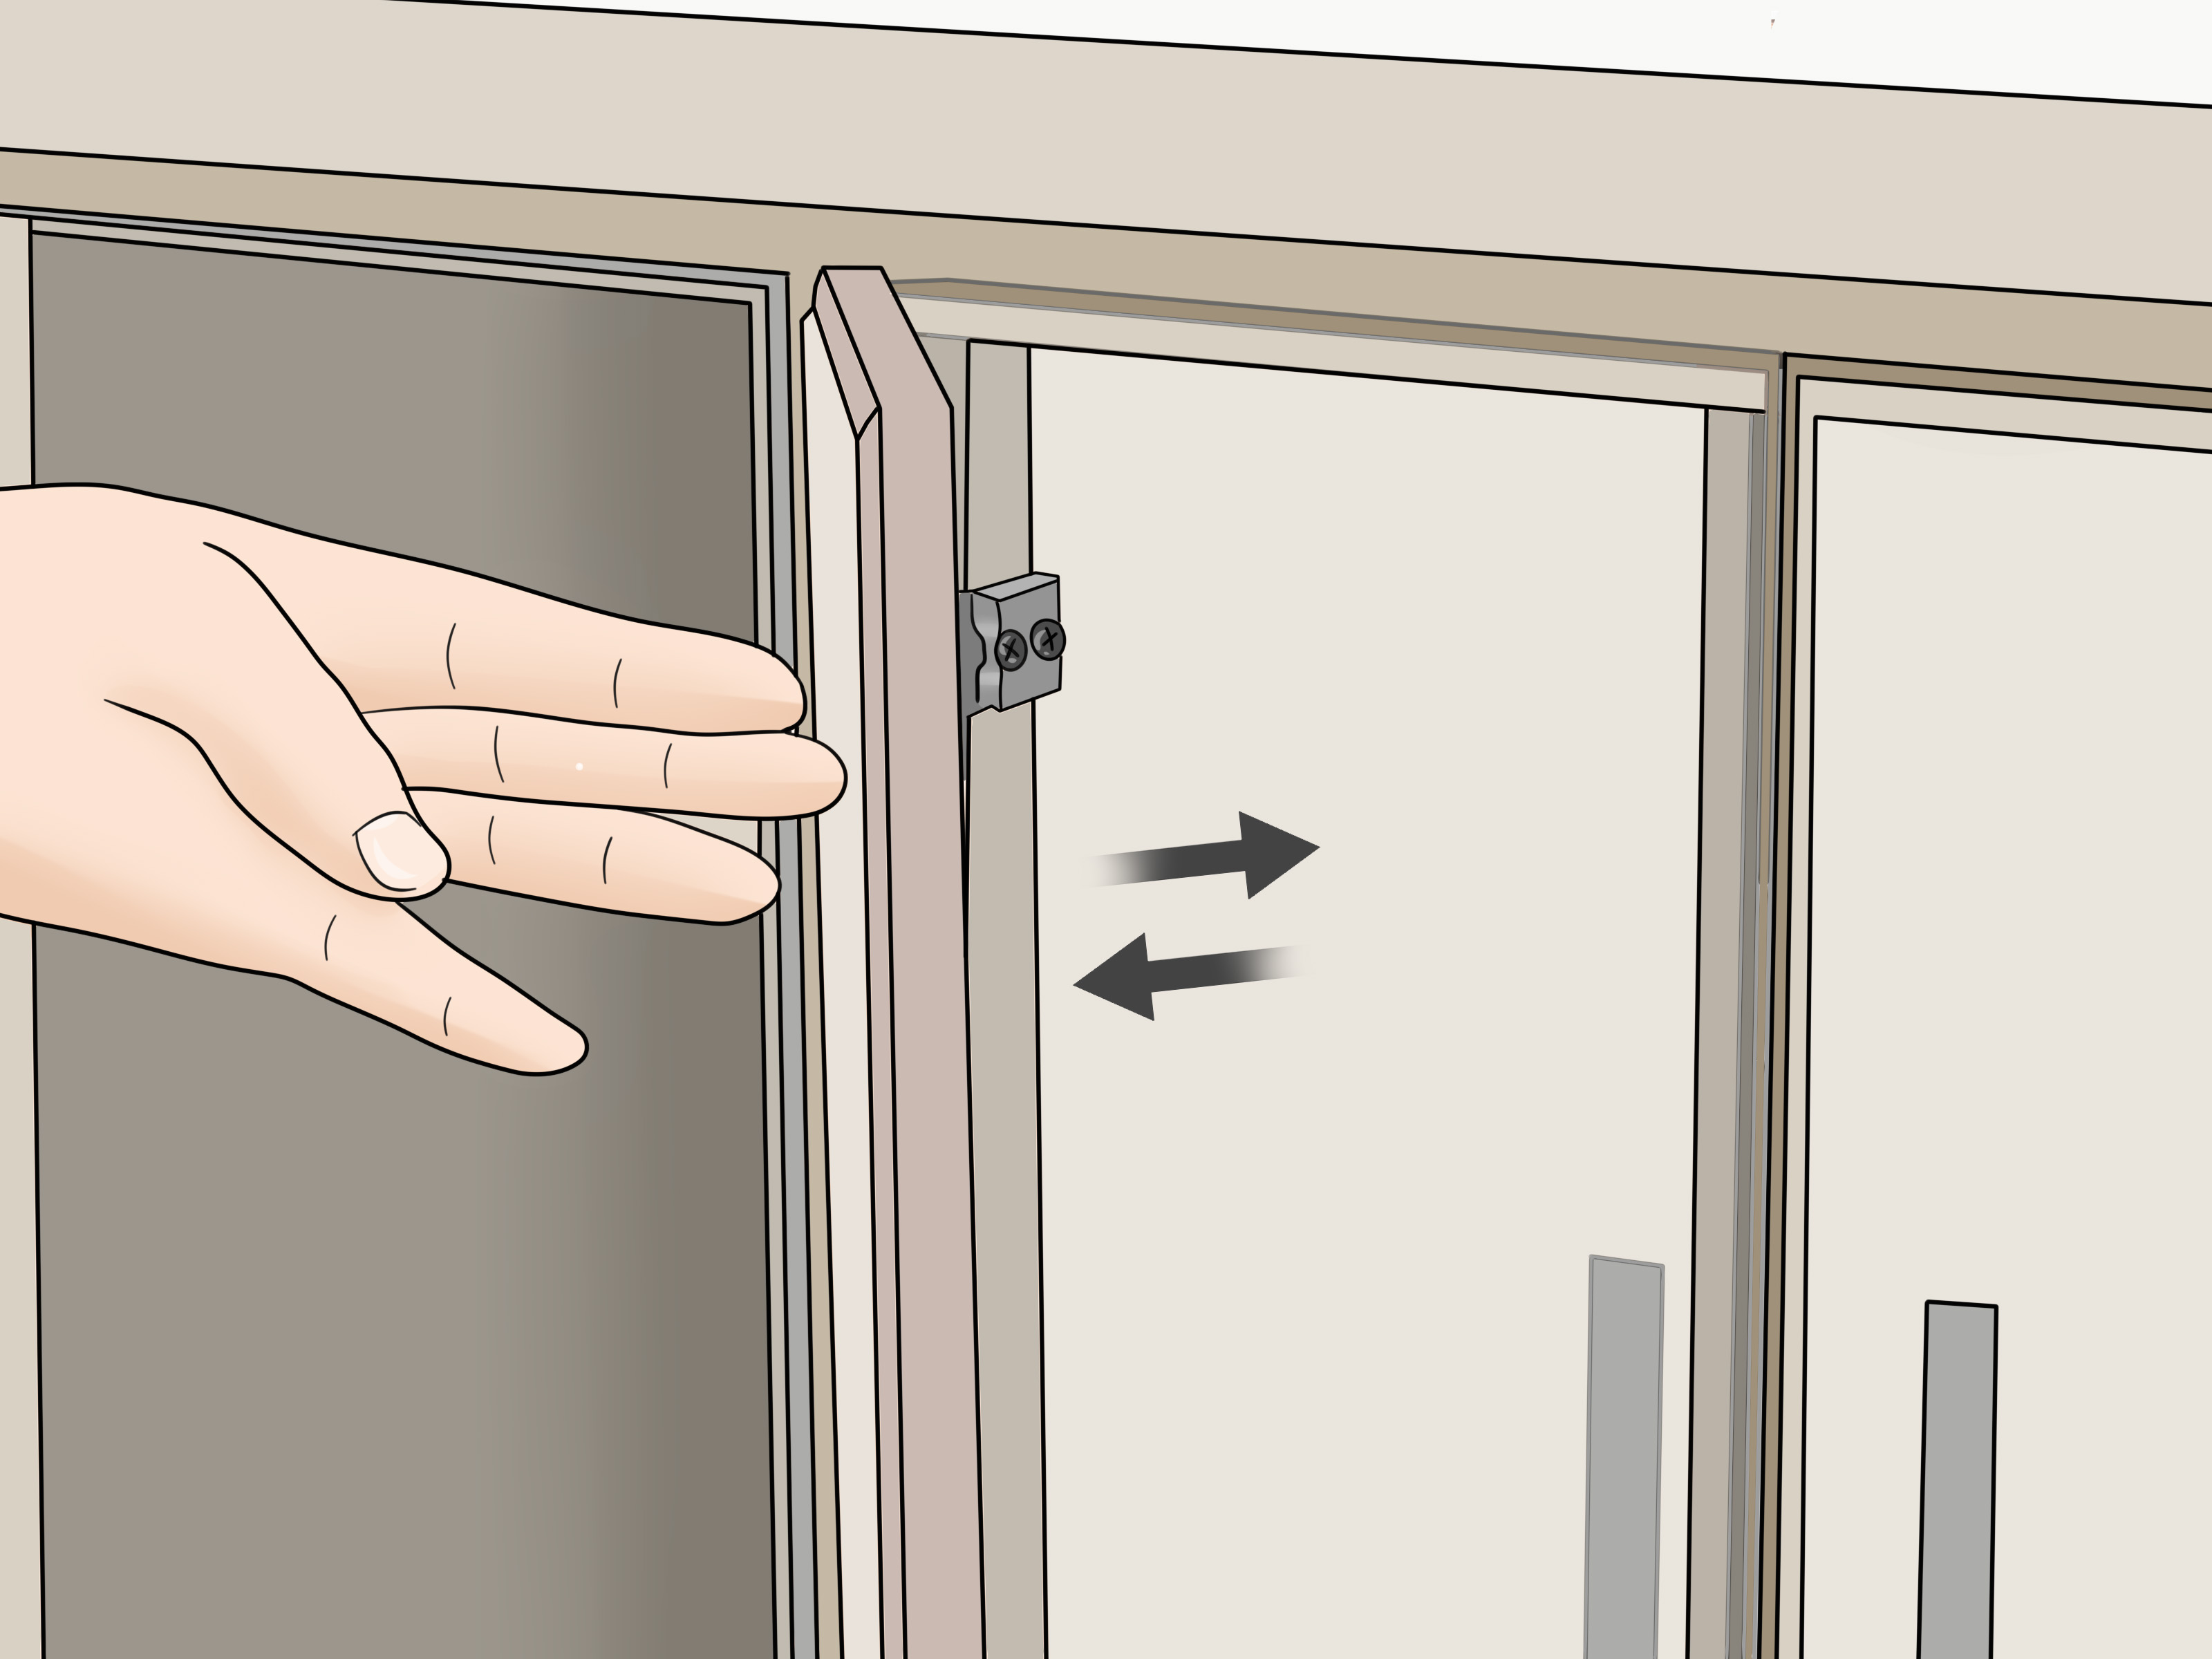
A crooked cabinet door has a special talent: it can make an otherwise beautiful kitchen look like it was assembled during a mild earthquake. The good news is that Euro style cabinet hingesalso called European hinges, concealed hinges, or 35mm hingeswere practically invented to forgive small installation mistakes. With a screwdriver, a little patience, and a willingness to turn screws in tiny increments instead of going full gorilla mode, you can make cabinet doors sit straight, close smoothly, and line up with their neighbors.
This guide explains how to adjust Euro style cabinet hinges in five easy ways: side-to-side alignment, height, depth, overlay, and soft-close performance. Whether your cabinet door is rubbing the frame, sitting too high, leaving an uneven gap, or refusing to close without drama, these steps will help you diagnose the problem and fix it like a calm, competent adultpossibly while wearing slippers.
What Are Euro Style Cabinet Hinges?
Euro style cabinet hinges are concealed hinges mounted inside the cabinet, so you usually do not see them when the door is closed. They are common on modern kitchen cabinets, bathroom vanities, laundry cabinets, and built-in storage because they offer clean looks and adjustable movement. Most versions include a hinge cup set into the back of the door, a hinge arm, and a mounting plate attached to the cabinet box or face frame.
Their biggest advantage is adjustability. Traditional hinges often require moving the entire hinge if the door is crooked. Euro hinges let you fine-tune the door after installation by turning adjustment screws. Depending on the model, you may be able to move the door left or right, up or down, and in or out from the cabinet face. Some soft-close Euro hinges also include a small switch or mechanism that controls closing speed.
Tools You Will Need
You usually need only a few basic items: a #2 Phillips screwdriver, a #2 Pozidriv screwdriver if your hinge screws are Pozidriv, painter’s tape, a pencil, a small level, a flashlight, and possibly a helper for large or heavy doors. Avoid using a drill for final adjustments. A drill can strip screw heads quickly, and then your “quick cabinet fix” becomes a tiny woodworking tragedy.
Before You Start: Diagnose the Cabinet Door Problem
Before turning screws, look carefully at the cabinet door. Open and close it slowly. Watch where it rubs, where the gaps are uneven, and whether the door sits proud of the cabinet face. The goal is not to randomly spin every screw while hoping for a miracle. The goal is to identify which adjustment you need.
If the gap between two doors is uneven from top to bottom, you likely need a side-to-side or overlay adjustment. If one door sits higher than the other, use the height adjustment. If the door sticks out, sits too far inward, or rubs when closing, the depth adjustment is probably the hero of the day. If the door slams or closes too slowly, check the soft-close setting.
Mark the Starting Point
Place a small piece of painter’s tape near the hinge and mark the current screw position with a pencil. This gives you a reference point if your first adjustment makes things worse. Cabinet adjustment is a lot like seasoning soup: you can always add a little more, but once you dump in the whole jar, everyone gets quiet at dinner.
1. Adjust the Side-to-Side Alignment
Side-to-side adjustment moves the cabinet door left or right. This is the adjustment you need when a pair of doors has a gap that is too wide, too narrow, or uneven. On many Euro style cabinet hinges, the front screw on the hinge arm controls this movement. Turning it moves the door edge closer to or farther from the neighboring door or cabinet side.
Start with the top hinge and turn the side adjustment screw only a quarter turn. Close the door and check the reveal, which is the visible gap around the door. If the top gap improves but the bottom still looks off, adjust the lower hinge in the same small increments. On double doors, adjust both doors gradually so the center gap stays even.
Example: Fixing a Door That Leans Right
Suppose the top of a cabinet door leans toward the door beside it, but the bottom gap looks normal. In that case, adjust the top hinge first. Move the top of the door slightly away from the neighboring door until the reveal becomes consistent. If the correction creates a new problem at the bottom, make a smaller adjustment on the lower hinge. Tiny turns are your friend here. Big turns are how cabinet doors develop trust issues.
Common Side Adjustment Mistake
The most common mistake is adjusting only one hinge too aggressively. A cabinet door is supported by all its hinges, so one hinge can affect the whole door angle. Work in small steps, close the door after each change, and check the results from eye level. If the cabinet run is long, step back several feet. A gap that looks perfect from six inches away may look suspicious from across the room.
2. Adjust the Door Height
Height adjustment moves the cabinet door up or down. Use it when one door sits higher than another, drawer fronts do not line up with doors, or the top reveal is uneven. On many Euro hinges, the height adjustment is controlled by screws on the mounting plate. Some hinges use slotted holes: you loosen the screws slightly, shift the door up or down, then retighten. Other hinges include a cam screw that raises or lowers the door more precisely.
To adjust height, support the cabinet door with one hand or ask someone to hold it steady. Slightly loosen the mounting plate screws on each hinge. Do not remove them. Shift the door up or down until it lines up with adjacent doors or drawer fronts. Tighten the screws firmly, then test the door. If the door slips after adjustment, the screws may not be tight enough, or the screw holes may be worn.
Use a Level, But Trust the Cabinet Layout
A level can help, but cabinet alignment is also visual. In older homes, floors and walls may not be perfectly level. If you make every door technically level but the rest of the kitchen is slightly out of square, the door may still look wrong. Align the door with the surrounding cabinet doors, drawer fronts, and reveals. The eye cares more about consistency than mathematical purity.
When the Door Keeps Dropping
If the cabinet door drops after you tighten the screws, inspect the mounting screws and holes. Loose screws, stripped holes, or damaged mounting plates can prevent the hinge from holding position. For a quick repair, you may need longer screws of the correct type, wood glue and toothpicks for small stripped holes, or hinge repair plates for badly worn cabinet material. Adjustment cannot fix hardware that is no longer gripping.
3. Adjust the Door Depth
Depth adjustment moves the door in or out from the cabinet face. This matters when the door does not sit flush, rubs against the cabinet frame, bumps into an adjacent door, or leaves a shadow line that makes the door look warped. On many Euro style concealed hinges, the rear screw or rear cam on the hinge arm controls depth.
Open the door and locate the screw closest to the back of the cabinet. Turn it slightly, then close the door and check whether the door sits more evenly. If the door is proud of the cabinet face on the hinge side, move it inward. If the door is recessed or scraping inside the cabinet, move it outward. Adjust both top and bottom hinges gradually so the entire door remains flat against the cabinet.
Depth Adjustment for Inset Doors
Inset cabinet doors are less forgiving than overlay doors because they sit inside the cabinet opening. A tiny depth problem can cause rubbing, sticking, or an uneven shadow around the door. When adjusting inset doors, move slowly and check the reveal on all four sides. Aim for a uniform gap and a door face that sits flush with the surrounding frame.
Depth Adjustment for Overlay Doors
Overlay cabinet doors sit on top of the cabinet opening, so depth problems usually show up as doors that do not close flat or doors that appear twisted. If one corner sticks out, adjust the hinge closest to that corner first. If the entire hinge side sits proud, adjust both hinges by the same small amount. Close the door gently after each turn. Slamming the door during adjustment tells you very little, except that you may need a snack break.
4. Adjust the Overlay and Door Gap
Overlay describes how much the cabinet door covers the cabinet opening or face frame. On frameless cabinets, overlay affects the reveal between doors and the cabinet sides. On face-frame cabinets, it affects how much of the frame is covered. Side adjustment and overlay adjustment often use the same screw or cam, depending on the hinge design.
If two doors meet in the center and the gap is too tight, adjust one or both doors outward slightly. If the gap is too wide, bring the doors closer together. For a clean professional look, keep the gap consistent from top to bottom. Many cabinetmakers aim for even reveals rather than obsessing over a specific measurement, especially when working with older cabinet boxes.
How to Adjust Double Cabinet Doors
For double doors, start by adjusting the door that looks most out of place. Then adjust the second door to match. Keep closing both doors together and checking the center gap. If the doors overlap, rub, or close unevenly, back off the adjustment slightly. A good reveal should look intentional, not like the doors are trying to win a wrestling match.
Check Door Bumpers
Sometimes the hinge is not the real problem. Missing or uneven rubber door bumpers can make one side of a door sit farther out than the other. Check the small bumpers on the inside corners of the door. If one is missing, replace it before making major hinge changes. A ten-cent bumper can save you thirty minutes of unnecessary screwdriver philosophy.
5. Adjust Soft-Close Action and Final Tension
Many modern Euro style cabinet hinges include soft-close technology. Some hinges have a small switch on the hinge cup or hinge arm that lets you increase, decrease, or turn off the soft-close action. This is especially useful for small lightweight doors that close too slowly or large heavy doors that still close with too much force.
Open the door and look for a small slider or switch on the hinge. Test one setting at a time. If the door is small, one active soft-close hinge may be enough. If the door is large or heavy, you may need soft-close engaged on two or more hinges. After changing the setting, open the door fully and let it close naturally. Do not push it shut; let the hinge show you what it wants to do.
When Soft-Close Does Not Work
If the soft-close feature does not engage, first confirm that the door is aligned correctly. A badly misaligned door may rub or bind before the soft-close mechanism can work. Also check whether the soft-close switch is turned off. If the hinge is damaged, leaking damping fluid, or physically bent, replacement is usually more practical than repair.
Final Tightening
Once the door looks straight, tighten all mounting screws by hand. Do not overtighten, especially in particleboard or MDF cabinet boxes. Snug is good. Stripped is sad. Open and close the door several times, then recheck the gaps. Cabinet doors can shift slightly after the first few cycles, so a final tiny adjustment may be needed.
Quick Troubleshooting Guide
The Door Rubs at the Top
Lower the door slightly using the height adjustment, or move the top hinge side-to-side if the rub happens near one corner. Check whether the cabinet box is square before making extreme changes.
The Door Rubs at the Bottom
Raise the door slightly or adjust the lower hinge inward or outward. If the door is sagging, tighten the mounting screws and inspect the hinge cup screws on the back of the door.
The Door Sticks Out on One Corner
Use the depth adjustment on the hinge closest to the proud corner. Move slowly until the door sits flush with the cabinet face.
The Gap Between Two Doors Is Uneven
Use the side-to-side adjustment. Adjust the top hinge if the upper gap is wrong, the bottom hinge if the lower gap is wrong, or both if the whole door needs to move.
The Door Will Not Stay Aligned
Check for loose screws, stripped holes, cracked hinge cups, bent hinge arms, or damaged mounting plates. If the hardware is worn out, adjustment will only provide a temporary fix.
Pro Tips for Better Cabinet Door Alignment
Work on one door at a time. It is tempting to adjust every crooked cabinet door in one heroic burst, but that can create confusion. Start with the most visible door, fix it, then use it as your reference for the next door.
Make quarter-turn adjustments. Euro hinges are precise, and small movements can make a noticeable difference. If you turn a screw three full rotations and the door suddenly looks worse, you may not remember where you started. That is when painter’s tape becomes your best friend.
Use the right screwdriver. Many Euro hinges look like they take a Phillips screwdriver, but some are designed for Pozidriv screws. A Pozidriv driver fits better and reduces slipping. If the screwdriver keeps camming out, stop and check the screw type before damaging the head.
Adjust after the cabinets are loaded. Cabinet boxes can shift slightly once shelves are full of dishes, cookware, or that one mysterious appliance nobody has used since 2018. If you installed new hinges or doors, do a final adjustment after the cabinets are in normal use.
When Should You Replace Euro Style Hinges?
Adjustment solves alignment problems, but it cannot fix every hinge issue. Replace the hinge if the arm is bent, the cup is loose and will not tighten, the soft-close mechanism has failed, the mounting plate is cracked, or the door keeps sagging despite repaired screw holes. Also consider replacement if your old hinges do not offer enough adjustment range for your cabinet layout.
When buying replacements, match the hinge type carefully. Important details include overlay amount, opening angle, cabinet style, cup diameter, cup depth, screw pattern, and whether the hinge is for face-frame or frameless cabinets. Most Euro hinges use a 35mm cup, but that does not mean every 35mm hinge is interchangeable. Cabinet hardware likes details. Ignore them and it gets dramatic.
Experience Notes: What Adjusting Euro Hinges Is Really Like
The first time you adjust Euro style cabinet hinges, the process can feel more mysterious than it actually is. You open the cabinet door, see a small mechanical sculpture with several screws, and immediately wonder which screw unlocks the portal to regret. In real life, most adjustments become simple once you understand what each screw does. The front screw usually handles side-to-side movement or overlay. The rear screw usually handles depth. The mounting plate screws usually handle height. After that, the job becomes a cycle of turn, close, look, and repeat.
One practical lesson is that cabinet doors rarely need a huge adjustment. A quarter turn can change the reveal enough to make a visible difference. This is why patience matters. When someone turns the screw too far, the door may swing from “slightly crooked” to “abstract modern art.” The better approach is to adjust slowly and keep checking the door in the closed position. The closed position is what matters because that is what everyone sees when they walk into the kitchen.
Another real-world lesson is that one door can affect how the entire cabinet run looks. On a row of upper cabinets, a single low door makes the neighboring doors look wrong even if they are technically fine. Start with the door that is most obviously out of alignment, then compare it with the doors beside it. Sometimes the best-looking result comes from balancing several doors rather than making one door perfect in isolation.
Lighting also matters more than most people expect. Under-cabinet lights, window glare, and shadows can exaggerate uneven gaps. A reveal may look terrible from one angle and perfectly acceptable from another. Step back, look straight on, and check the door from normal standing height. You are adjusting a kitchen, not building a spacecraftunless your spice cabinet has a launch sequence, in which case congratulations.
Loose screws are another common surprise. Many people keep adjusting the hinge when the real problem is that the screws are not holding firmly. If the door improves for a day and then sags again, inspect the screw holes. Particleboard and MDF can wear out around hinge screws, especially on heavily used doors near trash pullouts, sink cabinets, or snack zones. Repairing the holes or replacing the mounting plate may be necessary before hinge adjustment will last.
Soft-close hinges add one more layer of fine-tuning. A small door may feel sluggish if every hinge has soft-close fully engaged, while a heavy pantry door may need more damping to close gently. Testing the door after each switch change is the easiest way to find the right setting. The perfect close should feel controlled, smooth, and quietnot like the door is sneaking shut in slow motion for dramatic effect.
The most satisfying part of the job is how quickly the kitchen can look better. Straight cabinet doors make the whole room feel cleaner and more expensive, even if all you did was spend fifteen focused minutes with a screwdriver. Once you learn how to adjust Euro style cabinet hinges, you start noticing crooked doors everywhere. This is both a useful skill and a minor curse. You may visit a friend’s house and silently think, “That upper cabinet needs a half-turn on the top hinge.” Keep this power humble.
Conclusion
Learning how to adjust Euro style cabinet hinges is one of the most useful small DIY skills for keeping cabinets looking sharp. Most crooked, rubbing, or uneven cabinet doors can be fixed with five simple adjustments: side-to-side alignment, height, depth, overlay, and soft-close tuning. The secret is to diagnose the problem first, make small turns, check the door after each adjustment, and tighten everything once the reveal looks even.
Euro hinges may look complicated, but they are designed to be adjusted. With the right screwdriver and a little patience, you can turn a messy cabinet gap into a clean, professional-looking reveal. Your cabinets will look better, your doors will close more smoothly, and you can enjoy the quiet satisfaction of fixing something without buying a whole new kitchen. That is a win for your home, your wallet, and your inner cabinet perfectionist.
Note: Hinge designs vary by brand and model. Use this guide for common Euro style concealed hinges, but check the manufacturer’s instructions for exact screw locations, adjustment ranges, and tool requirements.