Dated kitchen cabinets have a special talent: they can make a perfectly decent kitchen look like it is still waiting for dial-up internet. The good news? You do not need to demolish your kitchen, drain your savings, or start whispering inspirational quotes to a sledgehammer. With the right cosmetic upgrades, old cabinets can look polished, intentional, and surprisingly high-end.
The secret is not one giant renovation move. It is a group of smart, layered improvements: a smooth paint finish, better hardware, added architectural detail, cleaner lighting, and a little styling discipline. These five tricks work because they target the details people notice first when they walk into a kitchen. Cabinets take up a huge amount of visual space, so when they look better, the whole room gets promoted from “before photo” to “wait, did you remodel?”
Why Dated Cabinets Make a Kitchen Feel Less Expensive
Kitchen cabinets are not background players. They are the main characters with storage responsibilities. If the finish is orange, the doors are flat and tired, the hardware is tiny and shiny in the wrong way, or the upper cabinets stop awkwardly below the ceiling, the kitchen can feel older than it really is.
Expensive-looking kitchens usually share a few qualities: clean lines, balanced color, solid proportions, good lighting, and finishes that feel intentional. That does not mean everything has to be custom. It means every visible choice should look like someone made it on purpose, not like the kitchen was assembled during a 1998 clearance sale and then abandoned emotionally.
Before you start, check the condition of your cabinets. If the boxes are sturdy, the layout works, and there is no major water damage or warping, updating them is often smarter than replacing them. A dated surface can be rescued. A cabinet that is collapsing like a bad folding chair cannot.
Trick 1: Paint Cabinets Like You Mean It
Paint is the fastest way to make dated kitchen cabinets look expensive, but only if the finish looks smooth and durable. A rushed cabinet paint job is easy to spot. Brush marks, sticky doors, chipped corners, and painted-over hinges can make cabinets look cheaper than before. The goal is not simply to change the color; the goal is to create a finish that looks professionally planned.
Choose a Color That Looks Designed, Not Desperate
Classic cabinet colors still work because they give the kitchen a calm, expensive-looking base. Soft white, warm cream, mushroom taupe, deep navy, muted green, charcoal, and natural wood-inspired tones can all look elevated. If your kitchen has busy countertops or a bold backsplash, choose a cabinet color that calms everything down. If the rest of the kitchen is plain, a deeper cabinet color can add drama without requiring a full remodel.
Avoid choosing a color only because it is trending. Cabinets are too large and too annoying to repaint every time the internet changes its mind. Test paint samples on the actual cabinet doors and look at them in morning, afternoon, and evening light. A color that looks rich in the store can look oddly gray, green, yellow, or gloomy in your kitchen.
Prep Is the Difference Between Luxe and “Oops”
The best-looking cabinet paint projects start with cleaning, labeling, sanding or scuffing, filling holes, priming, and applying thin coats. Remove the doors, drawers, hinges, and hardware before painting. Label everything so you do not end up playing cabinet-door Sudoku at midnight. Degrease every surface because kitchens collect invisible cooking film, and paint does not bond beautifully to old olive oil fumes.
Use a high-quality primer and cabinet-grade paint. Thin, even coats usually look better than one thick coat that seems emotionally unstable. Let the paint cure properly before reinstalling hardware or aggressively wiping surfaces. Cabinets take daily abuse, so patience is not optional. It is the tiny unpaid employee making your kitchen look expensive.
Trick 2: Upgrade the Hardware Like It Is Jewelry
Cabinet hardware is one of the easiest ways to update old kitchen cabinets without replacing them. Think of knobs and pulls as the jewelry of the kitchen. The wrong hardware can make fresh paint look unfinished, while the right hardware can make basic cabinets look custom.
Go Larger for a More Custom Look
Tiny knobs can make large cabinet doors look underdressed. Longer pulls, substantial knobs, latches, or a mix of knobs and pulls can add scale and sophistication. For drawers, consider pulls that feel proportional to the drawer width. Oversized hardware often reads more designer than builder-basic, especially on plain slab doors or simple Shaker-style fronts.
Finishes matter too. Brushed brass, polished nickel, bronze, matte black, chrome, and mixed-metal combinations can all look expensive when they coordinate with the rest of the kitchen. The trick is consistency. If your faucet, light fixtures, and cabinet hardware are all shouting in different metallic accents, the kitchen may feel less curated and more like a hardware store group project.
Use a Template for Perfect Placement
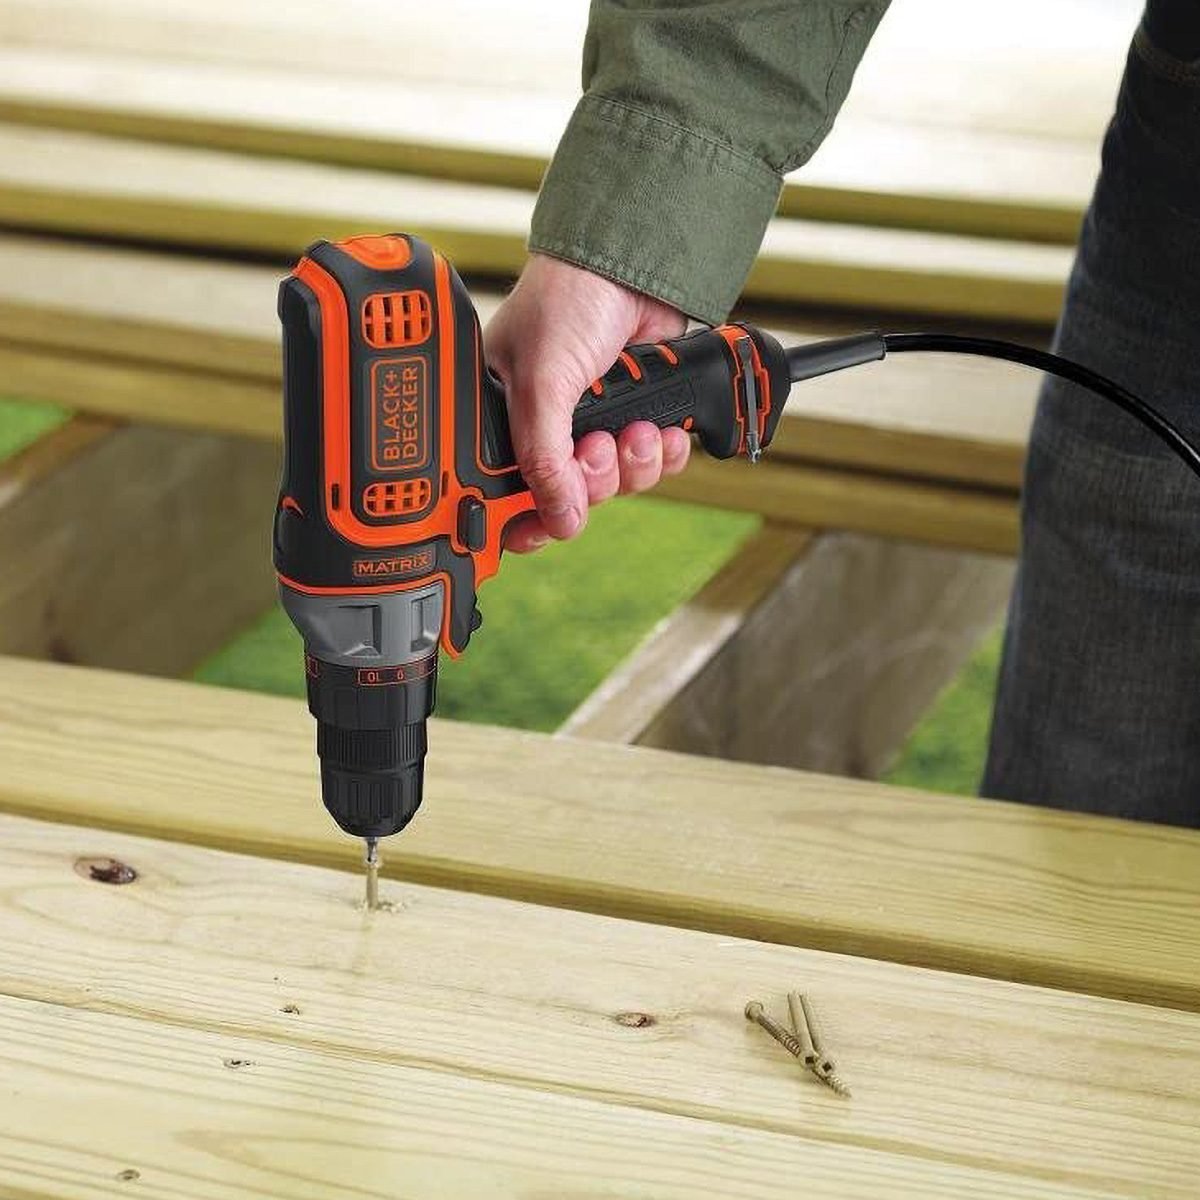
Crooked hardware is the fastest way to make nice cabinets look suspicious. Use a cabinet hardware jig or mounting template when drilling new holes. Measure carefully, especially if you are replacing knobs with pulls. If old holes will show, fill and sand them before painting. This small step creates the clean, tailored look associated with higher-end cabinetry.
Also consider replacing visible old hinges if they clash with the new finish. If your doors slam, soft-close hinges or dampers can add a subtle luxury feeling. Nobody walks into a kitchen and says, “Ah yes, the dampers!” But they do notice when doors close quietly instead of announcing themselves like cymbals in a marching band.
Trick 3: Add Molding, Trim, or Panels for Built-In Character
One reason custom cabinets look expensive is that they have depth and architectural detail. Builder-grade cabinets often look flat because they are flat. Adding molding, trim, end panels, or crown detail can make basic cabinets look more substantial.
Close the Awkward Gap Above Cabinets
If your upper cabinets stop short of the ceiling, that open gap can collect dust and visually shrink the room. Adding crown molding, a cabinet topper, or a simple painted soffit effect can make the cabinets look taller and more intentional. This is especially effective when the trim is painted the same color as the cabinets, creating one continuous built-in look.
For a budget-friendly version, install simple crown molding or stacked trim along the top edge. The profile does not need to be ornate. In fact, clean trim often looks more modern and expensive than overly fussy molding. The goal is to make the cabinets look like part of the architecture, not like boxes attached to the wall as an afterthought.
Dress Up Plain Door Fronts
Flat cabinet doors can be improved with thin trim applied in a simple frame pattern. This creates the effect of Shaker-style doors without buying all-new fronts. Side panels can also be upgraded with faux panels or molding so the exposed ends of cabinets look finished.
Keep proportions in mind. Trim that is too thick can look clunky, while trim that is too delicate may disappear. Use painter’s tape to mock up the design before attaching anything. It is cheaper to move tape than to remove glued trim while muttering words your grandmother would not approve of.
Trick 4: Use Lighting to Make Cabinets Look More Polished
Lighting can make inexpensive cabinets look better and expensive cabinets look worse. Harsh overhead lighting exaggerates flaws, creates shadows, and makes old finishes look flatter. Better lighting adds depth, warmth, and a showroom-like glow.
Install Under-Cabinet Lighting
Under-cabinet lighting is one of the most practical upgrades for dated kitchen cabinets. It brightens countertops, makes food prep easier, and gives the kitchen a more layered look. LED light bars, tape lights, and puck lights can all work depending on your layout and budget.
Choose a warm or neutral color temperature rather than a blue-white light that makes the kitchen feel like a dentist’s office. Hide cords when possible. Visible wires dangling under cabinets can ruin the expensive effect faster than you can say, “It was on sale.”
Coordinate Lighting With Hardware
If you are replacing cabinet hardware, look at your light fixtures too. A pendant light, semi-flush mount, or small chandelier in a finish that relates to the hardware can make the whole room feel pulled together. You do not need everything to match perfectly, but the finishes should look like they are having a polite conversation.
Good lighting also helps paint colors look richer. Deep green cabinets, warm white cabinets, or natural wood tones all benefit from layered light. When the cabinets are properly lit, the eye reads them as a design feature instead of a storage necessity with doors.
Trick 5: Style the Surrounding Details So the Cabinets Look Intentional
Even beautifully updated cabinets can look less expensive if the surrounding details are chaotic. The countertop clutter, backsplash, wall color, open shelves, rug, and small appliances all affect how cabinets are perceived. This is where many budget makeovers either win big or quietly trip over a toaster.
Reduce Visual Clutter
Expensive-looking kitchens usually have breathing room. Clear off the counters as much as possible. Store mismatched mugs, random mail, and that one mystery charger that lives near the coffee maker. Keep out only the attractive daily-use items: a wood cutting board, a ceramic utensil crock, a fruit bowl, a small plant, or a good-looking coffee setup.
If you remove a few cabinet doors to create open shelving, style those shelves carefully. Use matching dishes, glassware, cookbooks, baskets, or a few decorative pieces. Open shelving should look edited, not like your cabinets gave up and exposed their diary.
Make the Backsplash and Walls Support the Cabinets
Sometimes dated cabinets look worse because the wall color or backsplash fights them. A clean backsplash, warm neutral wall color, or simple tile can make refreshed cabinets look more expensive. If a full backsplash replacement is not in the budget, consider cleaning grout, using peel-and-stick tile temporarily, or painting the surrounding walls in a color that complements the cabinets.
For oak or warm wood cabinets, cool wall colors can balance orange undertones, while creamy whites, earthy greens, and soft taupes can create a calmer look. For painted cabinets, repeat the cabinet color subtly in accessories or textiles so the kitchen feels designed from corner to corner.
Bonus Ideas That Make Old Cabinets Feel Newer
If your budget allows, consider refacing the cabinets instead of replacing them. Refacing keeps the cabinet boxes but changes the doors, drawer fronts, veneer, hinges, and hardware. It can create a dramatically new appearance while preserving the existing layout.
Glass-front doors are another option for a few upper cabinets. They lighten the look and break up a wall of solid doors. Use them only where you can keep the contents tidy. Glass doors are charming until they reveal a leaning tower of plastic cups from three different decades.
Interior upgrades also matter. Drawer dividers, pull-out shelves, lazy Susans, and hidden trash systems do not always show in photos, but they make the kitchen feel more expensive to use. A kitchen that functions well automatically feels more luxurious, even when the makeover budget was modest.
Common Mistakes to Avoid
Painting Over Hardware
Do not paint over hinges, knobs, or pulls. It looks messy and can interfere with how the hardware works. Remove hardware first, then reinstall it or replace it after the paint cures.
Skipping Cleaning and Sanding
Cabinets collect grease, steam, and fingerprints. Paint needs a clean, slightly scuffed surface to adhere well. Skipping prep is like putting a designer suit over pajamas and hoping nobody notices.
Choosing Trendy Finishes Without Considering the Room
Black cabinets, brass pulls, or bold green paint can look beautiful, but only when they work with the countertops, floor, lighting, and overall style of the home. Always design the cabinet update as part of the whole kitchen.
Ignoring Proportions
Hardware that is too small, molding that is too chunky, or trim that does not line up can make the project look amateur. Measure carefully and test layouts before committing.
Real-Life Experience: What Actually Makes Cabinets Look Expensive
The most successful cabinet updates usually begin with restraint. It is tempting to fix everything at once: paint the cabinets, change the hardware, add lights, replace the backsplash, buy new stools, adopt a new personality, and suddenly become a person who labels pantry jars. But expensive-looking kitchens rarely feel frantic. They feel edited.
In many dated kitchens, the cabinets are not the only problem. They are simply the biggest visible problem. Once the cabinets are painted or cleaned up, other issues become clearer: a too-cool wall color, a dated light fixture, cluttered counters, or hardware that no longer suits the new finish. That is why the best approach is layered. Start with the cabinet surface, then improve the details around it.
For example, imagine a kitchen with honey oak cabinets, beige counters, and small brass knobs from another era. Painting the cabinets warm white might help, but the kitchen could still feel unfinished if the old knobs stay in place. Add brushed nickel or aged brass pulls, install warm under-cabinet lighting, and style the counter with a wood cutting board and a simple ceramic bowl. Suddenly, the same kitchen feels brighter, calmer, and more deliberate.
Another common scenario is the plain rental kitchen. Maybe painting is not allowed. In that case, hardware, lighting, removable wallpaper inside glass-front or open cabinets, and better styling can still make a huge difference. Swapping knobs for better ones is often reversible. Plug-in under-cabinet lights can add polish without electrical work. A washable runner can soften the floor. A few attractive storage pieces can hide the visual chaos of everyday life.
The detail that people underestimate most is alignment. Straight hardware, evenly spaced trim, clean caulk lines, and smooth paint edges make a cabinet project look expensive. These are not glamorous steps, but they are the difference between “custom-looking” and “I did this during a thunderstorm with one screwdriver.”
The second underestimated detail is sheen. A satin or semi-gloss cabinet finish often looks polished and is easier to clean, but too much shine can highlight flaws. Matte finishes can look modern, but they may show grease and fingerprints depending on the paint quality. The best choice depends on how heavily the kitchen is used. Families, frequent cooks, and snack enthusiasts with questionable aim should prioritize durability.
Finally, expensive-looking cabinets are not always the most dramatic cabinets. Sometimes the winning move is quiet: a soft neutral paint color, clean pulls, repaired hinges, and better light. When every element works together, the cabinets stop screaming “update me” and start behaving like they belong in the room. That is the real trick. Luxury is not always about spending more; sometimes it is about making fewer, better decisions.
Conclusion
You do not need a full kitchen remodel to make dated kitchen cabinets look expensive. A careful paint job, upgraded hardware, added trim, improved lighting, and thoughtful styling can completely change how the room feels. The best cabinet makeovers are not just cosmetic; they create the impression of quality, order, and intention.
Start with the biggest visual problem, then work through the details. Clean the cabinets, choose a timeless color, install hardware with precision, add architectural interest where the cabinets look flat, and use lighting to highlight the final result. With patience and a few smart upgrades, your old cabinets can look less “dated kitchen” and more “designer knew exactly what they were doing.”
Note: This article is written for web publishing in standard American English and is based on real cabinet-refresh practices from reputable U.S. home improvement and interior design sources.