Turning an MP3 into an M4R ringtone on Windows 10 sounds like one of those tiny tech chores that should take twelve seconds but somehow turns into a detective story, a file extension mystery, and a brief emotional negotiation with your computer. The good news: it is not difficult once you understand what your iPhone actually wants.
An MP3 is a common audio file. An M4R is the ringtone file format used by iPhones. In simple terms, an M4R file is usually an AAC audio file packaged for ringtone use, often created by converting the audio to M4A first and then changing the extension to .m4r. The important part is not just the name at the end of the file; the audio should be encoded properly, trimmed to a ringtone-friendly length, and transferred to your iPhone in a way iOS recognizes.
This guide explains 4 easy ways to convert MP3 to M4R on Windows 10, including methods with iTunes, Audacity, VLC, and online converters. We will also cover common mistakes, quality tips, and real-world experience so you do not end up with a ringtone that sounds like it was recorded inside a soup can.
What Is an M4R File?
An M4R file is the file format commonly associated with iPhone ringtones. It is closely related to the M4A format, but the .m4r extension tells Apple devices, “Hello, I am not a regular song. I am here to interrupt dinner.”
Most iPhone ringtone workflows follow this basic pattern:
- Choose an MP3 file.
- Trim the audio to around 30 seconds or less.
- Convert it to AAC/M4A format.
- Rename the file extension from .m4a to .m4r.
- Transfer the ringtone to your iPhone.
Before starting, make sure you have the legal right to use the audio file. Personal recordings, royalty-free clips, original music, or properly licensed audio are the safest choices. Using copyrighted music without permission may create legal issues, and nobody wants their ringtone journey to become a courtroom subplot.
Before You Convert: Prepare Your MP3 File
Keep It Short
For best results, trim your MP3 to about 30 seconds or less. iPhones are picky about ringtone length. A short, clean clip works better than trying to use a full three-minute song. Also, nobody needs your phone to perform the entire guitar solo before you answer.
Choose the Best Part of the Audio
Pick the most recognizable section of the sound. For a song, that may be the chorus or hook. For a voice recording, it might be a funny phrase. For a sound effect, choose the part with the clearest start and ending.
Turn On File Extensions in Windows 10
This step is extremely important. Windows often hides file extensions by default, which can make renaming files confusing. To show extensions:
- Open File Explorer.
- Click the View tab.
- Check the box labeled File name extensions.
Now you can clearly see whether a file ends in .mp3, .m4a, or .m4r. This prevents the classic mistake of creating a file named ringtone.m4r.m4a, which is basically a digital identity crisis.
Method 1: Convert MP3 to M4R on Windows 10 Using iTunes
iTunes remains one of the most familiar ways to create iPhone ringtones on Windows 10. Although Apple now promotes newer Windows apps for music and device management, many Windows 10 users still use iTunes for ringtone creation and syncing.
Best For
This method is best for users who already have iTunes installed and want a free, offline way to make an iPhone ringtone from an MP3.
Steps to Convert MP3 to M4R with iTunes
- Open iTunes on your Windows 10 PC.
- Import your MP3 file by clicking File > Add File to Library.
- Right-click the song and choose Song Info.
- Go to the Options tab.
- Set a start and stop time, keeping the clip around 30 seconds or less.
- Click OK.
- Select the song, then choose File > Convert > Create AAC Version.
- Right-click the new short AAC version and choose Show in Windows Explorer.
- Rename the file extension from .m4a to .m4r.
- Connect your iPhone and transfer the ringtone using the available tones or device-sync option.
Important Tip
After creating the ringtone, go back to the original MP3 in iTunes and remove the start and stop time settings. Otherwise, the next time you play the song, it may only play that short clip. That surprise is funny once. Maybe.
Pros and Cons
The biggest advantage of iTunes is that it is free and does not require uploading your audio to a website. The downside is that the interface can feel old-fashioned, especially if you only wanted a ringtone and somehow ended up reading menus like an ancient treasure map.
Method 2: Convert MP3 to M4R Using Audacity
Audacity is a free, open-source audio editor that works well on Windows 10. It is especially useful if you want more control over trimming, fading, volume, and sound quality before creating your M4R ringtone.
Best For
This method is ideal for users who want to edit the ringtone carefully, remove silence, add fade-in or fade-out effects, normalize the volume, or clean up a messy audio clip.
Steps to Convert MP3 to M4R with Audacity
- Install Audacity on your Windows 10 computer.
- Install the optional FFmpeg library if your Audacity version needs it for exporting AAC/M4A files.
- Open Audacity and import your MP3 file.
- Select the best part of the audio, ideally 30 seconds or shorter.
- Use Trim Audio to remove the rest.
- Optional: Add Fade In and Fade Out for a smoother ringtone.
- Export the clip as an M4A/AAC file.
- Open the exported file location in File Explorer.
- Rename the extension from .m4a to .m4r.
- Transfer the finished ringtone to your iPhone.
Why Audacity Is Great for Ringtones
Audacity gives you visual control over the waveform, which makes it easier to find the exact moment where your ringtone should begin and end. You can remove awkward silence at the start, reduce overly loud sections, or make the ending fade out instead of stopping like someone unplugged the universe.
Suggested Export Settings
For most ringtones, a bitrate between 128 kbps and 256 kbps is enough. A ringtone does not need studio-level quality because it plays through a phone speaker, not a movie theater sound system. Keep the file small, clear, and punchy.
Method 3: Convert MP3 to M4R Using VLC Media Player
VLC Media Player is famous for playing almost every media file you throw at it. But VLC can also convert audio files, making it a practical option for people who already have it installed on Windows 10.
Best For
This method is best for users who want a lightweight desktop option and do not need advanced editing tools.
Steps to Convert MP3 with VLC
- Open VLC Media Player.
- Click Media > Convert / Save.
- Click Add and choose your MP3 file.
- Click Convert / Save.
- Choose an AAC-compatible audio profile if available.
- Select a destination file name ending in .m4a.
- Click Start to convert the file.
- After conversion, rename .m4a to .m4r.
One Thing to Watch Out For
VLC is excellent for conversion, but it is not as comfortable as Audacity for precise trimming. If your MP3 is already cut to the correct length, VLC works nicely. If you still need to edit the exact ringtone section, trim the MP3 first using an audio editor.
Pros and Cons
VLC is free, fast, and reliable. However, its conversion settings can feel less beginner-friendly than dedicated ringtone tools. It is a bit like using a Swiss Army knife: very useful, slightly intimidating, and somehow always hiding the exact blade you need.
Method 4: Convert MP3 to M4R Using an Online Converter
Online converters are the fastest way to convert MP3 to M4R on Windows 10 when you do not want to install software. Popular web-based tools often support direct MP3-to-M4R conversion or MP3-to-M4A conversion followed by renaming.
Best For
This method is best for quick, simple ringtones when the audio is not private, sensitive, or extremely large.
Steps to Convert MP3 to M4R Online
- Open a trusted online audio converter in your browser.
- Upload your MP3 file.
- Select M4R as the output format if available.
- If M4R is not available, choose M4A/AAC, then rename the downloaded file to .m4r.
- Start the conversion.
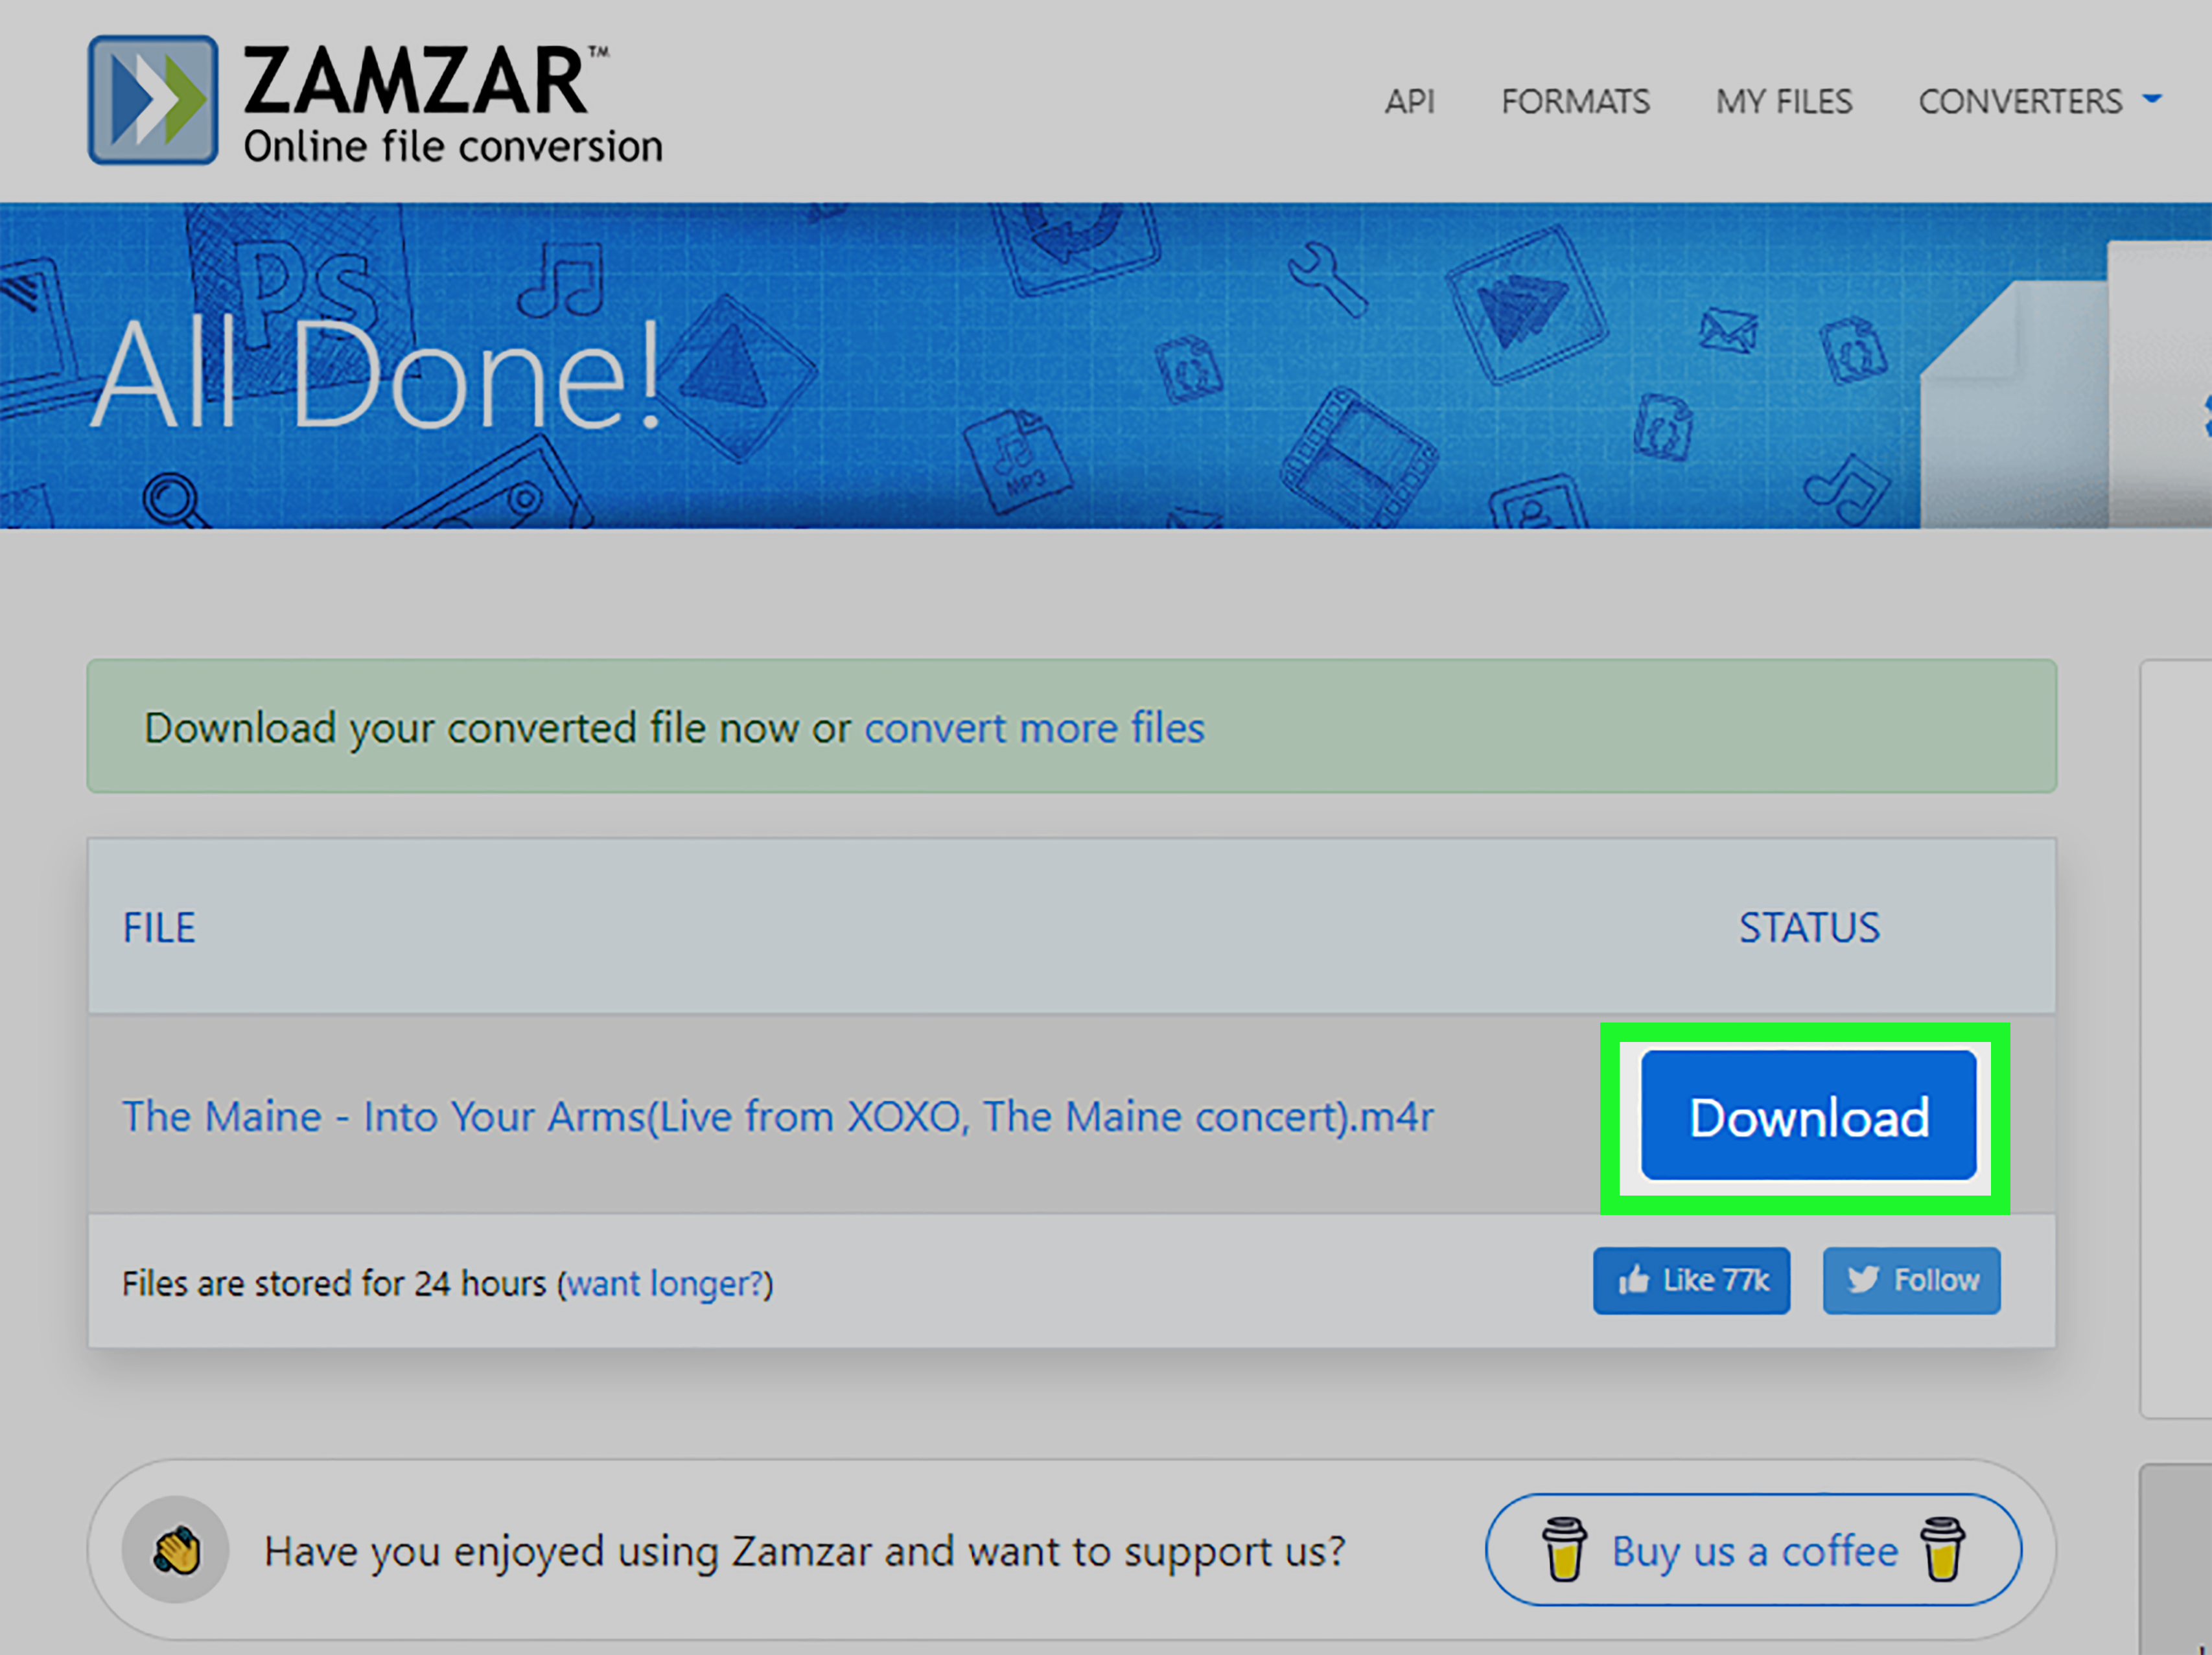
- Download the finished file.
- Transfer it to your iPhone.
Privacy Reminder
Do not upload private voice recordings, confidential audio, or anything personal to a random converter website. For sensitive files, use offline software like Audacity, iTunes, or FFmpeg instead. The internet is useful, but it does not need to hear your cousin’s birthday message from 2017.
Pros and Cons
Online converters are convenient because they work directly in your browser. The downside is that they may have file-size limits, slower upload times, ads, or privacy concerns. They are perfect for quick jobs, but less ideal for serious audio editing.
How to Transfer an M4R Ringtone to Your iPhone
After creating the M4R file, the next step is getting it onto your iPhone. Depending on your setup, you may use iTunes, Apple Devices for Windows, or another Apple-supported transfer workflow.
Once the ringtone is transferred, check your iPhone by going to:
Settings > Sounds & Haptics > Ringtone
Your custom ringtone should appear in the ringtone list. If it does not show up, check the file length, file extension, and whether the audio was actually converted to AAC before being renamed to M4R.
Common Problems When Converting MP3 to M4R
The File Is Still Not Recognized
If your iPhone does not recognize the ringtone, the file may only have been renamed instead of properly converted. Changing .mp3 directly to .m4r usually does not work because the audio encoding is still MP3. Convert it to AAC/M4A first, then rename it.
The Ringtone Is Too Long
Keep the ringtone around 30 seconds or shorter. Longer files may fail to transfer or may not appear correctly on your iPhone.
The File Name Looks Wrong
Make sure Windows is showing file extensions. If extensions are hidden, you may accidentally create something like myringtone.m4r.m4a. That file will not behave like a proper ringtone.
The Volume Is Too Low
Use Audacity to normalize or amplify the clip slightly. Be careful not to overdo it, or the ringtone may sound distorted. Loud is good. Crunchy robot noise is not.
Which Method Should You Choose?
If you want the most Apple-friendly process, use iTunes. If you want the best editing control, use Audacity. If you want a simple desktop converter, use VLC. If you want the quickest no-install option, use an online converter.
For most Windows 10 users, the best overall workflow is:
- Edit and trim the MP3 in Audacity.
- Export as M4A/AAC.
- Rename to M4R.
- Transfer to iPhone.
This gives you better control over the final sound and avoids many common ringtone problems.
Extra Experience: What I Learned While Converting MP3 to M4R on Windows 10
After testing and comparing ringtone workflows, one lesson becomes obvious very quickly: the conversion itself is rarely the hard part. The real trouble usually comes from small details, especially file extensions, clip length, and transfer method. Windows 10 and iPhone can work together just fine, but they do not always speak the same language politely.
The first practical experience is that renaming alone is not conversion. Many beginners try to rename song.mp3 to song.m4r and expect the iPhone to accept it. That is like putting a tuxedo on a sandwich and calling it a wedding guest. The file extension changed, but the audio format did not. A proper M4R ringtone should usually begin as an AAC/M4A file before the extension becomes M4R.
The second experience is that trimming matters more than people expect. A ringtone should start quickly. If your clip begins with two seconds of silence, you may miss the most important part before you even realize your phone is ringing. The best ringtones start with a clear beat, phrase, tone, or sound effect. For music clips, the chorus usually works better than the intro. For voice clips, remove breathing space and background noise. Your ringtone should arrive like a confident guest, not like someone slowly entering a room while apologizing to furniture.
The third experience is that Audacity is often worth the extra step. Online converters are faster, but Audacity lets you see the waveform, adjust volume, remove silence, and create smoother endings. A short fade-out can make a ringtone feel polished instead of abruptly chopped. Even a half-second fade can prevent that awkward “cut off mid-note” feeling.
The fourth experience is to test the ringtone before transferring it. Play the M4A version on your PC first. Make sure the timing, volume, and audio quality are right. If it sounds bad on your computer, it will not magically become beautiful on your iPhone. Phones are smart, but they are not tiny audio wizards.
The fifth experience is that file organization saves time. Create a folder named something simple like iPhone Ringtones. Keep the original MP3, edited M4A, and final M4R in that folder. This prevents confusion later, especially if you create multiple ringtones. Otherwise, your Downloads folder may become a haunted forest of files named final, final2, and final-real-this-time.
The sixth experience is to avoid over-compressing the audio. A ringtone does not need enormous file size, but extremely low bitrate can make it sound thin or harsh. A balanced AAC export around 128 kbps to 256 kbps is usually enough. For voice clips, clarity matters more than bass. For music, avoid distortion by keeping volume strong but not overloaded.
The seventh experience is that offline tools are better for personal audio. If the MP3 contains a private voice message, school project, business recording, or family audio, do not upload it to a random online converter. Use Audacity, VLC, or iTunes instead. Convenience is nice, but privacy is nicer.
Finally, the best ringtone is not always the loudest or funniest one. Choose something you will not hate after hearing it 47 times in one week. A clever ringtone is fun. A ringtone that makes everyone in the room stare at you during a quiet moment? Less fun. Convert carefully, test it, and choose a sound that makes your phone feel personal without turning every incoming call into a public performance.
Conclusion
Converting MP3 to M4R on Windows 10 is easy once you understand the correct workflow. The key is to trim your MP3, convert it to AAC/M4A, rename it to M4R, and transfer it properly to your iPhone. iTunes is a classic Apple-friendly option, Audacity gives you the best editing control, VLC works well for simple desktop conversion, and online converters are useful when speed matters most.
For the cleanest result, use a short audio clip, keep file extensions visible, avoid direct MP3-to-M4R renaming without conversion, and test your ringtone before sending it to your iPhone. With the right method, your custom ringtone can sound crisp, personal, and far better than the default tone everyone has heard since the dawn of smartphones.
Note: This article was written from current, real-world information about Windows 10 file handling, iPhone ringtone behavior, AAC/M4A conversion, Audacity, VLC, iTunes, FFmpeg-based exporting, and reputable online converter workflows. Always use audio you own, created, or have permission to use.