Note: This article is written for complete beginners who want simple, practical, low-stress hairstyles they can actually do at home without needing a salon chair, a professional kit, or the patience of a saint.
Learning how to do basic hair can feel weirdly intimidating. One minute you are watching a thirty-second tutorial, and the next minute the person on screen has created a glossy red-carpet bun using only two pins, one elastic, and what appears to be actual wizardry. Meanwhile, your ponytail has bumps, your braid looks like a confused rope, and your bun has entered its “abstract sculpture” era.
Good news: beginner hair styling does not have to be dramatic. You do not need to master French braids, curling irons, teasing combs, extensions, or twelve kinds of hairspray before you can look put together. In fact, the best place to start is with three classic beginner hairstyles: a basic ponytail, a simple three-strand braid, and an easy low bun. These styles work for school, work, errands, casual events, video calls, and those mornings when your hair says, “I have chosen chaos.”
This guide breaks down 3 simple ways to do a basic hair for complete beginners using clear steps, easy tools, and realistic advice. The goal is not perfection. The goal is control, comfort, and confidence. Once you can do these three beginner hairstyles, you can build dozens of variations from them: high ponytails, braided ponytails, half-up styles, messy buns, polished buns, side braids, and more.
Before You Start: The Beginner Hair Styling Checklist
Before we jump into the three simple styles, let’s talk preparation. Most beginner hair problems happen before the styling even begins. If your hair is tangled, soaking wet, overloaded with product, or pulled too tightly, even the easiest hairstyle becomes a tiny personal battle.
Basic tools you need
You do not need a drawer full of salon tools. Start with the basics: a wide-tooth comb, a brush suitable for your hair type, two or three soft hair ties, a few bobby pins, a small claw clip if you like, and optional styling cream, leave-in conditioner, dry shampoo, or light hairspray. A mirror is helpful. Two mirrors are even better if you are trying to see the back of your head, although beginners should not judge themselves too harshly from the back. Nobody’s first bun deserves a courtroom trial.
Prep your hair gently
If your hair is freshly washed, make sure it is not dripping wet unless your hair type styles best when damp. Many hair-care experts recommend being gentle with wet hair because it can be more fragile. Use a wide-tooth comb, start detangling at the ends, and work upward slowly. For curly, coily, or textured hair, detangling with conditioner or leave-in product can make styling easier and reduce pulling.
If your hair is very slippery, a little texture can help. Second-day hair often holds ponytails, braids, and buns better than freshly washed hair. If your roots feel oily, a light dusting of dry shampoo can add grip. If your ends feel dry, use a tiny amount of leave-in conditioner or smoothing cream. Tiny means tiny. We are styling hair, not frosting a cupcake.
Avoid painful tension
Beginner hairstyles should feel secure, not painful. Tight ponytails, tight braids, and tight buns can pull on the scalp and hairline. Over time, repeated pulling may contribute to breakage or tension-related hair loss. A good beginner rule is simple: if your eyebrows feel like they are being lifted by your hairstyle, loosen it.
Way 1: The Basic Ponytail
The ponytail is the foundation of many easy hairstyles. It can be casual, sporty, clean, sleek, messy, low, high, side-swept, or dressed up with a scarf or scrunchie. For beginners, the best version to learn first is the low or mid-height ponytail. It is easier to control than a high ponytail and usually creates less tension on the scalp.
Best for
This style works well for medium to long hair, straight hair, wavy hair, curly hair, thick hair, fine hair, and layered hair. If your hair is short, you may need small clips to secure the front or side pieces.
What you need
You need one soft hair tie, a brush or comb, and optional smoothing cream or light hairspray. For curly or textured hair, use your fingers or a wide-tooth comb instead of brushing out your natural pattern.
Step-by-step: How to do a basic ponytail
- Detangle first. Gently remove knots from the ends upward. This makes the ponytail smoother and prevents painful snagging.
- Choose your placement. For a beginner, aim for the nape of your neck or the middle back of your head. Low ponytails are more forgiving.
- Gather your hair. Use both hands to sweep your hair back. If you want a neat look, use a brush. If you want a softer look, use your fingers.
- Hold the base firmly. Keep one hand around the gathered hair while the other hand stretches the hair tie.
- Wrap the hair tie. Pull the ponytail through the elastic, twist the elastic, and pull the ponytail through again. Repeat until secure, but not painfully tight.
- Adjust the shape. Gently tug the crown area for volume, smooth bumps with your fingers, or pull out a few face-framing pieces.
Beginner tip: The two-brush rule
If you are trying to make a sleek ponytail, brush the top layer only after the hair is gathered. Do not keep restarting every time you see one bump. Beginners often chase smoothness until their arms feel like they have joined a gym. Gather first, then smooth. It is faster and less frustrating.
Common ponytail mistakes
The first mistake is placing the ponytail too high before you have control. High ponytails look simple, but gravity has opinions. The second mistake is tying the elastic too tightly. A ponytail should not hurt. The third mistake is brushing curly hair dry until it becomes frizzy. If you have curls, preserve the curl pattern by smoothing with your hands, styling cream, or a little water instead.
Easy upgrade: The wrapped ponytail
Once you can do a regular ponytail, take a small section of hair from underneath the ponytail, wrap it around the elastic, and secure it with a bobby pin under the base. Suddenly, your basic ponytail looks intentional. This is the hairstyle version of putting your coffee in a real mug instead of drinking from the measuring cup. Technically unnecessary, but emotionally powerful.
Way 2: The Simple Three-Strand Braid
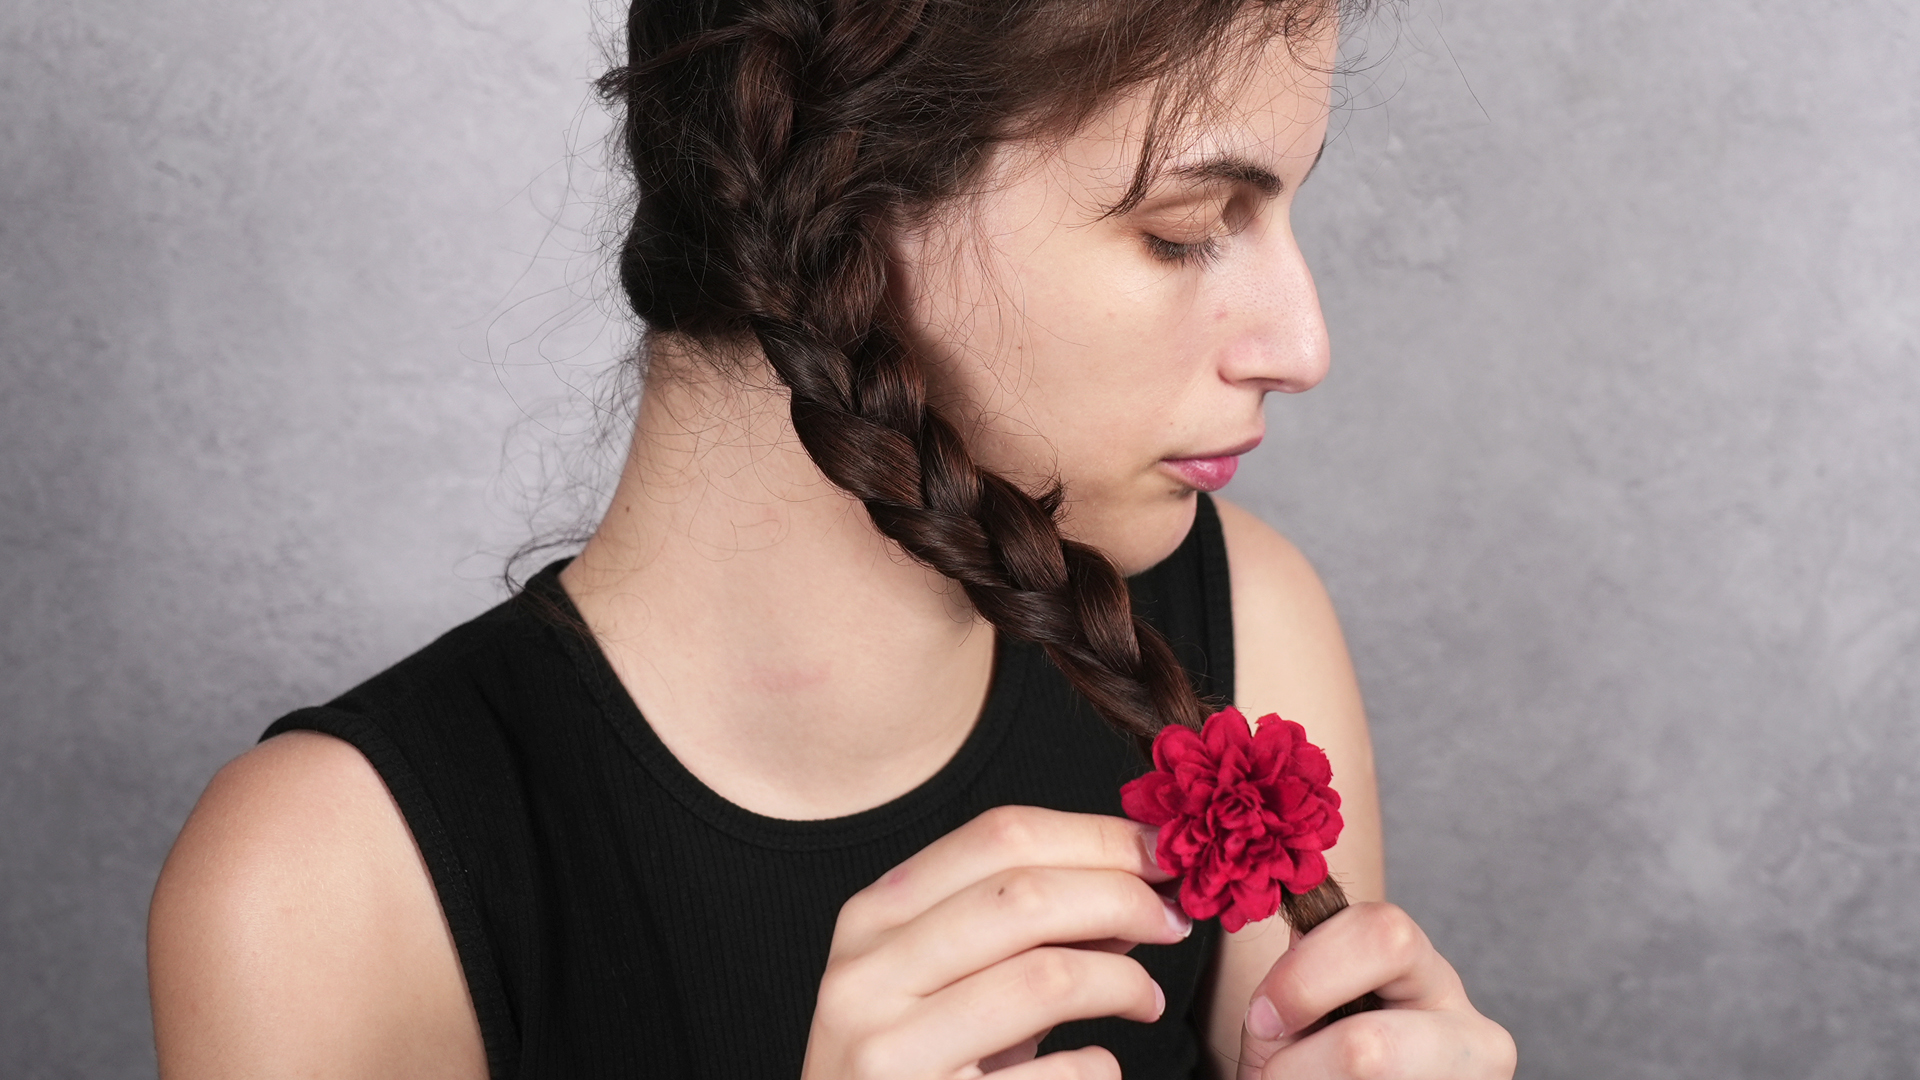
The three-strand braid is one of the most useful beginner hairstyles because it teaches hand control. Once you understand the pattern, you can create side braids, braided ponytails, braided buns, half-up braids, and eventually French or Dutch braids. But do not rush. Start with the basic braid. It is classic for a reason.
Best for
A basic braid works best on medium to long hair. It is especially helpful for keeping hair controlled during sleep, workouts, windy days, or busy mornings. It can also protect ends from constant friction when done loosely and gently.
What you need
You need one hair tie and a comb or brush. A mirror helps, but beginners often find it easier to start with a side braid because you can see what your hands are doing.
Step-by-step: How to do a simple braid
- Move your hair to one side. For your first braid, bring all your hair over one shoulder. This is easier than braiding behind your head.
- Divide hair into three sections. Think of them as left, middle, and right.
- Cross the right section over the middle. The right section now becomes the new middle.
- Cross the left section over the middle. The left section now becomes the new middle.
- Repeat the pattern. Right over middle, left over middle. Keep going down the length of your hair.
- Secure the end. Tie the braid with a small elastic when you have about two inches of hair left at the bottom.
- Soften the look. Gently pull the outer edges of the braid to make it look fuller. This is called pancaking the braid, which sounds like breakfast but is sadly not edible.
Beginner tip: Say the pattern out loud
If your hands get confused, quietly say, “right over middle, left over middle.” Yes, you may feel ridiculous. That is fine. Everyone who learns a physical skill has a brief “talking to my own hair” phase. It passes.
Common braid mistakes
The biggest mistake is losing track of the middle section. Go slowly. The second mistake is starting with tangled hair, which makes each crossing harder. The third mistake is gripping too tightly near the scalp. A tight braid may look neat at first, but it can feel uncomfortable and create stress on delicate areas around the hairline.
Easy upgrade: The braided ponytail
Once you know how to braid, combine it with the ponytail. First, make a low or mid ponytail. Then braid the ponytail length and secure the end. This is one of the easiest cute hairstyles for beginners because the ponytail holds the base steady while you braid. It works for school, workouts, casual days, and “I washed my hair yesterday but today it has chosen mystery texture” mornings.
Way 3: The Easy Low Bun
The low bun is the beginner-friendly updo that saves the day when your hair refuses to cooperate. It can be neat, messy, professional, romantic, or casual depending on how tightly you twist it and how many pieces you leave out. Unlike a high bun, a low bun is easier to pin because it sits close to the neck and does not fight gravity as aggressively.
Best for
This style works for medium to long hair and is especially useful for work, school, dinners, interviews, hot weather, and days when you want your hair off your face. It can also be adapted for thick hair, fine hair, curly hair, and textured hair.
What you need
You need one hair tie and two to six bobby pins. Thick hair may need stronger pins or a second elastic. Fine hair may benefit from dry shampoo or texture spray for grip.
Step-by-step: How to do an easy low bun
- Start with a low ponytail. Gather your hair at the nape of your neck and secure it with a hair tie.
- Twist the ponytail. Twist the length gently until it begins to coil.
- Wrap it around the base. Circle the twisted hair around the ponytail elastic to form a bun.
- Tuck the ends. Hide the ends under the bun or leave them slightly loose for a messy look.
- Pin in place. Slide bobby pins into the bun from different angles. Aim the pins toward the center for better hold.
- Loosen gently. Pull lightly at the crown or sides if you want a softer, fuller shape.
Beginner tip: Pin like an X
If one bobby pin slips, cross a second pin over it to form an X. This gives extra grip. Also, make sure the wavy side of the bobby pin faces down toward your scalp. Many people use bobby pins upside down for years and then wonder why their bun has the stability of a folding chair in a thunderstorm.
Common bun mistakes
The first mistake is twisting too tightly. A tight twist can make the bun look small and uncomfortable. The second mistake is using too few pins. If your bun falls out after five minutes, your hair is not “bad at buns”; it is simply under-pinned. The third mistake is trying to make both sides perfectly smooth. A low bun looks beautiful with a little softness.
Easy upgrade: The braided low bun
For a beginner-friendly upgrade, make a low ponytail, braid the ponytail, then wrap the braid around the base and pin it. This creates a bun that looks more detailed than it really is. It is a great choice for dinners, casual weddings, presentations, or any event where you want people to think you woke up with excellent time-management skills.
How to Choose the Right Beginner Hairstyle
Choose the ponytail when you need speed. Choose the braid when you need control. Choose the bun when you need your hair fully up and out of the way. These three basic hairstyles can also rotate through the week to reduce repeated tension in the same area. For example, wear a low ponytail one day, a loose braid the next, and a low bun after that.
If your scalp feels sore after taking down a style, that style was too tight. If your ends look dry, add moisture before styling. If your hair slips out easily, add texture with dry shampoo, mousse, or a small amount of styling cream. If your hair tangles quickly, keep styles loose and detangle gently before and after wearing them.
Beginner Hair Styling Tips That Make a Big Difference
Work with your natural texture
One of the best beginner hair tips is to stop fighting your hair’s natural personality. Straight hair may need texture to hold a bun. Wavy hair may look great with loose pieces around the face. Curly hair may prefer finger-styling instead of brushing. Coily hair may benefit from moisture, sectioning, and low-tension styling. Your goal is not to force your hair into someone else’s tutorial. Your goal is to make the style work for your hair.
Use less heat
Hot tools can be useful, but beginners do not need them for these three styles. Ponytails, braids, and buns can all be heat-free. If you do use a blow dryer, flat iron, or curling iron, apply heat protectant and use a lower setting when possible. Healthy-looking hair often comes from boring habits done consistently: gentle detangling, conditioning, avoiding harsh pulling, and not cooking your strands like spaghetti.
Do not restart too many times
Beginners often restart a hairstyle ten times because one piece is uneven. Try not to do that. Hair becomes frizzier and more difficult to manage the more you handle it. Instead, finish the style, then adjust. A slightly imperfect finished ponytail looks better than an abandoned perfect ponytail that exists only in your imagination.
Real-Life Experience: What Beginners Usually Learn After Practicing
When you first learn basic hair styling, the hardest part is not the hairstyle itself. It is the coordination. Your fingers feel clumsy. Your arms get tired. The back of your head feels like a foreign country with no map. That is completely normal. Most beginners do not struggle because they lack talent; they struggle because they are learning movements they have never practiced before.
A common beginner experience is discovering that ponytails are not as “basic” as they look. The first few attempts may have bumps, loose sides, or a strange sagging shape near the neck. Then, after a few days, you realize that placement matters. A low ponytail feels easier than a high ponytail. A soft scrunchie causes less pulling than a tight rubber elastic. Brushing the surface after gathering the hair works better than brushing everything endlessly before you start. The ponytail becomes less of a battle and more of a reliable morning shortcut.
Braiding teaches patience. At first, the three sections blend together, and the braid may twist sideways like it has somewhere else to be. Practicing over one shoulder helps because you can see the pattern. Many beginners have an “aha” moment when they stop trying to braid quickly. Slow braiding creates cleaner results. After a week of casual practice, the motion starts to feel automatic: right over middle, left over middle, repeat. Suddenly, the braid that once felt impossible becomes the easiest way to control hair on a busy day.
The low bun usually teaches the importance of pins. Beginners often think one elastic should do everything. It should not. A bun needs support, especially if the hair is thick, layered, or slippery. Once you learn to twist gently, wrap loosely, and pin from different angles, the bun becomes far more dependable. The best part is that a slightly messy bun often looks better than a perfect one. Loose pieces can make the style softer, more relaxed, and more natural.
Another real beginner lesson is that hair changes from day to day. Freshly washed hair may be too soft for a bun. Second-day hair may braid better. Humidity may add frizz. Dry weather may create static. Instead of blaming yourself, adjust the plan. Use a ponytail on slippery clean-hair days, a braid on windy days, and a bun when your roots need help but you are not ready to wash yet.
Most importantly, beginners learn that basic hair styling is not about looking flawless. It is about feeling capable. The first time you make a ponytail that stays, a braid that looks like a braid, or a bun that survives lunch, you gain confidence. That confidence makes styling faster, easier, and honestly more fun. Hair does not need to be perfect to look good. Sometimes it just needs a soft elastic, three patient attempts, and the courage to call a messy bun “effortless” with a straight face.
Conclusion
Mastering 3 simple ways to do a basic hair for complete beginners gives you a strong foundation for everyday styling. Start with the basic ponytail for speed, the three-strand braid for control, and the easy low bun for a polished updo. Keep your tools simple, avoid painful tension, protect your hair from rough handling, and remember that practice matters more than perfection.
Once these three styles feel comfortable, you can create endless variations: a wrapped ponytail, braided ponytail, side braid, half-up braid, messy bun, sleek low bun, braided bun, or accessorized scrunchie style. Beginner hair styling is a skill, and like any skill, it improves with repetition. Your first braid may not be red-carpet ready. Your first bun may lean slightly to the left. That is fine. Hair grows, pins exist, and confidence is the best styling product you will ever own.