If you have ever stood over an empty planter holding a bag of potting mix in one hand and a handful of rocks in the other, welcome to the club. Container gardening seems simple until the bottom of the pot starts asking philosophical questions. Should you add gravel? Broken pottery? Coffee filters? Landscape fabric? A secret layer of gardening wisdom passed down by someone’s grandmother who grew tomatoes the size of softballs?
The short answer is this: in most planters, the best thing to put in the bottom is a proper drainage hole, a small screen or filter only if needed, and then high-quality potting mix. Not a thick layer of rocks. Not garden soil. Not random objects that turn your planter into a junk drawer with leaves.
That may sound surprising because the “put rocks in the bottom for drainage” tip has been around forever. It feels logical. Water goes down, rocks are loose, therefore drainage improves. Unfortunately, container soil does not always behave the way our brains want it to. A rock layer can actually keep the wettest soil higher in the pot, closer to roots, where it can encourage root rot. Plants enjoy a drink; they do not enjoy living in a swampy basement apartment.
This guide explains what should go in the bottom of a planter, what should not, and how to set up containers for healthier roots, better drainage, and fewer dramatic plant funerals.
The Best Thing to Put in the Bottom of a Planter
The most important “bottom layer” is not a layer at all. It is a drainage system. A planter should have one or more holes that allow excess water to escape. Without drainage, water collects at the bottom, oxygen disappears from the root zone, and roots may begin to rot. Even plants that like consistent moisture usually dislike stagnant water.
For most indoor and outdoor planters, use this simple setup:
- A container with drainage holes
- A small piece of mesh, screen, coffee filter, or paper towel only if soil is falling out
- Fresh, lightweight potting mix
- A saucer, tray, pot feet, or risers to keep drained water from sitting against the pot
That is it. No treasure chest of pebbles required.
Do You Need to Cover the Drainage Hole?
Sometimes, yes. If the drainage hole is large enough that potting mix falls out every time you water, cover it lightly. A small square of mesh screen, a coffee filter, a piece of landscape fabric, or even a single flat rock placed loosely over the hole can help keep potting mix inside while still letting water escape.
The key word is “loosely.” You are not trying to seal the hole. You are simply stopping the planter from slowly leaking soil onto your porch like it has a tiny compost problem.
For small drainage holes, you may not need anything. Most quality potting mixes stay in place once moistened and settled. A little soil loss during the first watering is normal and not a gardening emergency.
Should You Put Rocks or Gravel in the Bottom of a Planter?
In most cases, no. A thick layer of rocks, gravel, pebbles, broken pottery, or coarse material in the bottom of a planter does not improve drainage the way many people think it does.
Here is the problem: water does not instantly leap from fine potting mix into a coarse rock layer. Instead, the potting mix above the rocks can stay saturated until enough water builds up to move downward. This creates a soggy zone higher in the pot. That means the roots may sit in wetter soil, not drier soil. Congratulations, your drainage layer just moved the puddle upstairs.
Rocks also reduce the amount of usable potting mix in the container. Less potting mix means less room for roots, less stored moisture during hot weather, and fewer nutrients. In a small planter, a two-inch gravel layer can steal valuable root space. Plants are already living in a container; they do not need their apartment downsized.
When Is One Rock Okay?
A single rock or curved pottery shard can be useful when it is placed over a large drainage hole to stop soil from washing out. That is different from filling the bottom with several inches of rocks. Think of one rock as a drain cover, not a drainage layer.
What About Pebbles for Succulents and Cacti?
Succulents and cacti need excellent drainage, but a pebble layer underneath the soil is still usually not the answer. These plants do better in a container with drainage holes and a fast-draining cactus or succulent mix. You can improve the mix itself with mineral ingredients such as pumice, perlite, or coarse sand, depending on the plant’s needs.
Decorative pebbles can be used on top of the soil if you like the look, but even that should be done carefully. A heavy top dressing can slow evaporation and make it harder to check soil moisture. If your succulent is already prone to overwatering, do not tuck it under a decorative rock blanket and hope for the best.
What Potting Mix Should Go Above the Bottom?
The real secret to good planter drainage is not what sits at the very bottom. It is the growing medium that fills the container. Use a high-quality potting mix designed for containers. Potting mix is lighter and more porous than garden soil, which helps it hold moisture while still allowing air and water movement.
Good potting mixes often include ingredients such as:
- Peat moss, coco coir, or composted bark for moisture retention
- Perlite or pumice for air space and drainage
- Vermiculite in some mixes for moisture and nutrient holding
- Compost or slow-release fertilizer in some blends
Not every plant wants the same mix. A fern, tomato plant, orchid, snake plant, and rosemary bush all have different preferences. Still, the basic rule is the same: choose a mix made for containers, then adjust it for the plant.
Why Garden Soil Is a Bad Idea in Planters
Garden soil belongs in the garden. In containers, it often becomes dense, compacted, and slow to drain. It can also carry weed seeds, pests, and disease organisms. More importantly, it may hold too much water in the small pore spaces of a pot, leaving roots short on oxygen.
If you have beautiful backyard soil, admire it outdoors. Compliment it. Send it a thank-you card. But do not scoop it into your houseplant pot and expect tropical happiness.
For very large outdoor containers, a small amount of screened mineral soil may be used in special mixes, but for most home planters, bagged potting mix is the safer and easier choice.
What to Put in the Bottom of Different Types of Planters
The right planter bottom setup depends on the container type, plant type, and where the planter will live. A balcony herb pot has different needs from a giant patio planter, and an indoor ceramic cachepot is not the same as a self-watering container.
Indoor Houseplant Planters
For indoor houseplants, use a nursery pot or decorative pot with drainage holes. If you love a decorative pot without holes, use the double-pot method. Keep the plant in a plastic nursery pot with drainage, then place that inside the decorative outer pot. Remove the inner pot for watering, let it drain fully, and then return it.
In the bottom of the nursery pot, you usually need nothing more than the potting mix itself. If soil escapes through the holes, add a small piece of mesh or a coffee filter. Avoid creating a gravel reservoir unless the planter is specifically designed as a self-watering system.
Outdoor Patio Planters
Outdoor containers must handle rain as well as watering. Drainage holes are non-negotiable. A planter sitting flat on concrete or decking may have blocked holes, so use pot feet, risers, bricks, or small blocks to lift it slightly. This allows water to escape freely and improves airflow under the pot.
At the bottom, cover large holes only if necessary, then fill with potting mix. For annual flowers, herbs, peppers, tomatoes, and compact vegetables, give roots as much quality growing medium as possible.
Large Tall Planters
Large decorative planters are beautiful, but filling them entirely with premium potting mix can feel like paying rent on soil. If the planter is very deep and the plants have shallow root systems, you may use a lightweight filler in the lower portion. However, do this thoughtfully.
Safe filler options for non-edible ornamental planters may include upside-down nursery pots, clean plastic bottles with caps, or a commercial planter insert. These reduce weight and save potting mix while keeping the upper root zone filled with good growing medium.
Do not block drainage holes. Do not use materials that break down into a soggy mat. Do not use mystery foam, painted debris, treated wood, or anything that may leach unwanted chemicals. For edible plants, it is best to be more conservative and use food-safe materials or simply fill with potting mix.
Raised Planter Boxes
Raised planter boxes are different from small pots. If the box is open to the ground, you generally do not need a drainage layer. Roots and water can move down into the soil below. If the planter has a closed bottom, make sure it has drainage holes. You can line the bottom with hardware cloth if burrowing pests are a problem, then add a suitable raised bed or container mix.
For tall raised beds, some gardeners use logs, branches, leaves, or compostable materials in the lower area, similar to a hugelkultur-inspired approach. This can work in outdoor beds when done properly, but it is not the same as putting rocks in a houseplant pot. Organic material decomposes, settles, and changes over time, so plan for topping off the bed later.
Self-Watering Planters
Self-watering planters are designed with a water reservoir at the bottom and a wicking system that draws moisture upward. In this case, the bottom is supposed to hold waterbut only because the container is engineered for it.
Do not improvise a self-watering planter by dumping gravel into a sealed pot and hoping your fern reads the manual. Use a container with a proper reservoir, overflow hole, and wicking column or platform. The overflow hole is important because it prevents the reservoir from flooding the root zone.
Best Materials to Use at the Bottom of a Planter
Here are the best options, depending on the problem you are trying to solve.
To Keep Soil From Falling Out
- Mesh screen
- Landscape fabric
- Coffee filter
- Paper towel
- A single flat rock or pottery shard
Use a thin barrier only. Water should still drain easily.
To Improve Drainage
- Add drainage holes if missing
- Use pot feet or risers outdoors
- Choose a loose, high-quality potting mix
- Add perlite, pumice, or bark to the mix when appropriate
- Empty saucers after watering
Improving drainage is about water movement through the whole system, not creating a rocky basement.
To Save Potting Mix in a Large Planter
- Use a planter insert
- Place clean upside-down nursery pots in the lower section
- Use sealed plastic bottles in ornamental containers
- Keep at least 8 to 12 inches of quality potting mix for many annuals and shallow-rooted plants
- Use deeper soil for vegetables, shrubs, and perennials with larger root systems
The larger the plant, the more real root space it needs. A tomato plant, dwarf citrus, blueberry shrub, or ornamental grass needs more growing medium than a shallow seasonal flower arrangement.
Materials You Should Not Put in the Bottom of a Planter
Some materials cause more trouble than they solve. Avoid these common planter-bottom mistakes.
Thick Layers of Gravel or Rocks
They reduce soil volume and may keep the wettest zone closer to the roots. Use one rock to cover a hole if needed, not a full layer.
Garden Soil
Garden soil can compact in pots and drain poorly. It may also bring pests, weeds, or disease into the container.
Styrofoam Peanuts
They are messy, lightweight in the wrong way, and can become a nightmare when roots grow through them. They may also create environmental concerns if pieces escape.
Mulch as Deep Filler
Mulch breaks down, settles, and can form soggy pockets. It is better used on top of outdoor containers in a thin layer, not stuffed into the bottom as filler.
Unwashed Recycled Containers
Reusing buckets, cans, or tubs can be smart, but avoid anything that held chemicals, cleaners, oils, or unknown substances. If you are growing food, be extra cautious.
How to Prepare a Planter the Right Way
Setting up a planter is simple when you follow a root-first approach.
Step 1: Check for Drainage Holes
Turn the planter over. If it has no holes, drill them if the material allows. Plastic, wood, and some resin planters are usually easier to drill. Ceramic and terra cotta require the right bit and a gentle hand. If you cannot drill the pot, use it as a decorative outer pot instead.
Step 2: Cover Oversized Holes Only If Needed
Place a small piece of mesh, coffee filter, or landscape fabric over large holes. Do not create a sealed layer. The goal is to hold the mix in place while letting water out.
Step 3: Add Potting Mix
Fill the container with fresh potting mix. Lightly moisten the mix before planting if it is very dry. Some peat-based mixes resist water when bone dry, so pre-moistening helps them hydrate evenly.
Step 4: Plant at the Correct Depth
Set the plant so the top of its root ball sits at about the same level it did in the nursery pot. Planting too deep can bury stems and encourage rot. Planting too high can expose roots and make watering difficult.
Step 5: Water Thoroughly
Water until moisture runs from the drainage holes. This settles the mix around the roots and confirms that the drainage system works. If water sits on the surface for a long time, the mix may be too compacted or hydrophobic.
Step 6: Empty the Saucer
For indoor pots, empty standing water from the saucer after the plant drains. Letting the pot sit in water can undo all your careful drainage work. It is like buying running shoes and then wearing them in a bathtub.
Common Planter Bottom Problems and Quick Fixes
Problem: Soil Keeps Washing Out
Add a small piece of mesh, screen, or coffee filter over the hole. Avoid blocking the hole completely.
Problem: Water Does Not Drain
Check that drainage holes are open. Lift the planter slightly off flat surfaces. If the potting mix is old and compacted, repot with fresh mix.
Problem: Roots Are Growing Out the Bottom
The plant may be root-bound. Move it into a slightly larger container, usually 1 to 2 inches wider for houseplants or more for vigorous outdoor plants.
Problem: The Pot Is Too Heavy
Use a lighter container, a planter insert, or lightweight potting mix. For very large ornamental planters, clean empty nursery pots in the lower section can reduce weight without creating a soggy rock layer.
Problem: The Plant Is Always Wilting
Wilting can mean too little water, too much water, heat stress, root damage, or a pot that is too small. Check the soil moisture before watering again. If the mix smells sour or the roots are brown and mushy, overwatering may be the issue.
Experience-Based Tips: What Actually Works in Real Planters
After working with many containersfrom tiny herb pots on windowsills to oversized patio planters that seem large enough to host a small conferenceI have learned that the bottom of the planter matters, but not in the dramatic way many beginners expect. The biggest wins usually come from boring, practical choices: drainage holes, good potting mix, correct watering, and not treating rocks like magic beans.
One of the most common experiences is the “beautiful pot with no hole” problem. Decorative ceramic pots are often gorgeous, glossy, and completely uninterested in plant survival. When I use one, I treat it as a cachepot. The plant stays in its plastic nursery pot, and the nursery pot goes inside the decorative pot. When watering, I lift the inner pot out, water it in the sink or outdoors, let it drain, and put it back. This method saves both the plant and the furniture. It also prevents the mysterious indoor puddle that appears right after you confidently tell someone, “No, no, it should be fine.”
For outdoor planters, I have found that elevation makes a bigger difference than a bottom layer of gravel. A pot sitting flat on a patio can have perfectly good holes that are functionally blocked. Raising it on pot feet, bricks, or small blocks lets water escape and keeps the bottom from staying constantly wet. This is especially helpful during rainy weeks, when containers can go from charming garden feature to root-rot soup surprisingly fast.
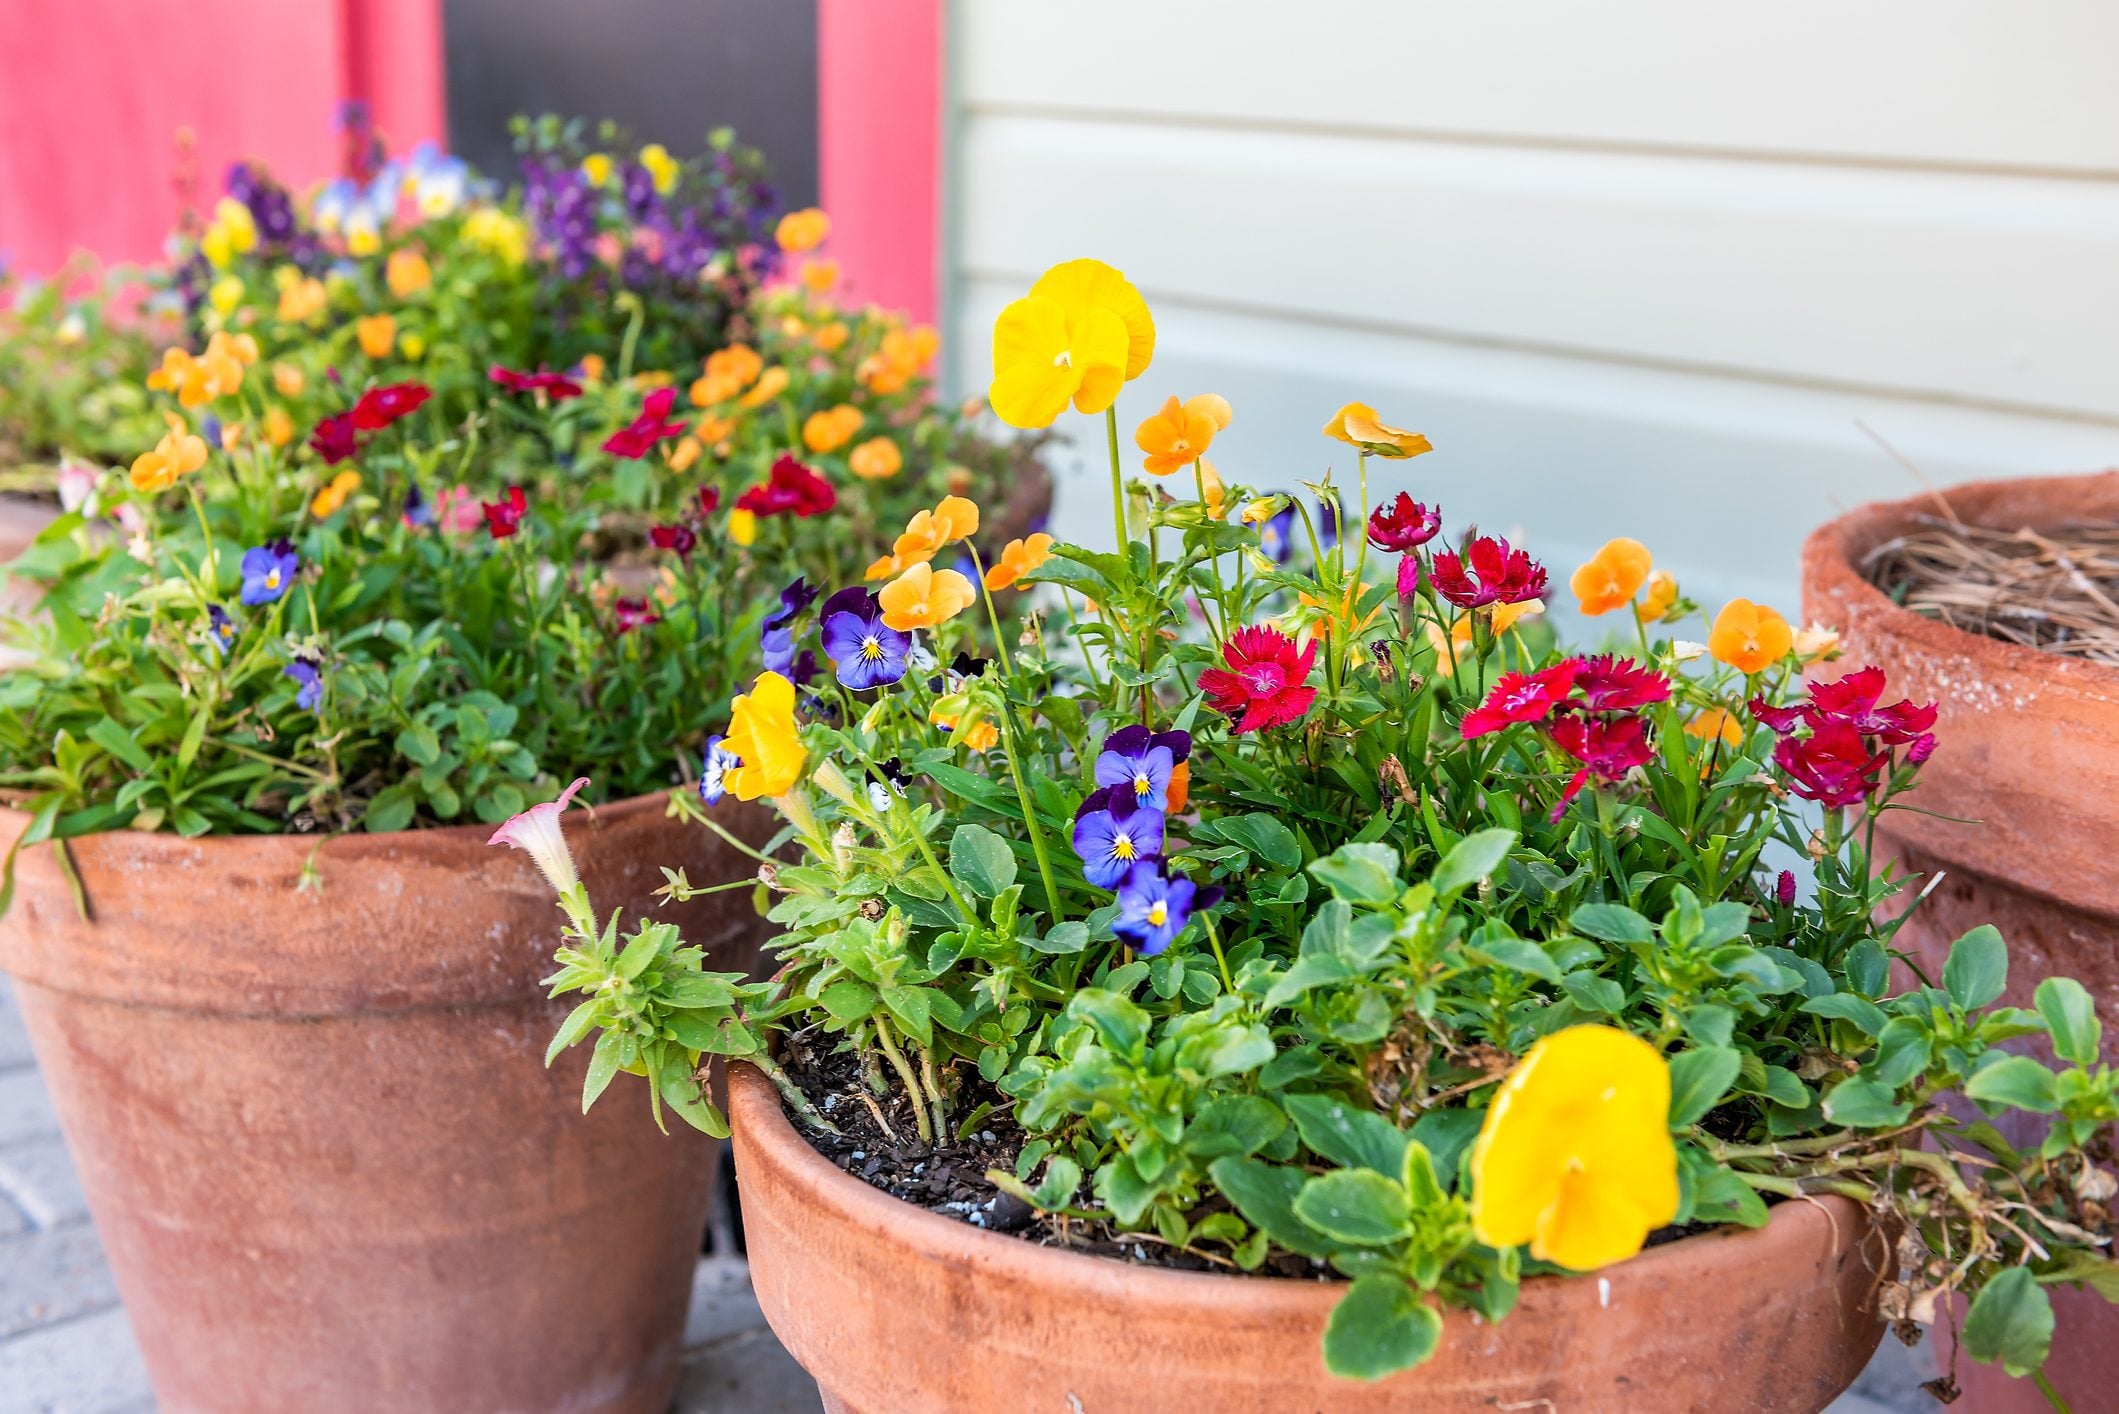
Large planters require a different kind of judgment. If I am planting a shallow-rooted seasonal display with petunias, coleus, or pansies, I do not feel obligated to fill a waist-high planter completely with expensive potting mix. A clean planter insert or upside-down nursery pots can reduce the volume. But if I am planting tomatoes, dwarf shrubs, roses, blueberries, or perennials that need real root space, I skip the shortcuts and give them a deeper zone of quality mix. Saving one bag of soil is not worth a struggling plant that spends the season looking personally betrayed.
I have also learned to be careful with “free filler.” Random yard debris, old mulch, cardboard, and mystery foam may seem clever at the moment, but they can settle, mold, block drainage, or create a mess during repotting. If a filler breaks down quickly, it can leave air pockets or cause the soil level to sink. If it does not break down at all, roots may wrap around it and turn repotting into an archaeological dig.
The best planter setups are not fancy. They are consistent. A drainage hole that works. A thin screen only when needed. A potting mix matched to the plant. Enough soil depth for roots. A watering routine based on actual moisture, not vibes. When those pieces come together, plants grow stronger, containers stay cleaner, and you stop wondering whether you should have added a gravel layer from 1987.
Conclusion: Keep the Bottom Simple and the Roots Happy
So, what should you put in the bottom of your planter? Usually, very little. Make sure the planter has drainage holes. Add a thin screen, coffee filter, or single rock only if the hole is large enough for soil to escape. Then fill the container with the right potting mix for your plant.
Skip thick layers of gravel, rocks, broken pottery, and garden soil. They may sound helpful, but they can reduce root space, hold moisture in the wrong place, or make drainage worse. Healthy container gardening is less about clever bottom layers and more about creating a balanced root environment with air, moisture, nutrients, and room to grow.
Your planter does not need a secret foundation. It needs a way for water to leave, a mix that roots can breathe in, and a gardener who checks the soil before dumping in another “just in case” splash of water. Give your plants that, and they will reward you with stronger growth, fewer yellow leaves, and much less drama from the bottom of the pot.