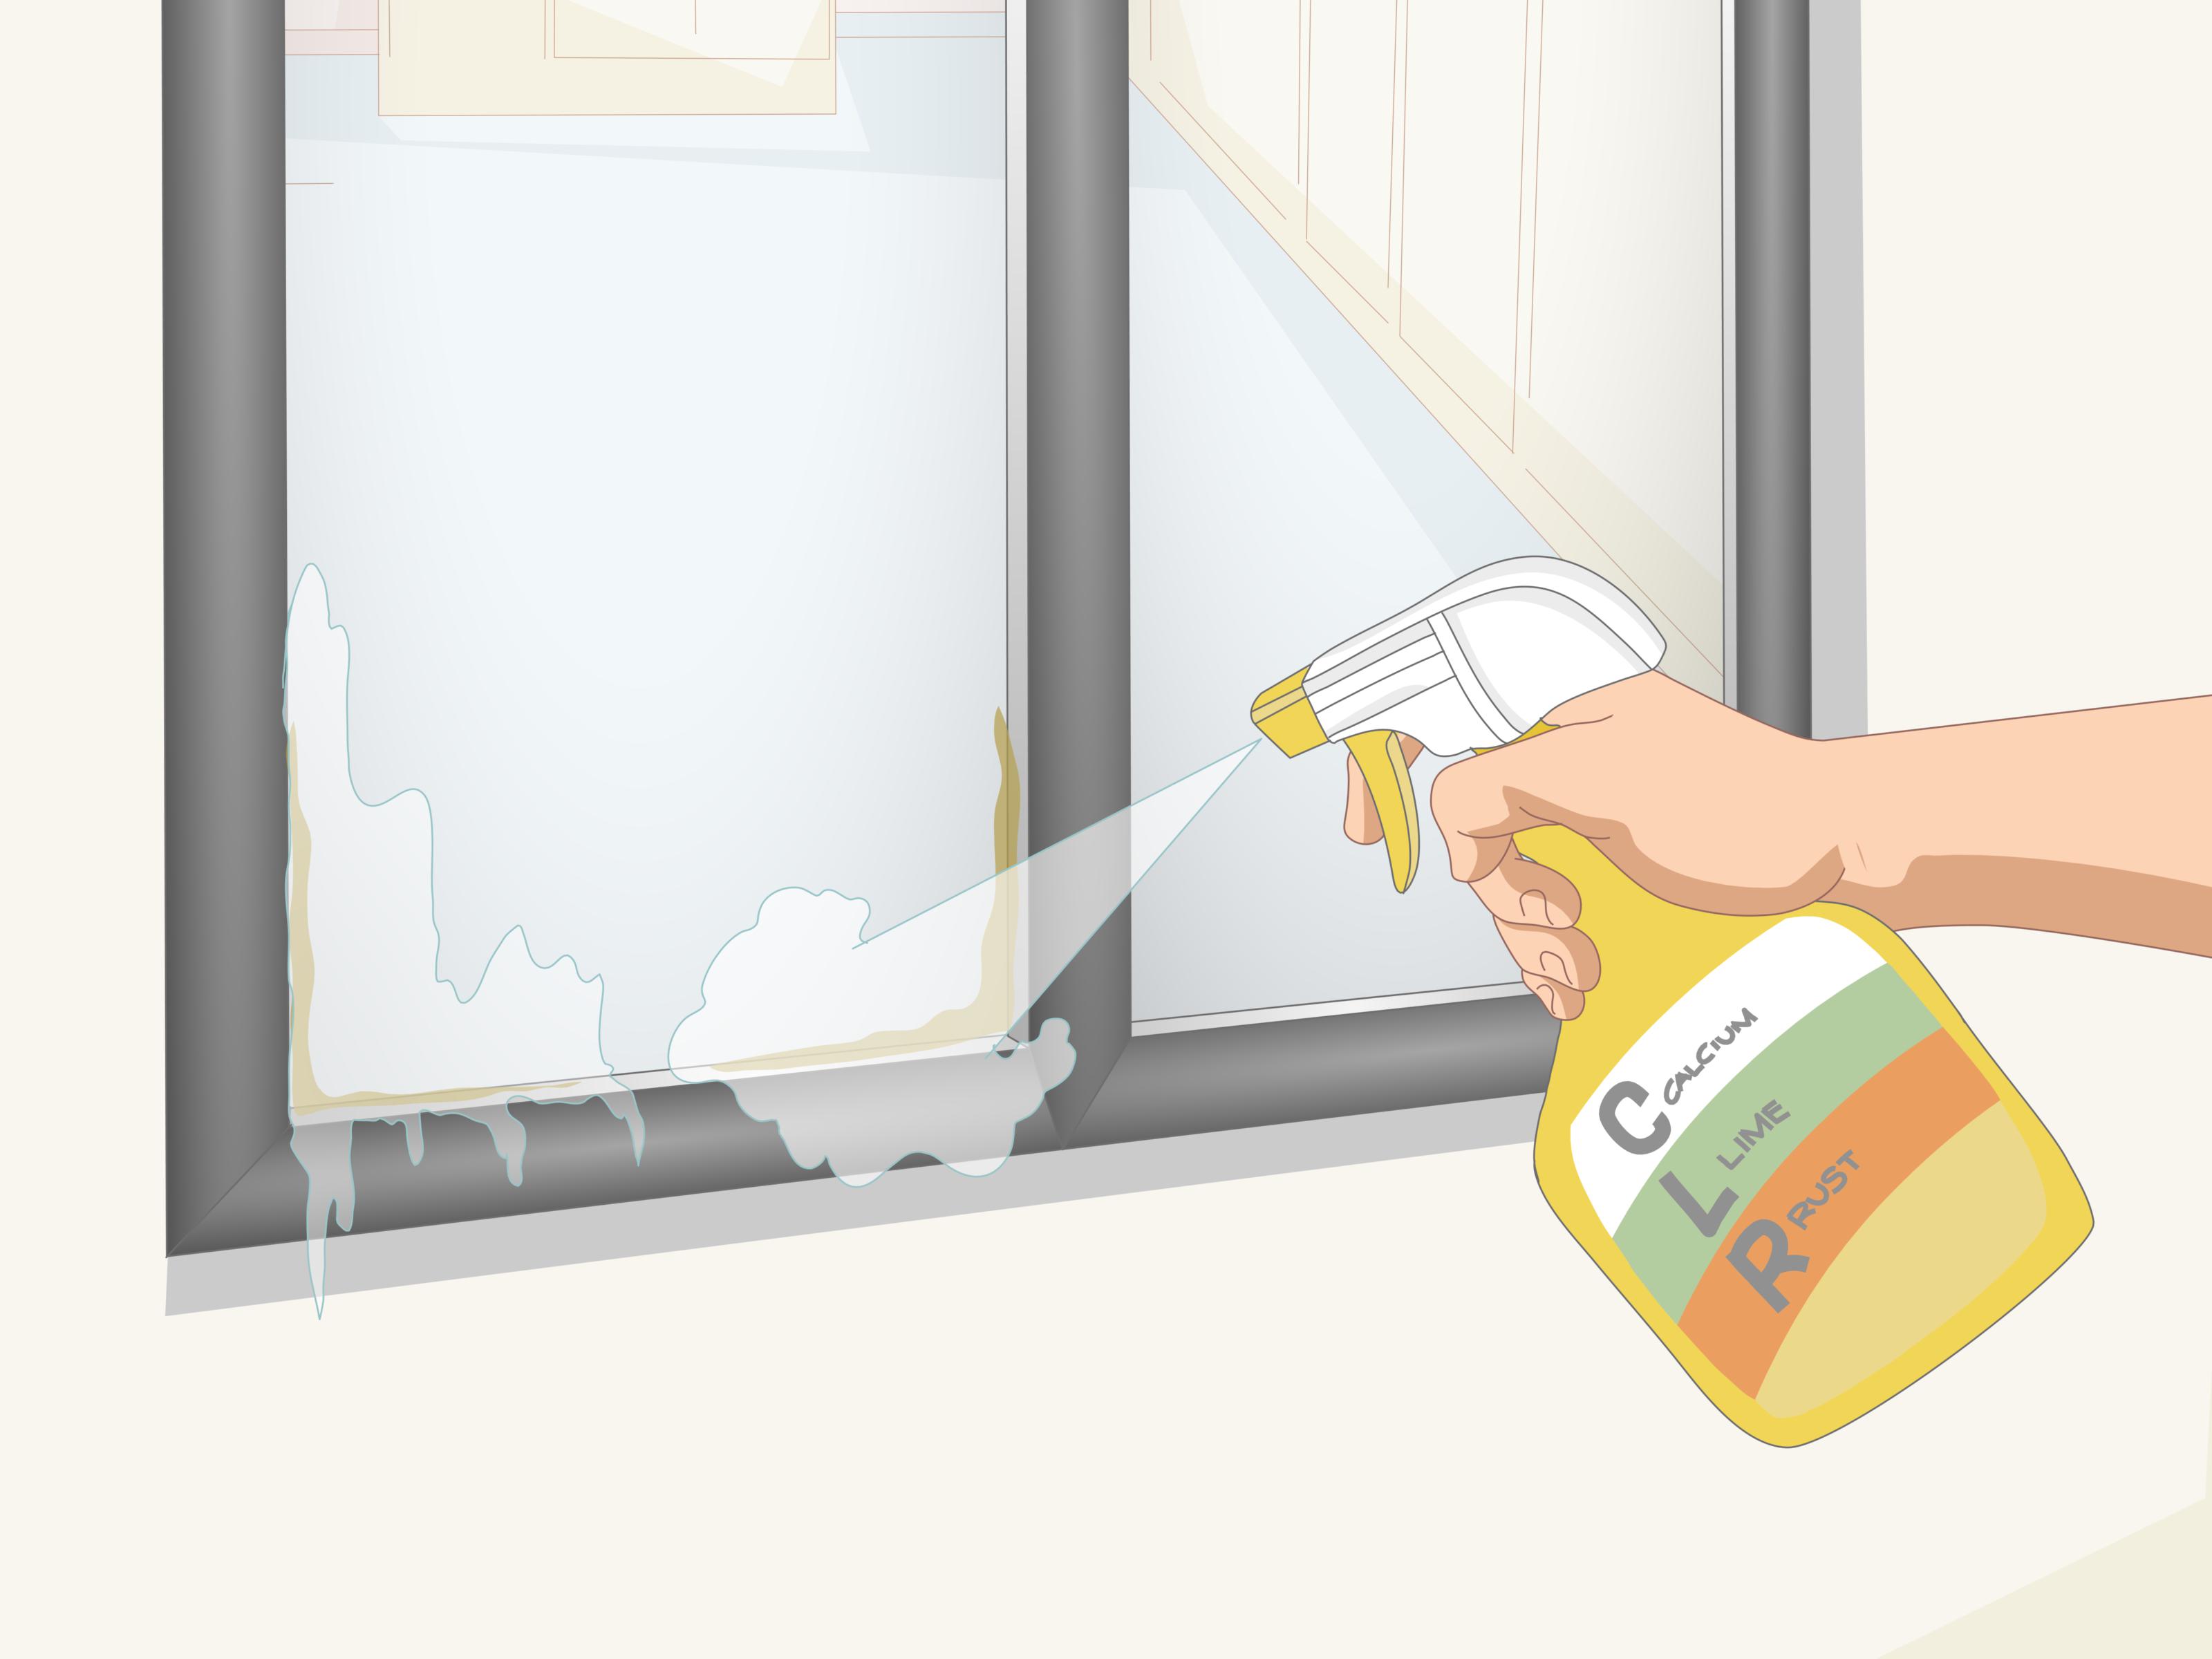
Outside windows are the eyeglasses of your home. When they are clean, everything looks brighter, sharper, and somehow more expensive. When they are covered in pollen, dust, sprinkler spots, and mysterious bird artwork, even the nicest room can feel like it is wearing smudged sunglasses.
The good news? Washing outside windows does not require a professional uniform, a heroic ladder stunt, or a secret cleaning potion guarded by generations of window washers. With the right tools, a safe plan, and a little patience, you can clean exterior windows so they sparkle without leaving streaks, lint, or regret behind.
This guide explains simple ways to wash outside windows in 14 steps, including how to choose the best cleaning solution, remove grime from frames and screens, use a squeegee correctly, reach high windows safely, and avoid common mistakes that make glass look worse after cleaning. Let’s turn those cloudy panes into a clear view.
Why Outside Windows Get So Dirty
Exterior windows work hard. They take the hit from rain, wind, dust, lawn clippings, pollen, insects, hard water, salt air, tree sap, and the occasional sprinkler that seems personally committed to leaving mineral spots. Homes near busy roads may also collect oily residue from traffic. Homes under trees may collect sap, leaves, and organic debris. Coastal homes may deal with salt spray, while desert homes may battle fine dust that clings to glass like glitter after a craft project.
Because outdoor grime builds up in layers, a quick spray with glass cleaner often is not enough. For the best results, clean the whole window system: glass, frame, sill, tracks, screens, and edges. That is the difference between “not terrible” and “wow, did we replace the windows?”
Supplies You Need to Wash Outside Windows
Before you start, gather your tools. Running back inside with wet hands because you forgot the squeegee is a classic cleaning comedy, but it is avoidable.
Basic Window Washing Tools
- Bucket
- Mild dish soap
- White vinegar or commercial window cleaner
- Soft sponge, window scrubber, or microfiber mop
- Rubber-blade squeegee
- Microfiber cloths
- Garden hose with gentle spray nozzle
- Soft-bristled brush
- Vacuum with brush or crevice attachment
- Telescoping pole for high windows
- Stable ladder, only when absolutely necessary
- Old towels or drop cloths for nearby surfaces
For a simple homemade outside window cleaning solution, mix a few drops of mild dish soap into a bucket of warm water. For extra shine, use equal parts distilled white vinegar and water in a spray bottle. Distilled water is helpful if your tap water is hard because it reduces mineral spots.
Simple Ways to Wash Outside Windows: 14 Steps
Step 1: Pick the Right Day
Choose a cool, cloudy, calm day. Direct sunlight dries cleaner too quickly, which causes streaks. Wind can blow dust onto wet glass, which is like sprinkling pepper onto a freshly frosted cake. Early morning or late afternoon usually works well.
Avoid washing outside windows during storms, high wind, freezing weather, or extreme heat. If you need to use a ladder, wait for dry ground and steady conditions. Sparkling windows are nice; staying upright is nicer.
Step 2: Inspect the Windows First
Walk around your home and inspect each window. Look for cracked glass, loose caulk, damaged seals, peeling paint, rotting wood, torn screens, or blocked weep holes. Weep holes are tiny drainage openings in many window frames. If they are clogged with dirt, water may not drain properly.
Do not blast damaged windows with a hose or pressure washer. Water can sneak behind trim, into wall cavities, or under seals. If a window looks fragile, clean it gently by hand or call a professional.
Step 3: Remove or Raise Screens When Possible
If your screens are removable, take them out and label them by window location. A small sticky note or painter’s tape can save you from playing “screen puzzle” later. Lay screens on a clean, flat surface, such as a driveway or patio.
Rinse each screen with a gentle hose spray. Scrub lightly with mild soapy water and a soft brush, then rinse again. Avoid harsh pressure or aggressive scrubbing because screen mesh can stretch, tear, or warp. Let screens air dry before reinstalling them.
Step 4: Brush Away Loose Dirt and Cobwebs
Before water touches the glass, remove dry debris. Use a soft brush, dry microfiber cloth, or vacuum attachment to sweep away dust, cobwebs, dead bugs, pollen, and loose grit from frames and sills.
This step matters more than most people think. If you skip it, the first wipe turns dry dirt into muddy streaks. That is not cleaning; that is finger painting with yard dust.
Step 5: Rinse the Exterior Glass Gently
Use a garden hose on a gentle spray setting to rinse the window from top to bottom. This removes loose dirt and softens stuck-on grime. Keep the spray angled downward as much as possible so water does not force its way behind siding, trim, or window seals.
Do not use a high-pressure stream directly on window edges, weatherstripping, or caulk. A gentle rinse is usually enough. The goal is to loosen dirt, not test whether your windows can survive a car wash audition.
Step 6: Wash the Frames and Sills First
Clean frames, tracks, and sills before washing the glass. Use mild dish soap mixed with warm water and a soft cloth or sponge. For stubborn dirt in tracks, use a small brush, old toothbrush, or vacuum crevice tool.
Pay attention to corners where grit collects. If you clean the glass first and the frame second, dirty water can drip onto your freshly cleaned pane. That is how windows develop trust issues.
Step 7: Apply Your Cleaning Solution
Dip a sponge, strip washer, or microfiber mop into your soapy water solution. Starting at the top of the window, scrub the glass using overlapping strokes. Focus on bird droppings, bug spots, fingerprints, water stains, and pollen buildup.
For greasy or stubborn areas, spray a vinegar-and-water solution directly onto the glass or onto a microfiber cloth. Give it a moment to break down residue, then scrub gently. Avoid abrasive pads, razor blades, metal tools, and harsh solvents unless your window manufacturer specifically allows them.
Step 8: Use a Squeegee from Top to Bottom
A squeegee is the not-so-secret weapon for streak-free outside windows. Start at the top corner of the glass. Pull the squeegee across the window in a smooth horizontal stroke or down in vertical passes. Wipe the rubber blade with a clean microfiber cloth after each pass.
Keep the blade angled slightly so dirty water moves toward the uncleaned area, not back onto the dry glass. Use light pressure. Pressing too hard can cause skipping and uneven lines. Think of it as guiding the water off the window, not wrestling it into submission.
Step 9: Wipe Edges and Corners
After squeegeeing, water often hides along the edges. Use a dry microfiber cloth to wipe the perimeter of the glass, corners, sill, and bottom rail. This prevents drips from running down later and creating surprise streaks.
Microfiber cloths are better than paper towels because they leave less lint. They also absorb water efficiently and can be washed and reused. Your windows get cleaner, and your trash can does not fill up with soggy paper confetti.
Step 10: Rinse and Dry Screens Before Reinstalling
Once the glass is clean, check whether the screens are fully dry. Reinstalling wet or dirty screens can transfer grime right back onto the window. Before putting them back, look for bent frames, loose corners, holes, or torn mesh.
If a screen is damaged, repair it before reinstalling. Clean glass behind a dirty screen still looks dull from inside the house, so do not skip this part. Screens are like sunglasses for your windows: if they are grimy, everything behind them looks grimy too.
Step 11: Clean High Windows with Extension Tools
For second-story or hard-to-reach exterior windows, use a telescoping pole with a scrubber and squeegee attachment. A microfiber mop on an extension pole can also work for washing, followed by a pole-mounted squeegee for drying.
Extension tools help you keep your feet on the ground, which is usually the safest option. Work slowly and rinse the tool frequently. High windows may require more patience because you are controlling the tool from a distance, but patience is cheaper than a visit to urgent care.
Step 12: Use Ladders Carefully, If Needed
If a ladder is necessary, place it on a stable, level surface. Do not set it on wet grass, loose gravel, uneven soil, or a wobbly patio chair that “seems fine.” Keep three points of contact when climbing, do not overreach, and avoid carrying a full bucket up the ladder.
Have another adult nearby when possible. Move the ladder instead of leaning far to one side. If a window feels too high, awkward, or risky, hire a professional. There is no shame in outsourcing the scary windows. Gravity has never lost an argument.
Step 13: Be Careful with Pressure Washers
Some homeowners use pressure washers for exterior cleaning, but windows require caution. High pressure can damage seals, force water behind siding, crack old glass, loosen caulk, or harm screens. If you use one, choose the lowest practical pressure, a wide spray tip, and an angled spray. Keep distance from the glass and avoid spraying directly into edges.
For many homes, a garden hose, soft scrubber, and squeegee are safer and more controlled. Pressure washers can be helpful for certain exterior surfaces, but window glass and seals deserve a gentle touch.
Step 14: Do a Final Spot Check
After the windows dry, walk around and check them from different angles. Streaks often appear when light hits the glass from the side. If you see a line, buff it with a clean, dry microfiber cloth. If you see mineral spots, try a vinegar solution and rinse again.
Look from inside the house too. Sometimes a mark that looks like it is outside is actually on the inside. Window cleaning has a way of humbling us all.
Best Homemade Cleaners for Outside Windows
Dish Soap Window Wash
Mix one gallon of warm water with a few drops of mild dish soap. This is excellent for outdoor grime because dish soap cuts through dirt, pollen, and light grease. Use only a small amount. Too much soap leaves residue, and residue attracts more dirt.
Vinegar Glass Cleaner
Mix equal parts distilled white vinegar and water. This works well for light mineral deposits, fingerprints, and general glass cleaning. For best results, spray it on the glass or apply it with a microfiber cloth, then squeegee dry.
Distilled Water Final Rinse
If your area has hard water, a final rinse with distilled water can help reduce spots. This is especially useful for small windows, French doors, or glass panels that show every little mark.
Common Mistakes to Avoid
Cleaning in Direct Sunlight
Sunshine makes cleaner evaporate fast, leaving streaks before you can squeegee. Work in shade whenever possible.
Using Too Much Soap
More soap does not mean more shine. A few drops are enough. Excess soap creates film and attracts dust.
Using Paper Towels
Paper towels can leave lint and break apart when wet. Microfiber cloths and squeegees produce better results.
Ignoring Frames and Tracks
Dirty frames drip dirty water onto clean glass. Always clean the surrounding areas first.
Overusing Pressure
Hard scrubbing, abrasive pads, razor blades, and pressure washers can damage glass coatings, seals, vinyl, paint, or screens. Start gentle and increase effort only when needed.
How Often Should You Wash Outside Windows?
Most homes benefit from washing outside windows at least twice a year, typically in spring and fall. However, your schedule may vary. If you live near a busy road, construction area, ocean, farm, or tree-heavy neighborhood, your windows may need cleaning more often.
After storms, pollen season, wildfire smoke, or heavy sprinkler exposure, spot cleaning may be helpful. The longer minerals and grime sit on glass, the harder they can be to remove.
When to Hire a Professional Window Cleaner
DIY window washing is practical for many single-story homes and accessible windows. However, hiring a professional is smart when windows are very high, difficult to reach, unusually large, fragile, or located above steep landscaping. Professionals have specialized poles, purified water systems, stabilizers, ladders, and safety equipment.
You should also consider professional help if your windows have severe hard-water stains, paint overspray, construction debris, or delicate coatings. A pro can identify the safest cleaning method and reduce the risk of scratching or damaging the glass.
Extra Experience: Real-Life Lessons from Washing Outside Windows
After washing plenty of outside windows, one lesson becomes obvious: the job is not difficult, but it rewards preparation. The first time many people clean exterior windows, they grab a spray bottle and a roll of paper towels, march outside with confidence, and return 30 minutes later with streaky glass and damp socks. The problem is not effort. The problem is using indoor habits on outdoor grime.
Outdoor windows need a rinse, a wash, and a dry. That three-part rhythm changes everything. Rinsing first removes grit that could scratch the surface. Washing with mild soap loosens the grime that plain glass cleaner cannot handle. Drying with a squeegee removes the dirty water instead of smearing it around. Once you understand that, window cleaning becomes less mysterious.
Another useful experience is learning that tools matter more than fancy chemicals. A good rubber-blade squeegee can outperform an expensive cleaner. A clean microfiber cloth can save you from lint and frustration. A telescoping pole can make a second-story window manageable without turning the afternoon into an extreme sport. Simple tools, used well, produce professional-looking results.
Timing also makes a huge difference. Cleaning windows on a hot sunny day sounds pleasant, but it usually creates streaks. The cleaner dries before you can remove it, and then you are stuck chasing cloudy lines across the glass. A cloudy morning may not feel glamorous, but it is perfect window weather. Your cleaning solution stays wet long enough to work, and the squeegee has time to do its job.
One practical trick is to clean one window completely before moving to the next. Do not soap five windows at once unless you are moving extremely fast. Outdoor air dries solution quickly, especially in warm weather. Work in sections: rinse, scrub, squeegee, wipe edges, inspect. Then move on. This method prevents half-dried soap from becoming stubborn streaks.
Frames deserve respect too. Many homeowners focus only on the glass, but dirty frames are often the reason windows still look dull. Dust collects in the sill, pollen sticks to the lower rail, and muddy water hides in corners. Cleaning the frame first keeps grime from dripping later. It also helps you notice maintenance issues, such as cracked caulk, blocked drainage holes, or peeling paint.
For homes with sprinklers, hard-water spots can be a recurring villain. Adjust sprinkler heads so they do not spray windows. It sounds small, but it can save hours of scrubbing. If spots already exist, vinegar and water may help with light mineral marks, but older deposits may require a specialty glass-safe mineral remover. Always test any product in a small area first.
The biggest experience-based lesson is to know your limits. Ground-level windows are usually a satisfying DIY project. High windows, steep ground, and awkward ladder positions are different. If you feel unsafe, stop. Hiring a professional for the difficult windows and cleaning the easy ones yourself can be the best balance of savings and safety.
Finally, clean windows have a surprisingly big emotional payoff. Rooms feel brighter. Plants look happier. The outside view becomes sharper. Even the house exterior looks better from the curb. It is one of those chores that quietly improves everything, like making the bed or clearing the kitchen counter. You may not notice every clean window individually, but you definitely notice the light.
Conclusion
Washing outside windows is simple when you follow a safe, organized process. Choose a cool cloudy day, remove loose dirt, clean screens and frames, wash the glass with mild soap or vinegar solution, and dry it with a squeegee and microfiber cloth. Work from top to bottom, avoid abrasive tools, use extension poles for high windows, and be cautious with ladders or pressure washers.
The secret to streak-free exterior windows is not magic. It is preparation, gentle cleaning, proper drying, and a willingness to wipe the edges instead of pretending the drips will behave. Follow these 14 steps, and your windows will look clearer, your rooms will feel brighter, and your home will enjoy the kind of sparkle that says, “Yes, responsible adults live here.” Even if the junk drawer tells a different story.