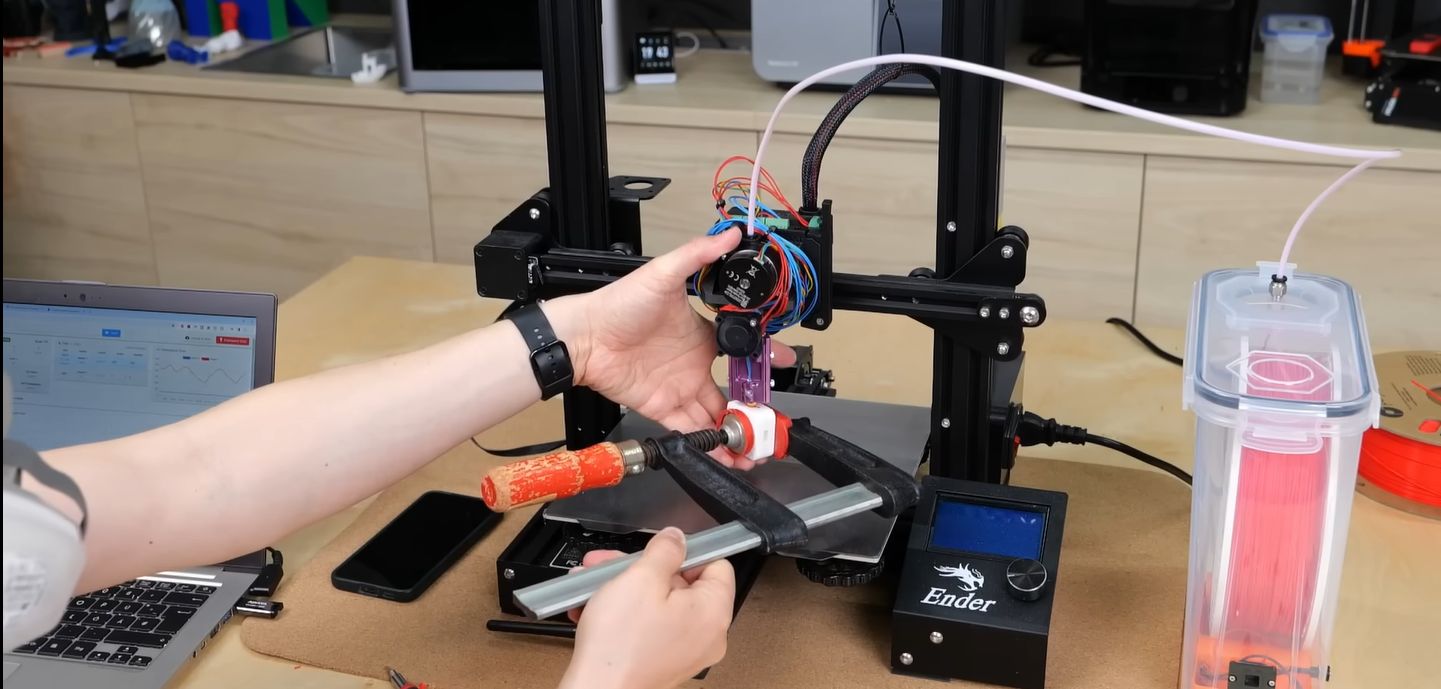
Injection molding using a 3D printer sounds like something a clever engineer would sketch on a napkin after too much coffee: “What if we made real molded plastic parts, but skipped the giant steel mold bill?” Surprisingly, that idea is not fantasy. It is now a practical bridge between one-off 3D printed prototypes and full-scale injection molding production.
To be clear, a regular desktop 3D printer does not magically become a 200-ton industrial injection molding press. It will not turn your garage into an automotive plastics factory overnight, and it definitely will not forgive sloppy mold design. But a 3D printer can play a powerful role in injection molding by creating low-cost mold inserts, prototype tooling, test cavities, and even experimental small-batch molds for benchtop injection machines.
This hybrid approach is known by several names: 3D printed injection molding, rapid tooling, low-volume injection molding, or 3D printed molds for injection molding. Whatever label you use, the goal is the same: produce real thermoplastic parts faster, cheaper, and with more design flexibility than traditional tooling allows.
What Does “Injection Molding Using A 3D Printer” Actually Mean?
The phrase can mean two related things. First, it can mean using a 3D printer to make the mold, then injecting plastic into that mold using a benchtop or industrial injection molding machine. This is the most common and most reliable method. Second, in the maker world, it can mean modifying or adapting 3D printer hardware to push molten filament into a mold. That second version is exciting, but it is also trickier because injection molding needs pressure, heat control, clamping force, and fast material flow.
For most businesses, product designers, and serious hobbyists, the better path is to use the 3D printer as a tool-making machine. Instead of waiting weeks for a machined aluminum or steel mold, you print a mold cavity in a heat-resistant resin or engineering material, mount it in a frame, and run a short production batch.
The result is not meant to replace hardened steel molds for hundreds of thousands of parts. It is meant to help you make 20, 50, 100, 500, or sometimes more parts before committing to expensive tooling. Think of it as the “try before you buy” plan for plastic manufacturing.
Why Combine 3D Printing and Injection Molding?
3D printing and injection molding are often compared as rivals, but in real product development they are more like teammates with very different personalities. 3D printing is flexible, fast, and great for changing designs. Injection molding is repeatable, scalable, and excellent for producing strong plastic parts in the final material.
When you combine them, you get a useful middle ground. A 3D printed mold allows teams to test molded parts without paying for final production tooling. This matters because a part that works beautifully as a printed prototype may behave differently when molded. Shrinkage, flow lines, gate marks, warping, cooling, sink marks, and ejection issues can all appear once molten plastic enters the chat.
For startups, this can save serious money. Instead of spending thousands or tens of thousands of dollars on a metal tool that may need changes, a team can print a mold, mold real parts, test them, revise the design, and repeat. The budget breathes. The engineer sleeps. The purchasing department stops making that face.
How The Process Works
1. Design The Part For Molding
The first step is designing the part as if it will be injection molded, not simply 3D printed. That means using consistent wall thickness, adding draft angles, avoiding unnecessary undercuts, rounding sharp internal corners, and thinking about how plastic will flow through the cavity.
Uniform wall thickness helps molten plastic fill the mold more evenly and reduces the risk of sink marks or warping. Draft angles help the molded part release from the cavity. Even a tiny vertical wall can become a stubborn little plastic barnacle if there is no draft. In many cases, 1 to 2 degrees of draft is a practical starting point, though deeper or textured features may need more.
2. Design The Mold
After the part is ready, the mold is designed around it. A typical 3D printed injection mold includes two halves: a cavity side and a core side. The design also needs a sprue, runner, gate, vents, alignment features, and a way to remove the part after molding.
The gate is where molten plastic enters the cavity. The vent allows trapped air to escape. Without venting, the mold may create short shots, burn marks, or bubbles. In other words, air needs an exit door. If it cannot leave politely, it will ruin the party.
Alignment pins or printed registration features are also important. When the mold halves close, they must meet accurately. A small mismatch can create flash, which is the thin unwanted plastic that squeezes out at the parting line. Flash is not dangerous, but it is annoying, especially when you have to trim it off 200 times.
3. Print The Mold
For mold printing, resin-based technologies such as SLA, DLP, and material jetting are commonly preferred because they can produce smooth surfaces and fine details. High-temperature, rigid, or glass-filled resins are often used because the mold must resist heat, pressure, and repeated clamping.
FDM printing can be used for some experimental molds, especially with stronger engineering materials, but layer lines, porosity, and lower surface quality can create problems. For serious low-volume molding, a rigid SLA resin mold usually gives better dimensional accuracy and surface finish.
Print orientation matters. The cavity surface should be positioned to reduce support marks in critical areas. Supports on the molding surface can leave scars that transfer directly to the molded part. Your mold does not need to be glamorous, but the cavity surface should not look like it lost a fight with a cheese grater.
4. Post-Process And Assemble
After printing, the mold is washed, cured, and inspected. Some molds may need sanding, polishing, or light machining on the back surfaces so they sit flat in a support frame. A metal mold frame or aluminum holder can improve stability, spread clamping force, and help protect the printed insert.
Post-curing is especially important for resin molds because it helps the material reach its final mechanical and thermal properties. Skipping proper curing is like baking bread for three minutes and wondering why it collapses.
5. Inject The Plastic
Once assembled, the mold is placed in a benchtop or industrial injection molding machine. The machine heats thermoplastic pellets or filament until the material flows, then injects it under pressure into the cavity. After cooling, the mold opens and the part is removed.
Process settings matter. Injection temperature, pressure, speed, clamping force, cooling time, and material choice all affect the final result. Softer or lower-temperature materials are usually easier on printed molds. High-temperature plastics such as polycarbonate or some nylons may be harder because they demand more heat and pressure.
Best Materials For 3D Printed Injection Molds
The ideal mold material is stiff, heat-resistant, dimensionally stable, smooth, and strong enough to survive clamping and injection pressure. In practice, every material is a compromise. High-temperature resins can resist heat but may be brittle. Tough resins can handle impact but may soften sooner. Engineering filaments can be durable but may lack fine surface detail.
Common mold-printing materials include high-temperature SLA resins, rigid ceramic-filled resins, digital ABS-like materials, nylon-based materials, and reinforced engineering plastics. For short runs, many teams choose SLA rigid or high-temp resins because they deliver excellent detail and a smooth cavity surface.
The plastic being injected also matters. Polypropylene, polyethylene, ABS, acetal, TPU, and similar materials are often more approachable for small molds depending on the machine and temperature. More demanding materials require better tooling, tighter process control, and a willingness to sacrifice a few test shots to the manufacturing gods.
Design Tips For Better Results
Add Draft Early
Draft angles make parts easier to eject and reduce stress on the printed mold. Add draft during part design, not at the very end when the model is already a complicated digital lasagna.
Use Generous Vents
Small vents allow air to escape as plastic fills the cavity. Poor venting can cause incomplete filling, trapped gas, and ugly surface defects. Venting is not glamorous, but neither is explaining to your client why every part has a mysterious burn mark.
Keep Walls Consistent
Consistent wall thickness helps plastic flow and cool evenly. Thick sections can create sink marks, long cooling times, and internal stress. If strength is needed, use ribs instead of simply making everything chunky.
Make Gates Larger Than You Think
Printed molds are less thermally conductive than metal molds, so plastic can cool faster as it flows. Larger gates and runners may help improve filling, especially in low-pressure or benchtop systems.
Support The Printed Mold
A printed insert often works best inside a metal frame. The frame helps resist clamping force and reduces the chance of cracking or distortion. The printed mold handles the shape; the frame handles the muscle.
Advantages Of Injection Molding With A 3D Printer
The biggest advantage is speed. A printed mold can often be made in hours or days instead of weeks. That makes it easier to test several designs before ordering final tooling.
The second advantage is cost. Printed molds are dramatically cheaper than traditional metal molds for small batches. This does not mean they are always cheaper per part, especially if the mold fails early, but the upfront investment is much lower.
The third advantage is design learning. A printed mold teaches you how the part behaves when molded. You can study gate location, parting lines, shrinkage, ejection, surface quality, and material performance before locking in a production tool.
Finally, this approach is excellent for bridge production. If a company needs a few hundred functional parts for field testing, pilot customers, trade shows, or certification samples, 3D printed molds can fill the gap before full production begins.
Limitations You Should Not Ignore
3D printed molds are not magic. They have limited life, lower thermal conductivity, and lower pressure resistance than metal tools. They may crack, wear, deform, or lose detail after repeated cycles. Mold life can range from a handful of shots to dozens or hundreds depending on the geometry, material, injection settings, and mold support.
Cycle times can also be slower because printed polymer molds do not cool parts as efficiently as aluminum or steel. That matters if you are trying to make thousands of parts. A steel mold is still the champion of high-volume production. It is expensive, but it keeps showing up to work.
Surface finish is another consideration. SLA molds can create smooth surfaces, but any print artifact, support mark, or layer line may appear on the molded part. Polishing helps, but it adds labor.
Part geometry must also be realistic. Simple shapes, shallow features, and forgiving materials work best. Deep ribs, thin walls, long flow paths, fine threads, and aggressive undercuts can turn a promising project into a dramatic little plastic soap opera.
3D Printed Mold Vs. Traditional Metal Mold
A traditional aluminum or steel mold is stronger, more durable, more thermally efficient, and better suited for production volumes. It is the right choice when the part design is stable and demand is high.
A 3D printed mold is faster, cheaper upfront, and easier to change. It is the right choice when the design is still evolving, the production run is small, or the goal is validation rather than mass production.
Here is the simplest way to think about it: use 3D printed molds to learn quickly; use metal molds to manufacture confidently.
Can You Use A 3D Printer Itself As An Injection Molding Machine?
Technically, some experimenters have modified 3D printer extruders, hot ends, or filament systems to push melted plastic into small molds. This can work for very small parts and educational experiments, but it is not the easiest route. A normal 3D printer is designed to deposit a thin bead of plastic, not force a large amount of molten material into a closed cavity under high pressure.
The main challenges are pressure, flow rate, temperature stability, and clamping. Injection molding needs enough pressure to fill the mold before the plastic freezes. A standard hot end may not move material fast enough. The mold also has to stay closed tightly, or plastic will escape through the parting line like toothpaste under attack.
For practical results, a benchtop injection molding machine is usually better. The 3D printer makes the mold; the injection machine does the injecting. Each tool gets to do what it is good at. Harmony is restored.
Who Should Use This Method?
Injection molding using a 3D printer is ideal for product developers, hardware startups, university labs, small manufacturers, makers, and engineering teams that need real molded parts without immediately investing in production tooling.
It is especially useful for testing snap fits, living hinges, threaded caps, enclosures, clips, brackets, soft grips, overmolded concepts, and small consumer product components. It can also help teams validate how a production resin behaves before ordering a machined mold.
However, it may not be ideal for large parts, high-pressure materials, tight cosmetic requirements, or high-volume manufacturing. If the part must be flawless, glossy, and produced by the tens of thousands, traditional tooling is still the safer bet.
Safety Considerations
Small-scale injection molding involves heat, pressure, molten plastic, and sometimes fumes. Wear eye protection, heat-resistant gloves, and appropriate clothing. Work in a ventilated area. Respect the machine’s temperature and pressure limits. Do not clamp a brittle printed mold as if it were hardened steel.
Also, test gradually. Start with lower pressures, easier materials, and simple geometries. Inspect the mold after every few shots. Cracks, bulging, sticking, or flashing are signs that the process needs adjustment.
Practical Experiences And Lessons From The Workshop
Real-world experience with 3D printed injection molds tends to teach one lesson very quickly: the mold is only half the story. The other half is process discipline. Many beginners assume the printed mold will either work or fail based only on the resin or printer. In reality, a good result comes from the entire workflow: part design, mold design, print orientation, curing, polishing, clamping, injection temperature, pressure, cooling time, and patient troubleshooting.
A common first mistake is designing the mold too delicately. A printed mold needs more support than a metal mold because polymer tooling can flex, crack, or heat-soak. Thin mold walls may look efficient in CAD, but once clamping pressure arrives, they can behave like a nervous cookie. Adding thickness around the cavity, using a metal backing plate, or placing the printed insert inside an aluminum frame can dramatically improve mold life.
Another practical lesson is that gate location matters more than beginners expect. A poorly placed gate can create incomplete filling, visible flow marks, weak weld lines, or trapped air. For a simple flat part, a central or edge gate may work. For a longer part, the gate may need to feed the thickest area first. The best gate is not always the prettiest gate; it is the one that lets plastic fill the cavity before cooling into a stubborn lump.
Venting is also a frequent “aha” moment. New mold designers often focus on where plastic enters, but forget where air exits. The result is a part that fills almost completely, then stops just before the finish line. Adding small vents at the end of flow paths can turn a frustrating short shot into a clean part. It feels like magic, but it is really just letting trapped air leave the room.
Surface finish is another area where experience pays off. A shiny CAD model does not guarantee a shiny molded part. If the printed cavity has support marks, dust, uncured resin residue, or tiny ridges, the molded plastic may copy those flaws. Careful washing, full curing, sanding, and polishing can make a major difference. For functional parts, a few marks may not matter. For customer-facing parts, they absolutely do.
Material choice can make or break the project. Lower-temperature plastics are generally easier for printed molds, while high-temperature engineering plastics may shorten mold life. Many small shops begin with forgiving materials and simple shapes before moving to tougher resins or more complex geometry. This staged approach reduces frustration and keeps the learning curve from turning into a wall.
Cooling time also deserves respect. Because printed molds do not pull heat away as quickly as metal molds, rushing the cycle can cause soft parts, distortion, or sticking. Waiting a little longer can feel inefficient, but it often saves the batch. The mold may be temporary, but patience should be permanent.
The biggest practical benefit is confidence. Once a team molds even a small batch successfully, it gains real data: how the resin shrinks, where the part sticks, whether the clip snaps properly, whether the thread works, and whether the design is ready for aluminum or steel tooling. That information is much more valuable than a perfect-looking prototype that has never faced molten plastic under pressure.
In short, injection molding using a 3D printer is not a shortcut around engineering. It is a shortcut to learning. Used wisely, it helps teams discover problems earlier, iterate faster, and spend big tooling money only after the design has earned it.
Conclusion
Injection molding using a 3D printer is one of the most useful hybrid manufacturing strategies available to modern product teams. It brings together the speed and flexibility of additive manufacturing with the material performance and repeatability of injection molding. For low-volume production, prototype tooling, bridge manufacturing, and design validation, 3D printed molds can save time, reduce upfront costs, and reveal problems before they become expensive.
Still, this method works best when expectations are realistic. A printed mold is not a forever tool. It is a fast, affordable, experimental tool. It needs good design, careful material selection, proper curing, smart venting, enough draft, and controlled injection settings. Treat it with respect and it can produce impressive molded parts. Treat it like steel and it may crack under pressure, both literally and emotionally.
For makers, startups, and engineers, the message is simple: do not choose between 3D printing and injection molding too early. Use 3D printing to test, learn, and build the mold. Use injection molding to create real plastic parts. Together, they make product development faster, smarter, and a lot more fun.