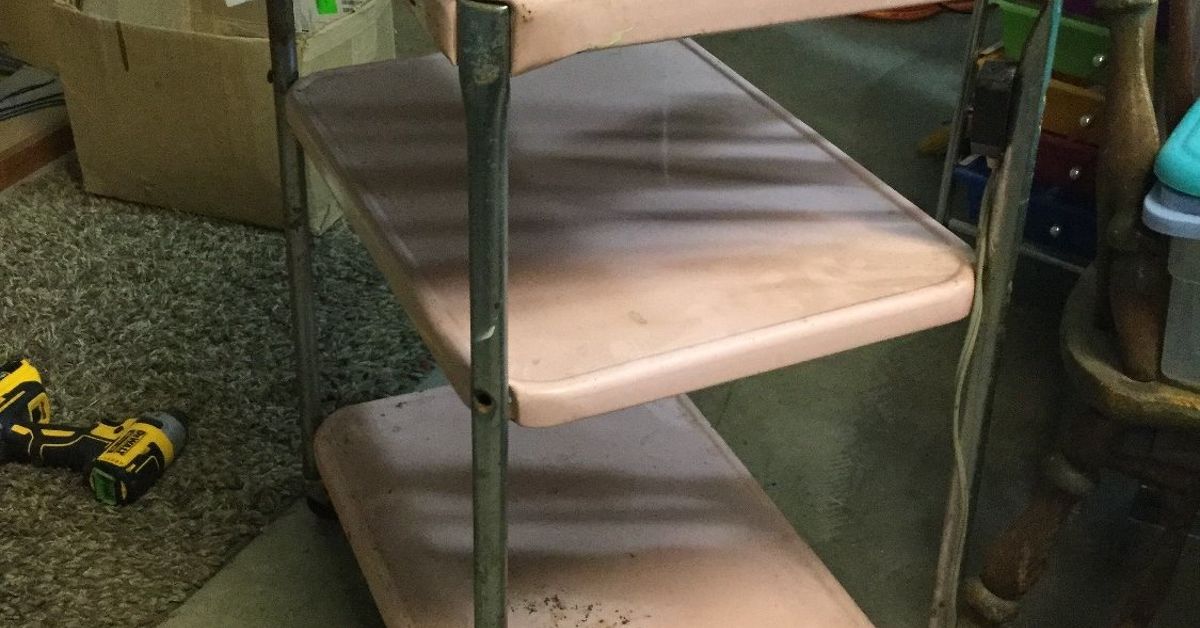
An old kitchen cart is one of those humble pieces that quietly does everything: holds the toaster, stores the mixing bowls, catches the mail, hides the mystery scissors, and somehow becomes a snack station during every family gathering. But after years of rolling, bumping, spilling, and absorbing kitchen chaos, even the sturdiest cart can start looking like it has survived a small appliance war.
The good news? You do not need to replace it. With the right cleaning, sanding, primer, paint, and patience, you can turn a tired cart into a fresh, functional, personality-packed kitchen helper. This DIY kitchen cart makeover is beginner-friendly, budget-friendly, and deeply satisfying. It is also a great way to practice furniture painting without committing to a giant dining table or your entire cabinet systembecause nobody wants their first paint project to become a kitchen-wide emotional support situation.
In this guide, you will learn how to paint an old kitchen cart DIY style, from choosing the right paint to sealing the finish so it can handle real kitchen life. We will cover wood carts, laminate carts, metal details, drawers, shelves, butcher-block tops, wheels, hardware, and the little mistakes that make paint peel faster than a bad sunburn.
Why Painting an Old Kitchen Cart Is Worth It
A kitchen cart may be small, but it has a big visual impact. Because carts are often placed in open areas, near islands, beside counters, or against blank walls, a freshly painted cart can act like a mini kitchen makeover. Instead of spending hundreds on a new piece, you can refresh the one you already own with a quart of paint, a little prep work, and a weekend of focused effort.
Painting is also a smart choice when the cart is structurally sound but cosmetically tired. Scratches, faded stain, yellowed varnish, dated colors, and mismatched hardware can all be fixed. If the cart rolls properly, has solid shelves, and does not wobble like a nervous shopping cart, it is probably a great candidate for a DIY repaint.
Before You Start: Inspect the Cart Carefully
Before opening a paint can, take five minutes to study your kitchen cart. This step sounds boring, but it saves you from discovering halfway through the project that one wheel is broken, one shelf is loose, and the top is coated in something mysterious from 2009.
Check the Surface Material
Most kitchen carts are made from wood, engineered wood, laminate, metal, or a combination of these materials. Solid wood is the easiest to sand and paint. Laminate can also be painted, but it needs a strong bonding primer because slick surfaces do not naturally welcome paint with open arms. Metal frames or handles may need rust removal and a primer made for metal.
Look for Grease and Kitchen Residue
Kitchen furniture collects grease even when it looks clean. Cooking oils, steam, fingerprints, flour dust, and cleaning sprays can create a thin film that stops primer from sticking. If you skip degreasing, the paint may bubble, scratch, or peel. In other words, cleaning is not optionalit is the handshake between your cart and the new finish.
Be Careful With Very Old Paint
If your cart is vintage, antique, or has unknown old paint, do not aggressively sand it until you know whether lead-based paint could be present. Older painted furniture can contain hazardous coatings. Use a lead test kit or consult a qualified professional before sanding or scraping. Safety is not the glamorous part of DIY, but neither is inhaling mystery dust.
Tools and Supplies You Will Need
You do not need a professional workshop to paint a kitchen cart, but having the right supplies makes the project smoother and less frustrating. Gather everything before you begin so you are not standing in the middle of the project with wet primer and a sudden need for sandpaper.
- Drop cloth or plastic sheeting
- Screwdriver or drill for removing hardware
- Painter’s tape
- Degreasing cleaner or mild dish soap
- Clean rags or microfiber cloths
- Wood filler for dents and holes
- Putty knife
- 120-, 180-, and 220-grit sandpaper or sanding sponges
- Tack cloth or damp cloth for dust removal
- Bonding primer or stain-blocking primer
- Furniture paint, cabinet paint, enamel paint, chalk paint, or acrylic paint
- Angled brush for corners
- Small foam roller or microfiber roller
- Clear topcoat, polyurethane, polycrylic, or furniture wax
- Protective gloves, mask, and eye protection
Step 1: Remove Hardware, Drawers, Shelves, and Wheels
Start by taking the cart apart as much as reasonably possible. Remove knobs, handles, towel bars, hooks, drawers, removable shelves, and wheels if they come off easily. Label screws in small bags if needed. This prevents the classic DIY moment where you finish painting beautifully and then realize one screw has vanished into another dimension.
Removing hardware helps you paint cleaner edges and avoid chunky paint buildup around handles. If the wheels cannot be removed, wrap them with painter’s tape and plastic. If your cart has a butcher-block top that you do not want to paint, tape it off carefully and protect it with paper or plastic.
Step 2: Clean the Cart Like You Mean It
Cleaning is the most underrated part of painting old furniture. For a kitchen cart, it is especially important because grease can hide in corners, around rails, under shelves, and near drawer pulls. Use a degreasing cleaner, TSP substitute, or warm water with dish soap. Scrub gently but thoroughly, then wipe everything with clean water to remove residue.
Let the cart dry completely before sanding. Paint and primer do not love damp surfaces. If water gets into joints or wood grain, give it extra drying time. A cart may look dry on the outside while still holding moisture in seams.
Step 3: Repair Dents, Scratches, and Loose Areas
Once the cart is clean, inspect it again. Fill deep scratches, dents, nail holes, or old hardware holes with wood filler. Apply filler with a putty knife, smooth it slightly above the surface, and let it dry according to the product instructions. Then sand the patched areas until they are flush with the surrounding surface.
If a shelf wiggles, tighten screws or add wood glue where appropriate before painting. Paint makes a cart prettier, but it does not magically repair bad structure. It is decoration, not a licensed contractor.
Step 4: Sand for Better Adhesion
Sanding does not always mean stripping the cart down to raw wood. In most cases, you only need to scuff the surface so primer can grip. Use 120- to 180-grit sandpaper for rough or glossy areas, then smooth with 220-grit. Sand in the direction of the wood grain when working with real wood.
For laminate, the goal is to dull the slick surface without sanding through the top layer. For metal, sand away rust, flaking paint, or glossy patches. After sanding, remove dust with a vacuum, tack cloth, or slightly damp cloth. Dust left behind can create gritty paint, and nobody wants a kitchen cart that feels like it was finished at the beach.
Step 5: Tape Off Areas You Do Not Want Painted
Use painter’s tape to protect edges, butcher-block tops, metal rails, drawer interiors, wheel brackets, or decorative areas you want to keep natural. Press the tape firmly so paint does not bleed underneath. For curved areas, use smaller pieces of tape rather than forcing one long strip to behave like a gymnast.
If the cart has a top surface used for food prep, think carefully before painting it. Many DIYers paint the base and shelves but leave the top as stained wood, butcher block, stainless steel, or sealed natural wood. Painted tops can be beautiful, but they need a tough, safe, washable finish and should not be used as a direct cutting surface.
Step 6: Choose the Right Primer
Primer is the difference between a paint job that lasts and a paint job that flakes off when you look at it too firmly. Choose primer based on the cart’s surface and condition.
For Bare Wood
A quality multipurpose primer usually works well. It seals the surface and helps paint apply evenly.
For Stained or Dark Wood
Use a stain-blocking primer. Old stain, tannins, and dark finishes can bleed through lighter paint, leaving yellow or brown discoloration. Stain-blocking primer helps prevent that problem.
For Laminate or Glossy Surfaces
Use a bonding primer designed for slick surfaces. This gives your paint something to grip and is especially important on manufactured furniture.
For Metal Parts
Use a metal primer, especially if there is any rust or exposed metal. Rust-inhibiting primer is a smart choice for carts with metal frames or hardware.
Apply primer in thin, even coats. Use a brush for corners and a small roller for flat surfaces. Let the primer dry fully, then lightly sand with 220-grit sandpaper for a smoother finish. Wipe away dust before painting.
Step 7: Pick the Best Paint for a Kitchen Cart
A kitchen cart gets more abuse than a decorative side table. It may be touched daily, bumped by chairs, splashed with water, and used for storage. Choose a durable paint that can handle wiping and wear.
Cabinet Paint
Cabinet paint is an excellent choice because it is designed for high-touch kitchen surfaces. It usually levels well, dries hard, and resists frequent cleaning.
Furniture Enamel
Furniture enamel creates a tough, smooth finish. Satin and semi-gloss sheens are popular because they are easier to wipe than flat paint.
Chalk Paint
Chalk paint can create a soft, matte, vintage look and often sticks well with less sanding. However, it usually needs wax or a clear topcoat for kitchen durability.
Acrylic or Latex Paint
High-quality acrylic or latex paint can work well if paired with proper primer and a protective topcoat. Avoid cheap wall paint for high-use furniture unless you enjoy touch-ups as a lifestyle.
For most old kitchen cart DIY projects, satin or semi-gloss cabinet paint is a safe, practical choice. It looks polished without highlighting every tiny flaw.
Step 8: Apply the First Coat of Paint
Stir the paint well. Do not shake it unless the manufacturer says to, because shaking can introduce bubbles. Start with the detailed areas using an angled brush. Paint corners, rails, edges, legs, and around shelves first. Then use a small roller for broad flat surfaces.
Apply thin coats. Thick paint may look satisfying at first, but it can drip, sag, stay tacky, and cure poorly. Think of paint like pancake batter: more is not always better, especially when it starts sliding down the side.
Brush with the grain on wood. Roll in long, even strokes on flat panels. Watch for drips under shelves and around edges. Kitchen carts have lots of sneaky underside areas where paint likes to gather and make tiny stalactites.
Step 9: Sand Lightly Between Coats
After the first coat dries, lightly sand with 220-grit sandpaper or a fine sanding sponge. This step smooths brush marks, dust nibs, and small raised areas. Do not sand aggressively; you are polishing the surface, not punishing it.
Remove dust carefully before the next coat. A clean surface gives the second coat a smoother, more professional look. If the first coat looks patchy, do not panic. First coats often look like they are making questionable life choices. The second coat is where the transformation becomes real.
Step 10: Apply the Second Coat
Apply the second coat using the same method: brush details first, roll flat areas, and keep coats thin. Most kitchen carts need two coats of paint after primer. If you are painting a dark cart white or using a bold color like navy, green, or black, you may need a third coat for full coverage.
Let each coat dry according to the paint label. Dry-to-touch does not mean fully cured. A surface can feel dry but still be soft underneath. Be patient, especially before placing appliances, baskets, or heavy items on the cart.
Step 11: Seal the Finish for Kitchen Durability
A protective topcoat is highly recommended for a kitchen cart, especially on shelves, drawer fronts, rails, and surfaces that will be handled often. A water-based polycrylic is a good option for light-colored paint because it dries clear and has lower odor than many oil-based finishes. Polyurethane is very durable but may amber over time, especially over white or pale colors.
Apply the topcoat in thin layers with a high-quality synthetic brush or applicator. Follow the grain when possible and avoid over-brushing. Let each coat dry, sand lightly if recommended, and apply additional coats for better protection. Three thin coats are often better than one heavy coat.
If using chalk paint, you can seal with furniture wax for a soft finish or a clear topcoat for more durability. In a kitchen, a wipeable topcoat is often more practical than wax alone.
Step 12: Reassemble the Cart
Once the paint and topcoat are dry enough to handle, carefully reinstall hardware, shelves, drawers, towel bars, hooks, and wheels. If the old hardware looks dated, this is the perfect time to upgrade it. New knobs can make a budget cart look custom.
Be gentle during reassembly. Fresh paint can scratch before it cures fully. Use a soft cloth under tools and avoid dragging metal pieces across the new finish. If screws feel tight, go slowly so you do not chip paint around the hardware holes.
Step 13: Let the Paint Cure Before Heavy Use
Curing is different from drying. Dry paint is safe to touch. Cured paint has hardened enough to resist daily wear. Depending on the product, humidity, temperature, and number of coats, curing can take several days to several weeks. During this time, avoid placing heavy appliances, wet towels, sticky jars, or sharp baskets on the cart.
If you need to use the cart right away, keep it light. Add felt pads under appliances or storage bins. Use trays to protect shelves. Treat the cart like a freshly baked cookie: technically solid, but not ready for rough handling.
Color Ideas for an Old Kitchen Cart
The best color depends on your kitchen style, but a kitchen cart is a great place to experiment. Since it is smaller than cabinets, you can use color without overwhelming the room.
Classic White
White makes a cart feel clean, bright, and timeless. It works well in farmhouse, coastal, cottage, and modern kitchens. Use a stain-blocking primer if painting over dark wood.
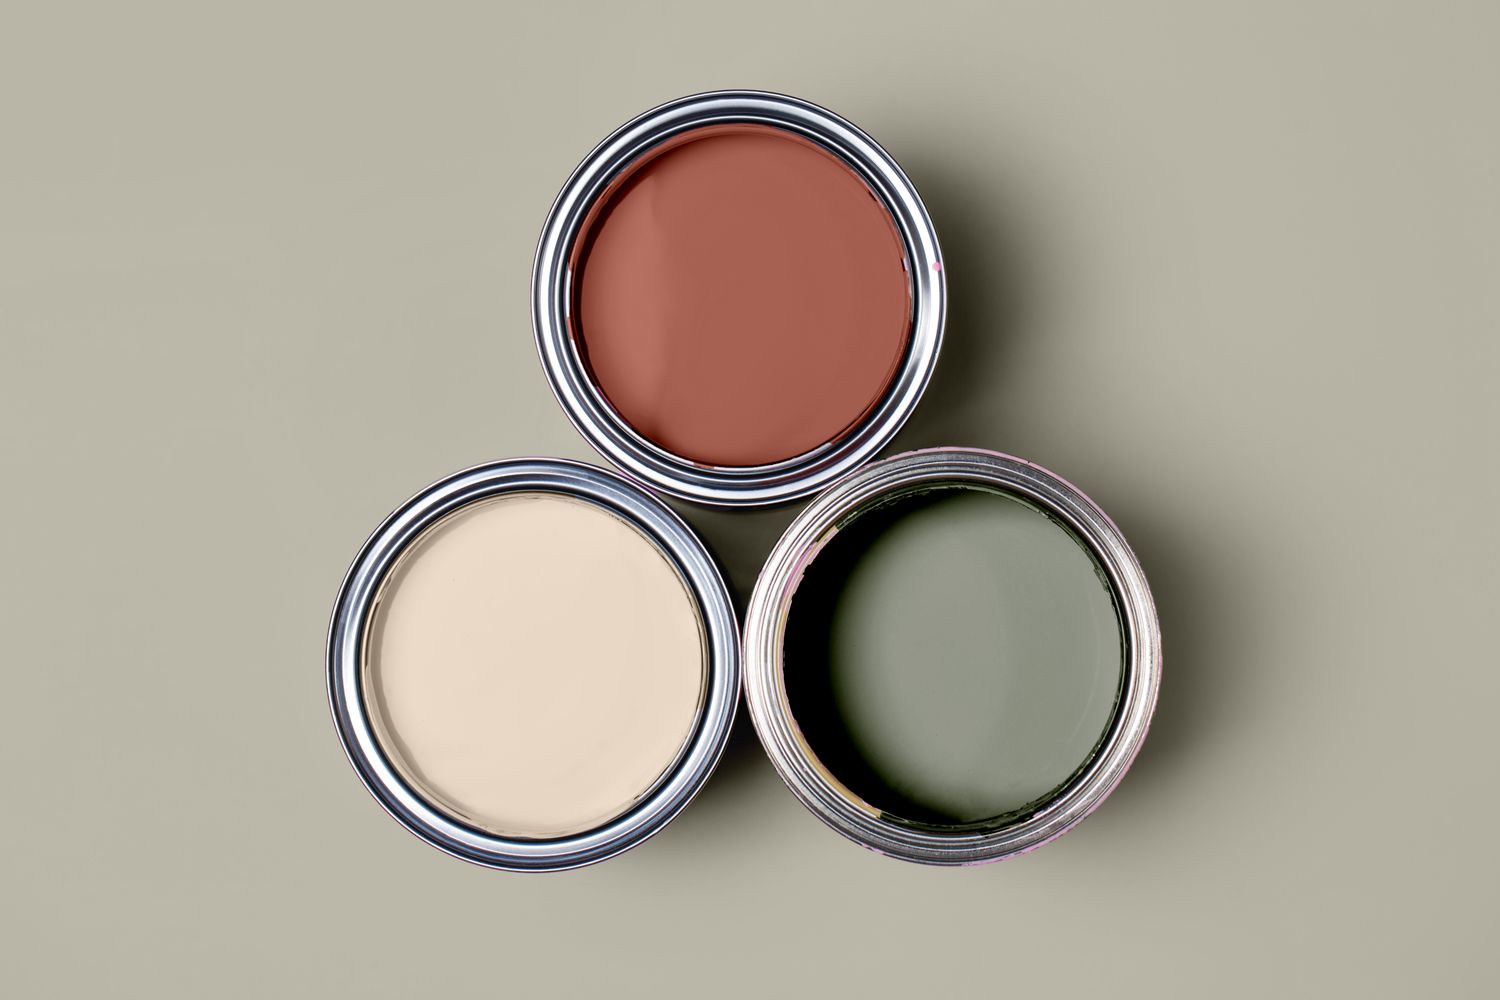
Soft Sage Green
Sage green is warm, calm, and kitchen-friendly. It pairs beautifully with butcher block, brass hardware, white tile, and natural baskets.
Navy Blue
Navy gives an old cart a polished, almost built-in look. It works especially well with stainless steel, marble, butcher block, or gold hardware.
Matte Black
Black can turn a basic cart into a bold accent piece. Choose satin or semi-gloss if you want easier cleaning.
Warm Cream or Greige
Cream, beige, and greige are forgiving colors that hide dust and fingerprints better than stark white. They also blend well with wood floors and neutral kitchens.
Common Mistakes to Avoid
The most common mistake is skipping prep. Paint does not fix grease, dust, loose finish, or glossy laminate. It simply sits on top and eventually gives up. Clean thoroughly, sand lightly, and prime correctly.
Another mistake is rushing dry time. If you apply the second coat too soon, the paint may wrinkle, drag, or stay sticky. Always follow the product label. Your patience will show in the final finish.
Using the wrong paint is also a problem. Flat wall paint may look good for a week, but kitchen carts need washable, durable finishes. Choose cabinet paint, furniture enamel, or another hard-wearing product.
Finally, do not forget the underside and back. A cart is movable, which means people can see angles that are usually hidden on fixed furniture. Paint the visible undersides, shelf edges, and back panels for a complete look.
How to Maintain a Painted Kitchen Cart
After your cart is finished, clean it gently. Use a soft cloth and mild soap instead of harsh scrubbers. Avoid abrasive pads, ammonia-heavy cleaners, and soaking water. Wipe spills quickly, especially coffee, wine, tomato sauce, oil, and anything that looks like it could permanently move in.
Add liners to shelves if you store pots, pans, or canned goods. Use trays under coffee makers, mixers, or plants. Check wheels occasionally and tighten screws if the cart starts wobbling. A little maintenance keeps the paint looking fresh longer.
of Real-Life Experience: What Painting an Old Kitchen Cart Teaches You
Painting an old kitchen cart sounds like a small project, but it teaches almost every lesson of furniture refinishing in one compact, rolling package. The first lesson is that old kitchen furniture is usually dirtier than it looks. Even a cart that seems “basically clean” can hide grease around handles, crumbs in drawer tracks, and sticky residue under the top edge. The cleaning stage may feel slow, but it is where the success of the project begins. When I have seen DIYers struggle with peeling paint, the cause is often not the paint itselfit is the invisible layer of kitchen grime underneath it.
The second lesson is that sanding is more about texture than destruction. Beginners often think they must remove every bit of old finish, but most projects only need scuff sanding. You are not trying to erase the cart’s entire past. You are just giving primer a surface it can grab. A light, even sanding does more good than aggressive sanding that leaves swirl marks or uneven patches. On corners and edges, especially, gentle sanding helps preserve the shape of the piece.
The third lesson is that primer deserves respect. It is tempting to skip primer when the paint label promises great coverage, but an old kitchen cart is a high-use piece. Primer helps block stains, improve adhesion, and create a more even base. If the cart has a glossy finish, laminate panels, dark stain, or repaired areas, primer becomes even more important. A good primer is like insurance for your weekend effort.
The fourth lesson is that thin coats win. Many people want instant coverage, so they load the brush with too much paint. That leads to drips, tackiness, visible brush marks, and long drying times. Thin coats may look disappointing at first, but they build a smoother, stronger finish. A second or third thin coat almost always looks better than one thick coat. This is especially true on cart legs, rails, and shelf edges, where heavy paint can collect quickly.
The fifth lesson is that color changes the personality of the cart. A white cart feels clean and classic. A green cart feels charming and garden-fresh. A black cart feels modern and intentional. A navy cart can make even a thrift-store piece look expensive. Hardware matters too. Replacing basic knobs with brass, matte black, brushed nickel, or ceramic pulls can make the finished project look designed rather than merely repainted.
The final lesson is patience. A freshly painted cart may look finished, but the finish still needs time to cure. If you immediately place a microwave, coffee machine, or heavy basket on top, you may create dents or sticky marks. Give the cart breathing room. Let the finish harden. The reward is a piece that not only looks better but works better in your kitchen. And there is something especially satisfying about rolling a once-forgotten cart back into place and realizing you did not just paint furnitureyou rescued it.