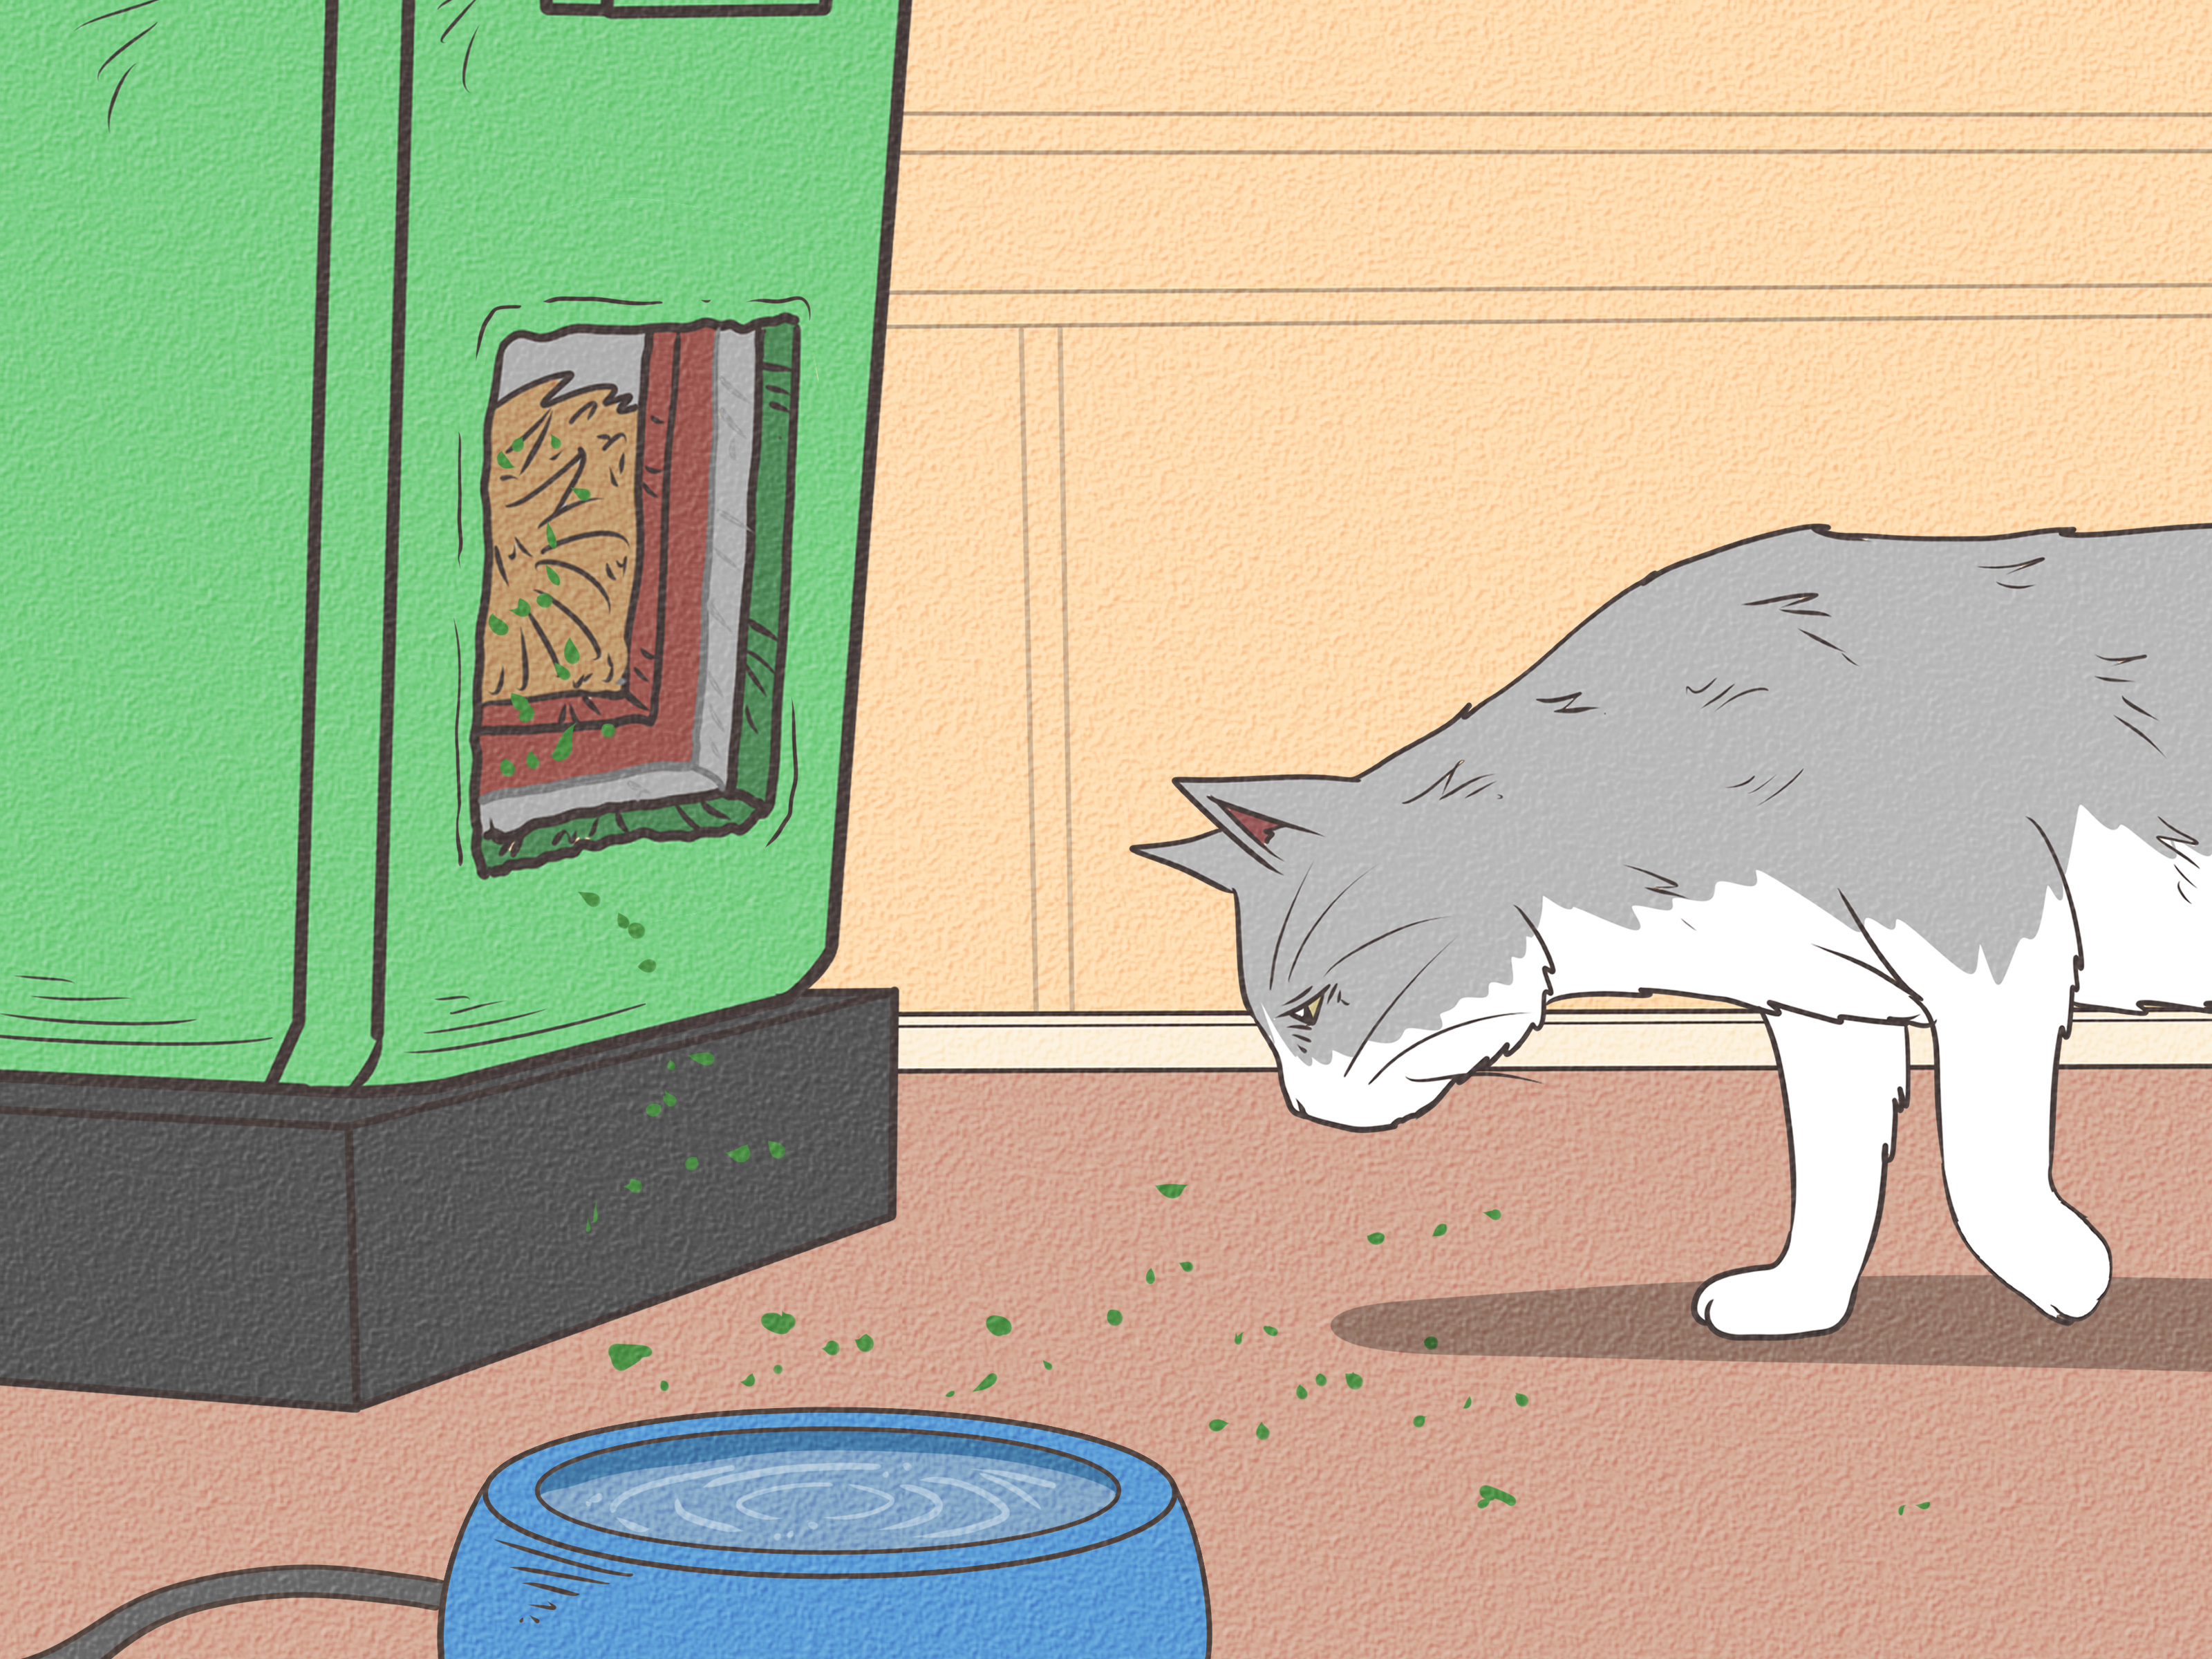
Outdoor cats are tougher than they look, but even the most street-smart whisker warrior needs help when cold wind, rain, snow, and damp ground show up like an unpaid utility bill. A well-built insulated cat house gives stray, feral, barn, or community cats a dry, protected place to conserve body heat without relying on unsafe hiding spots such as car engines, crawl spaces, or under-porch mystery caves.
The good news: you do not need to be a professional carpenter, engineer, or person who owns seventeen different saws. You can make a warm, practical, weather-resistant cat shelter with a plastic storage tote, a foam cooler, straw, tape, and a sharp utility knife. For a sturdier version, you can build a wooden insulated cat house with rigid foam board and exterior-grade materials. Either way, the goal is the same: keep the shelter small, dry, wind-blocked, raised off the ground, and filled with moisture-resistant bedding.
This complete DIY guide explains how to make an insulated cat house step by step, what materials work best, what mistakes to avoid, where to place the shelter, and how to maintain it through winter. Think of it as a tiny cabin project, except the tenant pays rent in slow blinks and judgmental stares.
Why an Insulated Cat House Matters
Cats naturally seek warm, quiet hiding places in cold weather. Unfortunately, some of those places are dangerous. Outdoor cats may crawl under car hoods for engine warmth, squeeze into sheds, or hide in areas where they can become trapped. A properly placed outdoor cat shelter gives them a safer alternative.
Insulation matters because cats stay warmer by trapping body heat. A huge shelter may look generous, but it can actually be harder for a cat to warm up. Smaller shelters hold heat better, especially when packed with the right bedding. The ideal DIY cat house is large enough for a cat to enter, turn around, curl up, and burrow into straw, but not so large that heat disappears into empty space.
Best Materials for an Insulated Outdoor Cat Shelter
Before building, choose materials that resist moisture, block wind, and are easy to clean or replace. The shelter does not need to win a home design award. It needs to stay dry, stable, and cat-approved.
Recommended Materials
- Plastic storage tote: A 30- to 50-gallon tote works well for a simple shelter.
- Foam cooler: Thick foam coolers are lightweight, waterproof, and naturally insulated.
- Rigid foam board: Useful for lining walls, floor, and roof in wooden or plastic shelters.
- Straw: The best bedding for outdoor cat shelters because it repels moisture and lets cats burrow.
- Heavy-duty duct tape or waterproof tape: Helps seal cut edges and secure insulation.
- Utility knife or hole saw: Needed to cut the entrance.
- Bricks, wood blocks, or pallets: Used to raise the shelter off cold, wet ground.
- Exterior plywood or lumber: Best for a long-lasting wooden insulated cat house.
- Outdoor-safe caulk: Helps seal small gaps in wooden shelters.
Materials to Avoid
Avoid blankets, towels, folded shirts, newspapers, and soft fabric bedding in outdoor shelters. They may feel cozy indoors, but outside they absorb moisture and can become cold, damp, and uncomfortable. Hay is also not ideal because it absorbs moisture and can become moldy. Straw is different from hay: straw is the dry stalk of grain plants and is much better for insulation.
How Big Should an Insulated Cat House Be?
For one average cat, a shelter about 18 inches tall, 18 inches wide, and 24 inches long is usually enough. For two bonded cats, you can go slightly larger, but do not build a mansion. Cats are not hosting brunch. They need a snug space that traps warmth.
The doorway should be small, usually around 5 to 6 inches wide. A small entrance blocks wind and helps keep larger animals out. If you are caring for big cats, adjust slightly, but avoid cutting a giant opening. The entrance should be just large enough for a cat to pass through comfortably.
DIY Option 1: Plastic Tote and Foam Cooler Cat House
This is one of the easiest and most affordable insulated cat house designs. It is beginner-friendly, lightweight, and practical for community cats, backyard visitors, and temporary winter shelter.
Supplies You Need
- One large plastic storage tote with lid
- One foam cooler that fits inside the tote
- Straw for bedding
- Utility knife or hole saw
- Marker
- Waterproof tape
- Bricks, pallet, or wood blocks for elevation
Step 1: Mark the Entrance
Place the foam cooler inside the tote before cutting so the entrance lines up through both layers. Use a marker to draw a 5- to 6-inch circle or square on one short side of the tote. Position the entrance a few inches above the floor to reduce drafts, splashback, and snow intrusion.
Step 2: Cut the Opening
Carefully cut through the plastic tote and the foam cooler. A utility knife works, but go slowly. Plastic can crack if you rush. If the cut edge is sharp, cover it with waterproof tape so no cat scratches its shoulders while entering. Cats are dramatic enough without adding a doorway injury.
Step 3: Add Straw Bedding
Loosely fill the bottom of the shelter with straw, ideally up to about one-quarter or one-half of the interior space. Do not pack it flat like a mattress. Cats like to burrow into loose straw, creating a warm pocket around their bodies.
Step 4: Seal the Lid
Put the foam cooler lid on first, then secure the plastic tote lid over it. If rain or snow is common in your area, add waterproof tape around the lid seam or place a slightly larger board over the top as a sloped roof. The roof should shed water, not collect it like a tiny swamp tray.
Step 5: Raise the Shelter
Set the shelter on bricks, wood blocks, or a pallet. Elevation keeps the floor away from frozen soil, puddles, and melting snow. It also helps prevent moisture from wicking into the shelter. Make sure the base is stable so the shelter does not wobble when a cat steps inside.
DIY Option 2: Wooden Insulated Cat House
A wooden insulated cat house takes more effort but lasts longer and looks more polished. This option is ideal if you want a permanent outdoor cat house for a porch, barn, backyard, or protected side yard.
Supplies You Need
- Exterior-grade plywood
- 2×2 lumber for framing
- Rigid foam insulation board
- Outdoor screws
- Waterproof wood glue
- Outdoor-safe caulk
- Asphalt shingles, corrugated plastic, or waterproof roof panel
- Straw bedding
- Non-toxic exterior paint or sealant
Step 1: Build a Small Box Frame
Create a simple rectangular frame using 2×2 lumber. A good starting size is 24 inches long, 18 inches wide, and 18 inches high for one cat. Attach plywood panels to the frame for the floor and walls. Leave the top removable or hinged so you can clean and refresh bedding.
Step 2: Add Insulation
Cut rigid foam board to fit inside the walls, floor, and roof. Cover the foam with thin plywood or another protective inner layer so cats cannot scratch or chew it. Insulation works best when it stays dry and intact.
Step 3: Cut the Entrance
Cut a 5- to 6-inch doorway on one side. If predators or bully cats are a concern, consider adding a second exit on another wall. Two exits can help a cat escape if another animal blocks one doorway. However, two doors may also create more drafts, so place them carefully and shield them from direct wind.
Step 4: Weatherproof the Exterior
Seal cracks with outdoor-safe caulk, then paint or seal the outside with a non-toxic exterior finish. Add a sloped waterproof roof so rain and snow slide off. A flat roof may look neat in the garage, but outside it becomes a birdbath with commitment issues.
Step 5: Add Straw and Place the Shelter
Once the shelter is dry and odor-free, add loose straw. Place the house in a quiet location, raised off the ground, with the entrance facing away from prevailing wind. If possible, position it near a wall, fence, porch, or shrub line for extra protection.
Where to Place an Outdoor Cat House
Location can make or break your shelter. Cats prefer quiet, low-traffic spots where they can see their surroundings and avoid feeling trapped. A noisy, exposed location may cause them to ignore the shelter completely, even if you built it with the enthusiasm of a tiny-home reality show contestant.
Choose a spot that is:
- Protected from wind, rain, and drifting snow
- Raised above puddles and frozen ground
- Away from busy sidewalks, driveways, and loud doors
- Close enough for feeding and maintenance
- Discreet, especially in neighborhoods with community cats
If the shelter is lightweight, weigh it down with a board, bricks, or a heavy roof panel. Do not block the entrance. In snowy areas, check regularly so cats do not get snowed in or locked out by ice buildup.
How to Keep the Cat House Warm Without Unsafe Heat
Most insulated cat houses do not need electricity if they are small, dry, elevated, and filled with straw. Passive warmth is safer and more reliable than improvised heating. Never use a regular household heating pad, lamp, space heater, candle, or extension cord setup that is not rated for outdoor animal use. Fire hazards and curious cats are a terrible combination.
If you live in an extremely cold climate, you may consider outdoor-rated heated pet pads or heated water bowls, but use only products designed for outdoor use and follow all manufacturer instructions. Place cords where animals cannot chew them, and avoid running cords through standing water or snow.
Food and Water Tips for Outdoor Cats in Winter
A shelter is only one part of winter care. Outdoor cats also need reliable food and water. Wet food offers moisture and calories, but it can freeze quickly in low temperatures. Dry food is easier to leave outside, though it should be protected from snow and other animals.
Water is especially important because outdoor water sources freeze. Use a heated water bowl if you can do so safely. If not, choose a deep, dark-colored bowl, place it in a sunny spot, and refill it often with warm water. Avoid metal bowls in freezing weather because tongues and paws can stick to very cold metal. Nobody wants their cat shelter project to turn into a slapstick winter emergency.
Maintenance: How to Keep the Shelter Clean and Dry
Even the best insulated cat house needs seasonal maintenance. Check the shelter after storms, heavy rain, and temperature swings. Replace damp or dirty straw immediately. Before winter begins, inspect the structure for cracks, leaks, loose lids, sharp edges, or chewed insulation.
At least once or twice during winter, refresh the straw completely. In spring, empty and clean the shelter, let it dry, and store it or convert it for warm-weather shade. If the shelter is used year-round, keep it ventilated in summer and place it in deep shade.
Common Mistakes to Avoid
Making the Shelter Too Large
Bigger is not always better. A small shelter helps cats conserve body heat. Oversized shelters may feel roomy, but they are harder to warm.
Using Blankets Instead of Straw
Blankets and towels absorb moisture. Once damp, they pull heat away from the cat. Straw is the better choice for outdoor winter bedding.
Putting the Shelter Directly on the Ground
Cold ground and moisture can chill the shelter from below. Always elevate it a few inches using bricks, blocks, or a pallet.
Facing the Door Into the Wind
A doorway pointed into strong wind turns a cozy shelter into a cold-air tunnel. Face the entrance toward a protected area.
Skipping Regular Checks
Shelters can shift, leak, freeze, or become blocked by snow. A quick inspection can prevent a small problem from becoming a feline housing crisis.
How to Help a Cat Start Using the Shelter
Some cats walk into a new shelter immediately. Others stare at it like it owes them money. That is normal. Cats are cautious, especially feral and community cats. Place the shelter near an area where the cat already feels safe. Do not put food inside the sleeping area because it can attract raccoons, insects, and other animals. Instead, feed nearby in a separate protected spot.
You can sprinkle a small amount of catnip near the entrance or place a tiny trail of treats leading toward the shelter. Avoid forcing a cat inside. If the shelter smells strongly of plastic, paint, or glue, air it out before use. Cats have sensitive noses and may reject a shelter that smells like a hardware store sneezed.
Practical Experiences and Field-Tested Lessons
After comparing many real-world outdoor cat shelter setups, one lesson appears again and again: simple usually wins. The shelter that actually gets used is not always the prettiest one. It is the one placed in the right spot, kept dry, filled with straw, and left undisturbed long enough for cats to trust it.
A common experience among caretakers is that cats may ignore a brand-new shelter for several days or even weeks. This can feel discouraging, especially after you spent an afternoon cutting plastic, taping edges, and explaining to your family why there is straw in the hallway. But cats are creatures of habit. Moving the shelter closer to their normal travel path, turning the entrance away from open space, or tucking it beside a fence can make a dramatic difference.
Another useful lesson is to build more than one shelter if multiple cats visit your property. Not all cats want to share, even when the weather is rude. A colony may have social groups, shy cats, bossy cats, and one large tabby who believes every structure is his personal vacation home. Several smaller shelters often work better than one big shelter because they reduce conflict and hold heat more efficiently.
Maintenance also matters more than most beginners expect. Straw that stays dry can last a while, but once it becomes wet, it loses much of its value. Caretakers often learn to check bedding after sideways rain, thaw-freeze cycles, and snowstorms. A removable lid is not just convenient; it is sanity-saving. If you cannot easily open the shelter, you will put off cleaning it. Then the cat will put off using it. Everyone loses, especially the cat.
Weight and stability are another real-world concern. Lightweight foam shelters are warm and affordable, but strong wind can move them. Adding a plywood roof, setting the shelter inside a covered area, or bracing it with bricks can keep it steady. Just make sure the entrance remains clear and the shelter does not become difficult for the cat to access.
Finally, the best insulated cat house is part of a broader care routine. Fresh water, dependable feeding, safe placement, and winter checks all work together. A shelter is not a magic box; it is a tool. When built thoughtfully, it gives outdoor cats a better chance to stay warm, dry, and safe through harsh weather. And while the cat may never thank you directly, it may sit inside the shelter, blink slowly, and pretend the whole thing was its idea. In cat language, that is basically a standing ovation.
Conclusion
Learning how to make an insulated cat house is one of the most practical ways to help outdoor cats during cold or wet weather. The best design does not have to be expensive or complicated. A sturdy plastic tote with a foam cooler insert can work beautifully, while a wooden insulated cat house offers a longer-lasting option for permanent placement.
Focus on the essentials: small interior space, straw bedding, raised base, waterproof roof, protected entrance, and regular maintenance. Avoid moisture-trapping bedding, oversized designs, unsafe heat sources, and exposed locations. With a little planning and a modest supply list, you can create a warm, dry retreat that helps outdoor cats conserve energy and avoid dangerous sheltering spots.
In other words, you are not just building a box. You are building a tiny winter survival suite for a creature who may still act unimpressed. That is fine. Cats invented emotional minimalism.