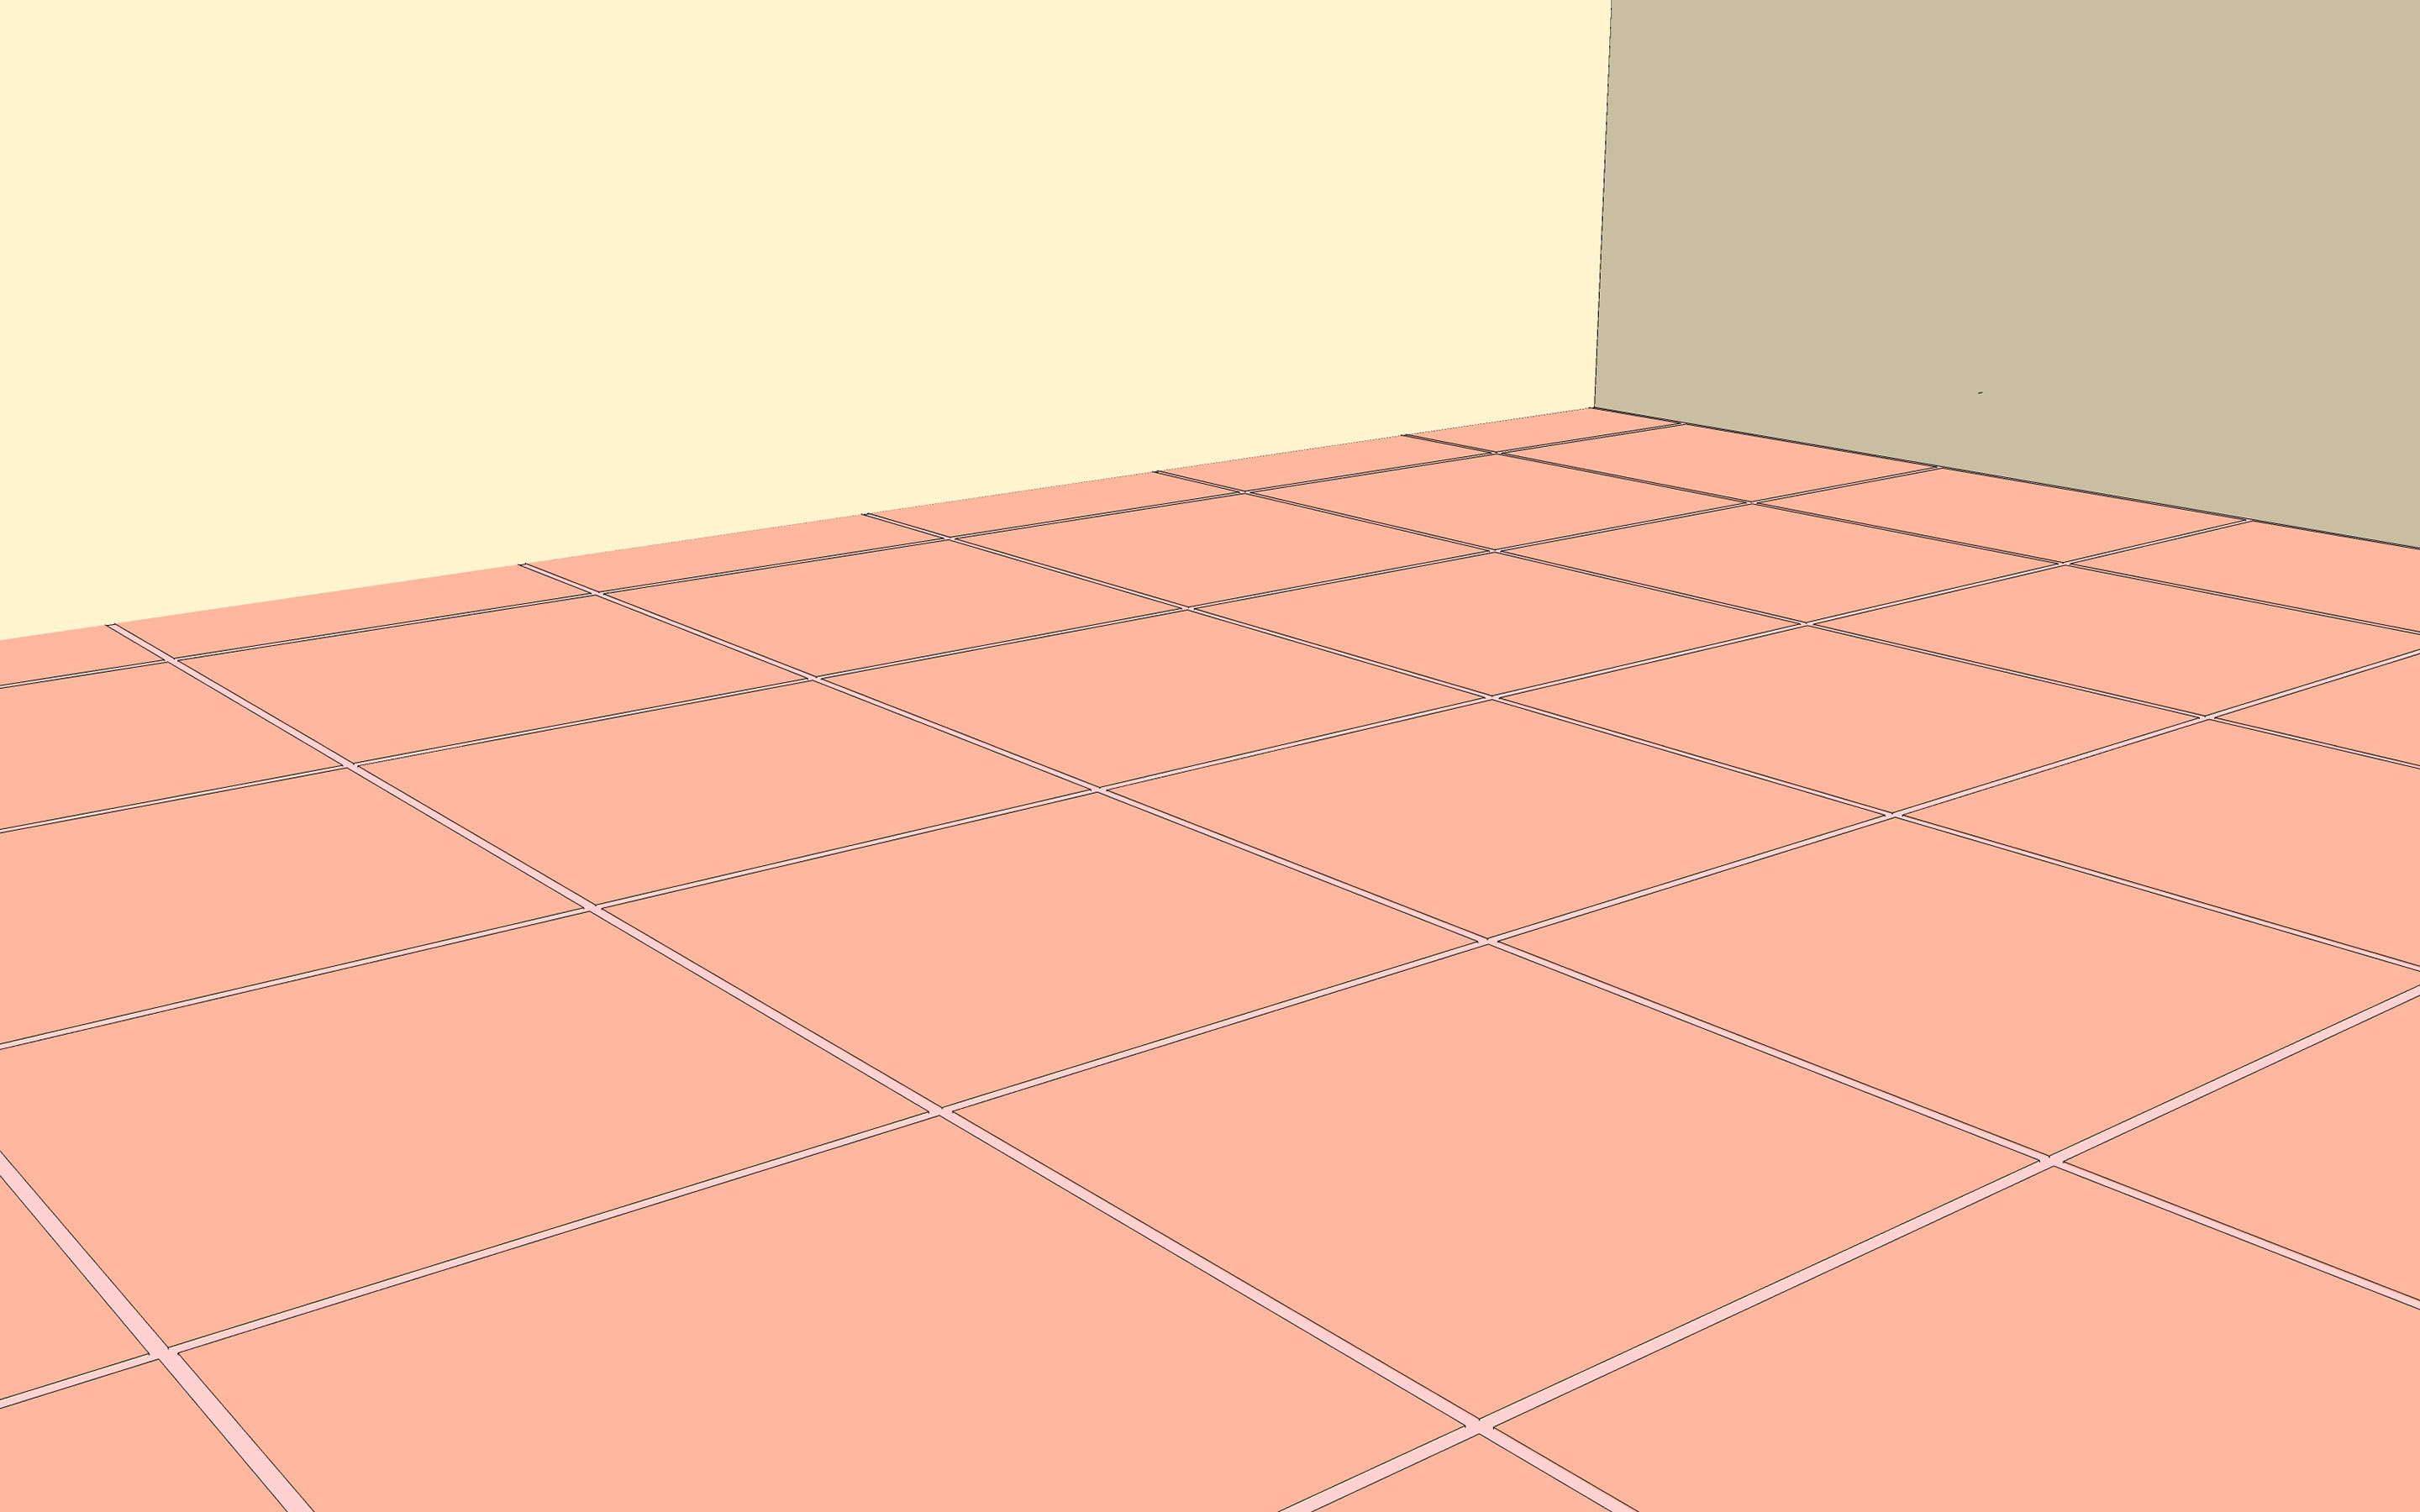
Laying a ceramic or porcelain tile floor is one of those home improvement projects that looks intimidating until you break it into smaller steps. Then it becomes less like “advanced construction sorcery” and more like “measure twice, mix carefully, and please do not step in the mortar.” A well-installed tile floor can handle muddy shoes, kitchen spills, bathroom humidity, pet traffic, and the occasional dropped coffee mug with heroic patience.
The key is not rushing. Ceramic and porcelain tile are durable, but they are not forgiving of a wobbly subfloor, random layout lines, dry mortar, or grout applied like cake frosting during a panic. The best tile installations start before the first tile touches the floor: with planning, surface preparation, smart material choices, and a realistic understanding of curing time.
This step-by-step guide explains how to lay a ceramic or porcelain tile floor in a practical, homeowner-friendly way. You will learn how to prepare the subfloor, choose the right underlayment, create clean layout lines, spread thinset mortar correctly, cut tile, grout the joints, and finish the floor so it looks polished instead of “weekend project with regrets.”
Before You Begin: Ceramic vs. Porcelain Tile
Ceramic and porcelain tile are often mentioned together because both are made from fired clay materials, both are available in countless colors and styles, and both can create a hard, long-lasting floor. The main difference is density. Porcelain tile is typically fired at higher temperatures and made with more refined clay, making it denser, harder, and less absorbent than standard ceramic tile. That makes porcelain a strong choice for bathrooms, kitchens, entryways, laundry rooms, and other high-traffic or moisture-prone areas.
Ceramic tile is usually easier to cut and often more budget-friendly. It works well in many interior spaces, especially where the floor will not be exposed to heavy impact or frequent moisture. Porcelain can be tougher on tools, so a wet saw or high-quality tile cutter may be necessary. In other words, ceramic is the friendly neighbor who lends you a cup of sugar; porcelain is the gym coach who expects your tools to be in shape.
Tools and Materials You Will Need
Having the right tools nearby makes tile installation smoother and far less dramatic. At minimum, gather ceramic or porcelain floor tile, thinset mortar, grout, tile spacers, a notched trowel, a grout float, a rubber mallet, a level, measuring tape, chalk line, buckets, sponge, knee pads, safety glasses, gloves, and a tile cutter or wet saw. Depending on your floor, you may also need cement backer board, an uncoupling membrane, waterproofing tape, screws, backer board tape, primer, self-leveling underlayment, or a floor patching compound.
Buy 10% to 15% extra tile for cuts, waste, future repairs, and that one tile you will inevitably cut backward while confidently telling yourself, “I’ve got this.” If using patterned tile, large-format tile, or diagonal layouts, lean toward the higher end of the extra-tile range.
Step 1: Check the Floor Structure and Subfloor
A tile floor is only as good as the surface beneath it. Before installing tile, remove old flooring, adhesive residue, loose material, baseboards, and any debris. Sweep and vacuum thoroughly. Tile needs a clean, stable, flat surface. If the subfloor flexes, squeaks, crumbles, or has high and low spots, the tile may crack or loosen later.
Wood Subfloors
For wood subfloors, check for movement. Walk across the room and listen for squeaks. Screw down loose panels and replace damaged sections. Tile should not be installed directly over standard plywood without an approved tile underlayment system. Cement backer board or an uncoupling membrane is commonly used to create a more suitable tile substrate. Follow the product manufacturer’s instructions carefully, especially for screw spacing, mortar type, seams, and tape.
Concrete Subfloors
Concrete should be clean, dry, structurally sound, and free of paint, sealers, curing compounds, grease, or dust. Fill cracks and low spots with an appropriate patching material. If the slab has moisture issues, address them before installing tile. Tile is tough, but trapped moisture can still cause bond failure, efflorescence, or other problems that make your beautiful new floor act like it has a secret grudge.
Step 2: Make the Floor Flat, Not Just “Looks Fine” Flat
Tile does not bend to match a wavy floor. Large-format tile especially needs a very flat surface because long edges can highlight lippage, which is when one tile edge sits higher than the next. Use a long level or straightedge to check the floor in several directions. Mark low areas and high spots.
Small imperfections can often be corrected with floor patch or self-leveling underlayment. High spots in concrete may need grinding. Wood subfloors may need reinforcement or underlayment correction. This is the least glamorous part of the job, but it is also the part that keeps the finished floor from looking like a ceramic potato chip.
Step 3: Install the Right Underlayment
Underlayment helps separate the tile from movement in the subfloor and creates a better bonding surface. The right option depends on the room, subfloor, tile size, and moisture exposure.
Cement Backer Board
Cement backer board is commonly installed over wood subfloors. It is usually embedded in thinset mortar and fastened with approved backer board screws. The seams are taped with alkali-resistant mesh tape and covered with thinset. Do not skip the thinset under the board; it fills voids and supports the panel.
Uncoupling Membrane
An uncoupling membrane is another popular option, especially for bathrooms, kitchens, and concrete slabs. It allows small amounts of movement beneath the tile assembly without transferring all that stress directly to the tile. Some membranes can also be waterproofed at the seams with special tape. This is especially useful in bathrooms and laundry rooms, where water has a talent for finding the one place you forgot to protect.
Step 4: Plan the Tile Layout
Layout separates a professional-looking tile floor from one that screams, “We started in the corner and hoped for the best.” Start by measuring the room and finding the center points of opposite walls. Snap chalk lines between those points to create intersecting reference lines. Check that the lines are square using the 3-4-5 method: measure 3 feet along one line, 4 feet along the perpendicular line, and confirm the diagonal between those marks is 5 feet.
Dry lay a row of tile in both directions, using spacers to account for grout joints. Look at the cuts near the walls. Avoid narrow slivers of tile along highly visible edges. If the final row is too skinny, shift the layout so the cut tiles on opposite sides are more balanced. In a bathroom, try to place cleaner, fuller tiles in the most visible areas, such as the doorway, vanity area, or tub edge.
Step 5: Mix Thinset Mortar Correctly
Thinset mortar bonds the tile to the floor. Choose the mortar recommended for your tile, substrate, and underlayment. Some installations require modified thinset; some uncoupling membranes call for unmodified thinset or a specific product. The bag is not decorative reading materialit is the rulebook.
Add clean water to a bucket first, then gradually add dry mortar while mixing with a drill and paddle. Aim for a creamy peanut-butter consistency that holds trowel ridges without being dry and crumbly. Let the mortar slake, or rest, for the time listed by the manufacturer, then remix without adding extra water. Mix only what you can use during the product’s working time. Mortar that begins to harden in the bucket should not be “revived” with more water.
Step 6: Spread the Mortar the Right Way
Use the flat side of the trowel to key mortar into the substrate first. This creates a stronger mechanical bond. Then add more mortar and comb it with the notched side of the trowel. Keep the ridges straight and running in one direction rather than swirling them around like abstract art. Straight ridges collapse more easily when the tile is pressed in, helping reduce air pockets under the tile.
For larger tile, use a trowel size recommended by the tile or mortar manufacturer. Large-format porcelain tile often needs more mortar coverage and may require back-buttering, which means applying a thin coat of mortar to the back of the tile before setting it. Periodically lift a tile after placing it to check coverage. If you see too many empty areas, adjust your trowel size, mortar technique, or back-buttering method.
Step 7: Lay the First Tiles
Start at your reference line, not necessarily against a wall. Spread mortar over a small section that you can tile before the mortar skins over. Place the first tile carefully, then press it into the mortar with a slight back-and-forth motion perpendicular to the trowel ridges. Add spacers on all sides and continue along the line.
Check alignment often. Use a level or straightedge to monitor flatness. Tap tiles gently with a rubber mallet if needed, but do not pound them into submission like you are negotiating with a stubborn jar lid. Keep the grout joints clean as you work. Thinset left between tiles can interfere with grout later.
If you are using tile leveling clips, install them as directed. They can help reduce lippage, especially with large-format tile, but they do not replace proper floor prep or mortar coverage. Think of them as helpful assistants, not miracle workers.
Step 8: Cut Edge Tiles and Obstacles
Once full tiles are placed, measure and cut the edge pieces. For straight cuts in ceramic tile, a manual tile cutter may work well. For porcelain, thick tile, notches, or repeated cuts, a wet saw is often the better tool. Use tile nippers for small curves and a diamond hole saw for pipes or toilet flanges.
Measure each cut individually because walls are rarely perfectly straight. Mark the tile clearly and remember to leave room for the grout joint and perimeter expansion gap. Dry fit cut pieces before setting them in mortar. This little habit saves time, tile, and vocabulary you probably should not use around small children.
Step 9: Leave Expansion Gaps and Movement Space
Tile expands and contracts with temperature, moisture, and building movement. Leave a small gap around the perimeter of the room, at walls, cabinets, pipes, and fixed objects. This gap is usually hidden later by baseboards or shoe molding. Do not fill perimeter gaps with hard grout. Use an appropriate flexible sealant where needed.
In larger rooms, sunlit spaces, or areas with moisture and temperature swings, movement joints may be needed within the tile field. These joints help prevent stress from building up under the tile. Without room to move, tile can crack, tent, or pop loose. That is not a design feature; that is the floor filing a complaint.
Step 10: Let the Mortar Cure
After the tile is installed, stay off the floor until the mortar has cured according to the manufacturer’s directions. Many standard installations require at least 24 hours before grouting, but timing can vary based on tile size, mortar type, humidity, temperature, and substrate. Porcelain tile is dense, so mortar may cure more slowly than it would under more absorbent materials.
Do not rush this stage. Walking on tile too soon can shift pieces, break the bond, or create uneven spots. The floor may look finished, but underneath it is still setting up. Give it time to become the strong, silent surface you wanted.
Step 11: Apply Grout
Remove spacers before grouting. Mix grout according to the package instructions, using clean water and a clean bucket. Spread grout with a rubber float held at an angle, pressing it firmly into the joints. Move diagonally across the tile so the float does not dig grout back out of the joints.
After the grout begins to firm up, wipe the surface with a damp sponge. Rinse the sponge often and avoid using too much water, which can weaken or discolor grout. Once a haze forms, buff it away with a dry microfiber cloth or cheesecloth. If haze remains after curing, use a grout haze remover approved for your tile type.
Step 12: Caulk Edges and Seal Grout if Needed
Use flexible caulk, not grout, where the tile meets walls, tubs, cabinets, thresholds, or other changes in plane. These areas move differently than the tile field, so a flexible joint helps prevent cracking.
Many cement-based grouts benefit from sealing after they cure, although some modern grouts are stain-resistant and may not require it. Always check the grout manufacturer’s instructions. Ceramic and porcelain tile surfaces usually do not need sealing, but grout joints are more porous and more likely to absorb stains. In kitchens, bathrooms, and entryways, sealing grout can make maintenance much easier.
Common Mistakes to Avoid
Skipping Surface Preparation
Installing tile over a dirty, uneven, flexible, or damaged floor is asking for trouble. Preparation is not optional; it is the foundation of the entire project.
Starting Against the Wall Without a Layout Plan
Walls are often out of square. If you use a crooked wall as your guide, the tile pattern may drift across the room. Use reference lines and dry layout first.
Using the Wrong Mortar
Not all thinset mortars work with every tile or membrane. Match the mortar to the tile, substrate, and installation system.
Letting Mortar Skin Over
If mortar sits too long before tile is placed, the surface can dry and lose bonding strength. Spread smaller sections and keep checking the mortar with your finger.
Ignoring Lippage
Uneven tile edges are easier to correct while the mortar is wet. Check as you go instead of discovering the problem the next morning with your bare feet.
How Long Does It Take to Lay a Tile Floor?
A small bathroom tile floor may take a weekend for an experienced DIYer, not including shopping and preparation. A kitchen, laundry room, or large entryway may take several days. The schedule often looks like this: one day for demolition and subfloor prep, one day for underlayment, one day for tile installation, one day for curing, one day for grouting, and additional time before heavy use.
Do not plan to tile the only bathroom in the house at 7 p.m. on a Sunday unless your household enjoys adventure. Tile projects reward patience and punish optimism.
Maintenance Tips for Ceramic and Porcelain Tile Floors
Once your floor is installed, maintenance is simple. Sweep or vacuum regularly to remove grit that can dull the surface. Mop with warm water and a mild, tile-safe cleaner. Avoid harsh chemicals, oil-based soaps, and abrasive pads. Clean spills promptly, especially on grout lines. Place mats at entrances to reduce tracked-in dirt.
Inspect grout and caulk occasionally. If caulk cracks or pulls away, remove and replace it before water gets behind the tile. If grout becomes stained, clean it with a grout-safe brush and cleaner. A properly installed tile floor can last for decades, but even a tough floor appreciates a little attention.
Real-World Experience: Lessons From Laying a Tile Floor Step by Step
The first lesson from laying ceramic or porcelain tile is that the floor tells the truth. You can convince yourself that a small dip “probably will not matter,” but the tile will remember. One of the smartest things you can do is spend more time on preparation than you think is reasonable. Clean the surface twice. Check flatness from multiple angles. Stand in the doorway and look at where your eyes naturally fall. That is where bad cuts and crooked lines will be noticed first.
Another practical tip is to open several tile boxes and mix pieces from each box as you work. Even tiles from the same product line can have slight shade differences. Mixing boxes helps the finished floor look intentional rather than striped. Before setting anything permanently, dry lay enough tile to understand the pattern, spacing, and cuts. This is especially important with wood-look porcelain planks, patterned ceramic tile, or tiles with directional markings.
Keep two buckets nearby: one for mortar work and one for clean water. Change the water often while sponging grout. Dirty water simply moves haze around, which is the tile equivalent of cleaning your windshield with soup. Also, clean thinset from the tile face and grout joints as you go. Dried mortar is much harder to remove later, and scraping too aggressively can damage the tile surface.
Knee pads are not a luxury. They are a survival tool. Tile work means kneeling, shifting, reaching, measuring, and standing up repeatedly while trying not to disturb freshly set tile. Comfortable knee pads, gloves, and eye protection make the job safer and more pleasant. Good lighting also matters. A shadowy room can hide lippage, crooked joints, and grout haze until the next morning, when sunlight walks in and starts pointing fingers.
When cutting tile, label pieces lightly with painter’s tape if the layout is complicated. Mark “left wall,” “door cut,” or “vanity side” so you do not mix up similar pieces. Cut slowly, especially with porcelain. For visible cuts, let the saw do the work instead of forcing the tile through the blade. Rushing creates chips, crooked edges, and the kind of frustration that makes people stare silently at power tools.
The final lesson is to respect curing time. A tile floor can look ready before it is ready. Mortar and grout need time to harden properly. Avoid heavy furniture, rolling loads, and aggressive cleaning until the products have cured according to the manufacturer’s directions. The reward for patience is a floor that feels solid, looks clean, and makes the whole room feel upgraded. And yes, once it is done, you are allowed to admire it from the doorway like you just built a small palace.
Conclusion
Learning how to lay a ceramic or porcelain tile floor step by step is all about preparation, layout, and patience. The visible tile is only the final layer of the system. Beneath it are the decisions that determine whether the floor lasts: a stable subfloor, the right underlayment, proper mortar coverage, accurate cuts, clean grout joints, and enough movement space around edges.
For DIYers, the project is absolutely possible with the right tools and a careful pace. Start with a flat, clean floor. Plan the layout before mixing mortar. Work in small sections. Check your coverage. Keep everything clean as you go. Let each layer cure before moving to the next step. Do those things, and your new tile floor will not just look good on installation dayit will keep looking good after years of shoes, spills, pets, guests, and everyday life.
Note: This guide is intended for standard interior residential tile floors. Always follow the instructions from your tile, mortar, grout, membrane, and underlayment manufacturers. For structural damage, heated floors, shower pans, exterior installations, or major moisture problems, consult a qualified tile professional.


