Few shrubs can stage a spring performance quite like a rhododendron. One week, it is a respectable mound of glossy green leaves. The next, it appears to have hired an entire floral production crew, complete with enormous clusters of pink, purple, white, red, or yellow blooms.
Despite their glamorous appearance, rhododendrons are not impossible to grow. They are simply particular. Give them acidic soil, excellent drainage, steady moisture, and relief from scorching afternoon sun, and they can remain handsome for decades. Put them in soggy clay beside a blazing west-facing wall, however, and they may begin composing a farewell letter before you finish putting away the shovel.
This guide explains how to grow rhododendron plants in 15 practical steps, from choosing a climate-appropriate cultivar to preventing root rot, leaf scorch, nutrient problems, and disappointing bloom seasons. The recommendations apply broadly across the United States, but gardeners should always adjust them for local rainfall, winter temperatures, soil type, and summer heat.
Understanding Rhododendron Growing Requirements
Rhododendrons belong to a remarkably diverse group of woody shrubs. Depending on the species or cultivar, a mature plant may remain only a few feet tall or eventually become a substantial landscape specimen. Most garden rhododendrons perform best in partial shade, moist but freely draining soil, and a moderately cool root zone. Cultivars are available for many regions, commonly covering portions of USDA Zones 4 through 9, but heat tolerance, cold hardiness, mature size, and sun tolerance vary considerably.
How to Grow Rhododendron in 15 Steps
1. Choose a Rhododendron Suited to Your Climate
Begin with the plant label, not the flower color. Check the recommended USDA hardiness zone, mature height, mature width, heat tolerance, and preferred light exposure. Northern gardeners need cultivars whose flower buds can survive severe winter temperatures, while gardeners in the South should prioritize heat-tolerant hybrids and native species. A compact cultivar is usually better for a foundation bed, whereas a large rosebay or Catawba type needs room to become the shrub it was genetically hired to be.
2. Inspect the Plant Before Buying
Select a well-branched rhododendron with firm foliage, healthy stems, and no obvious dieback. Avoid plants with badly circling roots, mushy root balls, widespread yellowing, suspicious leaf spotting, or wilted branches. Examine the undersides of leaves for stippling, dark residue, scale insects, and other signs of pest activity. Purchasing a healthy, named cultivar from a reliable nursery reduces the likelihood of importing disease or choosing a plant poorly matched to your region.
3. Select the Best Planting Season
Plant during cool weather when the soil is workable and naturally moist. Early fall is excellent in many regions because the roots can begin establishing before spring growth starts. Early spring is another good option, especially where newly planted shrubs could face severe winter injury. Avoid planting during summer heat unless you can provide careful irrigation and shade. Cool planting conditions reduce water stress and give the shallow root system time to settle in before demanding weather arrives.
4. Provide Morning Sun and Afternoon Shade
A site receiving gentle morning sunlight followed by afternoon shade is ideal for many rhododendrons. Dappled light beneath high-branched trees can also work well. Deep shade may reduce flowering and encourage thin growth, while intense afternoon sun can scorch foliage, overheat the roots, and dry the soil too quickly. Some cold-climate or sun-tolerant cultivars accept more direct light, but the average rhododendron would rather skip the botanical equivalent of a three-hour tanning session.
5. Protect the Shrub From Heat and Wind
Choose a sheltered location away from strong summer winds and drying winter gusts. The east or north side of a building is often preferable to a hot southern or western exposure, particularly in warm climates. Avoid placing the shrub beside reflective pavement, masonry walls, furnace vents, or other heat-producing surfaces. High-canopy trees can provide filtered light and reduce wind without casting dense shade, although the rhododendron should not be planted where aggressive tree roots will consume every available drop of moisture.
6. Test the Soil pH
Rhododendrons need acidic soil. A pH between approximately 4.5 and 6.0 is suitable for most types, with many performing especially well near 5.0 to 5.5. Test the soil before planting instead of guessing based on the neighborhood pine tree. When soil is too alkaline, iron and other nutrients become less available, often causing yellow leaves with green veins. Adjust pH only according to a soil-test recommendation because repeatedly adding acidifying products can push the soil too far in the opposite direction.
7. Make Drainage the Top Priority
Rhododendron roots require both moisture and oxygen. Soil should remain evenly moist but should never stay saturated for long periods. Avoid low spots, compacted ground, locations beside downspouts, and beds where water pools after rain. In heavy clay, create a broad raised planting area or berm rather than digging a deep hole that behaves like a bathtub. Planting slightly high is far safer than burying the root system in soggy soil, where destructive root-rot organisms can thrive.
8. Improve the Entire Planting Area
Prepare a wide section of the bed rather than filling one small hole with fluffy material. Incorporate moderate amounts of aged pine bark, leaf mold, or well-finished compost into the upper soil to improve structure and organic content. The goal is an airy, woodland-like root zone that holds moisture without becoming waterlogged. Do not replace nearly all the native soil with potting mix; a dramatic difference between the planting hole and surrounding ground can interfere with water movement and root expansion.
9. Dig a Wide, Shallow Hole
Dig the planting hole about two to three times wider than the root ball but no deeper than the root ball itself. Rhododendrons produce shallow, fine roots that spread horizontally near the soil surface. A wide hole loosens the surrounding ground and encourages those roots to move outward. A deep hole, by contrast, increases the risk that the plant will settle and end up buried. In the world of rhododendrons, “plant it deep for stability” is advice best placed in the compost bin.
10. Loosen the Roots and Plant Slightly High
Remove the container and inspect the root ball. Gently tease apart tightly circling exterior roots, or make several shallow vertical cuts if the root mass is extremely dense. Position the plant so the top of the root ball sits level with, or slightly above, the surrounding soil. Backfill with the prepared native soil, firming gently to remove large air pockets without compacting the ground. Never pile soil against the main stems or bury the crown.
11. Water Thoroughly After Planting
Water slowly immediately after planting so the entire root ball and surrounding soil are evenly moist. During the first two years, check moisture regularly beneath the mulch rather than relying on a quick glance at the surface. Water deeply at the base when the soil begins to feel dry, especially during warm or windy weather. Drip irrigation and soaker hoses are useful because they deliver water slowly while keeping the foliage relatively dry. The soil should resemble a wrung-out sponge, not soup and not sidewalk chalk.
12. Apply Two to Three Inches of Mulch
Spread a two- to three-inch layer of pine bark, pine needles, shredded leaves, or finished compost over the root zone. Mulch helps conserve moisture, moderate soil temperature, suppress weeds, and protect the shallow roots from accidental cultivation. Extend it beyond the outer branches as the plant grows, but leave a few inches of bare space around the main stems. Mulch piled against the trunk can trap moisture and encourage decay, creating what gardeners jokingly call a mulch volcano and plants call an eviction notice.
13. Fertilize Conservatively
Rhododendrons are not heavy feeders. Healthy plants growing in properly prepared soil may need little or no supplemental fertilizer. Wait until a newly planted shrub begins establishing before feeding it, and use a fertilizer formulated for acid-loving plants only when growth, foliage symptoms, or a soil test indicates a need. If fertilizer is appropriate, apply it lightly after flowering while the soil is moist. Avoid late-season applications that could stimulate tender growth shortly before winter.
14. Deadhead and Prune at the Right Time
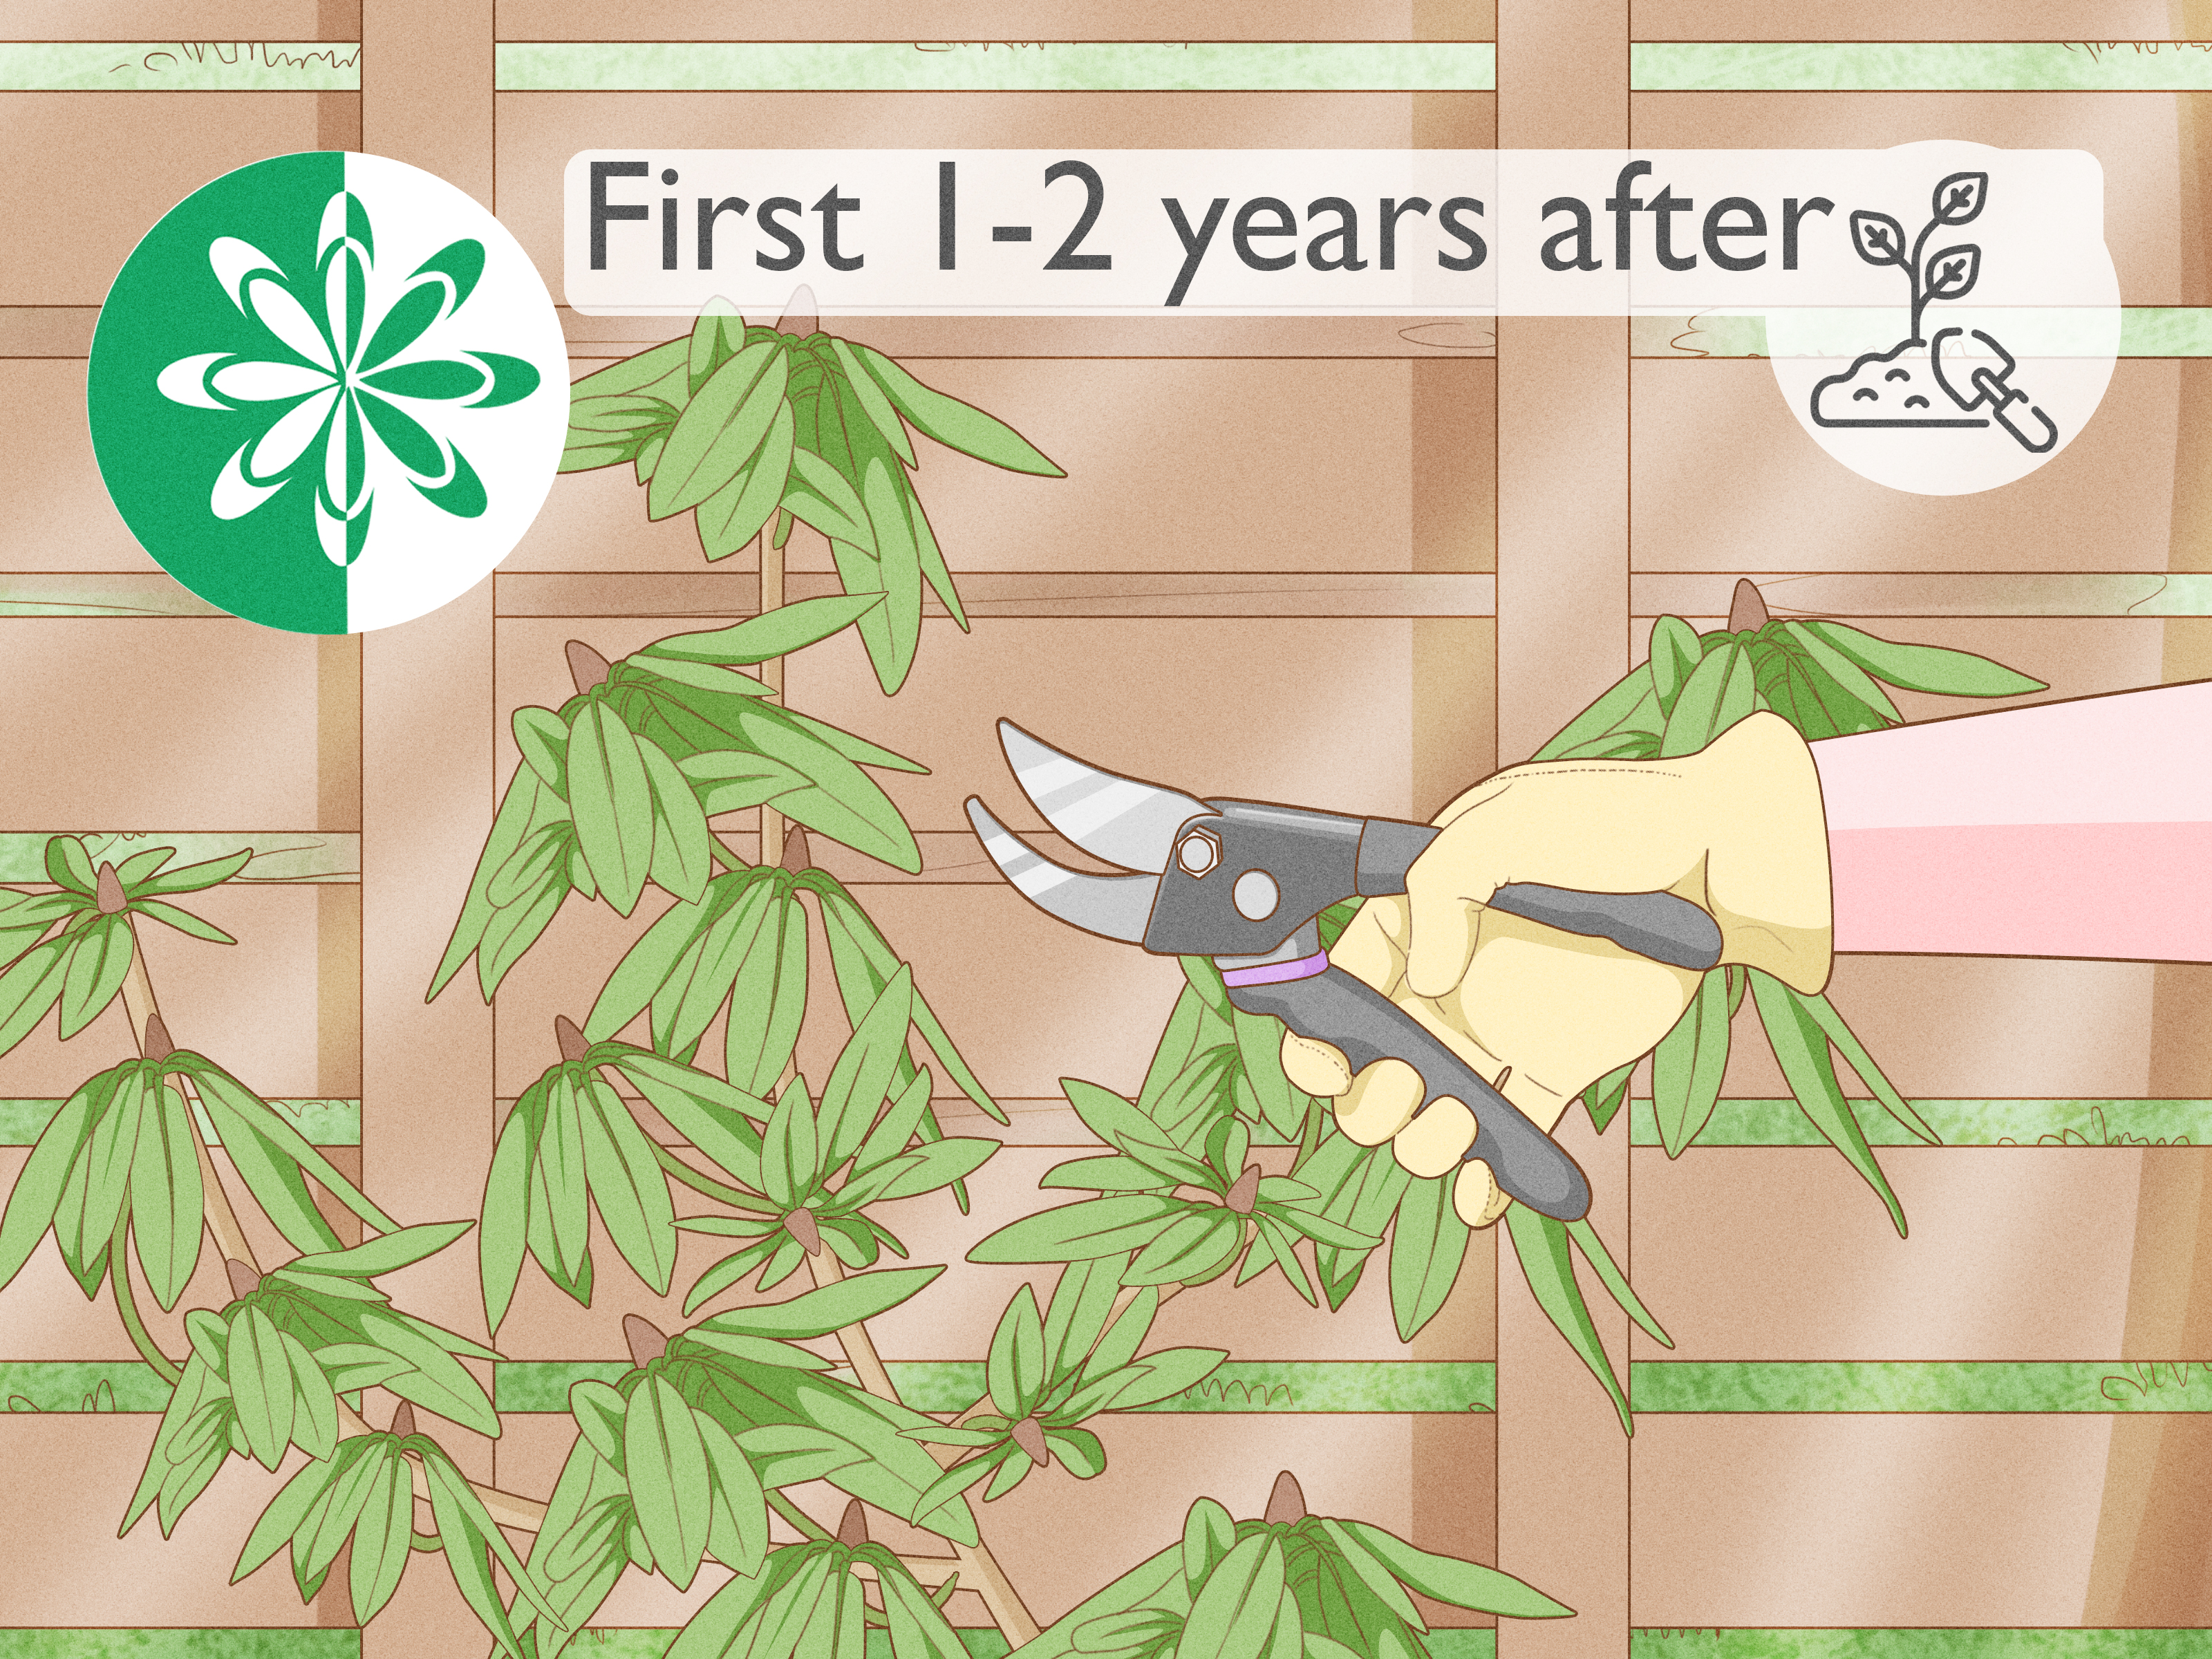
Remove spent flower clusters carefully by snapping or clipping them above the developing buds, taking care not to damage the new growth beneath. Deadheading is most useful on young plants or prized specimens, although it is not essential for every mature shrub. Prune for shape shortly after flowering because many rhododendrons form next year’s flower buds during the current growing season. Dead, broken, or diseased branches may be removed whenever they are noticed, provided cuts are made back to healthy wood.
15. Watch for Stress, Pests, and Disease
Inspect the shrub regularly instead of waiting until half of it looks haunted. Yellow leaves with green veins can indicate an overly high soil pH. Brown leaf margins may result from drought, excessive sun, salt, or winter injury. Notched leaf edges can point to root weevils, while pale stippling and dark specks beneath leaves may indicate lace bugs. Sudden wilting or branch dieback can be associated with borers, cankers, or root disease. Correct drainage, light, watering, and soil problems before reaching for pesticides, and identify the actual culprit before treating.
Seasonal Rhododendron Care
Spring
Check for winter-burned foliage, damaged branches, and swelling flower buds. Refresh the mulch without burying the stems. After blooming, deadhead if desired, complete any shaping cuts, and fertilize only when there is a demonstrated need. Avoid pruning late in spring if flower buds have already begun developing.
Summer
Monitor soil moisture closely, especially during the first two years. Water in the morning at the base of the plant and provide temporary shade during unusual heat waves. A two- to three-inch mulch layer helps keep the shallow roots cooler. Do not compensate for wilted foliage by flooding poorly drained soil; check moisture below the surface before adding more water.
Fall and Winter
Continue watering during dry fall weather until the ground freezes, particularly for newly planted or evergreen rhododendrons. Avoid late fertilization and unnecessary fall pruning. In exposed climates, reduce winter burn by shielding the shrub from prevailing winds with a properly placed burlap barrier. Do not wrap the foliage tightly; the goal is to slow the wind, not turn the plant into a shrub-shaped burrito.
Common Rhododendron Growing Mistakes
- Planting too deeply: The crown becomes buried and the shallow roots receive less oxygen.
- Choosing a soggy location: Persistent saturation greatly increases the risk of root decline and Phytophthora root rot.
- Applying too much fertilizer: Excess salts can injure fine roots without correcting problems caused by pH, drainage, or drought.
- Growing in harsh afternoon sun: Heat and intense sunlight can cause leaf scorch and rapid moisture loss.
- Pruning in fall or early spring: Removing branches after flower buds have formed can eliminate the next display.
- Piling mulch against the stems: Deep, wet mulch can encourage disease and hide damage around the plant’s crown.
Most rhododendron failures are connected to unsuitable growing conditions rather than a mysterious insect invasion. Before treating a declining plant, examine drainage, planting depth, soil pH, recent weather, irrigation, and sun exposure. Correcting the environment is often more effective than applying another product with an impressive label and an even more impressive price.
A Practical Grower’s Experience: What a Struggling Rhododendron Can Teach You
The following composite experience reflects problems commonly encountered in home landscapes. A gardener plants a flowering rhododendron beside the front porch in late spring. The shrub looks magnificent at the nursery, and the location appears convenient: close to the hose, visible from the street, and directly beneath a kitchen window. Unfortunately, the bed faces west, the soil contains heavy clay, and a nearby downspout quietly empties into the root zone. The plant has excellent curb appeal but the horticultural equivalent of terrible roommates.
During the first month, the gardener waters every evening. The upper leaves begin developing brown edges, so the watering schedule increases. By midsummer, several lower leaves turn yellow and one branch wilts. Fertilizer is applied because fertilizer is commonly treated as a universal plant apology. The shrub briefly produces soft new growth, but the wilted branch continues declining. The problem is not hunger. The root ball is sitting too deeply in poorly drained ground, and frequent irrigation is keeping the roots short of oxygen. Hot afternoon sunlight is adding another layer of stress. These conditions are strongly associated with rhododendron decline and root disease.
The gardener carefully lifts the plant during cool fall weather and finds that the original root ball is still shaped almost exactly like the nursery container. The exterior roots are loosened, damaged roots are removed, and the rhododendron is replanted in a broad raised bed on the east side of the house. The crown is positioned slightly above the surrounding grade. A modest amount of composted pine bark is mixed through the planting area, and the surface receives a wide layer of pine-bark mulch kept away from the stems.
Watering also changes. Instead of sprinkling the plant every evening, the gardener checks the soil beneath the mulch and waters slowly only when moisture is needed. The foliage remains dry, the root zone receives a thorough soaking, and excess water can drain away. No fertilizer is added during the recovery period. By spring, the shrub produces healthy leaves but only a handful of flowers. This is not failure. The plant is directing energy toward root establishment, and it may also have lost flower buds during transplanting or previous stress.
In the second year, growth becomes denser and the foliage develops a stronger green color. Spent flower clusters are removed carefully, and only one damaged branch requires pruning. During a dry summer, the plant receives deep morning irrigation rather than daily surface sprinkling. Before winter, the gardener checks soil moisture and places a burlap screen on the windward side without wrapping the shrub.
By the third spring, the rhododendron produces a full display of blossoms. The biggest lesson is not that rhododendrons demand endless attention. It is that they reward correct placement. Once the site supplies acidic soil, drainage, moderate light, mulch, and consistent moisture, routine care becomes surprisingly simple. The gardener’s most important tools are no longer fertilizer and panic. They are a soil test, a finger pushed beneath the mulch, and the self-control to avoid watering a plant that is already wet.
Conclusion
Learning how to grow rhododendron successfully comes down to respecting the plant’s woodland roots. Choose a cultivar suited to your climate, place it in filtered light, maintain acidic and organically rich soil, and protect its shallow root system with proper planting and mulch. Water deeply without creating soggy conditions, fertilize only when necessary, and prune soon after flowering.
Get those fundamentals right and a rhododendron can become one of the most dependable spring attractions in the landscape. Get them wrong and the shrub will communicate its disappointment through yellow leaves, wilted branches, and the floral equivalent of ghosting you next spring.