Some people post vacation photos on Facebook like they are tossing confetti into the wind: one here, three there, maybe another seven two weeks later when they remember the sunset looked expensive. A Facebook photo album is the cleaner, smarter, much less chaotic option. Instead of scattering your memories across random posts, you can organize them into one tidy collection that actually makes sense to other humans.
If you want to create a photo album on Facebook from your phone, laptop, or desktop computer, the good news is that the process is simple. The slightly less-good news is that Facebook loves moving buttons around just enough to keep life interesting. That is exactly why this guide walks you through the current album creation process on both mobile and desktop, explains what settings matter most, and shows you how to avoid the classic mistakes people make when uploading photos too fast, too publicly, or with absolutely no plan.
By the end, you will know how to make a Facebook album, add photos and videos, adjust privacy, invite contributors, and manage your album after it goes live. Whether you are building a wedding album, a family trip collection, a school event recap, or a “look, my dog is now a model” gallery, you will be ready to post with confidence.
Why Create a Facebook Photo Album Instead of a Regular Post?
A regular photo post works fine when you are sharing one picture, maybe two, and maybe one blurry bonus shot that you forgot to crop. But a Facebook photo album is better when you want structure. Albums keep photos from the same event together, make browsing easier, and let you revisit memories without digging through your timeline like an internet archaeologist.
Albums also give you more control. You can usually add a title, description, location, privacy setting, and sometimes contributors. That makes albums perfect for birthdays, graduations, baby photos, vacations, reunions, work events, club activities, or any situation where the words “I have 37 photos to upload” are about to leave your mouth.
Another big benefit is editing flexibility. You can come back later, add more photos, update the audience, or fine-tune details without starting from scratch. In other words, an album is less of a one-and-done post and more of a living scrapbook.
Before You Create Your Album
Before you tap anything, take thirty seconds to prepare. It will save you time and keep your album from looking like a digital junk drawer.
Choose the photos first
Pick the images you actually want people to see. This sounds obvious, yet many albums include duplicates, screenshots, accidental pocket photos, and one deeply unflattering chin angle no one asked for. Trim the set before you upload.
Name the album with purpose
“Vacation” is technically a title, but it is not a useful one. “Summer Road Trip 2026,” “Emma’s Graduation Party,” or “Seattle Weekend Food Crawl” is clearer, more searchable, and more engaging.
Think about privacy
Do you want the album public, visible only to friends, or available to a custom group? Decide this before posting. Facebook album privacy matters more than most people realize, especially if the photos include kids, private events, or location details.
Know that mobile and desktop are not identical
Facebook’s desktop version often gives you a bit more room to manage details. The mobile app is convenient and fast, but some editing options can feel more streamlined. If you want maximum control, desktop is usually the more comfortable place to build the album.
How to Create a Photo Album on Facebook Desktop
If you are using Facebook on a computer, this is the easiest way to create an organized, polished album. A larger screen makes it simpler to review photos, write captions, and spot mistakes before your aunt comments, “Who is that in the background?”
Step 1: Go to your profile
Open Facebook in your web browser and go to your profile page. Under your profile area, click Photos, then click Albums. Look for the Create Album button.
Step 2: Upload your photos or videos
Click Create Album, then choose the photos or videos from your computer. Facebook will begin uploading them into the new album draft. If you are working with a big batch, let everything finish loading before you start rearranging or editing details.
Step 3: Add album details
Once your files are in place, give your album a title. You can also add a description, a location, and other details depending on what Facebook is showing in your interface. This is the part where your album stops being a pile of images and starts looking intentional.
For example, if you are posting travel photos, a short description such as “Three days, too much coffee, and one heroic umbrella in downtown Chicago” is more interesting than leaving the field blank. Good album descriptions also help people understand the story behind the photos.
Step 4: Review the audience setting
Before you post, check the album privacy or audience selector. This is where you decide who can view the album. If your album contains family photos, event pictures, or anything personal, this step deserves your full attention and not the casual energy of someone clicking through a pop-up ad.
Step 5: Post the album
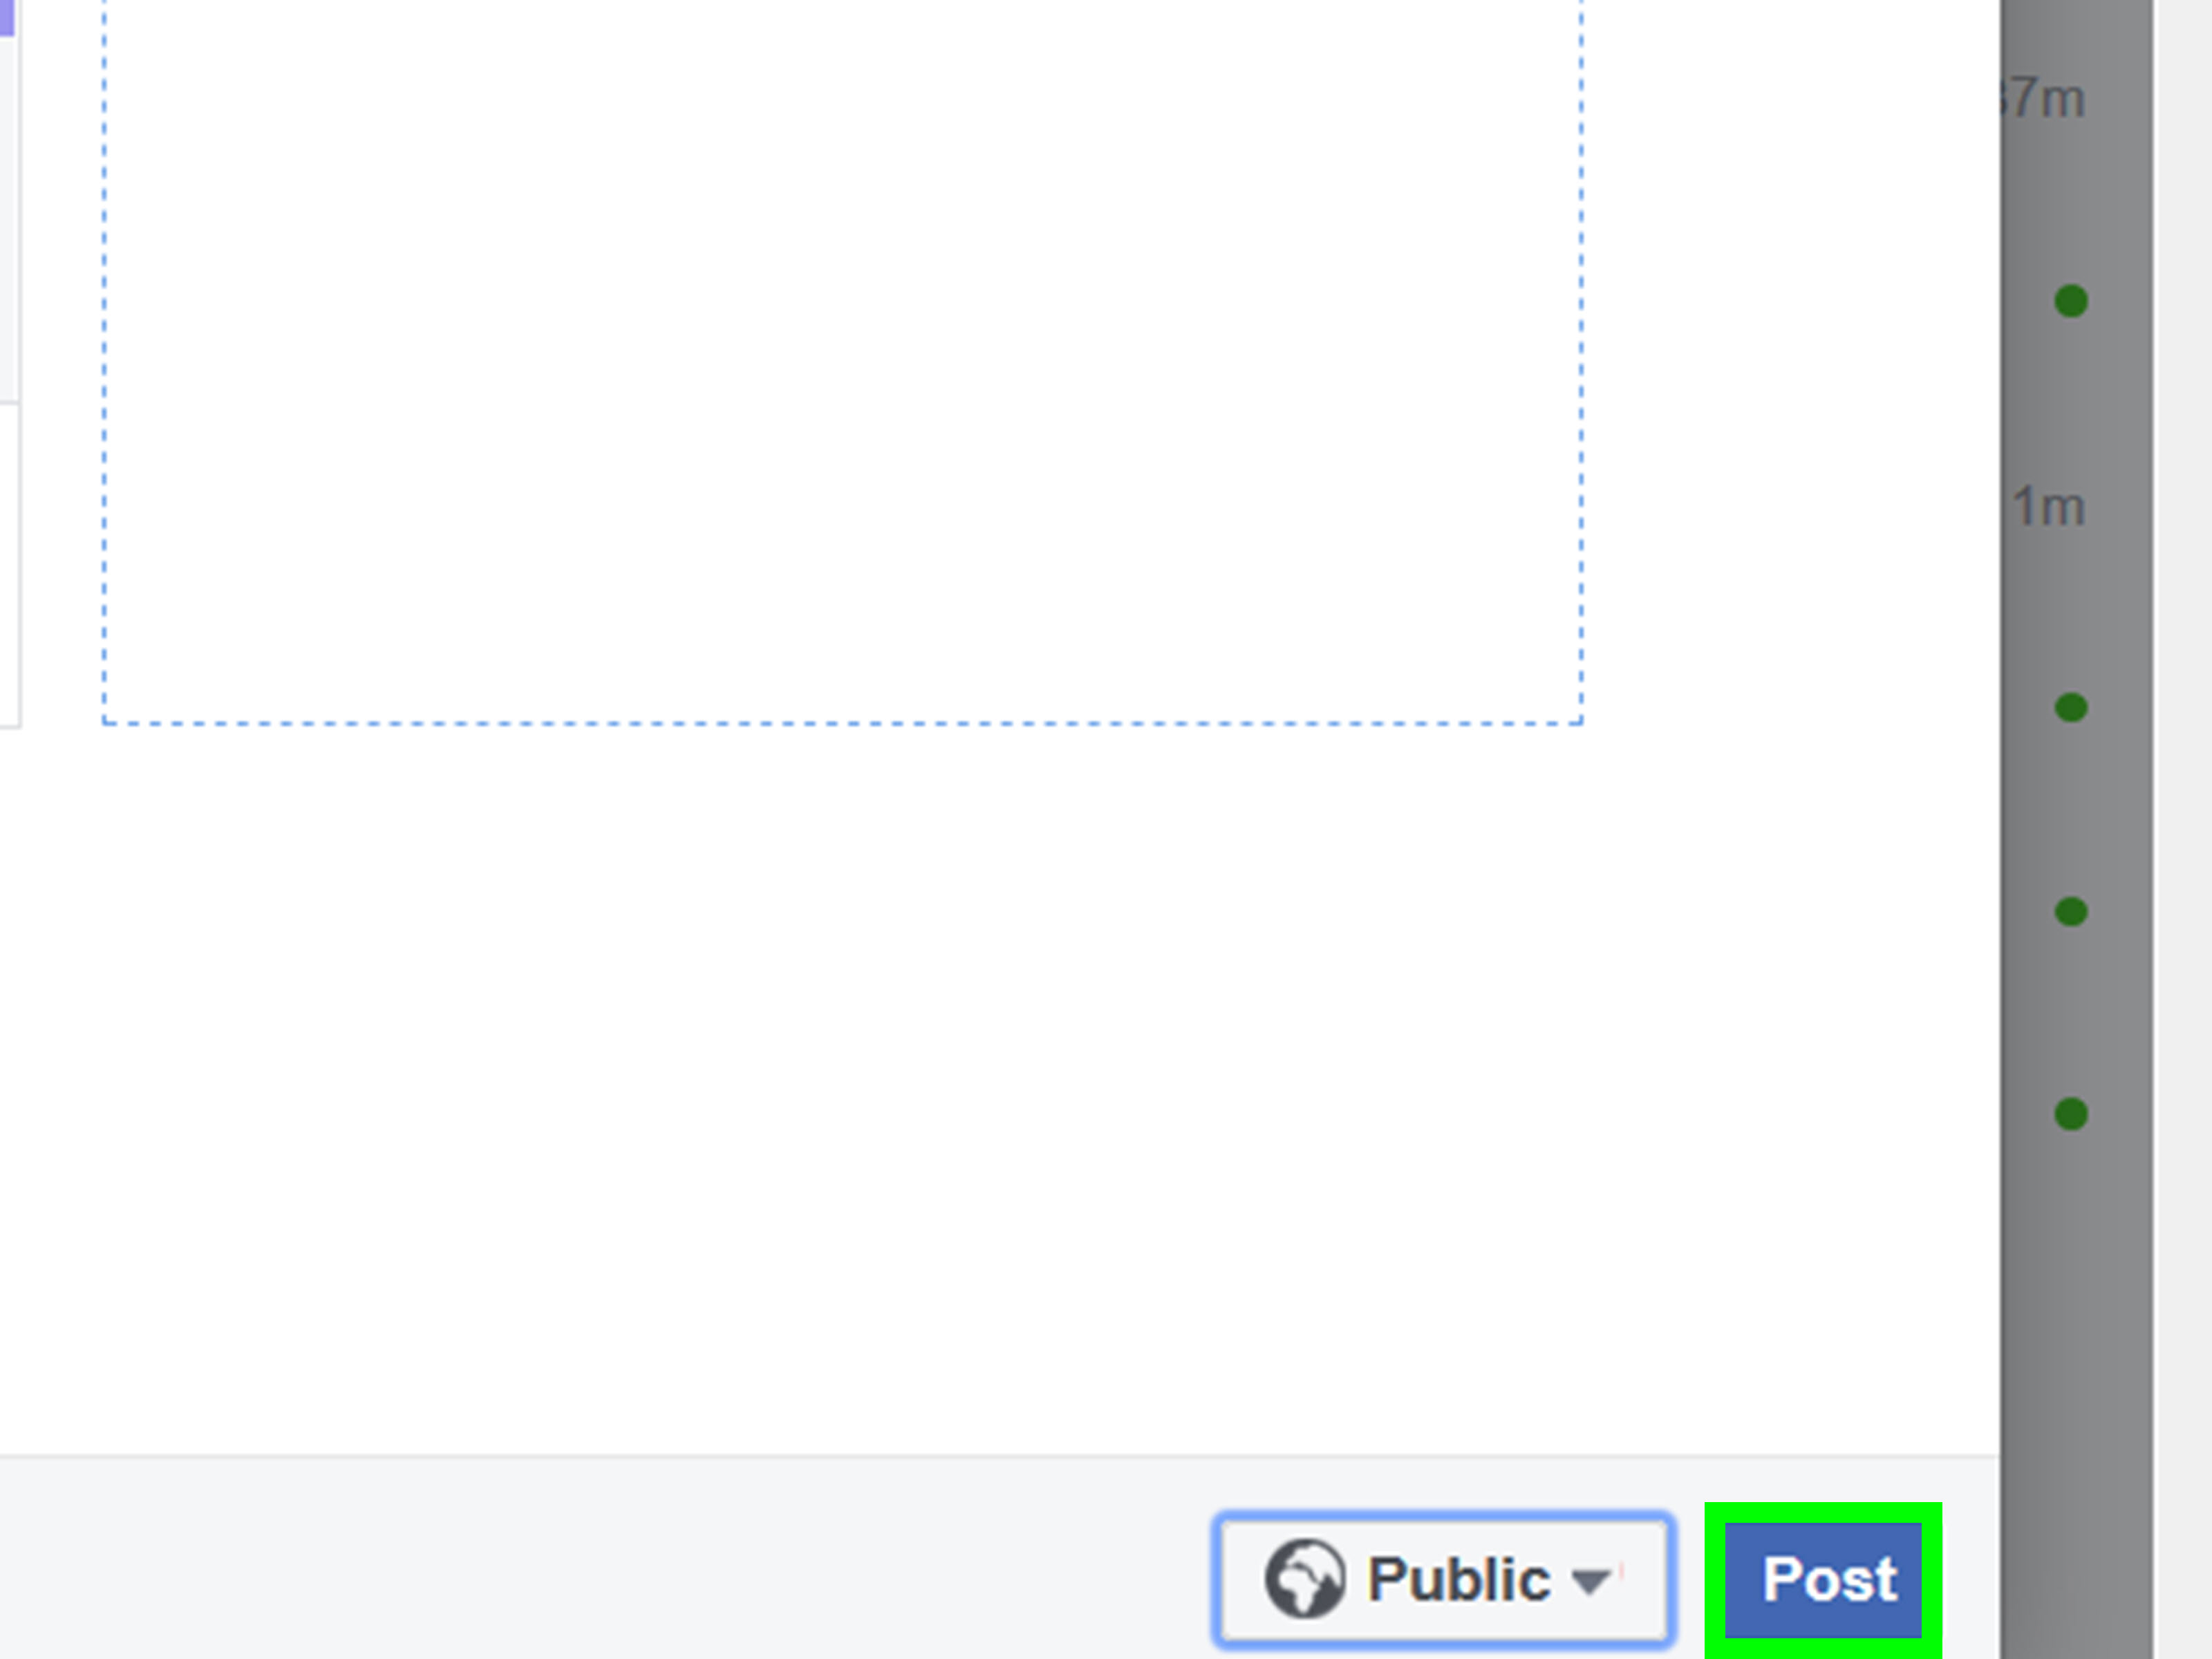
When everything looks right, click Post. Your album will go live on your profile, and other people will be able to view it based on the audience you selected.
That is the full desktop flow for how to create a photo album on Facebook. Clean, direct, and much less stressful than trying to manage dozens of images in a standard post composer.
How to Create a Photo Album on Facebook Mobile
If you are using the Facebook app on an iPhone or Android device, you can still create an album without touching a desktop browser. This is ideal when the photos are already on your phone and you want to post them quickly after an event.
Step 1: Open the Facebook app and go to your profile
Tap the Menu icon, then tap your name to open your profile. Scroll until you find Photos. In many versions of the app, you will then tap the Albums section.
Step 2: Tap Create Album
Inside the Albums area, tap Create Album. Facebook will usually ask you for an album name first, then guide you into adding photos or videos from your phone.
Step 3: Name the album and add media
Give the album a clear title, then choose the images or clips you want to include. If you are uploading from a recent trip or party, it helps to pick the best shots first rather than posting every near-identical photo of the same plate of pasta from seven angles.
Step 4: Adjust settings if available
Depending on your app version, you may see options to add a description, choose privacy, or allow contributors. If your mobile interface looks simpler than the desktop version, that is normal. Facebook’s app experience can vary a bit by device and update.
Step 5: Tap Post or Create
Once the album looks right, tap the final publish button. Your Facebook photo album will appear on your profile, and you can return later to edit it if needed.
The mobile route is fast, flexible, and perfect for people who live on their phones. Just remember that quick uploads can lead to quick mistakes, so give your album one final glance before posting.
How to Add More Photos to an Existing Facebook Album
One of the best things about Facebook albums is that you do not have to finish everything in one sitting. Maybe your friend finally sends the group photos three days later. Maybe you forgot the best sunset shot existed until your camera roll reminded you. No problem.
Open the album you want to update, then look for an option such as Add Photos, Add Photos/Videos, or Add to Album. On desktop, this is usually more obvious. On mobile, it may appear inside the album itself or under an options menu.
This is especially useful for shared events. You can create the album today, add the main photos now, and fill in the rest later without cluttering your feed with follow-up posts like “Part 2,” “Part 3,” and “Oops, forgot these.”
How to Change Album Privacy on Facebook
If you posted first and thought second, do not panic. Facebook lets you edit the privacy setting for many albums after they are created. Open the album, choose the edit option, and change the audience setting to the one you want, such as Public, Friends, or a more limited group.
Privacy is one of the most important parts of creating a Facebook photo album because the album’s setting usually controls who can see the photos inside it. If you want a family album to stay inside your circle, double-check the audience before you walk away.
Also, remember that some built-in Facebook albums, such as profile pictures or cover photos, can behave differently from standard custom albums. So if a privacy option looks missing or limited, Facebook is probably applying special rules to that type of album rather than personally trying to test your patience.
How to Create a Shared or Collaborative Album
Sometimes one person should not carry the whole photo burden alone. If you want friends or family members to add their own pictures and videos, you may be able to turn the album into a shared album by enabling contributors.
This is perfect for weddings, reunions, birthday parties, sports events, school trips, or team outings. Instead of receiving twenty separate text messages that say, “Do you want my photos?” you can invite people to contribute to one place.
Just keep one thing in mind: collaboration is wonderful, but it also means surrendering a little control. If you invite five contributors, one of them will eventually upload a blurry table photo. This is the law of the internet.
Common Problems When Creating a Facebook Album
You do not see the Create Album button
First, make sure you are on your profile and inside the Photos or Albums section, not the regular post composer. If the button is still missing, update the Facebook app or try the desktop site. Sometimes the feature is there, just hiding in a menu like it enjoys suspense.
Your photos will not upload
Check your internet connection, refresh the page, or restart the app. If you are uploading many high-resolution files from a phone, it may simply take longer than expected. You can also try a smaller batch to see whether one file is causing trouble.
The album looks out of order
Review the album after posting. Depending on the interface, you may be able to edit, reorder, or adjust individual items more easily from desktop. If presentation matters, use a computer when possible.
The privacy setting is not what you expected
Go back into the album settings and confirm the audience. If the album is a special system album, the controls may differ from a standard custom album.
Best Practices for a Better Facebook Album
Creating an album is easy. Creating one people actually enjoy viewing is the real art. A few simple habits can make your album look cleaner and more thoughtful.
Lead with the strongest image
The first photo shapes the whole impression. Choose a sharp, interesting opening image that makes people want to keep scrolling.
Do not upload everything
More is not always better. Twenty strong photos are better than sixty repetitive ones. Curating your album makes it more enjoyable for everyone, including future you.
Use captions strategically
A short album description or a few captions can add context, humor, or story. They should support the photos, not compete with them.
Think long-term
Albums often become digital archives. Choose titles and descriptions that will still make sense a year from now. “LOL what a night” may feel less useful later than “Office Holiday Party December 2026.”
Desktop vs. Mobile: Which One Is Better?
If speed is your priority, mobile wins. The photos are already on your phone, the upload process is quick, and you can build an album while sitting in a rideshare, standing in line, or pretending to listen during a very boring meeting.
If control is your priority, desktop usually wins. It is easier to review images, spot mistakes, write better descriptions, and manage the overall structure. For bigger albums or more polished presentation, desktop is often the better tool.
The smartest approach is often a mix: start on mobile when the moment is fresh, then refine on desktop later if the album matters enough to deserve a little extra polish.
Real-World Experiences With Facebook Photo Albums
In real life, most people do not create a Facebook photo album because they suddenly feel deeply inspired by user interface design. They create one because an event happened, the camera roll exploded, and they need a place to put all those pictures without turning the timeline into a never-ending slideshow. That is where Facebook albums still shine.
A common experience is the family vacation album. Someone takes beach photos, someone else takes food photos, and one relative somehow takes thirty-seven nearly identical sunset pictures as if they are being graded on it. Putting everything into one Facebook album makes the trip easier to share. Family members can browse it in order, comment on specific photos, and come back later without searching through weeks of posts. It also feels more complete, like a finished chapter instead of a pile of random updates.
Another familiar use case is birthdays and celebrations. People often upload party photos from their phones right away, but later realize they forgot group shots from another guest or pictures from the cake table. Albums make that fix easy. You can add more photos after posting, which means the album can grow naturally as everyone sends over their best shots. That flexibility is one reason so many people still prefer albums for milestone events.
Facebook albums are also surprisingly useful for communities and small organizations. School clubs, sports teams, volunteer groups, church communities, and neighborhood pages often need a simple place to collect event images. A shared or contributor-enabled album can save time because one person does not have to gather every photo manually. Instead, multiple people can add their own images and help build a fuller record of the event.
There is also a practical emotional side to albums. A single photo post gets attention for a day. An album feels more lasting. People return to wedding albums, baby albums, graduation albums, and memorial collections months or even years later. That makes albums feel less disposable than regular feed content. They act more like personal archives with a social layer attached.
Of course, real-world experience also teaches caution. Many users have posted an album too quickly, only to realize the privacy was wider than intended. Others have uploaded far too many photos, making the album harder to enjoy. The lesson is simple: slow down for one minute before publishing. Check the title, review the audience, and trim out the extra shots. That one minute can dramatically improve how the album looks and who ends up seeing it.
Another common experience is switching between mobile and desktop. Plenty of people start the album on their phones because that is where the photos already live. Later, they reopen the album on a computer to clean things up, add better descriptions, or make sure everything looks right. This mobile-first, desktop-finish routine is normal, and honestly, it is one of the easiest ways to get both convenience and control.
In the end, Facebook photo albums remain useful because they solve a very human problem: we want to keep memories together. Whether the album is full of vacation views, family milestones, pet photos, team wins, or one suspiciously well-documented brunch, the format still works. It helps people organize moments, share stories, and create a record that feels more intentional than a random series of posts drifting down the timeline.
Conclusion
If you have been wondering how to create a photo album on Facebook, the process is straightforward on both mobile and desktop. On a computer, you can go to your profile, open Photos, head to Albums, and click Create Album. In the Facebook app, you can open your profile, tap Photos, find Albums, and create one from there. After that, it is all about choosing strong photos, naming the album well, and setting the right privacy level.
The best Facebook albums do more than store pictures. They tell a story, keep memories organized, and make sharing easier for everyone involved. So yes, you could continue posting seventeen separate photo updates over the next three days. Or you could make one good album and look like the kind of person who has their digital life under control. Your move.