Note: This guide is written for real-world mountain bikers, from garage tinkerers to riders fixing a flat next to a suspicious puddle in the woods. It covers standard tube setups and includes smart tubeless notes where they matter.
A mountain bike tire never chooses a convenient moment to quit. It waits until you are five miles from the parking lot, halfway through a fun descent, or feeling unusually confident. Then pssssstyour tire goes soft, your mood follows, and suddenly you are learning more about sidewalls than you planned.
The good news is that changing a mountain bike tire is not black magic. It is a basic skill every rider can learn, and once you do it a few times, it becomes less “mechanical crisis” and more “minor inconvenience with dirt on it.” Whether you are replacing a worn tire, swapping tread for different trail conditions, or fixing a flat tube, the process is straightforward when you follow the right steps.
In this guide, you will learn how to change a mountain bike tire safely, efficiently, and without pinching a brand-new tube five seconds before victory. We will also cover common mistakes, tubeless considerations, and practical trail-tested tips that make the job easier.
Why Learning to Change a Mountain Bike Tire Matters
Knowing how to change a mountain bike tire saves time, money, and a surprising amount of drama. It helps when:
- You get a flat on the trail and need to replace or patch a tube.
- You want to install a new tire with better traction, faster rolling speed, or stronger sidewall protection.
- You are switching between dry, loose, muddy, or rocky trail setups.
- You need to inspect the inside of the tire for thorns, glass, wire, or other pointy little traitors.
It also makes you a more confident rider. There is something satisfying about fixing your own bike and getting back out there without needing a rescue ride or a bike shop appointment.
What You Will Need
Before you start, gather your tools. Nothing slows down a repair like realizing your pump is in the car and your car is in another zip code.
- Tire levers
- A replacement mountain bike tube or a new tire if you are swapping tires
- Bike pump or CO2 inflator
- Patch kit if you want to repair the old tube
- Multi-tool if your bike uses axle hardware
- Gloves or a rag if you want cleaner hands
- For tubeless setups: sealant, tubeless valve, compatible rim tape, and possibly a valve-core tool
Also check that your replacement tube or tire matches your wheel diameter and tire width. Mountain bike tires commonly come in 26-inch, 27.5-inch, or 29-inch sizes, with widths typically listed in inches on the tire sidewall.
Before You Begin: Know Your Tire Setup
Tubed Setup
This is the traditional setup. The tire sits on the rim, and an inner tube holds air inside the tire. It is simple, common, and easy to repair trailside.
Tubeless Setup
A tubeless system removes the inner tube and uses a tubeless-ready tire, a compatible rim, a tubeless valve, rim tape, and liquid sealant. Many mountain bikers prefer tubeless because it can reduce pinch flats, improve traction, and allow lower tire pressure. However, it also adds a few extra steps when changing tires and requires compatible parts.
If your wheel or tire is not tubeless-compatible, do not try to force a tubeless setup. That is a shortcut to frustration, air leaks, and the kind of garage language neighbors pretend not to hear.
How to Change a Mountain Bike Tire: Step by Step
Step 1: Shift the Rear Derailleur to the Smallest Cog
If you are removing the rear wheel, shift into the smallest cog on the cassette before taking the wheel off. This gives the chain more slack and makes wheel removal easier. Think of it as putting the bike in “please cooperate” mode.
If you are working on the front wheel, congratulationsyour life is slightly easier.
Step 2: Remove the Wheel
Take the wheel off the bike. The exact method depends on your axle type:
- Quick release: Open the lever and loosen the nut if needed.
- Thru-axle: Unthread and slide the axle out.
- Bolt-on axle: Use the correct wrench or tool.
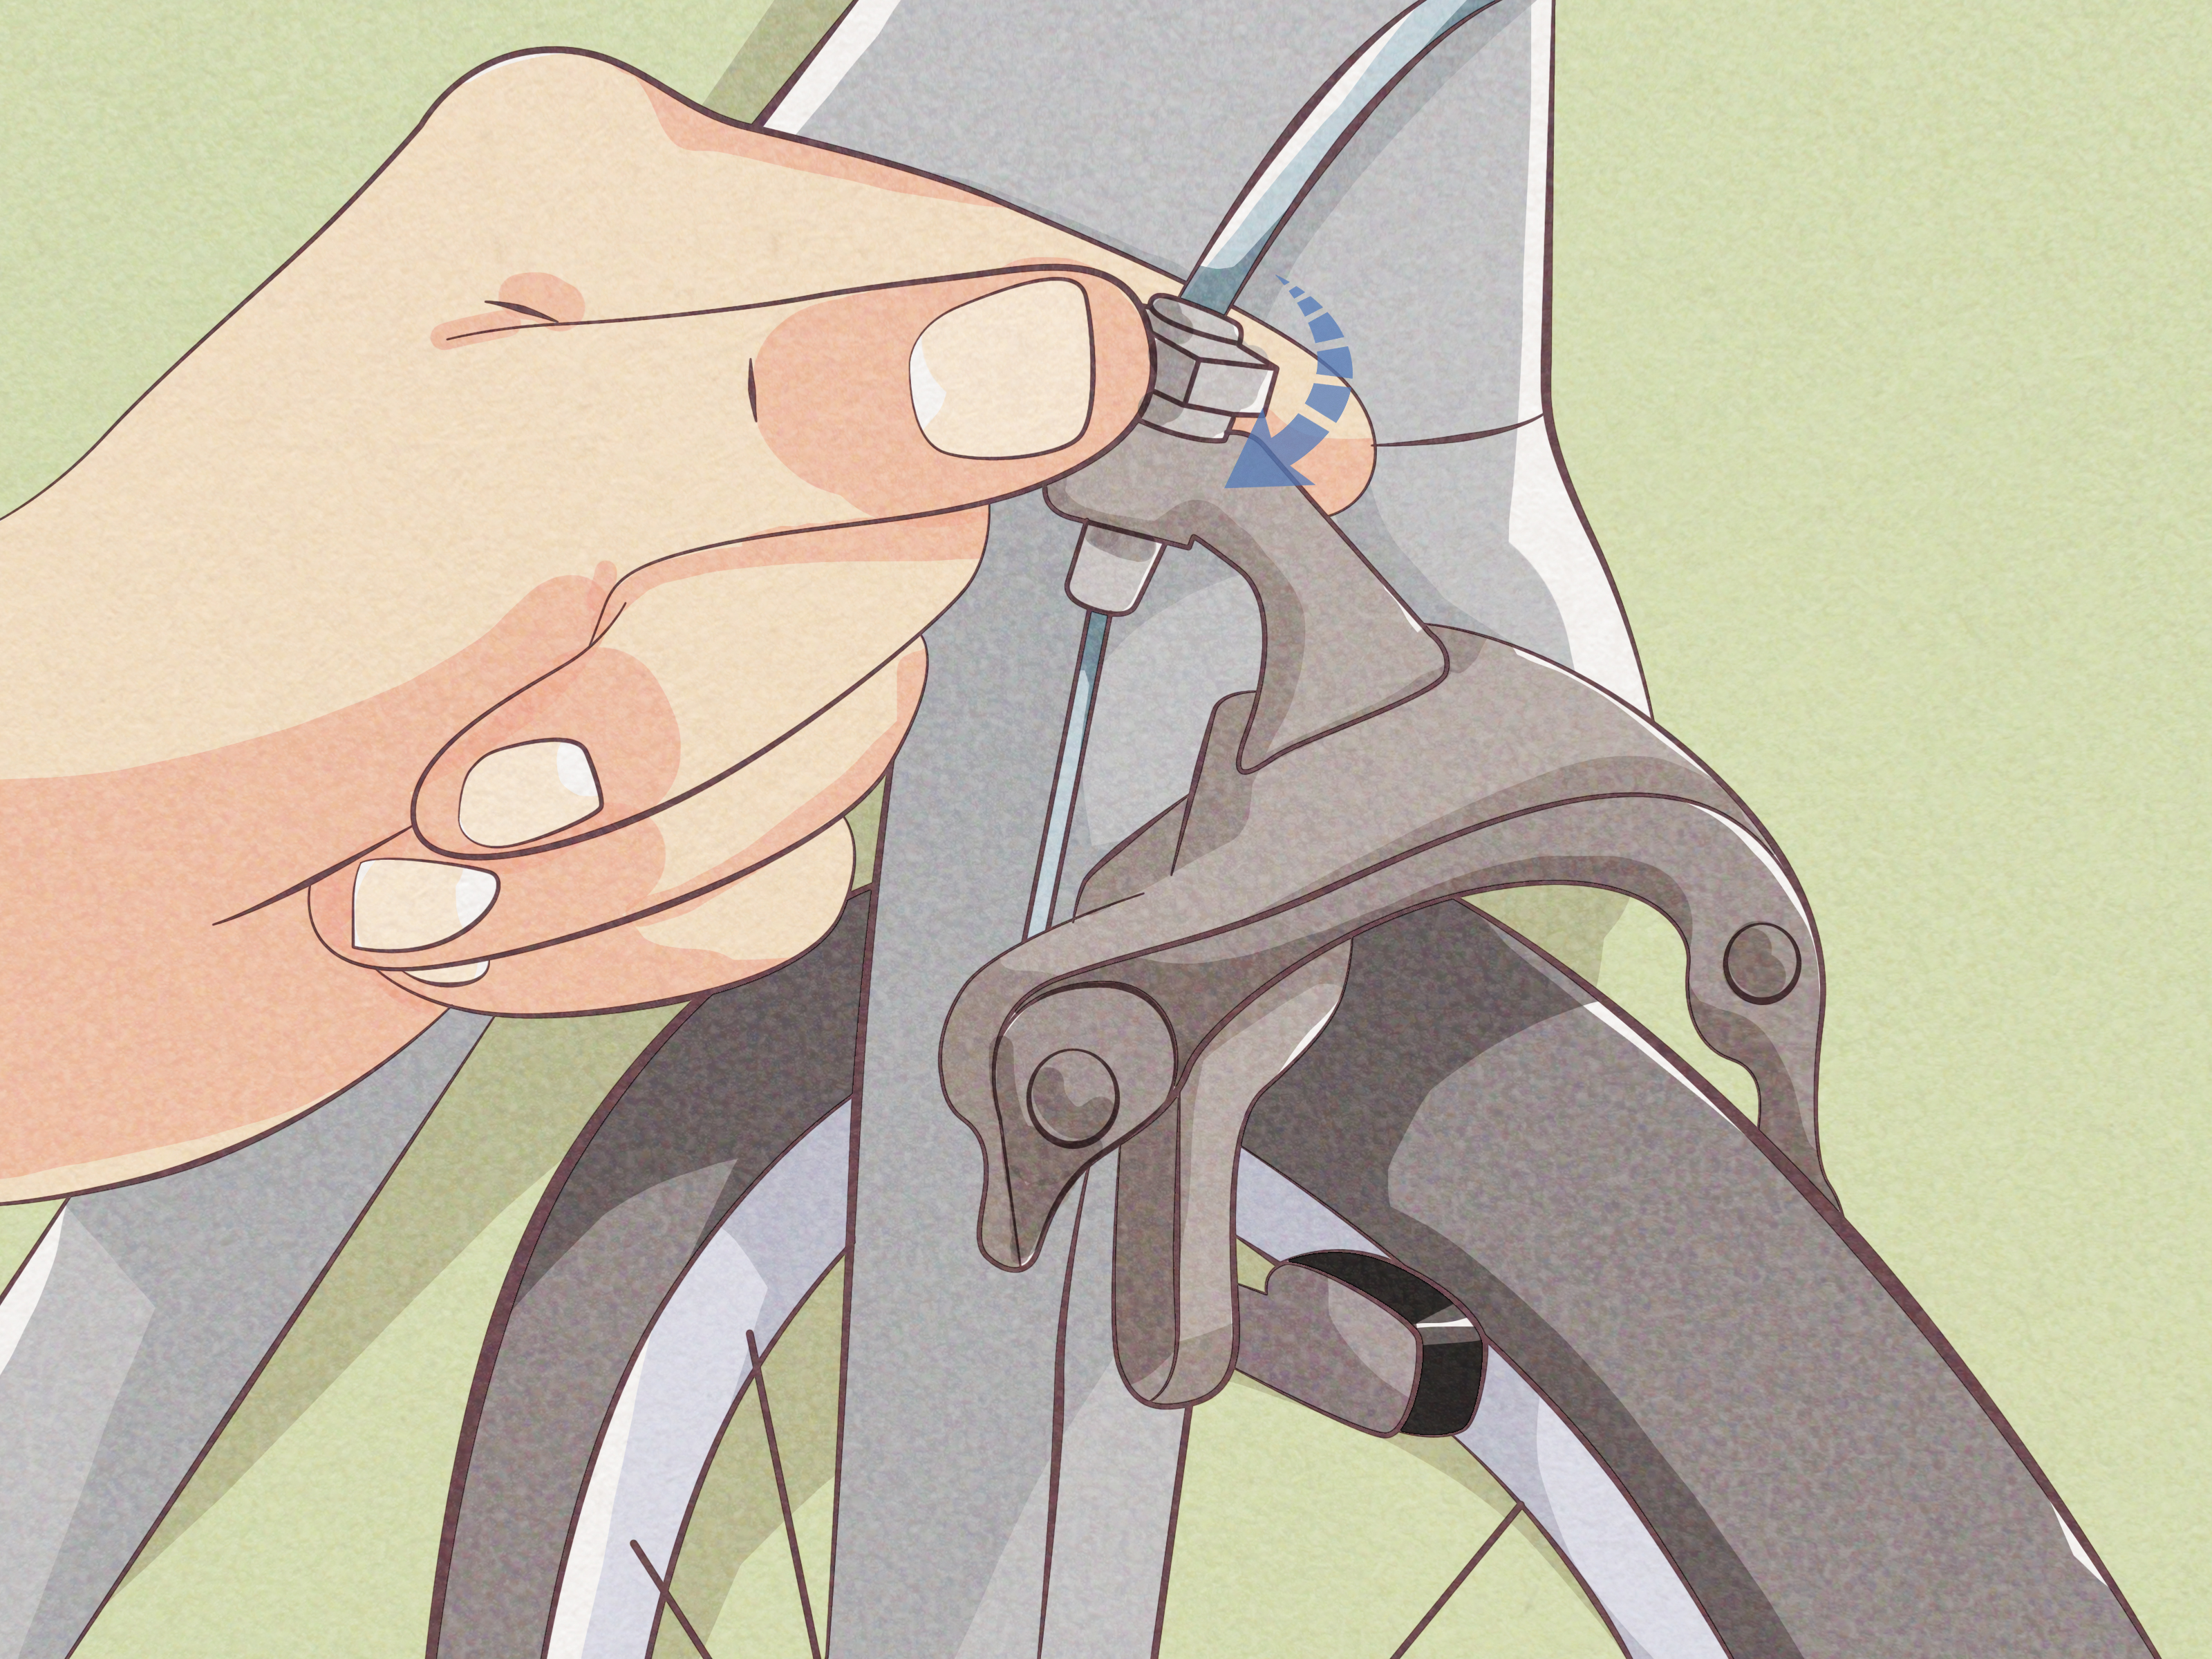
If your bike has rim brakes, you may need to release them first so the tire can clear the brake pads. If your bike has disc brakes, be careful with the rotor and keep greasy hands away from braking surfaces.
Step 3: Deflate the Tire Completely
Let all the air out before trying to remove the tire. For a Schrader valve, press the center pin. For a Presta valve, unscrew the top nut and press it down to release air.
This step sounds obvious, but skipping it is a classic move. A half-inflated tire is like a stubborn pickle jar: technically removable, emotionally exhausting.
Step 4: Break the Tire Bead
The bead is the edge of the tire that sits inside the rim. Use your thumbs to push the tire bead inward, toward the center channel of the rim, working your way around the wheel. This creates slack and makes removal easier.
On tight mountain bike tires, this can take a little effort. That is normal. It does not mean the tire hates you personally.
Step 5: Use Tire Levers to Remove One Side of the Tire
Start opposite the valve. Slide a tire lever under the bead and pry it over the rim edge. If needed, use a second lever a few inches away to continue the process until one side of the tire is off the rim.
Avoid using screwdrivers, knives, or other metal sharp objects. They can damage the rim, puncture the tube, or turn a simple repair into a shopping trip.
Step 6: Remove the Tube
If you are working with a tubed tire, pull the tube out. Start opposite the valve and remove the valve last. This keeps the tube from fighting you on the way out.
If you are replacing the tire entirely, you can now remove the second bead and take the tire fully off the wheel.
Step 7: Find the Cause of the Flat
This step is important. If you skip it, your new tube may last about as long as your post-repair confidence.
Inspect the outside and inside of the tire carefully. Look for:
- Thorns
- Glass
- Wire
- Sharp rocks embedded in the tread
- Sidewall cuts
Run your fingers carefully along the inside of the tire, or use a cloth if you do not trust the trail debris to act civilized. Also inspect the rim strip or tubeless tape and make sure nothing inside the rim is causing the puncture.
Step 8: Check Tire Direction Before Installing a New Tire
If you are mounting a new mountain bike tire, find the directional arrow on the sidewall. Many tread patterns are designed to roll one way for best braking, traction, and cornering performance.
Installing the tire backward will not open a portal to another dimension, but it can reduce performance in noticeable ways.
Step 9: Slightly Inflate the New Tube
If you are reinstalling with a tube, add just a little air to the new tube so it takes shape. Do not fully inflate itjust enough to make it easier to place inside the tire and less likely to twist or fold.
This small step makes a big difference. A lightly shaped tube behaves. A completely limp one acts like cooked spaghetti with bad intentions.
Step 10: Install One Tire Bead
If the tire is fully off the rim, install one bead first. Usually, you can do this by hand without tools. Start near the valve area and work around the rim.
For many mountain bike tires, one side will slip on pretty easily. Enjoy this moment. It is the calm before the second bead.
Step 11: Insert the Tube
Insert the valve through the valve hole in the rim first. Make sure it sits straight, not leaning to one side. Then tuck the rest of the tube evenly inside the tire all the way around.
Take your time here. A twisted or unevenly placed tube is one of the easiest ways to create a pinch flat during installation.
Step 12: Mount the Second Bead
Starting at the valve, push the second bead back onto the rim. Work around both sides with your hands. As the fit gets tighter, keep pushing the installed portion of the bead into the center channel of the rim to create extra slack.
Try to finish opposite the valve. That gives you the best chance of seating the final tight section without forcing it.
If you absolutely need a tire lever for the last bit, use it carefully and gently. The goal is to assist the tire, not stab the tube you just installed like a tiny betrayal artist.
Step 13: Check for Pinches and Proper Bead Seating
Before inflating, inspect both sides of the wheel. Make sure the tube is not trapped between the tire bead and the rim. Pinch the tire sidewalls inward slightly and look all the way around.
Also double-check that the valve is straight. A crooked valve can signal that the tube is not sitting correctly inside the tire.
Step 14: Inflate Slowly
Pump air into the tire gradually. As it inflates, watch the bead line on both sides to make sure the tire is seating evenly. If something looks uneven, stop, let some air out, and correct the issue before fully inflating.
Then inflate to the pressure appropriate for your tire, rider weight, terrain, and setup. Mountain bike pressure is not one-size-fits-all. Lower pressure can improve grip and comfort, while too little pressure can increase the risk of burping or rim strikes. Always start with the tire and rim manufacturer guidance and fine-tune from there.
Step 15: Reinstall the Wheel
Put the wheel back into the fork or rear dropouts. Tighten the quick release, thru-axle, or axle nuts properly. Reconnect rim brakes if needed. Spin the wheel to confirm it rotates freely and the tire clears the frame.
Give the brake a squeeze before riding off. Your future self would like that very much.
How Tubeless Changes the Job
If you are changing a tubeless mountain bike tire, the overall process is similar, but there are a few extra details:
- Make sure the rim and tire are tubeless-compatible.
- Inspect rim tape for gaps, wrinkles, or damage.
- Install the tubeless valve correctly.
- Add the correct amount of sealant.
- Seat the bead fully, often with a fast burst of air.
- Check pressure again after the tire sits, because tubeless systems can lose air faster than tubed setups if not sealed well.
Many riders love tubeless because it can self-seal small punctures and reduce pinch flats. Still, it requires a little maintenance. Sealant dries over time, so you have to refresh it periodically. Tubeless is fantastic, but it is not a “set it and forget it forever” arrangement.
Common Mistakes to Avoid
Using the Wrong Tube Size
A mismatched tube can stretch too much, bunch up, or fail early. Match both diameter and width range.
Forgetting to Remove the Cause of the Flat
If the thorn is still in the tire, your fresh tube is basically walking into an ambush.
Pinching the Tube During Installation
This often happens when rushing the second bead on with too much force. Use your hands first, then careful lever assistance only if necessary.
Ignoring Tire Direction
Directional tread matters, especially on mountain bike tires designed for braking traction or cornering control.
Running the Wrong Pressure
Too high and the ride feels harsh and skittish. Too low and you risk rim hits, squirm, or tubeless burps. Start smart and adjust based on terrain and feel.
Trailside Tips for Faster Repairs
- Practice at home before you need to do it outdoors in heat, rain, mud, or fading light.
- Carry two tire levers, a spare tube, a pump or CO2, and a patch kit.
- If you run tubeless, carry a plug tool and a spare tube anyway.
- Keep your repair kit in the same place every ride so you are not doing a scavenger hunt at the trailhead.
The biggest difference between a calm repair and a chaotic one is usually practice. The tire is the same. The tools are the same. The only new variable is whether you are panicking like the trail has a deadline.
Experience on the Trail: What Changing a Mountain Bike Tire Really Feels Like
The first time most riders change a mountain bike tire, it feels oddly personal. The tire is tight, the tube is slippery, your hands are dirty, and every step seems to come with a tiny question mark. You start with confidence, then hit the second bead and suddenly begin negotiating with rubber like it owes you rent. That first repair is rarely elegant, but it teaches you more than a dozen videos ever could.
One common experience is discovering that tire changes are less about strength and more about technique. Riders often assume they need brute force, especially with modern mountain bike tires that fit tightly on wide rims. In reality, success usually comes from keeping the bead in the rim’s center channel, working evenly around the wheel, and staying patient. The job gets easier the moment you stop trying to overpower the tire like it insulted your family.
Another real-world lesson comes from fixing flats on the trail instead of in a garage. At home, you have lighting, floor space, clean tools, and maybe even music. On the trail, you have dust, wind, fading daylight, and a friend who keeps saying, “You almost got it,” while contributing emotionally and not mechanically. That contrast is why practicing at home matters so much. Familiarity makes trailside repairs faster, calmer, and less likely to end with accidental tube murder.
Many riders also learn the hard way that finding the cause of the flat matters just as much as changing the tire itself. Pull out the old tube, slap in the new one, pump it up, and boomanother flat ten seconds later. Why? Because the thorn, shard of glass, or sneaky wire fragment was still sitting inside the tire waiting for a sequel. Experienced riders become detectives. They inspect the casing, the rim bed, and even the old tube to match the puncture location before reinstalling anything.
Then there is the tubeless chapter, which tends to begin with optimism and end with sealant on your socks. Tubeless tire changes can feel magical when everything goes right: the bead seats, the tire pops into place, and small punctures seal themselves on the trail. But when setup goes wrong, it becomes a master class in patience, airflow, rim tape, and life choices. Riders who stick with tubeless usually do so because the performance payoff is worth the occasional messy afternoon.
Perhaps the most valuable experience, though, is the confidence that comes after a few successful repairs. You stop seeing a flat tire as the end of the ride and start seeing it as a fixable interruption. That shift matters. It changes how far you ride, how prepared you feel, and how independent you become as a mountain biker. You no longer need perfect conditions to keep going. You just need a spare tube, a couple of tire levers, and enough patience not to throw your pump into the bushes.
In the end, changing a mountain bike tire becomes one of those essential rider skills that starts as a hassle and turns into a badge of competence. It is not glamorous. No one throws a parade because you seated a bead correctly. But out on the trail, when your tire goes flat and you calmly fix it while everyone else looks mildly impressed, it feels pretty close.
Final Thoughts
Learning how to change a mountain bike tire is one of the most useful skills any rider can have. It helps you handle flats, install fresh rubber, experiment with different tread patterns, and ride with more confidence. The key is to work methodically: remove the wheel, deflate the tire, break the bead, inspect everything carefully, install the tube or tire correctly, and inflate with care.
Once you do it a few times, the process becomes routine. And that is the goalnot to become a bike mechanic overnight, but to become the rider who does not panic when the trail throws a little hissy fit your way.