Buying tickets on Ticketmaster should feel exciting, not like trying to solve a puzzle while a timer yells at you. Whether you are chasing front-row concert seats, playoff tickets, Broadway seats, comedy-show passes, or a family event that does not involve someone spilling popcorn in your lap before the opening act, the process is much easier when you know what each button, queue, filter, and ticket type actually means.
This step-by-step guide explains how to buy tickets on Ticketmaster from start to finish. You will learn how to prepare before tickets go on sale, join the Ticketmaster queue, use presale codes, compare ticket prices, understand fees, choose seats, check out safely, access mobile tickets, avoid scams, and troubleshoot common problems. Think of it as your calm, coffee-holding friend in a digital ticket-buying thunderstorm.
Why Ticketmaster Is So Common for Event Tickets
Ticketmaster is one of the largest ticketing platforms in the United States for concerts, sports, theater, comedy, festivals, and family events. Many artists, sports teams, venues, promoters, and event organizers use Ticketmaster as the primary marketplace for selling tickets. That means when a major tour or big game goes on sale, Ticketmaster is often where fans begin.
The platform sells several kinds of tickets, including standard tickets, presale tickets, VIP packages, Official Platinum tickets, accessible tickets, Verified Resale tickets, and sometimes Face Value Exchange tickets. Each type has different pricing, availability, and rules. The good news is that once you understand the basics, the process becomes much less mysterious. The bad news is that popular events can still sell fast enough to make your keyboard feel personally attacked.
Step 1: Create or Update Your Ticketmaster Account
Before you buy tickets on Ticketmaster, create an account or sign in to your existing one. Do not wait until the sale begins. That is the online ticketing equivalent of tying your shoes after the race starts.
What to check before the sale
Make sure your email address, phone number, billing information, and saved payment method are correct. If your account requires verification, complete it early. Some high-demand events may use account-based access, presale registration, or extra identity checks to reduce bots and suspicious purchasing behavior.
It is also smart to download the Ticketmaster app before event day. The app helps you search for events, manage orders, access mobile tickets, transfer tickets, sell eligible tickets, and add tickets to Apple Wallet or Google Wallet when available.
Step 2: Search for the Event
Go to Ticketmaster.com or open the Ticketmaster app. Use the search bar to enter the artist, team, venue, city, or event name. For example, you might search “Taylor Swift,” “New York Knicks,” “Wicked Broadway,” or “comedy shows near me.”
Once you find the event, check the date, city, venue, start time, and any age restrictions. This sounds obvious, but plenty of people have accidentally bought tickets for the wrong city. Nothing says “oops” like proudly buying seats for a Friday night show in Chicago when you live in Dallas and own zero teleportation devices.
Step 3: Understand Presales and General Sales
Many popular events have multiple sale periods. These can include artist presales, fan club presales, venue presales, credit card presales, Live Nation presales, Ticketmaster presales, VIP package sales, and general public sales.
How presales work
A presale gives eligible fans early access to a limited pool of tickets before the general sale. You may need a code, a special link, a fan club membership, a credit card from a specific issuer, or registration through an artist’s official website. A presale code does not guarantee tickets. It simply lets you try to buy from the available inventory during that presale window.
When you enter the event page, look for buttons such as “Unlock,” “Presale,” or “Offer Code.” If you have a code, enter it exactly as provided. Codes can be case sensitive, so treat capital letters like tiny gatekeepers.
Step 4: Prepare for the Ticketmaster Queue
For high-demand events, Ticketmaster may use a waiting room and queue. The waiting room usually opens before the sale begins. Joining the waiting room early does not necessarily guarantee the first spot, but joining after the sale starts can put you behind fans who were already waiting.
Queue tips that actually matter
Use one Ticketmaster account, one device, and one browser. Opening the same sale on multiple devices or browsers can hurt more than help because it may move you to the back of the line or trigger security checks. Make sure your internet connection is stable, your browser is updated, and your phone is charged if you are using the app.
When you enter the queue, stay on the page. Do not refresh unless Ticketmaster specifically tells you to. The system will update your position as spots become available. This is the part where patience becomes a personality trait.
Step 5: Choose the Right Ticket Type
Once you enter the ticket selection page, you may see several ticket types. Understanding them can save money and prevent confusion.
Standard tickets
Standard tickets are regular tickets sold by the event organizer at the original listed price before resale activity. These are usually the simplest option when available.
Verified Resale tickets
Verified Resale tickets are tickets being resold by another fan through Ticketmaster. Because they are sold inside the platform, they are typically verified for authenticity. Prices may be higher or lower than the original face value depending on demand, seller pricing, and event rules.
Official Platinum tickets
Official Platinum tickets are premium tickets priced by the event organizer based on demand and seat location. They do not always include VIP extras. In other words, “Platinum” may mean a desirable seat, not a backstage cupcake with your name written in frosting.
VIP packages
VIP packages vary by event. They may include premium seats, early entry, merchandise, soundcheck access, a lounge experience, or other perks. Always read the package details carefully before buying because VIP benefits are set by the event organizer and may differ from show to show.
Accessible tickets
Accessible seating is designed for fans with disabilities and their companions. On many events, you can use filters on the interactive seat map to find accessible seats. If you do not see the option online, the venue box office or Ticketmaster accessibility support may be able to help.
Step 6: Use the Seat Map and Filters
Ticketmaster’s interactive seat map lets you browse available seats by section, row, price, ticket type, and location. You can zoom in, select sections, compare prices, and use filters to narrow your options.
Use filters if you have a specific budget or ticket type in mind. For example, you can look for standard tickets only, resale tickets only, accessible seats, VIP packages, or presale inventory. Filters are especially helpful during busy sales because the map can look like a confetti explosion of dots.
How to choose good seats
There is no universal “best seat” because every event is different. For concerts, floor seats can be exciting but may involve standing and limited visibility if you are behind taller fans. Lower bowl seats often offer a balanced view. For sports, seats near center court, midfield, or home plate tend to be popular. For theater, center orchestra and front mezzanine seats are often favorites.
Before selecting, check the venue map, stage layout, and any notes such as “limited view,” “side view,” “obstructed view,” or “standing room only.” A cheaper ticket is not a bargain if you spend the whole night admiring a speaker tower.
Step 7: Review the All-In Price
For U.S. events, Ticketmaster now displays an all-in price upfront for many ticket purchases. This means the listed ticket price includes required fees before taxes. Local taxes, delivery fees, or optional add-ons may still appear at checkout depending on the event and delivery method.
Always review the price breakdown before placing your order. Look at the number of tickets, seat location, service fees, taxes, delivery method, insurance options, parking passes, and any VIP package details. Ticket prices are usually set by the event organizer, while fees can involve multiple parties connected to the event, venue, and ticketing process.
Step 8: Add Tickets to Your Cart Quickly but Carefully
When you find tickets you like, select them and continue to checkout. Ticketmaster usually gives you a limited amount of time to complete the purchase. This timer exists because inventory is limited and other fans are also shopping.
Move quickly, but do not panic-click your way into four tickets in a different section than you intended. Confirm the date, venue, number of tickets, row, seat numbers, and total price. If everything looks right, proceed to payment.
Step 9: Choose a Payment Method
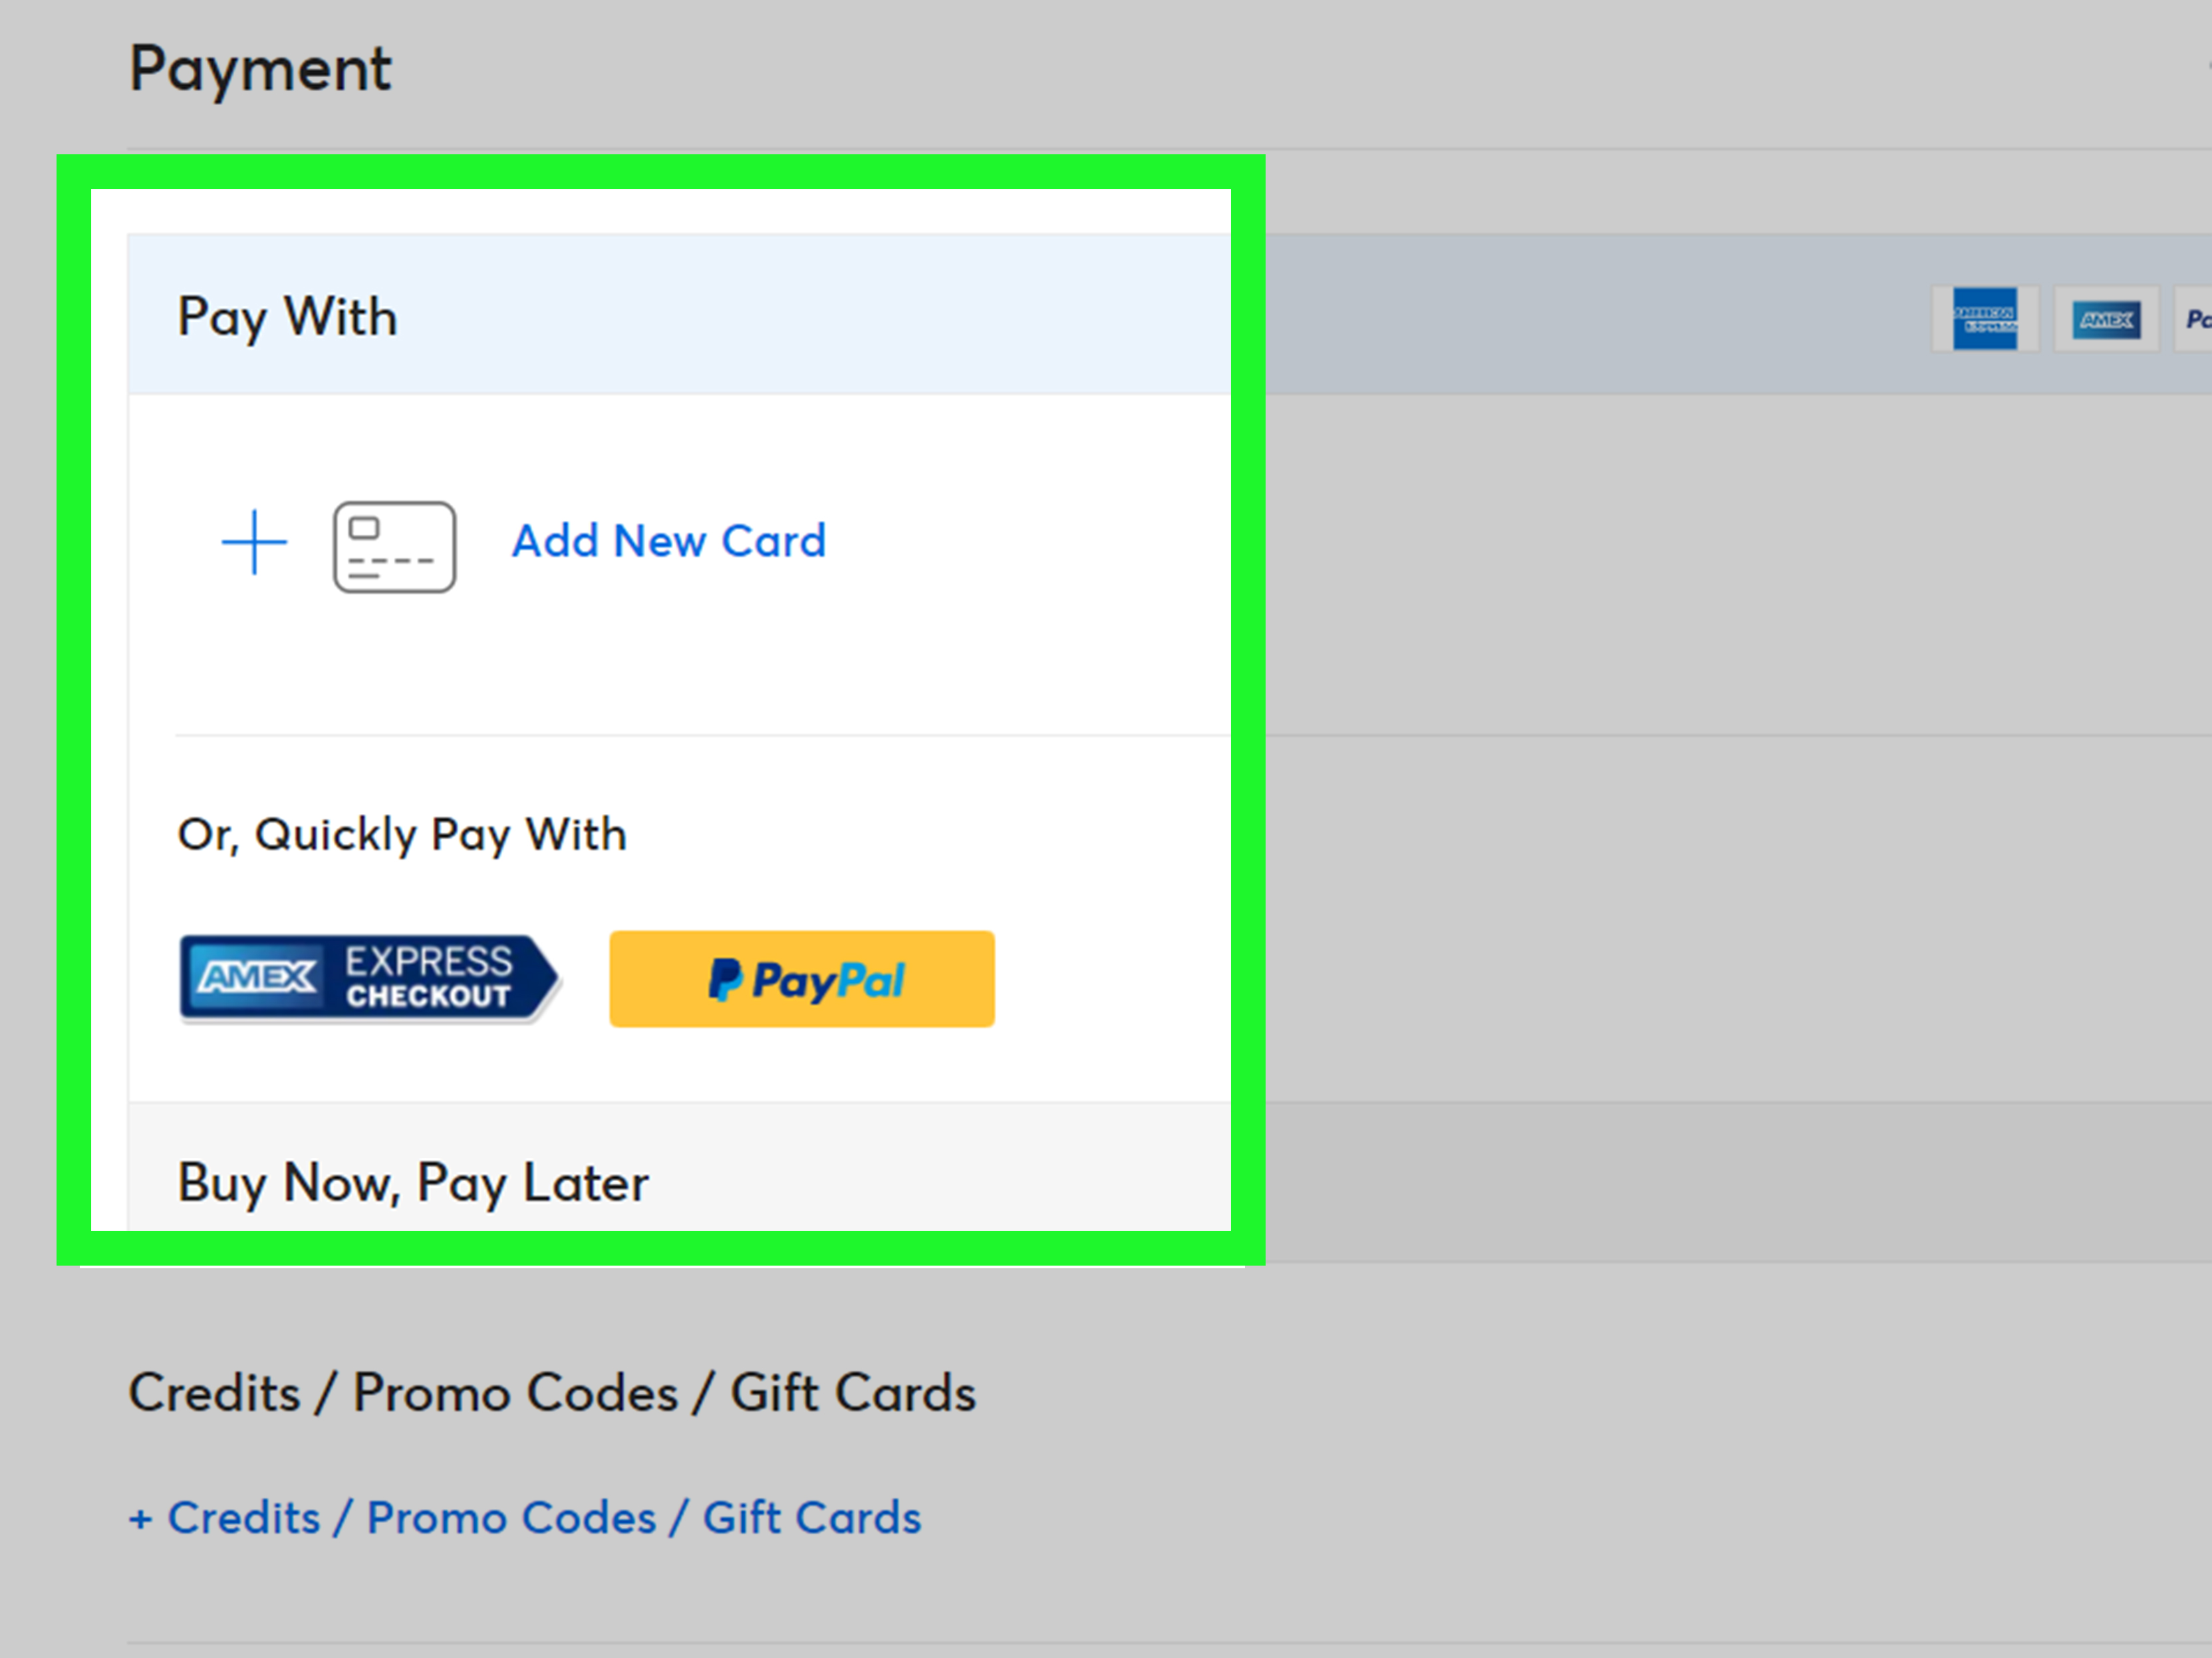
Ticketmaster accepts several common payment methods, including major credit cards, debit cards with major card logos, PayPal, Venmo, Apple Pay, Google Pay, Diners Club, and Ticketmaster Gift Cards in many cases. However, payment options can vary by ticket type. Some payment methods may not be available for Verified Resale tickets or Official Platinum seats.
For safety, use a payment method with strong buyer protection. Credit cards are often a good choice for major purchases because they may offer better fraud dispute options than cash-like transfers. Ticketmaster will not ask you to buy third-party gift cards, wire money, or pay someone outside the official checkout process.
Step 10: Review and Place Your Order
Before clicking “Place Order,” take one final look at everything. Confirm the event name, date, city, seat location, ticket quantity, delivery method, total price, and refund or exchange terms. Ticket purchases are often final unless the event is canceled or the event organizer allows refunds or exchanges under specific rules.
After placing your order, you should receive a confirmation email. You can also find the order in your Ticketmaster account under “My Tickets.” Save the confirmation, but remember that the confirmation email itself is not your entry ticket.
Step 11: Access Your Mobile Tickets
Many Ticketmaster events use mobile entry. Your phone becomes your ticket. To access your tickets, open the Ticketmaster app, sign in, tap “My Tickets,” choose the event, and select “View Tickets.” If available, add them to Apple Wallet or Google Wallet before leaving for the venue.
This is important because internet service around big venues can be unreliable. Thousands of fans trying to load tickets at the same time can turn cellular networks into digital mashed potatoes. Adding tickets to your wallet ahead of time helps you enter faster.
Do screenshots work?
For many mobile-entry events, screenshots are not accepted. Ticketmaster tickets may use rotating barcodes or secure mobile technology. Always use the official app, mobile wallet, or approved delivery method instead of relying on a screenshot.
Step 12: Transfer Tickets If Needed
If you bought tickets for friends or family, you may be able to transfer some or all of them through your Ticketmaster account. When a transfer is accepted, the recipient gets a new barcode, and the original ticket in your account is no longer valid for entry.
Ticket transfer is useful when your group is arriving separately. Instead of gathering everyone outside the gate like a confused field trip, each person can enter with their own ticket. However, transfer availability depends on the event organizer, so some events may delay or restrict transfers.
Step 13: Know the Refund and Exchange Rules
Refund and exchange policies vary by event. If an event is canceled, ticket holders are generally given refund options. If an event is postponed or rescheduled, the original tickets are often valid for the new date, but refund eligibility depends on the event organizer’s policy.
Ticketmaster may offer exchanges or upgrades for some eligible events if better seats become available, but this is not guaranteed. Exchanges may require the event to be at least 24 hours away, and fees can apply. Verified Resale tickets and some special ticket types may have different restrictions.
How to Avoid Ticketmaster Scams
Ticket scams are common around high-demand events. Scammers know fans get emotional when tickets are scarce. They also know that “only two left!” can make normal adults behave like raccoons in a vending machine.
Buy from official sources
The safest way to confirm authenticity is to buy directly from Ticketmaster, Live Nation, the official venue box office, or another authorized primary seller listed by the event organizer. If you buy from a random social media account, marketplace post, or unfamiliar website, Ticketmaster may not be able to verify the ticket.
Watch for fake payment requests
Be suspicious of anyone asking you to pay with wire transfers, cryptocurrency, third-party gift cards, or peer-to-peer payments to a stranger. Ticketmaster will not ask you to purchase Amazon, iTunes, or other third-party gift cards in exchange for tickets or refunds.
Check URLs carefully
Scammers create fake websites that look similar to real ticketing pages. Before entering payment information, check the domain, spelling, security lock, and page details. A fake site may use urgent language, suspicious discounts, strange grammar, or a checkout process that feels off.
Common Problems When Buying Tickets on Ticketmaster
The queue is moving slowly
This usually means demand is high and Ticketmaster is letting fans in as space opens. Stay on the page, avoid refreshing, and do not open the same queue on multiple devices.
The tickets disappeared before checkout
Another fan may have selected them first, or the inventory may have changed. Return to the seat map and try another section, date, or ticket quantity. Searching for two tickets instead of four can sometimes reveal more options.
The presale code is not working
Check spelling, capitalization, sale time, and eligibility. Some codes only work for specific ticket types, dates, venues, or accounts. Fan club codes usually come from the fan club, not Ticketmaster.
The barcode is not showing yet
For some events, the event organizer delays barcode availability until closer to the event date. You may see your order in your account even if the scannable ticket is not ready yet.
The event says tickets are sold out
Sold out does not always mean impossible. Additional tickets may be released later, resale tickets may appear, or production holds may open after stage layouts are finalized. Keep checking the official event page if you are still interested.
Smart Tips for Getting Better Results
First, favorite your preferred artists, teams, venues, and performers in your Ticketmaster account so you can receive alerts about upcoming events and presales. Second, compare multiple dates if the artist or team has more than one event in your area. Weeknight shows can sometimes have better availability than Saturday nights.
Third, decide your budget before the sale begins. Include fees, taxes, parking, transportation, food, merchandise, and the emotional cost of buying a $19 pretzel because it was shaped like a guitar. Fourth, be flexible with seat location. Perfect seats sell quickly, but very good seats often remain if you are willing to adjust your section or row.
Finally, do not buy in a panic from unknown sellers just because the first sale looked rough. The safest ticket is not always the first ticket you see. Slow down, compare options, and use verified platforms whenever possible.
Real-World Experience: What Buying Tickets on Ticketmaster Feels Like
Buying tickets on Ticketmaster is part planning, part timing, and part emotional cardio. The first lesson most fans learn is that preparation matters more than luck. Yes, luck helps, especially for extremely popular events, but the fan who already has an account, saved payment method, verified phone number, presale code, and preferred seat sections written down has a major advantage over the fan who starts by asking, “Wait, what is my password again?” at 10:01 a.m.
A common experience is entering the waiting room early and still landing somewhere in the middle of the queue. That can feel frustrating, but it is normal. The queue is not simply a single-file line at a grocery store where everyone can see the cashier. It is a traffic-control system for a limited number of available tickets. When demand is massive, even a well-prepared fan may not get their first-choice seats. That does not mean the process failed. It means thousands of people wanted the same night, same section, and same view of the stage.
Another real-world lesson: filters are your friend. Many buyers waste precious minutes zooming in and out of the seat map while tickets vanish. A better approach is to set your ticket quantity, maximum price, and preferred ticket type first. If you want standard tickets only, filter out resale. If you are open to resale but want to avoid premium pricing, set your budget. If you need accessible seating, use the accessible ticket filter early. The seat map is useful, but during a competitive sale, it can also become a tiny battlefield of disappearing dots.
Fans also learn quickly that “best available” does not always mean “best for me.” The platform may show seats based on price, location, or availability, but your personal best seat depends on the event. For a concert, you may prefer lower bowl seats over floor seats if you want a clear view. For a basketball game, upper-level center court may be better than lower-level seats tucked behind the basket. For a theater show, a front mezzanine seat can sometimes offer a better full-stage view than a very close orchestra seat.
The checkout timer can also make people nervous. The trick is to move with purpose, not panic. Review your seats, total price, date, and delivery method. If the total is outside your budget, back out and choose again. Do not let the timer bully you into a purchase you will regret. Concert excitement fades. Credit card statements, sadly, are very punctual.
Event day brings another set of lessons. Always open your tickets before leaving home or the hotel. Add them to your mobile wallet if possible. Charge your phone. Bring a backup battery for long events. If you transferred tickets to friends, confirm that they accepted the transfer before everyone arrives at the venue. Nothing kills the pre-show mood like six people standing at the gate while one friend says, “I thought the email was optional.”
The best experience comes from treating Ticketmaster like a process, not a slot machine. Prepare early, understand ticket types, use official channels, compare prices calmly, and keep your mobile tickets ready. You may not win every ticket battle, but you will avoid the most common mistakesand you will arrive at the venue feeling like a fan, not a frazzled detective with a barcode problem.
Conclusion
Learning how to buy tickets on Ticketmaster is mostly about being ready before the sale begins and staying calm once the digital doors open. Create your account early, understand presales, join the queue correctly, use filters, compare ticket types, review the all-in price, pay through secure methods, and prepare your mobile tickets before event day. The platform can feel intense during major events, but a little planning makes the entire experience smoother, safer, and far less chaotic.
Note: Ticket availability, pricing, fees, delivery options, transfer rules, refunds, exchanges, presales, and mobile-entry requirements can vary by event, venue, and event organizer. Always review the official event page and checkout details before placing your order.