Building a chimney sounds simple until you remember what it is actually supposed to do: guide smoke, heat, sparks, moisture, and combustion gases safely out of a house without turning the framing into kindling or the living room into a fog machine. In other words, a chimney is not just a brick tower with confidence. It is a carefully designed venting system.
This guide explains how to build a chimney in nine practical planning steps, focusing on masonry chimney construction, chimney components, flue liners, flashing, caps, draft, and long-term safety. It is written for homeowners, remodelers, and curious DIY readers who want to understand the process before hiring a qualified mason or chimney professional. Actual construction should always follow local building codes, permit requirements, manufacturer instructions, and inspection rules.
A properly built chimney can serve a fireplace, wood stove, furnace, or other approved appliance for decades. A poorly built one can leak, smoke, crack, waste energy, or create a serious fire and carbon monoxide hazard. So yes, the bricks matterbut the invisible details matter more.
Before You Build: Know What a Chimney Must Do
A chimney’s job is to create a safe vertical path for exhaust gases. Hot gases rise through the flue, creating draft. That draft pulls smoke and combustion byproducts away from the firebox or appliance and sends them outdoors. For the system to work well, the chimney must be tall enough, correctly sized, properly lined, structurally supported, weather-protected, and compatible with the appliance it serves.
The most common residential options are masonry chimneys and factory-built metal chimneys. Masonry chimneys are built from brick, block, stone, concrete, or other approved masonry units. Factory-built systems are listed metal chimney systems installed according to the manufacturer’s instructions. This article focuses mainly on masonry chimneys because they are the classic “brick chimney” most people picture, but many safety principles apply to both.
How to Build a Chimney: 9 Steps
Step 1: Confirm the Appliance, Fuel Type, and Local Code Requirements
Start with the appliance, not the bricks. A chimney serving a wood-burning fireplace is not designed exactly like one serving a gas appliance, pellet stove, oil appliance, or high-efficiency heating unit. Each fuel creates different temperatures, moisture levels, draft needs, and byproducts.
Before design begins, identify the appliance model, fuel type, required vent size, manufacturer instructions, and local code rules. Your city or county building department may require a permit, plan review, inspection, and final approval. Skipping this step is like baking a cake without knowing whether you are making a cupcake or a wedding cake. Technically both involve flour, but the consequences are different.
For a masonry fireplace, the flue must be sized in relation to the fireplace opening. For an appliance, the flue cannot be smaller than the appliance connector and must match the venting requirements. Oversized flues can draft poorly, while undersized flues can spill smoke or combustion gases into the home.
Step 2: Choose the Right Chimney Location
A chimney performs best when it is as straight and vertical as possible. Long offsets, awkward bends, and exterior exposure can reduce draft and increase condensation. In cold climates, an interior chimney usually stays warmer and drafts better than a chimney built on an outside wall.
The location must also account for roof framing, ceiling joists, combustible clearances, attic access, future maintenance, and the chimney’s height above the roof. A chimney should not be squeezed into a space where it cannot meet required clearances. Wood framing, insulation, drywall, trim, and sheathing must be kept away from hot chimney surfaces according to code and product listings.
Think of the chimney path as a highway for smoke. A straight highway moves traffic smoothly. A weird maze behind the attic knee wall? That is where problems start honking.
Step 3: Design a Proper Foundation and Structural Support
A masonry chimney is heavy. Very heavy. It needs a dedicated foundation or approved support, not a hopeful stack of bricks resting on a floor system. Footings are typically built from concrete or solid masonry and must extend beyond the chimney or support wall on all sides. They also need to reach stable soil and, in freezing climates, extend below frost depth.
This is one of the most important parts of chimney construction because settlement can crack the chimney, damage the flue liner, create gaps, and compromise draft. If the chimney leans, separates from the house, or pulls away from flashing, repairs can become expensive quickly.
In seismic regions, masonry chimneys may require reinforcement, anchorage, and special detailing. A structural engineer or experienced mason should verify the design, especially for tall chimneys, exterior chimneys, multi-flue chimneys, or homes in earthquake-prone areas.
Step 4: Select Approved Masonry Materials
Chimneys are exposed to heat inside and weather outside, so ordinary “close enough” materials are not acceptable. Masonry chimney walls are commonly built with solid masonry units or hollow units grouted solid. The mortar, brick, block, firebrick, and refractory materials must be suitable for high-temperature and exterior exposure.
For a fireplace, the firebox should use firebrick and refractory mortar, not standard brick and regular mortar. Firebrick is designed to handle repeated heat cycles. Regular brick may look charming, but inside a firebox it can fail faster than a snow cone in Phoenix.
Material selection should also consider climate. Freeze-thaw regions require durable masonry and proper water management. Coastal or humid areas may require corrosion-resistant metal caps, flashing, and fasteners. If the chimney will serve a gas appliance, condensation and acidic byproducts become especially important when choosing liners and venting materials.
Step 5: Install the Correct Flue Liner
The flue liner is the protected passage inside the chimney. It helps contain heat and gases, improves draft, and protects surrounding masonry from corrosive combustion byproducts. Modern masonry chimneys should be lined with an approved material suited to the connected appliance.
Common liner options include clay flue tile, stainless steel listed liners, factory-built chimney units installed within masonry, and other approved lining systems. Clay tile is common in traditional masonry fireplaces, while stainless steel liners are often used for relining or for certain appliances. The liner must be sized correctly and installed with smooth joints, proper support, and allowance for thermal expansion.
A chimney without a proper liner is a serious red flag. Heat, smoke, and gases can move through cracks and masonry gaps, increasing fire and carbon monoxide risks. The liner is not decorative; it is the chimney’s internal safety tunnel.
Step 6: Build the Chimney Walls Around the Liner
As the chimney rises, the mason builds the masonry shell around the flue liner. The walls must maintain required thickness, alignment, and spacing. Mortar should be neatly tooled, joints should be full, and the inside of the flue should remain smooth and free of excess mortar droppings. Lumps inside the flue can disrupt draft and collect creosote.
If the chimney has more than one flue, each flue needs proper separation. Multiple appliances should not be casually connected to the same flue unless the design specifically allows it. A fireplace, furnace, and water heater are not roommates who can “figure it out.” Venting systems need clear assignments.
The chimney should also avoid unnecessary dimensional changes near floors, ceilings, and roof penetrations. Sudden offsets and size changes can weaken draft and complicate inspections. A clean, plumb, well-supported stack is the goal.
Step 7: Maintain Clearances Through Floors, Ceilings, Attics, and Roofs
Clearance is the space between the chimney and combustible materials. This is where many dangerous mistakes happen. Wood framing, roof decking, insulation, flooring, and trim must not be packed tightly against the chimney unless the code or listed system specifically allows it.
Heat transfer can be sneaky. A surface may not burst into flames immediately, but repeated heating over time can lower the ignition temperature of nearby wood. That is why clearance rules exist. They are not fussy paperwork; they are fire prevention.
When a chimney passes through an attic or roof, the surrounding area must remain accessible enough for inspection and safe enough to prevent hidden contact with combustibles. Do not stuff insulation into required air gaps. Do not “solve” a gap with spray foam unless the material and assembly are specifically approved for that use. Fire-resistant materials, proper firestopping, and approved shields may be required.
Step 8: Flash the Roof Penetration Correctly
The roof-to-chimney joint is one of the most leak-prone areas of a house. Good flashing is not optional. It is the raincoat your chimney wears so your ceiling does not become modern art.
A typical masonry chimney on a sloped shingle roof uses base flashing, step flashing along the sides, apron flashing at the lower side, and counter flashing cut into or embedded into the masonry. The goal is to layer metal and roofing materials so water is directed around the chimney and down the roof, not behind the flashing.
For wider chimneys, a cricket or saddle may be required or strongly recommended on the high side. A cricket diverts water and snow around the chimney instead of letting it pile up behind the masonry. This is especially important in areas with heavy rain, snow, or leaf buildup.
Flashing should be made from durable, compatible metal and installed so it can move slightly with temperature changes. Caulk alone is not flashing. Caulk is a helper, not the hero.
Step 9: Finish With the Crown, Cap, Spark Arrestor, and Inspection
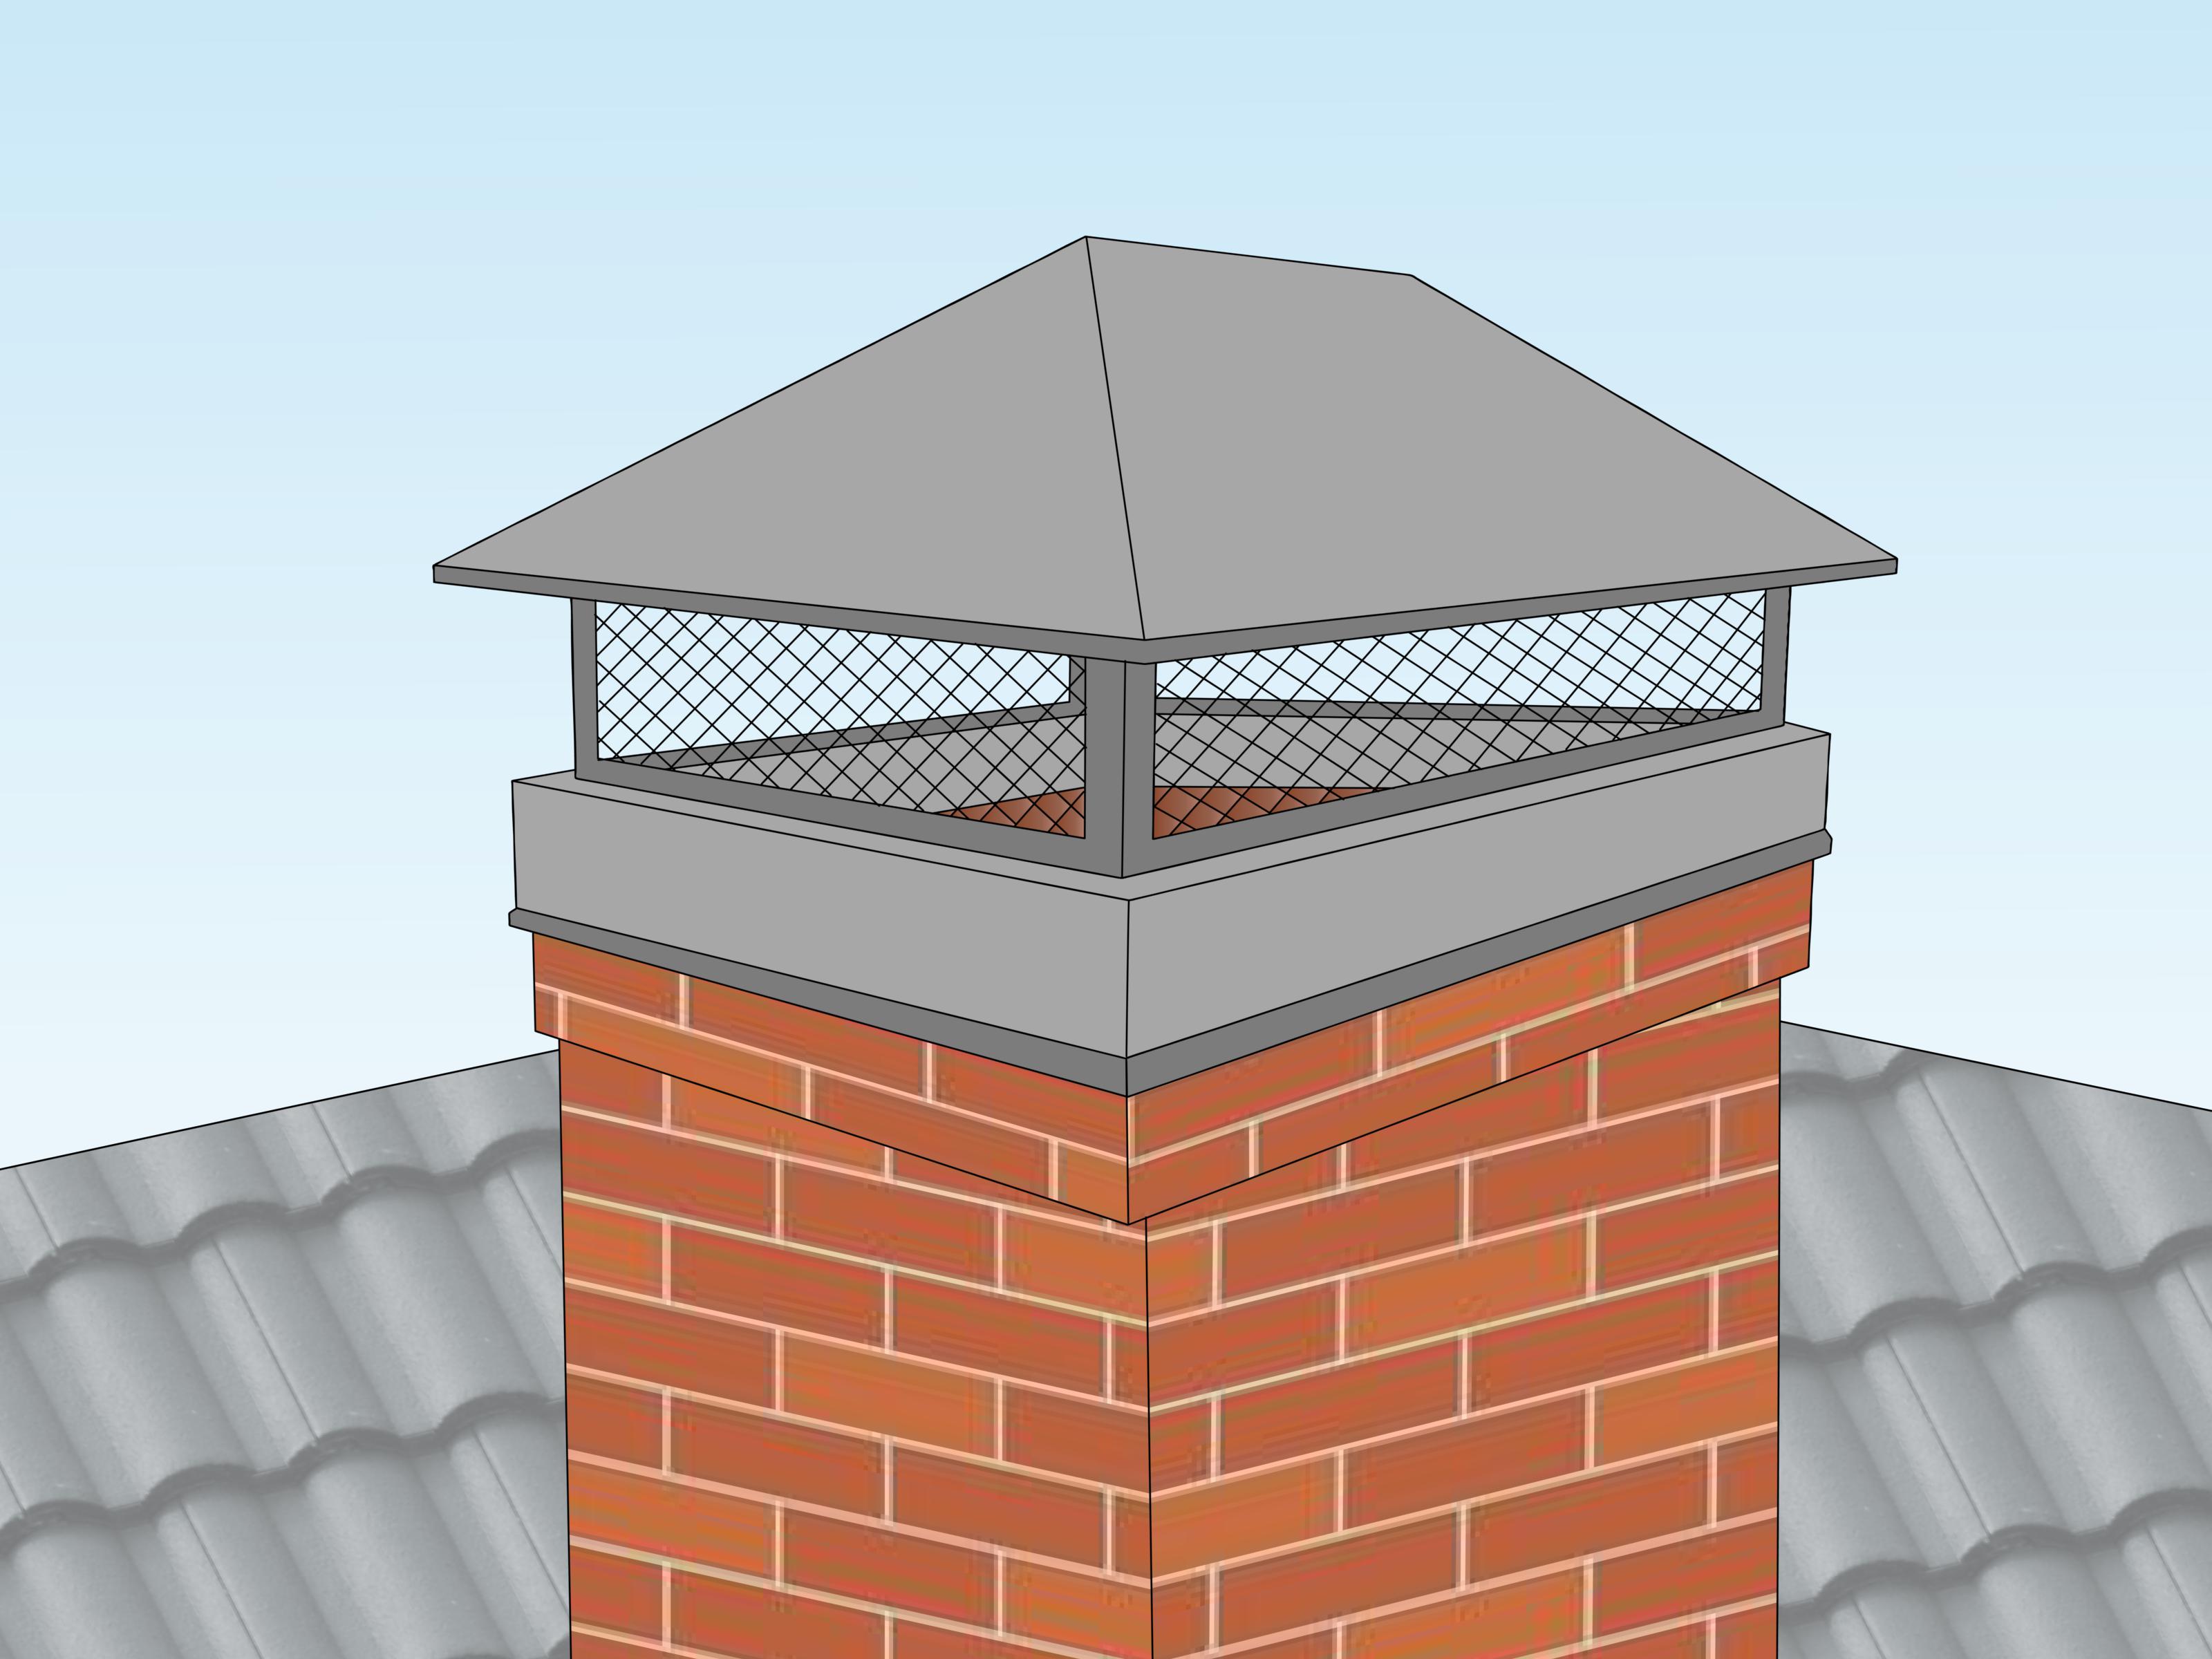
The top of the chimney needs protection from rain, snow, animals, leaves, sparks, and freeze-thaw damage. A proper chimney crown or cap should slope away from the flue and include a drip edge so water sheds off the chimney instead of soaking into the brick face.
A rain cap helps keep water and debris out of the flue. A spark arrestor can reduce the chance of embers escaping, especially with wood-burning systems. Screens must be properly sized and accessible for cleaning because clogged screens can restrict draft.
Before the chimney is used, it should be inspected by the building department and a qualified chimney professional. The inspection should confirm structural support, liner condition, clearances, flashing, cap installation, appliance connection, draft, and carbon monoxide safety. Install working smoke alarms and carbon monoxide alarms in the home. Then schedule annual chimney inspections and cleanings as needed.
Common Chimney Building Mistakes to Avoid
Using the Wrong Flue Size
A flue that is too small can cause smoke spillage. A flue that is too large can cool gases too quickly, causing poor draft and condensation. Flue sizing should be calculated, not guessed.
Skipping the Liner
An unlined chimney is unsafe and usually not acceptable for modern construction. The liner protects the house and helps the system vent correctly.
Relying on Caulk Instead of Flashing
Caulk eventually cracks. Proper metal flashing, layered correctly with the roofing, is what keeps water out over the long term.
Building Too Short
A chimney that does not terminate high enough above the roof may draft poorly and can be affected by nearby rooflines, walls, or trees. Height rules exist to help smoke escape safely.
Ignoring Maintenance Access
Caps, dampers, cleanouts, and flue openings must be accessible. If a chimney cannot be inspected or cleaned, it cannot be safely maintained.
Chimney Maintenance After Construction
Even a well-built chimney needs ongoing care. Wood-burning systems can accumulate creosote, a flammable residue that forms when smoke cools inside the flue. Gas and oil systems can create condensation and acidic deposits. Birds, leaves, broken liner pieces, and weather damage can also block or weaken the system.
Have the chimney inspected every year, especially before the heating season. Clean it when creosote or soot buildup reaches unsafe levels or when a professional recommends it. Watch for warning signs such as smoke entering the room, white staining on exterior brick, rust on the damper or firebox, cracked crown, missing cap, loose bricks, odors, or water stains near the chimney.
Also pay attention to home pressure. Kitchen fans, bathroom fans, dryers, and tight modern construction can create negative pressure that pulls combustion gases back into the living space. Balanced ventilation and proper make-up air can help prevent backdrafting.
Real-World Experience: What Homeowners Learn the Hard Way
Here is the part many glossy renovation guides skip: chimneys are where confidence goes to get inspected. Homeowners often begin with a simple idea“Let’s add a fireplace”and quickly discover that the chimney affects the foundation, framing, roof, attic, ventilation, energy efficiency, insurance, and resale value. It is less like adding a decorative feature and more like installing a vertical machine made of masonry.
One common experience is underestimating water. Fire gets all the drama, but water is the quiet villain. A small flashing gap can create ceiling stains months later. A flat chimney crown can hold water, freeze, crack, and slowly break the top courses of brick. A missing cap can let rain run down the flue, rust the damper, and make the fireplace smell like a wet campsite. The lesson: if the chimney top and flashing are not detailed correctly, the chimney may fail from the outside before the firebox ever gets a chance to show off.
Another lesson is that draft is sensitive. A homeowner may build a beautiful fireplace and still get smoke in the room because the flue is too short, too cold, too large, too small, or competing with exhaust fans. In tight houses, a roaring kitchen range hood can pull air down the chimney. The fireplace then behaves like a moody dragon with allergies. Good chimney design considers the whole house, not just the brick stack.
Budget surprises are also common. The visible brick may be only part of the cost. Permits, engineering, footing work, roof repairs, flashing, liner materials, cap installation, inspections, and interior finish repairs can add up. A chimney built correctly is not cheap, but a chimney built incorrectly is usually more expensive because repairs often require roof access, demolition, relining, or rebuilding.
Homeowners also learn that “masonry” does not automatically mean “forever.” Brick and mortar are durable, but they need proper drainage, breathable water repellents when appropriate, sound mortar joints, and regular inspections. Hard cement mortar used on older soft brick can cause damage. Paint that traps moisture can accelerate deterioration. A chimney should be tough, but it should also be allowed to dry.
The best experience comes from treating chimney construction as a team project. The mason, roofer, HVAC contractor, inspector, and homeowner should all understand the plan. The mason handles structure and masonry details. The roofer ensures the flashing integrates with the roof. The HVAC or hearth professional confirms appliance compatibility and venting. The inspector checks code compliance. The homeowner keeps records, schedules maintenance, and resists the urge to “just seal that gap with whatever is in the garage.”
If you remember one thing, remember this: a chimney is successful when it is boring. No leaks. No smoke rollout. No strange smells. No cracked liner. No mystery stains. No dramatic winter phone calls. A properly built chimney simply does its job year after year, quietly escorting smoke outside like a well-dressed butler.
Conclusion
Learning how to build a chimney is really learning how structure, fire safety, airflow, moisture control, and building codes work together. The nine essential steps are: confirm the appliance and local code, choose the right location, design a proper foundation, select approved materials, install the correct flue liner, build the masonry shell, maintain clearances, flash the roof penetration, and finish with a crown, cap, spark arrestor, and inspection.
For most homeowners, the smartest move is not to build the chimney personally, but to understand the process well enough to hire the right professionals, ask better questions, and spot shortcuts before they become expensive problems. A chimney may look like a pile of bricks, but when it is built correctly, it is a safety system. Treat it with respect, give it regular maintenance, and it will reward you with warmth, comfort, and far fewer smoky surprises.