A weak floor joist is one of those home problems that starts quietly. First, the floor feels a little bouncy. Then a door sticks. Then one day you look at the ceiling below and think, “Has that crack always looked like a tiny lightning bolt?” Floor joists are the horizontal framing members that support your floor, subfloor, furniture, people, pets, and the occasional overambitious bookshelf. When one is rotted, cracked, badly notched, or sagging, replacing or reinforcing it can restore strength and stop the problem from spreading.
The good news: many floor joist repairs are straightforward in concept. The serious news: joists are structural, which means this is not the moment to freestyle like you are assembling a flat-pack coffee table. The safest approach is to inspect the damage, support the floor, remove or reinforce the bad joist, and install new lumber with proper fasteners, blocking, and moisture control. This guide explains easy ways to replace floor joists in 8 steps, with practical examples, homeowner-friendly tips, and a few “please do not learn this the expensive way” warnings.
Before you begin, remember that local building codes, joist span requirements, permits, and structural loads vary by house. If the damage affects a load-bearing wall, multiple joists, a main beam, an engineered I-joist, or a large section of subfloor, consult a licensed contractor or structural engineer.
What Is a Floor Joist and Why Does It Fail?
A floor joist is a long wood or engineered framing member that runs beneath the subfloor. Joists transfer floor loads to beams, foundation walls, girders, or bearing walls. In many older homes, joists are dimensional lumber such as 2×8, 2×10, or 2×12 boards. Newer homes may use engineered I-joists or trusses, which require manufacturer-approved repair methods.
Common reasons floor joists need replacement
Floor joists usually fail because of moisture, insects, overloading, poor modifications, or age. A plumbing leak can rot the wood near bathrooms and kitchens. Termites or carpenter ants can hollow out the framing. A previous owner may have cut a giant notch for a drainpipe and unknowingly turned a strong joist into a sad wooden noodle. Heavy loads, foundation settlement, and inadequate support can also create sagging or cracked joists.
Signs of a damaged joist include soft or springy floors, visible cracks, sloping rooms, squeaks, gaps between flooring and baseboards, moisture stains, moldy odors, and crumbling wood in a basement or crawl space. If the joist looks dark, spongy, split, or powdery, do not ignore it. Floors are supposed to hold you up, not offer a trampoline experience.
Should You Replace or Sister a Floor Joist?
Replacing a floor joist means removing the damaged member and installing a new one in its place. Sistering a joist means attaching a new joist alongside the damaged one to reinforce it. In many residential repairs, sistering is easier because plumbing, wiring, ductwork, and subfloor nails can make full removal difficult.
If the existing joist is only partly damaged and still has stable bearing at both ends, sistering may be enough. If the joist is severely rotted, crushed at the bearing point, insect-damaged through most of its length, or structurally compromised, replacement may be necessary. In some cases, the best repair combines both methods: cut away the worst section, install blocking or a support beam, and sister a full-length joist for strength.
Tools and Materials You May Need
Gather your supplies before crawling under the house, because climbing in and out of a crawl space ten times is nobody’s idea of personal growth. You may need replacement lumber matching the original joist size, construction adhesive, joist hangers, approved hanger nails or structural screws, framing nails, a circular saw, reciprocating saw, drill or impact driver, hammer, pry bar, tape measure, level, clamps, temporary posts, hydraulic jack, safety glasses, gloves, dust mask, work light, and blocking material.
Use pressure-treated lumber only where appropriate, such as areas near masonry or moisture exposure, and follow code requirements for compatible fasteners. For interior dry framing, standard kiln-dried framing lumber is commonly used. Do not mix random hardware and fasteners. Joist hangers are tested with specific nail or screw types, and drywall screws are not structural fasteners. Drywall screws are wonderful at holding drywall; they are terrible at pretending to be tiny steel beams.
Easy Ways to Replace Floor Joists: 8 Steps
Step 1: Inspect the damage carefully
Start with a full inspection from below if possible. Look in the basement, crawl space, or unfinished ceiling area. Identify the damaged joist, then check neighboring joists, beams, sill plates, rim joists, and subfloor. Moisture damage rarely respects boundaries. If one joist is rotten near a bathroom, the nearby subfloor and rim board may also be compromised.
Probe suspicious wood with a screwdriver or awl. Healthy wood resists pressure. Rotten wood feels soft, crumbly, or flaky. Look for active leaks, termite tubes, sawdust-like frass, rusted fasteners, and mold. Measure the joist depth, width, spacing, and span. Common joist spacing is often 16 inches on center, but older homes may differ.
If you see severe sagging, multiple cracked joists, major insect damage, or altered engineered wood, stop and call a pro. Engineered I-joists, trusses, laminated veneer lumber, and glue-laminated beams should not be cut, notched, or repaired casually. They require manufacturer specifications or professional design.
Step 2: Fix the cause before fixing the joist
Replacing a floor joist without fixing the cause is like mopping the floor while the faucet is still running. Before installing new wood, solve the water, pest, or load problem. Repair plumbing leaks, improve crawl space drainage, add a vapor barrier where appropriate, clean out wet insulation, and correct exterior grading if water is entering the foundation.
For insect damage, contact a pest professional before closing the repair. For mold, address the moisture source and remove contaminated materials safely. A new joist installed in the same damp conditions may fail again, and this time it will fail with a smug little “I told you so.”
Step 3: Plan the repair and check local code
Decide whether you are replacing the entire joist, replacing a section, or sistering a new joist alongside the old one. A full-length sister joist should ideally run from bearing point to bearing point. When that is not possible, make the sister as long as practical and extend well beyond the damaged area. Short patches are weaker and may not transfer loads properly.
Check whether your city or county requires a permit. Structural floor framing repairs often fall under local building rules. Also review notching and boring limits. For sawn lumber joists, holes and notches must stay within strict size and location limits. Large cuts near the middle of a span are especially risky because that is where bending stress can be high.
If pipes or wires pass through the damaged joist, plan how they will be moved or re-routed. Do not cut oversized holes in the new joist just to make life convenient. Convenience is nice. A floor that stays upstairs is nicer.
Step 4: Support the floor temporarily
Before removing or cutting a joist, support the floor load. Place a temporary beam perpendicular to the joists and use adjustable steel posts or wood posts to hold it. A hydraulic jack can lift a sagging floor gradually, but it must be used with care. Lifting too quickly can crack drywall, pop trim, damage flooring, or shift plumbing.
If the floor has sagged over time, raise it slowly over several days rather than forcing it back in one dramatic moment. Wood and plaster do not enjoy surprise parties. Use a level or laser level to monitor progress. Your goal is to stabilize and slightly relieve the damaged joist, not to jack the house into a new ZIP code.
Step 5: Remove obstacles and expose the joist
Depending on the house, you may need to remove insulation, ceiling drywall, flooring, or sections of subfloor. In a basement or crawl space, access is usually easier. In finished rooms, the repair may require opening the ceiling below or lifting flooring above.
Turn off power to any electrical lines near the work area. Move plumbing and wiring only if you are qualified and permitted to do so. If utilities run through the damaged joist, photograph everything before touching it. Label wires, mark pipe locations, and keep fasteners away from hidden lines. Accidentally turning a plumbing line into a sprinkler system is a memorable but unpopular home improvement technique.
Step 6: Cut out the damaged joist or prepare it for sistering
For a full replacement, cut fasteners connecting the joist to the subfloor, rim joist, beam, or hanger. A reciprocating saw can help cut nails, but work slowly to avoid damaging nearby framing. Remove the joist in sections if necessary.
For sistering, clean the side of the damaged joist so the new joist can sit tight against it. Remove protruding nails, debris, old bridging, and loose rot. If only a small rotten section exists, cut away unstable wood until you reach solid material. The new sister joist should bear on the same supports whenever possible or be supported by approved hangers, blocking, or beams.
Cut the new joist to match the original size. If the old joist is a 2×10, the sister should usually be a 2×10 as well. Do not install a smaller board and hope optimism will do the engineering.
Step 7: Install the new joist, hangers, adhesive, and fasteners
Slide the new joist into position. If you are sistering, apply construction adhesive along the old joist and, where accessible, along the top edge of the new joist before pressing it tight to the subfloor. Adhesive helps reduce squeaks and improves contact, but it does not replace structural fasteners.
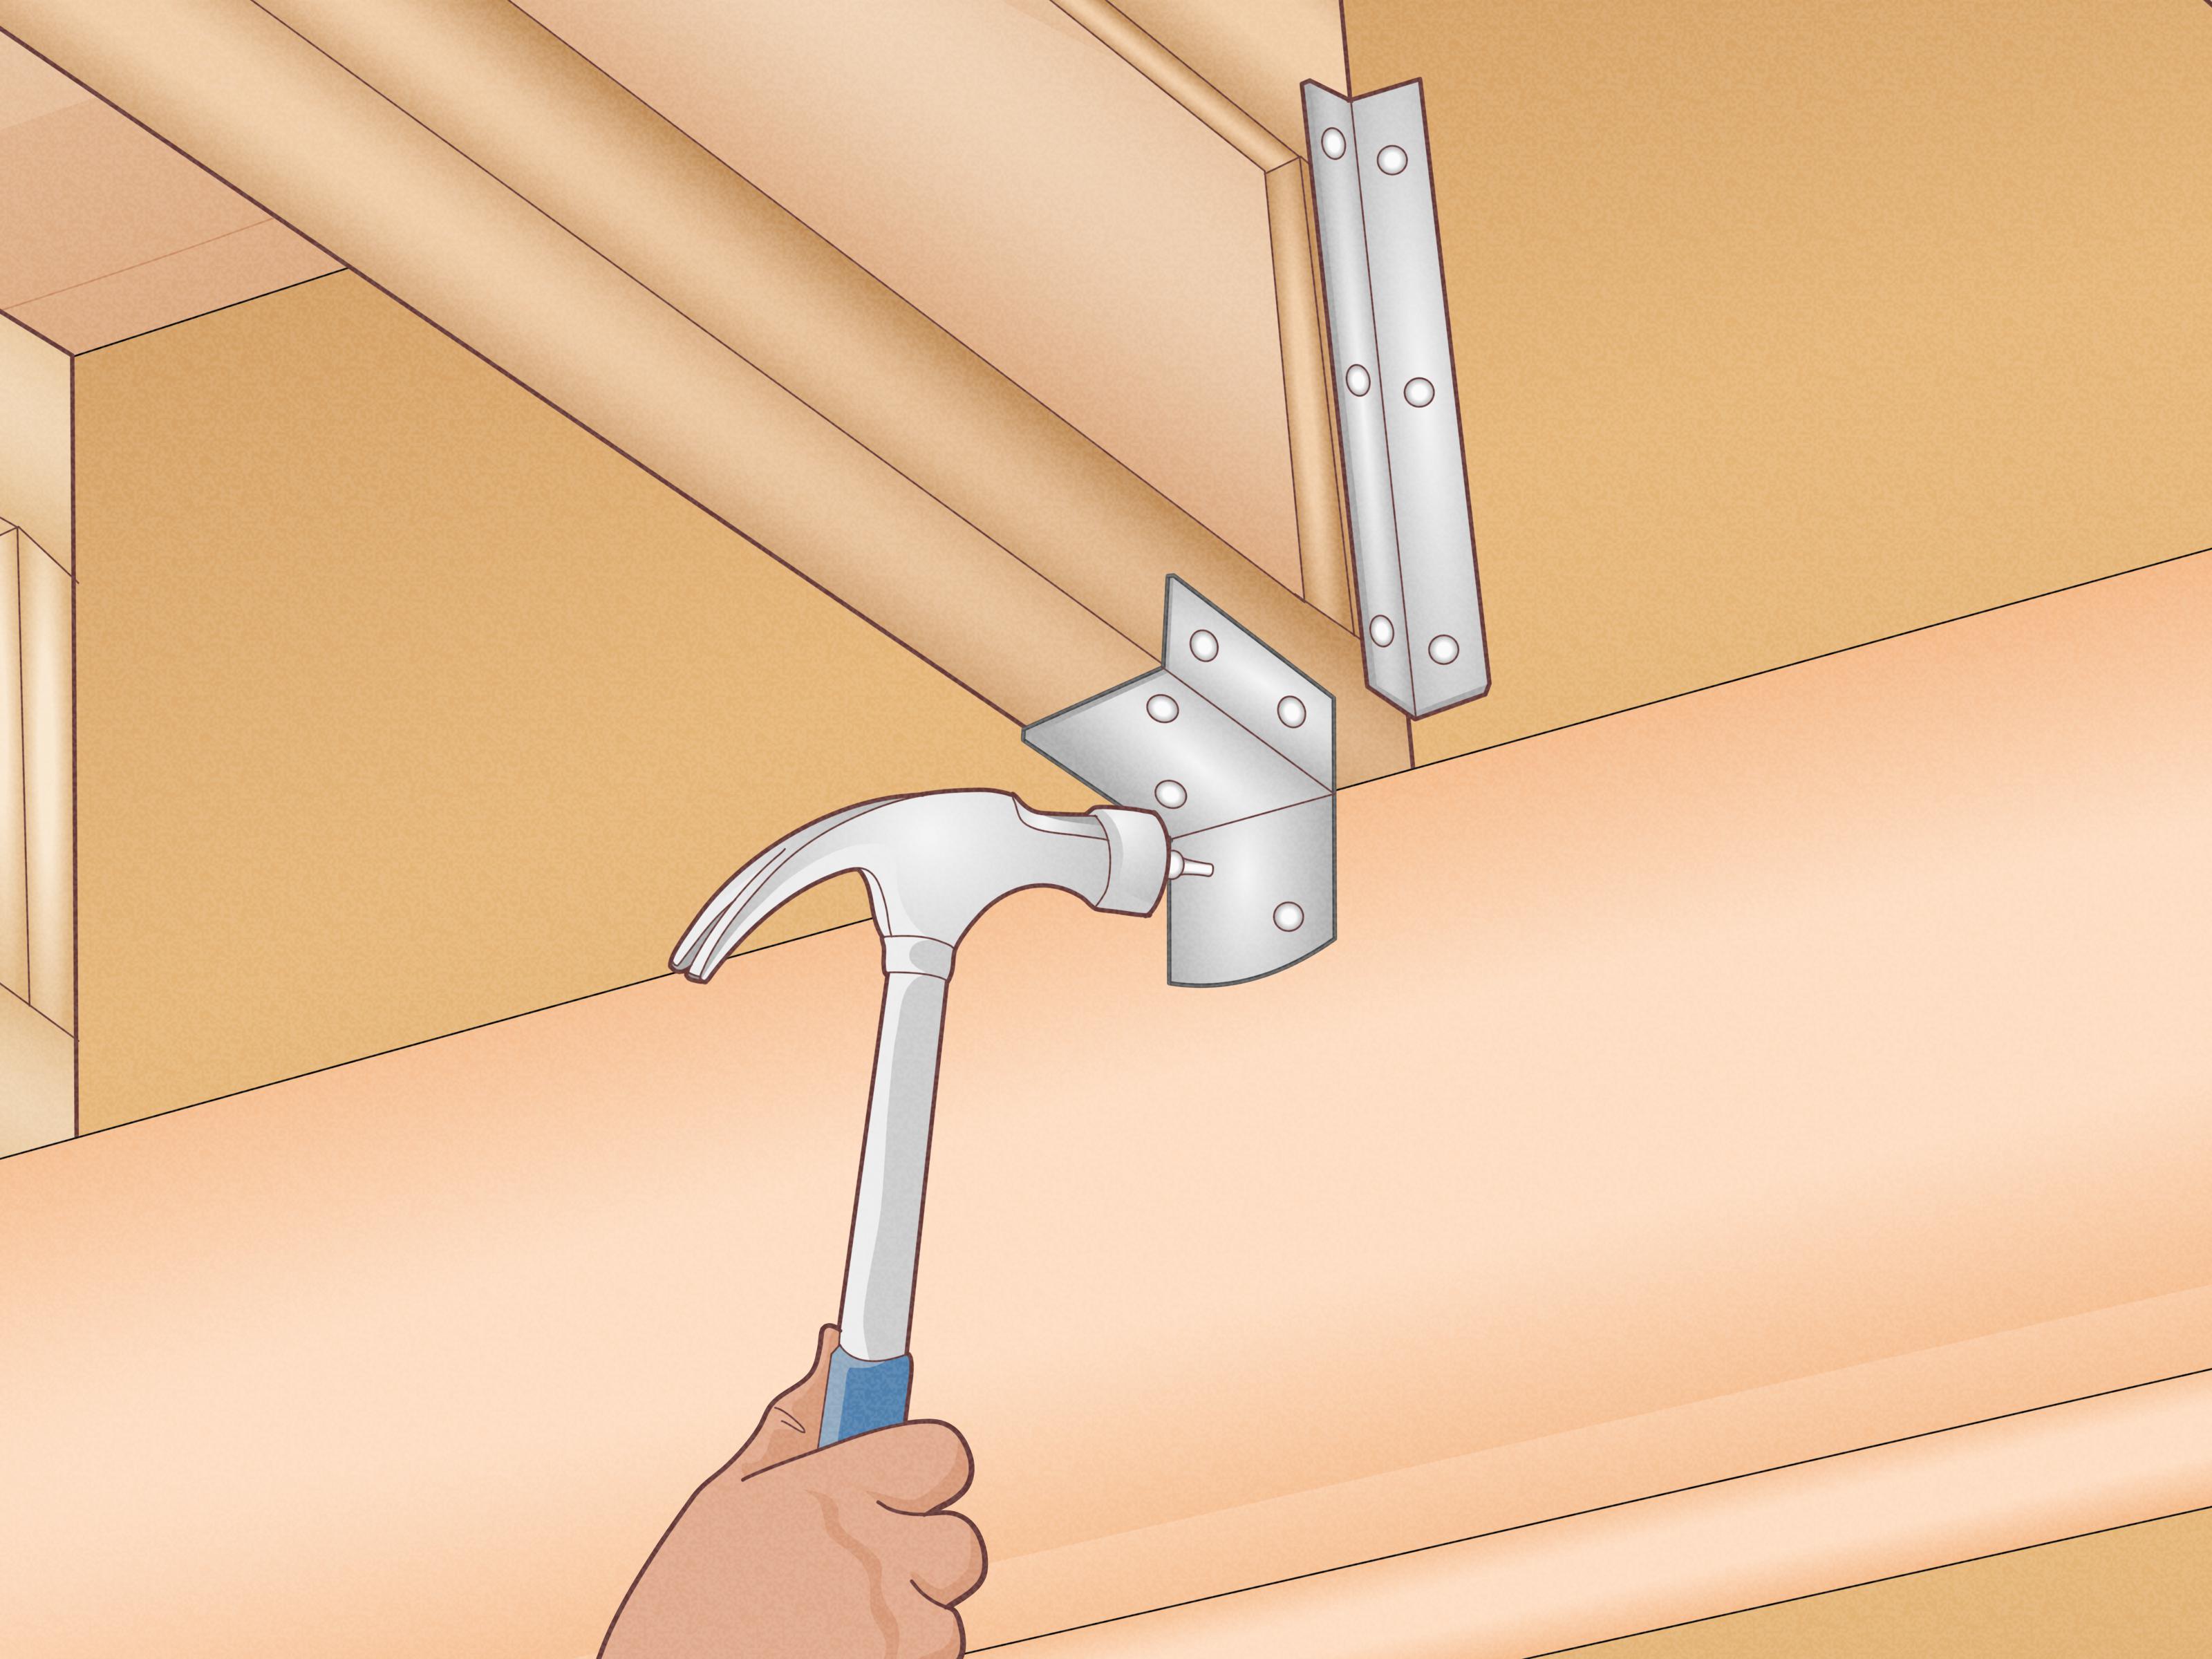
Clamp the new and old joists together. Fasten them with structural screws, bolts, or nails according to the repair plan and local code. A common approach for sistering dimensional lumber is to stagger fasteners in rows along the length of the joist, keeping them away from edges to reduce splitting. For joist hangers, use the manufacturer’s specified nails or approved structural screws. Never substitute ordinary deck screws or drywall screws in a hanger unless the hardware manufacturer specifically allows that fastener.
If the joist bears on a beam or sill, make sure it has solid bearing. If it sits in a hanger, fill every required nail hole with the proper fastener. Add blocking or bridging where it was removed. Blocking helps keep joists upright and reduces twisting, which is especially important when repairing an older floor system.
Step 8: Recheck level, secure the subfloor, and close the repair
Once the joist is installed, check the floor for level and stiffness. Fasten the subfloor to the new joist with screws or nails as appropriate. If the floor squeaked before, this is a good time to tighten loose subfloor panels. Work from above if the finished flooring is removed, or from below with blocking and adhesive if access is limited.
Remove temporary supports gradually after the new framing is secure. Watch for movement, cracking, or unusual sounds. Then reinstall insulation, drywall, flooring, or trim. In a crawl space, improve ventilation or encapsulation as needed, and keep the area dry. The best joist repair is one you do not have to repeat next summer.
Specific Examples of Floor Joist Repairs
Example 1: Rotten joist under a bathroom
Bathrooms are prime suspects because toilets, tubs, and supply lines can leak quietly for months. Suppose a 2×10 joist under a toilet flange has soft wood for about 18 inches. The repair may involve removing the toilet, cutting out damaged subfloor, fixing the leak, replacing the rotten subfloor, and sistering a new 2×10 alongside the damaged joist. If the rot reaches the bearing point or affects multiple joists, a contractor should evaluate the framing.
Example 2: Over-notched joist for plumbing
A previous remodel may have carved a large notch out of the bottom of a joist for a drain line. This is a common problem in older homes. The repair may require re-routing the pipe, sistering the joist with full-depth lumber, and adding blocking. If several joists were cut, the floor system may need engineered reinforcement.
Example 3: Bouncy floor in a living room
Not every bouncy floor means a joist is rotten. Sometimes joists are undersized for the span, spaced too far apart, or lacking proper blocking. Sistering joists, adding a beam, installing solid blocking, or securing loose subfloor panels can improve stiffness. The right solution depends on span, load, access, and the condition of the existing framing.
Safety Tips Before Replacing Floor Joists
Wear eye protection, gloves, and a respirator when working around old insulation, mold, dust, or pest debris. Use stable lighting and avoid working alone in tight crawl spaces. Do not crawl under unsupported framing. Do not remove more than one joist at a time unless a qualified professional designs the temporary support. Keep children and pets away from the work area, especially if flooring is open above.
If you discover asbestos-containing flooring, lead paint, knob-and-tube wiring, major foundation movement, or widespread rot, pause the project. Some surprises are manageable. Others are the house politely asking for an adult with a license.
Common Mistakes to Avoid
Using the wrong fasteners
Joist hangers and structural connectors require approved nails or screws. Ordinary screws can snap under shear loads. Always match fasteners to the connector and application.
Installing a short sister joist
A tiny patch may look reassuring, but it might not transfer loads well. Use the longest practical sister joist, ideally spanning to bearing points.
Ignoring moisture
Wood rot is a symptom, not the original villain. Fix leaks, drainage, crawl space humidity, and ventilation issues before closing the repair.
Cutting engineered joists
Engineered wood products are designed systems. Cutting or notching them without guidance can seriously weaken the structure.
Jacking too quickly
Raising a sagging floor too fast can damage finishes and framing. Slow, controlled lifting is safer.
How Much Does It Cost to Replace Floor Joists?
Costs vary widely depending on access, damage, location, permits, and whether plumbing, wiring, flooring, or drywall must be removed. A simple sister joist in an accessible basement may cost far less than replacing multiple rotten joists under a tiled bathroom. DIY repairs may involve lumber, hangers, fasteners, adhesive, tools, and safety gear. Professional repairs include labor, inspection, structural planning, and finish restoration.
The expensive part is often not the joist itself. It is the access and the hidden problem. Removing tile, moving pipes, treating termites, repairing subfloor, and refinishing flooring can cost more than the lumber. That is why early repair matters. A small soft spot today can become a full bathroom renovation with bonus emotional damage.
When to Call a Professional
Call a licensed contractor or structural engineer if the repair involves a load-bearing wall, major sagging, multiple damaged joists, foundation issues, engineered wood, cantilevered framing, fire damage, extensive rot, or unclear bearing points. Also call a pro if you feel unsure about temporary support. Supporting a house while you remove structural framing is not a “learn as you go” activity.
A professional can determine whether the joist should be replaced, sistered, reinforced with steel, supported with a new beam, or redesigned. They can also help with permits and inspections, which protects your home’s value and avoids headaches during future resale.
Extra Experience-Based Tips for Replacing Floor Joists
One of the most useful experiences homeowners share about replacing floor joists is this: the repair always looks simpler before you open the floor. A joist may appear damaged in one small spot, but once the insulation is removed and the subfloor is exposed, the story often gets longer. Moisture may have traveled along the grain of the wood. A leak may have soaked the subfloor above. A nearby rim joist may be worse than the joist you planned to repair. For that reason, experienced DIYers usually start by opening the area a little wider than seems necessary. Better visibility leads to better decisions.
Another practical lesson is to measure everything twice and buy lumber carefully. Older homes may not use modern lumber dimensions perfectly. A joist that looks like a 2×10 may be slightly different from today’s actual board size. In historic homes, rough-sawn lumber can be larger than modern dimensional lumber. If the new joist is shorter in depth, it may not contact the subfloor properly. In those cases, shimming, planing, or professional guidance may be needed to create full bearing and a level floor.
Access also changes the job dramatically. Working from an unfinished basement can feel almost pleasant compared with squeezing through a crawl space with spiders, old insulation, and exactly three inches less room than your shoulders require. If you are working in a crawl space, prepare the area first. Lay down plastic sheeting, set up bright work lights, wear knee pads, and bring all tools in a bucket or tote. Nothing tests your patience like crawling backward for a forgotten pencil.
Homeowners who have done this repair successfully often say that temporary support deserves more attention than the new joist itself. A solid temporary beam and properly placed posts make the work safer and cleaner. The floor should be gently supported before the damaged joist is cut or loosened. If the existing floor has sagged, resist the temptation to crank it level in one afternoon. Gradual lifting helps the house adjust and reduces the chance of cracked plaster, separated trim, or buckled flooring.
Fastener discipline is another real-world lesson. It is easy to grab whatever screws are nearby, especially when you are tired and covered in sawdust. Do not do it. Structural screws, hanger nails, and connector-approved fasteners exist for a reason. The repair may look identical from ten feet away, but its strength depends on the right hardware. Fill the required holes in joist hangers, stagger fasteners in sistered lumber, and avoid placing fasteners too close to board edges.
Finally, experienced repairers know that the best floor joist replacement ends with prevention. After the joist is fixed, check the crawl space after heavy rain. Monitor humidity. Look under sinks. Keep gutters clear. Make sure bathroom fixtures are sealed correctly. The goal is not just to replace a floor joist; it is to make sure the new joist enjoys a long, boring life. In home repair, boring is beautiful. Boring means dry wood, quiet floors, and no surprise sagging when you walk across the room carrying coffee.
Conclusion
Replacing floor joists is a serious project, but the process becomes easier when you break it into clear steps: inspect the damage, solve the cause, support the floor, expose the framing, remove or reinforce the bad joist, install the new lumber correctly, secure the subfloor, and prevent future moisture problems. Sistering is often the simplest method for strengthening a damaged joist, while full replacement may be needed when rot, cracks, or bearing failure are severe.
The most important rule is simple: respect the structure. Floors carry real loads, and joists are not decorative accessories hiding under the house for fun. When in doubt, bring in a professional. A properly repaired joist can make your floor feel solid again, protect your home’s value, and give you the quiet confidence that your living room is not slowly auditioning to become a basement.