Play dough is one of those magical childhood materials that can become a pizza, a dinosaur, a birthday cake, a worm family, or “a thing with eyes” in under five minutes. Unfortunately, it also has a secret talent: turning into a crusty little rock the moment someone forgets the lid. If you have ever found a sad lump of dried-out dough under the couch, you already know the tiny heartbreak.
The good news? Preserving play dough is easy when you understand what it needs: moisture, clean hands, airtight storage, and a little common sense. Whether you use classic store-bought Play-Doh, homemade play dough, sensory dough, or classroom craft dough, the same basic rules apply. Keep air out. Keep germs down. Keep colors separated when possible. And when the dough looks suspicious, wave goodbye like a responsible adult.
This guide walks through nine simple steps to help you keep play dough soft, fresh, safe, and ready for the next round of creative chaos. You will also learn when to revive dry play dough, when to refrigerate homemade batches, how to store finished creations, and how to avoid the dreaded “mystery gray blob” that appears when every color meets every other color at snack time.
Why Play Dough Dries Out So Quickly
Most play dough is made with a mixture of water, flour or starch, salt, coloring, and softening ingredients. That moisture is what gives dough its bendy, squishy, moldable texture. When the dough is exposed to air, the water slowly evaporates. The outside becomes stiff first, then crumbly, and finally hard enough to qualify as a tiny craft fossil.
Salt helps play dough last longer, especially in homemade recipes, but salt alone cannot protect dough from air, dirt, crumbs, pet hair, or enthusiastic toddlers who believe taste-testing is a valid scientific method. Preservation is less about one dramatic trick and more about small habits repeated every time the dough comes out.
Easy Ways to Preserve Play Dough: 9 Steps
1. Wash Hands Before Play Dough Time
The first step to preserving play dough starts before anyone touches it. Clean hands keep crumbs, oils, dirt, and germs from getting kneaded into the dough. This matters even more when several children share one batch. Play dough is a hands-on activity, and hands are excellent delivery trucks for whatever they touched five minutes ago.
Ask children to wash with soap and water before play begins. Make it part of the routine: wash, dry, play. For younger kids, use a simple phrase such as, “Clean hands make happy dough.” It sounds silly, but silly rules are often the ones kids remember. Drying hands is important too. Very wet hands can make dough sticky, while dirty hands can shorten its usable life.
2. Use a Clean Play Surface
Play dough loves clean tables. It does not love breakfast crumbs, glitter leftovers, pencil shavings, dried glue, or yesterday’s mysterious sticky spot. Before setting out dough, wipe the table, tray, or mat. A plastic placemat, silicone craft mat, or washable tray creates a dedicated play area and makes cleanup easier.
For classrooms, daycare spaces, or busy family kitchens, separate tools help keep the dough cleaner. Cookie cutters, rolling pins, child-safe scissors, plastic knives, stamps, and shape molds should be washed or wiped regularly. If a tool has been on the floor, in a mouth, or inside a peanut butter sandwich somehow, clean it before it meets the dough again.
3. Keep the Dough Covered During Play Breaks
Play dough does not need to be sealed only at the end of the day. If a child steps away for lunch, bathroom time, or an urgent dinosaur rescue mission, cover the dough. Even ten or fifteen minutes in open air can dry the surface, especially in air-conditioned rooms or dry climates.
A simple upside-down bowl, damp paper towel, resealable bag, or covered container can protect dough during short breaks. The goal is not to soak it. The goal is to create a temporary moisture shield. If the dough develops a dry skin, knead it back in right away before it hardens further.
4. Store Play Dough in an Airtight Container
Airtight storage is the golden rule of play dough preservation. After play, roll the dough into a ball or thick log, remove loose crumbs, and place it in a container with a snug lid. Original Play-Doh cans work well when the lid is fully closed. For homemade dough, use small food storage containers, zipper bags, reusable silicone bags, or glass jars with child-safe handling.
If you use zipper bags, press out excess air before sealing. Air pockets encourage drying, especially around edges and corners. For extra protection, place the dough in a small bag and then inside a lidded container. This double-storage method is especially helpful for homemade play dough, classroom batches, or dough that you want to keep soft for several weeks.
5. Separate Colors Before Storing
Mixed-color play dough can be fun, but it usually has one final destination: gray-brown planet blob. To preserve bright colors, give each color its own container or bag. Label containers with color names, especially in classrooms or craft bins where multiple children help clean up.
If colors are already slightly mixed, decide whether to separate them or create a “rainbow scrap” container. Scrap dough is perfect for pretend rocks, monsters, mud pies, construction sites, and other projects where perfect color does not matter. This keeps the main colors cleaner while still giving the leftover bits a useful second life.
6. Revive Dry Play Dough With Water, Slowly
When play dough starts to feel stiff, do not panic. A little water can often bring it back. The key word is little. Add water one drop at a time or lightly mist the dough with a spray bottle, then knead thoroughly. At first, it may feel slippery or sticky. Keep kneading. The moisture needs time to spread through the dough.
If the dough is very dry, wrap it in a damp paper towel and place it in a sealed container or bag for a few hours. Then knead again. Repeat only if needed. Too much water can turn dough into paste, and paste is not play doughit is a craft emergency wearing a disguise.
For homemade dough that becomes sticky after rehydrating, sprinkle in a tiny amount of flour or cornstarch and knead until the texture improves. Add dry ingredients slowly. You can always add more, but you cannot easily remove a flour avalanche.
7. Refrigerate Homemade Play Dough When Needed
Store-bought dough usually does fine at room temperature when sealed properly. Homemade play dough can be different, especially recipes that include food-based ingredients, scents, fruit puree, or natural coloring. Refrigeration can help extend freshness for some homemade batches, particularly in warm or humid climates.
Place homemade dough in an airtight bag or container before refrigerating. Let it return to room temperature before play, because cold dough can be stiff and less pleasant to handle. If condensation appears inside the container, knead the dough and let it sit uncovered for a minute or two before play. Do not leave homemade dough in the refrigerator forever. Even well-stored dough has limits.
8. Know When to Preserve a Creationand When to Take a Photo
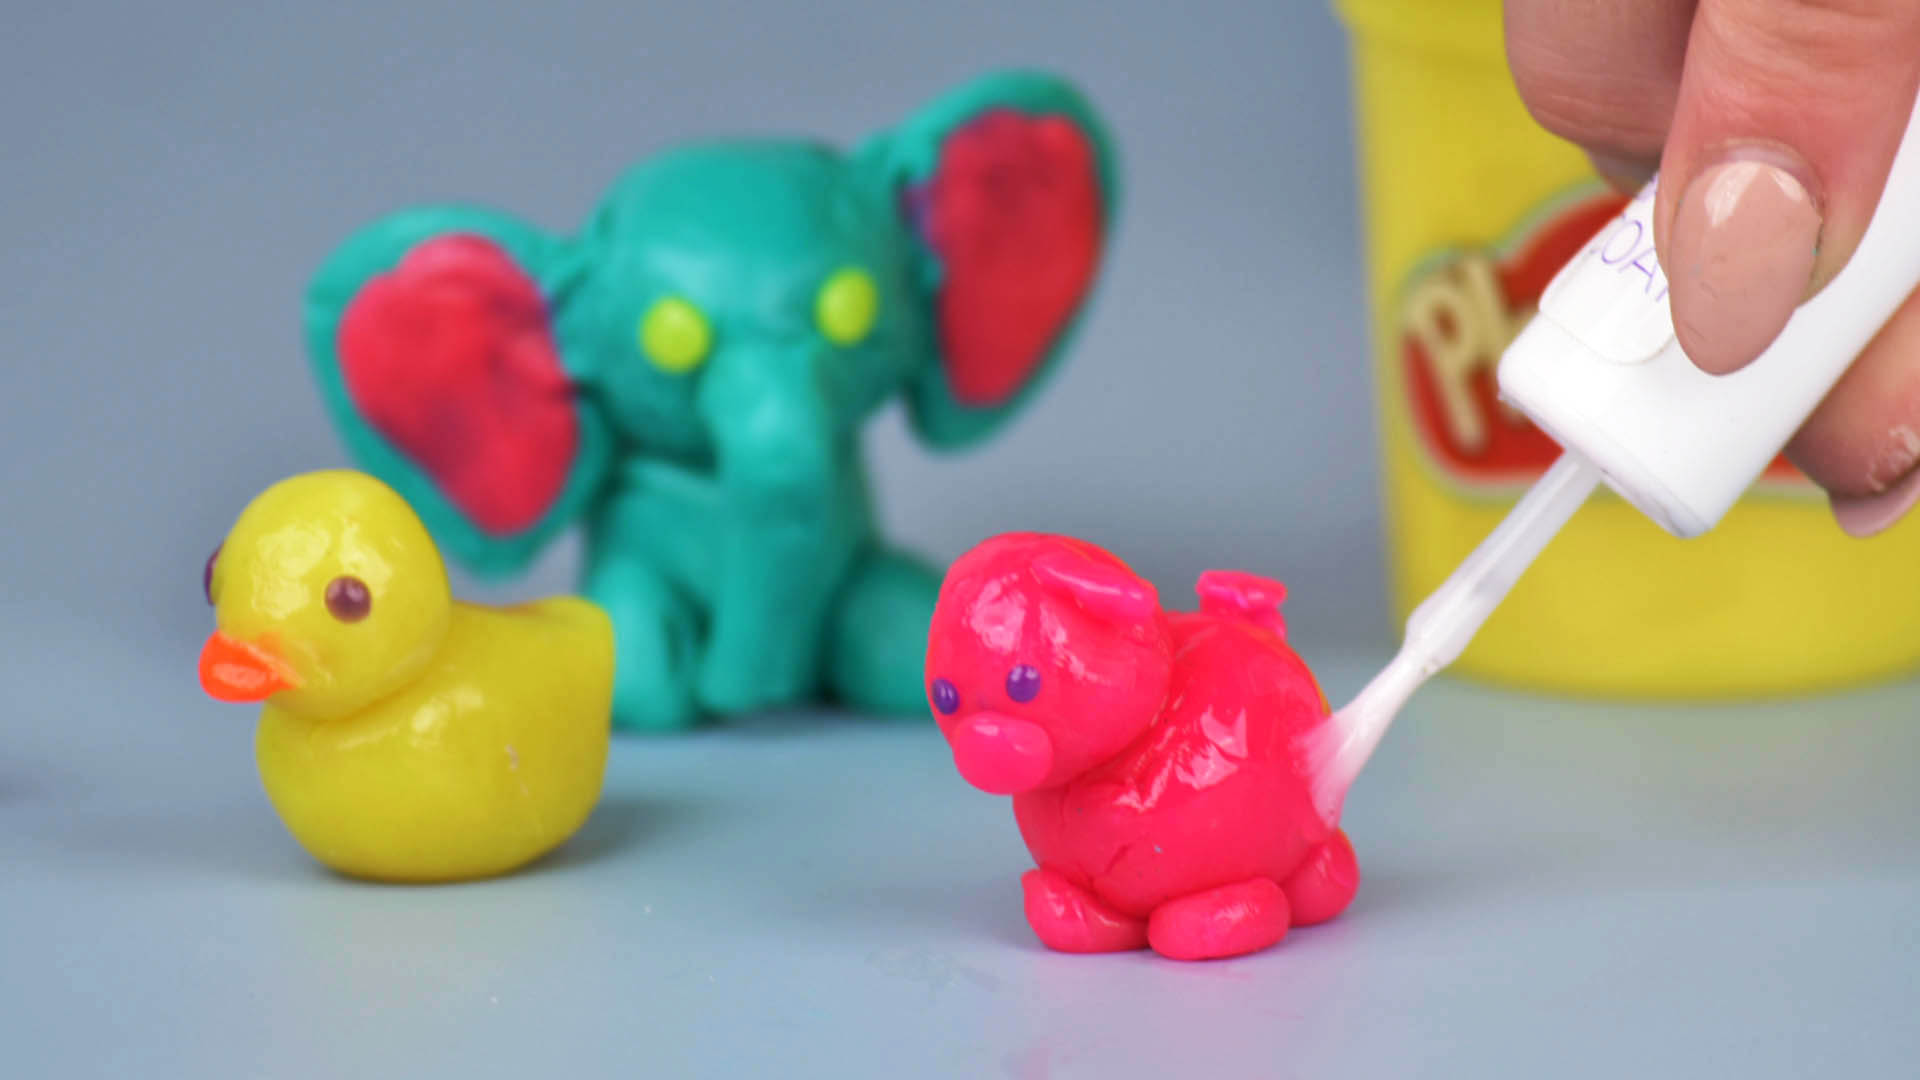
Many parents want to preserve a child’s play dough masterpiece. This is understandable. A lopsided purple penguin with button eyes can feel like museum material. However, classic play dough is designed to be reused, not permanently hardened. When left out to dry, it may crack, crumble, fade, or lose its shape.
If the creation is special, the safest preservation method is often photography. Take a picture from the front, side, and top. Add the child’s name and date. You can even create a digital album called “Great Dough Works of the Living Room.” For physical keepsakes, consider using air-dry clay, salt dough, or oven-bake clay instead of regular play dough. These materials are better suited for lasting projects.
If you still want to dry a play dough creation, let it air-dry slowly in a low-humidity area. Avoid ovens, microwaves, and direct sunlight unless the product instructions specifically say otherwise. Fast drying often causes cracking. Once dry, fragile pieces may be displayed gently, but they will not be as durable as true craft clay.
9. Discard Play Dough That Is Dirty, Moldy, or Mouthed
Preservation has a limit. If play dough smells bad, shows mold, has visible dirt, contains food crumbs, was mouthed by a child, or has been heavily shared during illness season, throw it away. Trying to rescue contaminated dough is not worth it. A fresh batch is cheaper than a round of stomach bugs marching through the house like a tiny germ parade.
For group settings, refresh play dough regularly. Small daily portions are easier to manage than one giant communal ball. Keep unused dough sealed away from children, and only bring out what you need. If a child is sick, drooling heavily, or still exploring toys with their mouth, provide individual dough portions or choose another activity.
Best Containers for Keeping Play Dough Soft
The best play dough container is airtight, easy to open, easy to clean, and sized closely to the amount of dough inside. Too much empty space leaves more air around the dough. Small containers are better than oversized bins for individual colors.
Good Storage Options
- Original Play-Doh cans with tightly sealed lids
- Small plastic food containers
- Reusable silicone snack bags
- Heavy-duty zipper bags with air pressed out
- Small glass jars for adult-managed storage
- Labeled classroom tubs for color-coded organization
For families, a clear storage bin can hold all the small containers in one place. For teachers, a dough station with labels, tools, and cleanup rules helps children take responsibility. A good storage system prevents the classic play dough mystery: five lids, seven containers, and none of them matching.
How Long Does Play Dough Last?
Store-bought play dough can last a long time when sealed tightly after every use. Homemade play dough may last from a few days to several weeks or even longer, depending on the recipe, storage method, climate, and how cleanly it is handled. Cooked recipes with salt, cream of tartar, and oil often last longer than simple no-cook recipes. Dough used by one child with clean hands usually lasts longer than dough shared by a whole preschool table.
Instead of relying only on the calendar, use your senses. Good play dough should feel soft and pliable. It should not smell sour, look fuzzy, feel slimy, or contain visible debris. When in doubt, throw it out. That little rhyme works for leftovers and for play dough.
How to Keep Homemade Play Dough Fresh Longer
Homemade play dough is wonderfully customizable. You can make it bright blue, lavender-scented, glittery, pumpkin-spiced, or plain and simple. To make it last longer, use a reliable cooked recipe with enough salt and cream of tartar. Salt helps discourage spoilage, while cream of tartar improves elasticity and texture. Oil keeps the dough smooth and less crumbly.
After cooking, let homemade dough cool completely before sealing it. Warm dough trapped in a container can create condensation, which may make the dough sticky or encourage spoilage. Knead the dough well, divide it by color, and store it in small airtight portions. If you add natural ingredients such as fruit puree, cocoa powder, spices, or extracts, monitor freshness more closely because food-based add-ins can change how long the dough stays usable.
Common Play Dough Storage Mistakes
Leaving the Lid “Almost Closed”
Almost closed is open, at least as far as play dough is concerned. Press lids firmly until they seal. Teach kids to check the click, snap, or tight edge.
Storing Wet Dough Immediately
If dough becomes overly wet, knead it and let it rest briefly before sealing. Trapping too much surface moisture can create a sticky mess.
Mixing Clean Dough With Floor Dough
Once dough hits a dirty floor, treat it as questionable. If the floor is freshly cleaned and the dough looks fine, you may trim off the outside. If not, toss it.
Using Hot Water on Messes
For play dough stuck in carpet or fabric, let it dry first, then loosen and vacuum or brush it away. Hot water can make some dough messes worse by pushing material deeper into fibers.
Play Dough Safety Tips for Families and Classrooms
Play dough is generally considered a safe craft material when used as intended, but it is not food. Children should not eat it, even if it is homemade and made from pantry ingredients. Many doughs are extremely salty, and some contain wheat, food dyes, fragrances, or other ingredients that may bother sensitive children.
For children with wheat allergy, gluten sensitivity, or skin reactions, check labels and consider allergen-friendly alternatives. In classrooms, ask families about allergies before introducing shared dough. Use individual portions when necessary, and wash hands before and after play. The goal is not to make play dough scary. The goal is to make it clean, safe, and enjoyable for everyone.
Creative Ways to Make Play Dough Last Through Cleanup
Cleanup is easier when it feels like part of the game. Ask children to sort colors into matching containers, rescue tiny dough crumbs, or roll each color into a “sleeping ball” before putting it away. A small timer can turn cleanup into a race without turning adults into exhausted announcers.
Keep a small “crumb collector” ball handy. Dab it over the table to pick up tiny bits of dough before wiping the surface. This works surprisingly well and gives kids one more satisfying squish before cleanup ends. Store tools separately after washing and drying them. Wet tools placed into dough containers can add unwanted moisture.
Extra Experience: Real-Life Lessons From Preserving Play Dough
Anyone who has lived with play dough for more than a week learns that the real challenge is not making it. It is keeping it alive after children discover the joy of spreading it into twenty-seven pieces. One of the most useful habits is setting up the storage system before play begins. Put containers on the table, open only the colors being used, and keep lids nearby. If the lids disappear into the toy bin, cleanup becomes a treasure hunt nobody requested.
Another helpful experience is giving each child a small portion instead of the entire batch. This prevents one giant dough pile from becoming contaminated, mixed, or abandoned. Small portions are easier for children to manage and easier for adults to rescue. If one piece gets dropped, mouthed, or mixed with cracker crumbs, you lose only that portionnot the whole beautiful batch you made while feeling unusually productive.
Texture troubleshooting also becomes easier with practice. Dry dough usually needs patience more than it needs water. A few drops, a lot of kneading, and five minutes of rest can work wonders. Sticky dough, on the other hand, often needs air, kneading, or a light dusting of flour. The mistake many people make is adding too much of the “fix” too quickly. Play dough responds best to tiny adjustments. Think of yourself as a dough doctor with very small medicine.
In family settings, the biggest preservation win is routine. Children can learn that play dough has a beginning, middle, and end: clean hands, creative play, cleanup, sealed storage. When this routine becomes normal, the dough lasts longer and adults spend less time scraping blue crumbs off chair legs. In classrooms, the same routine builds responsibility. Assigning jobs such as “lid checker,” “tool collector,” and “crumb detective” turns storage into teamwork.
There is also an emotional side to play dough preservation. Kids often want to keep every creation forever. Instead of arguing, create a photo ritual. Place the masterpiece on a plain piece of paper, take a picture, celebrate it, and then explain that the dough gets to become something new tomorrow. This teaches creativity, flexibility, and letting gowithout filling your shelves with cracked sculptures that look increasingly haunted.
Finally, know when to stop saving a batch. If the dough smells odd, looks fuzzy, feels slimy, or has been through too many questionable adventures, throw it away without guilt. Play dough is meant to support joyful, hands-on learning. Fresh dough is soft, inviting, and fun. Old mystery dough is none of those things. Preserve what you can, replace what you should, and keep the creative fun rolling.
Conclusion
Preserving play dough is simple once you build the right habits. Start with clean hands and a clean surface. Keep dough covered during breaks. Store it in airtight containers, separate the colors, and revive dryness with tiny amounts of water. Refrigerate homemade batches when needed, take photos of special creations, and discard dough that is dirty, mouthed, moldy, or past its prime.
With these nine steps, play dough can stay soft, colorful, and ready for the next pretend bakery, monster laboratory, alphabet lesson, or tiny sculpture gallery. Best of all, you will spend less money replacing dried-out tubs and more time enjoying the squishy, creative fun that makes play dough such a childhood favorite.