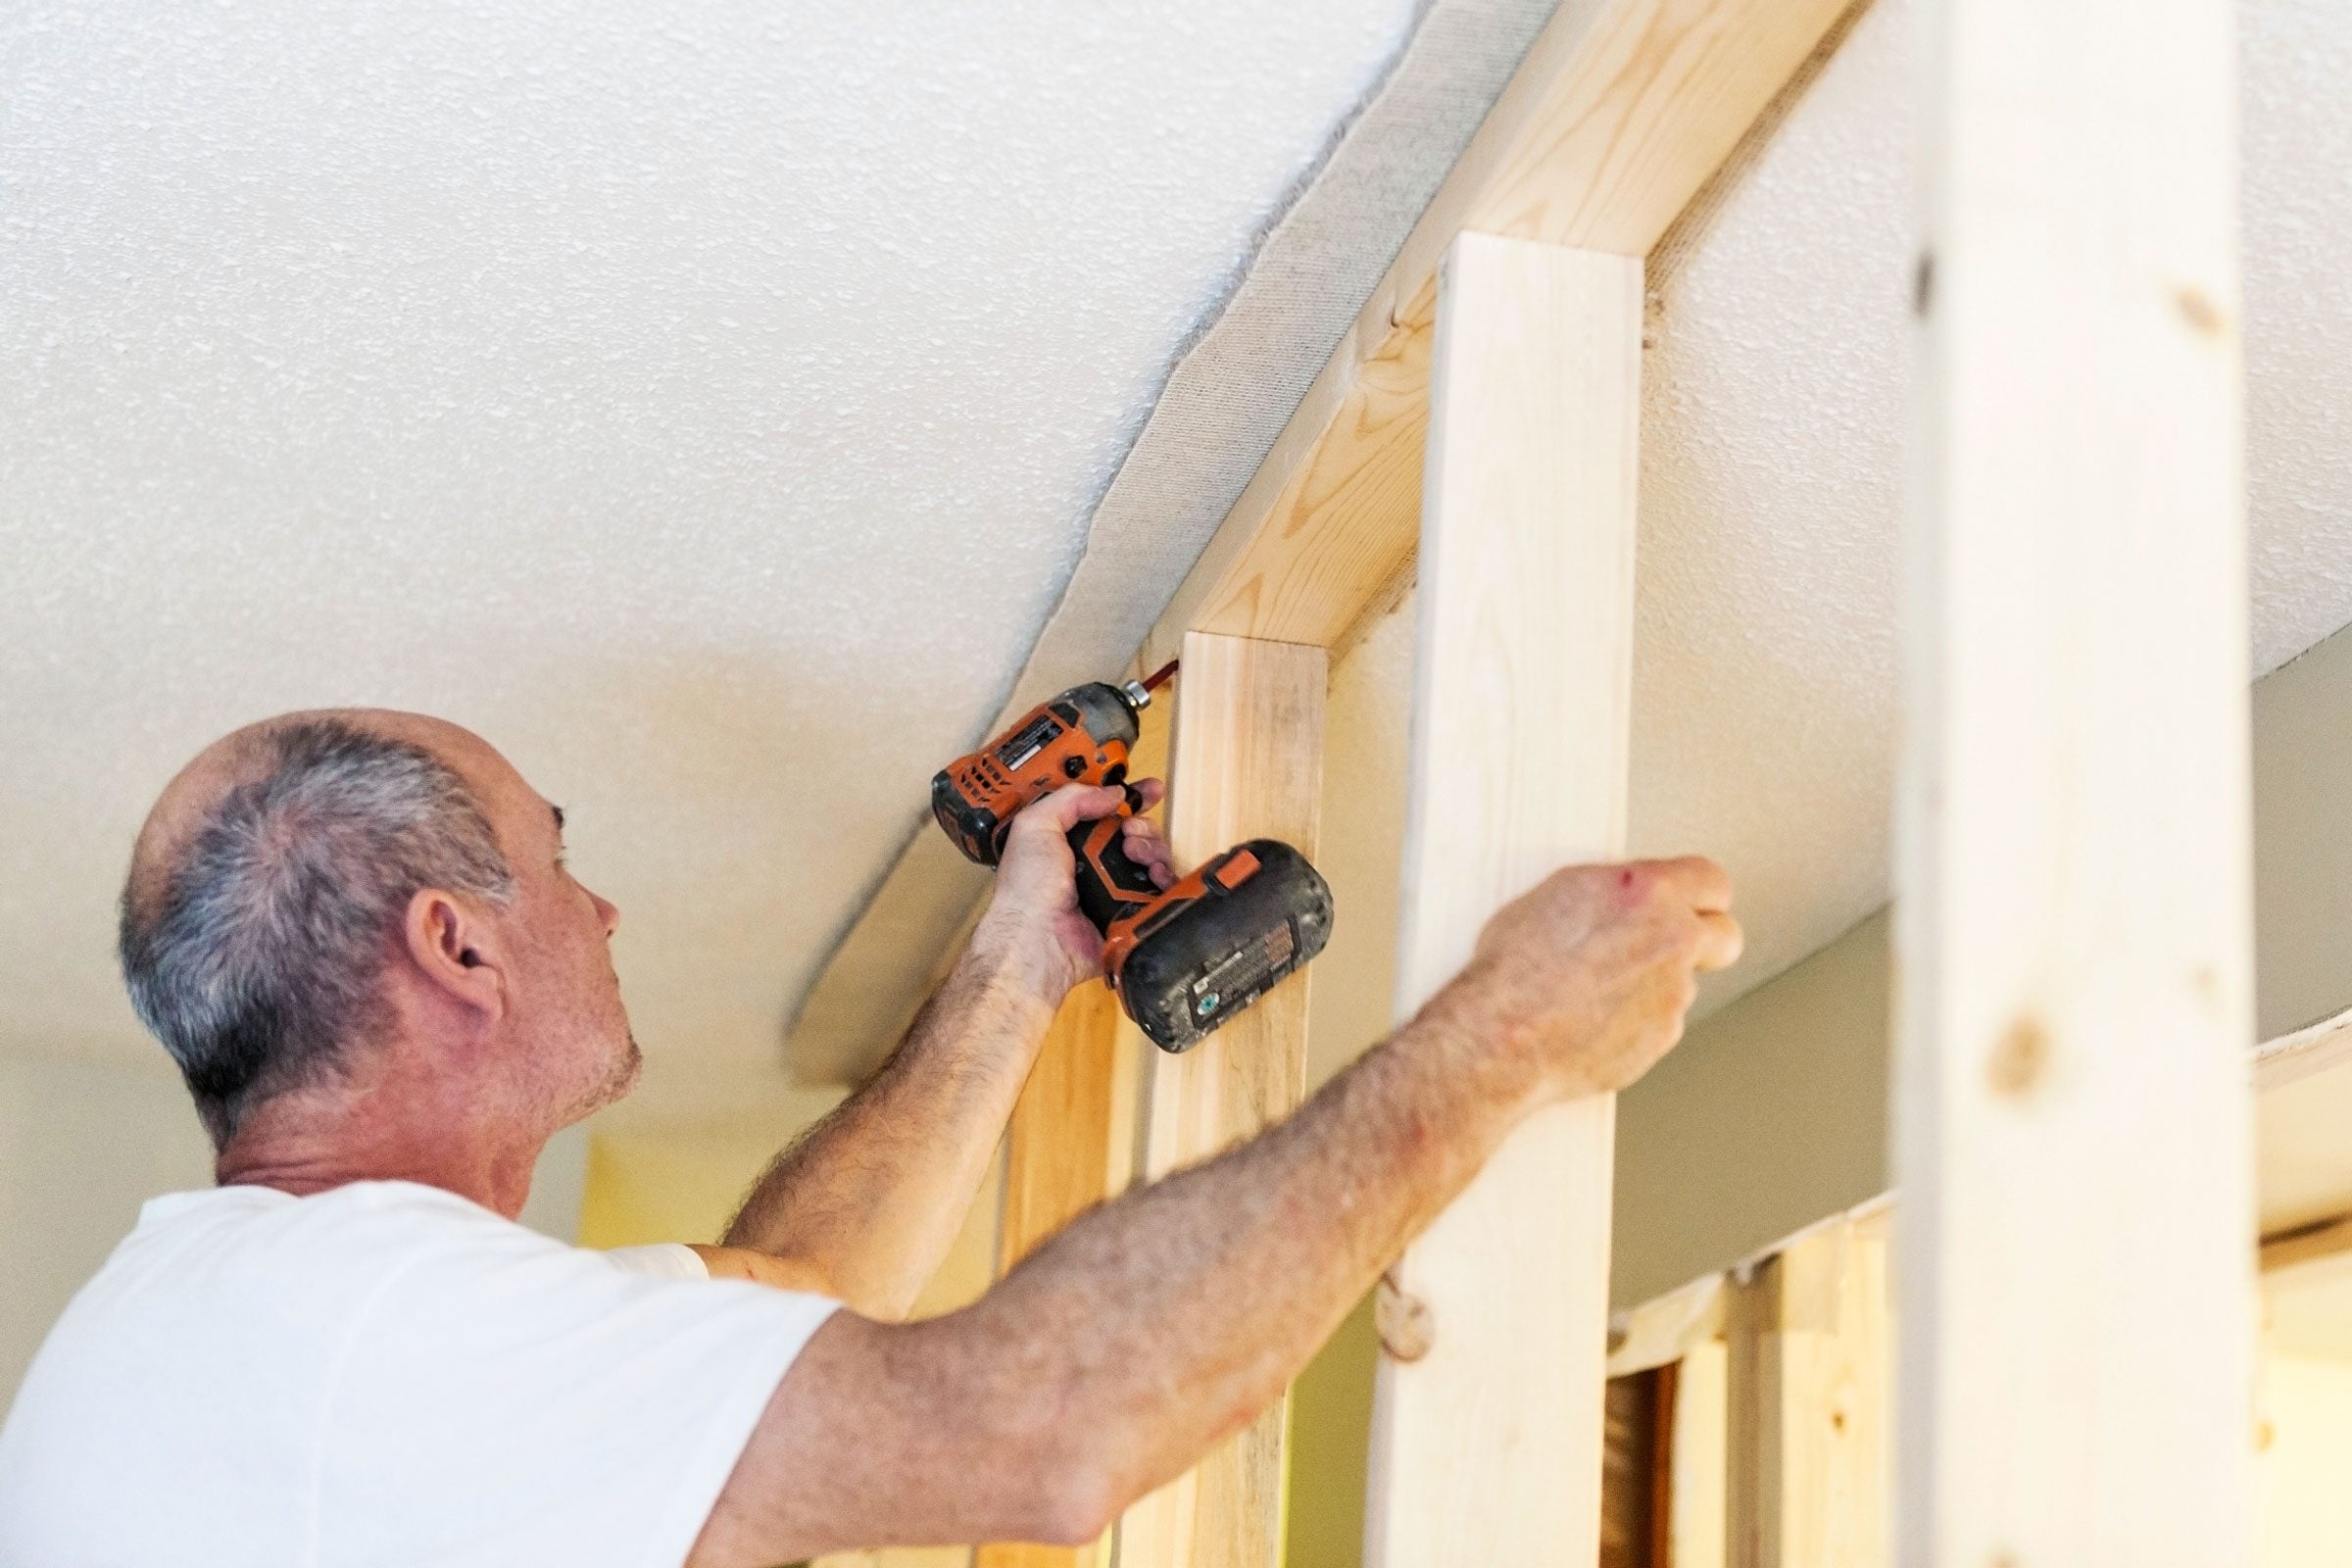
If you’ve ever opened up a wall and thought, “Wow, there’s a whole civilization living in herewires, pipes, mystery drafts, and the occasional spider with homeownership opinions,” you’re not alone. Running electrical, plumbing, speaker wire, or a rogue Ethernet cable through framing is normal DIY life. The trick is doing it without turning your studs into decorative toothpicks.
This guide breaks down notching and boring (drilling) holes in wood studs in a way that’s code-aware, tool-smart, and DIY-friendly. You’ll learn where you can cut, how big is “too big,” how to protect wires and pipes, and when to stop and choose a different plan (like furring strips… or humble pie).
First, Know the Two Moves: Notching vs. Boring
Notching (a bite out of the edge)
A notch is a cut along the edge of a stud, usually to let something pass by the face of the stud (like a pipe that refuses to live in the center). Notches are quick, but they remove a chunk right where studs are most vulnerablenear the edge.
Boring (a hole through the stud)
Boring means drilling a hole through the stud, ideally near the center. This is usually the best option for running electrical wire through studs and many plumbing lines because the stud keeps more of its strength.
Why Stud Surgery Has Rules (and Why You Should Care)
Studs do three jobs: they hold drywall, they keep walls straight, andwhen load-bearingthey help carry the weight of floors and roofs. When you notch or drill too aggressively, you can weaken framing, cause drywall cracks, create squeaks, or fail inspection. Worst-case? You end up “temporarily supporting the structure” (which is contractor-speak for “surprise engineering bill”).
The Code-Smart Cheat Sheet (In Plain English)
Many U.S. jurisdictions follow International Residential Code-style limits for conventional wood framing. Local rules can vary, so treat these as the “common guardrails.” If you’re pulling permits, your inspector is the final boss.
Notching limits (typical guidance)
- Exterior walls and load-bearing partitions: notches are limited to about 25% of the stud width.
- Non-load-bearing walls: notches are often allowed up to about 40% of the stud width.
Boring (drilling) limits (typical guidance)
- Hole diameter: often allowed up to 40% of stud width without special measures; up to 60% may be allowed with extra conditions (like doubling studs) in some cases.
- Edge distance: keep the edge of the hole at least about 5/8 inch from the edge of the stud.
- No stacking damage: don’t put a hole in the same cross-section as a notch or cut.
There’s also a separate safety concept for electrical: even if a hole is structurally legal, wires must be protected from screws and nails. That’s where setback distances and nail plates come in (more on that soon).
Quick Math: How Big of a Hole Can I Drill?
Studs aren’t actually the size on the label. A “2×4” is typically about 1.5″ x 3.5″. The width we care about for holes is the 3.5″. Here are approximate max hole diameters based on common percentage limits:
| Stud Size (Actual Width) | 40% Max Hole (Approx.) | 60% Max Hole (Approx.) | 25% Max Notch (Approx.) |
|---|---|---|---|
| 2×4 (3.5″) | 1.4″ | 2.1″ | 0.9″ |
| 2×6 (5.5″) | 2.2″ | 3.3″ | 1.4″ |
| 2×8 (7.25″) | 2.9″ | 4.35″ | 1.8″ |
Real-world takeaway: a 1/2″ hole for NM cable is usually a nothingburger structurally. A 2″ hole for a big drain line in a 2×4 wall? That’s where you start needing smarter strategies (2×6 walls, reroutes, stud shoes, or a polite conversation with your building official).
Tools That Make You Look Like You’ve Done This Before
For boring holes
- Spade bits: fast and cheap; can splinter if you rush.
- Auger bits: cleaner, self-feeding, great for deep boring through multiple studs.
- Hole saws: for larger diameters; slower and more torque-hungry.
- Right-angle drill or right-angle attachment: lifesaver in tight bays (your knuckles will send thank-you notes).
For notching
- Circular saw + chisel: make multiple kerfs, then pop out the waste.
- Oscillating multi-tool: slower, but precise and great for small notches.
- Reciprocating saw: effective, but easy to get sloppy (and studs hate sloppy).
For protection and repairs
- Steel nail plates (stud guard plates): shields wires/pipes from drywall screws and nails.
- Stud shoes / reinforcement plates: engineered metal connectors used when large holes or notches are unavoidable.
- Self-centering drill guide (optional): helps keep holes aligned in long runs.
How to Bore Holes in Studs (Step-by-Step)
1) Mark a consistent “wire highway”
Pick a height that makes sense (often mid-stud for horizontal runs). Snap a chalk line or mark each stud with a level. Consistent holes make pulling wire easier and reduce the temptation to “freehand creativity” later.
2) Aim for the center (your safest structural zone)
Center boring keeps more wood on both sides of the hole, which helps maintain strength and also helps protect wires from fasteners. If you can’t be perfectly centered, at least respect the edge-distance rule and plan for nail plates where needed.
3) Drill cleanly (and avoid splitting the stud)
- Use a sharp bit and steady pressure.
- For larger bits, run the drill slower to avoid burning and wobble.
- If splintering matters (like on exposed framing), drill halfway from one side, then finish from the other.
4) Think about what happens after drywall
Even if your hole is centered, wires and pipes need protection when they’re close to the stud face. If a cable or pipe ends up near the surface, install a steel nail plate on the face of the stud where the danger zone exists. The goal is simple: stop a drywall screw from becoming a surprise electrician.
How to Notch Studs Without Regretting It
1) Notch only when you must
Notching is common for odd transitions, shallow plumbing, or when something has to pass by the stud face. But if boring is possible, boring is usually better.
2) Cut the notch neatly (messy notches are weaker)
For a clean notch: set a circular saw to the notch depth, make multiple vertical cuts inside your layout lines, then knock out the strips with a chisel. The smoother and squarer the notch, the better your finish and the less damage you do to surrounding fibers.
3) Don’t “combine injuries”
A notch plus a hole in the same cross-section is like trying to diet while eating donutstechnically possible, but the math isn’t on your side. If you already notched a stud, move the bore location up or down to a different section, or redesign the route.
4) Protect what you expose
Notches often bring pipes or cables close to the stud face. That’s when steel nail plates become non-negotiable. They’re cheap, fast, and way less annoying than repairing a punctured pipe behind tile.
Running Electrical Through Studs: “Setback” vs. “Edge Distance”
DIY confusion alert: there are two different distances people talk about.
- Structural edge distance (stud edge): the hole itself should be kept away from the stud edge (so you don’t weaken the stud).
- Fastener protection setback (stud face): electrical cable should be far enough from the drywall side so screws/nails can’t hit it. If it’s too close, you protect it with nail plates.
Practical rule: drill near center whenever possible, staple properly, and use nail plates anywhere a cable or pipe gets too close to the face of the stud. Also: shut off power and verify circuits before modifying existing electrical. Wall cavities are not the place to discover which breaker label is “aspirational.”
Plumbing Through Studs: Bigger Holes, Bigger Consequences
Water supply lines (like PEX) often fit through modest bores. Drain lines are the problem children: they’re larger and they demand slope. When a pipe needs a big hole, you have a few common options:
- Move up to 2×6 walls where practical (more room, less structural drama).
- Reroute the line through a less critical wall section or chase.
- Use an approved stud shoe or engineered reinforcement when a large bore is unavoidable.
- Create a furred-out chase wall so pipes don’t need to invade studs at all.
Example: If you’re trying to run a 2″ drain through 2×4 studs, the math gets tight fast. A careful plan (or a different wall build-up) beats “hope and patch compound.”
Top Plates and Double Top Plates: The Sneaky Weak Spot
Sometimes the issue isn’t the studit’s the top plate. Pipes and ducts love to cross at the worst possible spot, which is why codes often include special rules for plate cuts.
Common guidance: if cutting or boring a top plate in a load-bearing or exterior wall exceeds roughly half the plate width, you may need a metal tie/strap fastened across the opening, extending past the cut and nailed per the prescribed schedule. Translation: if you’re making a big bite out of the plate, you need metal reinforcement.
When You Should Stop Drilling and Change the Plan
- Load-bearing wall + multiple oversized holes: you’re stacking risk; consider a chase or engineered fix.
- Shear walls / braced wall panels: these walls resist lateral loads (wind/seismic). Random notches can be a big deal.
- Cracked studs, big knots near your cut, or split grain: pick a different stud bay.
- You need a hole that “almost” fits: “almost” is how studs become firewood. Upsize the wall, reroute, or reinforce correctly.
Common DIY Mistakes (So You Don’t Join the Club)
Drilling a beautiful straight line… right through the drywall screw zone
If your holes drift toward the face of the stud, drywall screws will find your wire like it’s their life’s mission. Center your bores and use nail plates when in doubt.
Notching too deep because “it’s just one stud”
One stud can matter a lot, especially near openings, corners, or load paths. If you wouldn’t remove 40% of your chair leg, don’t do it to your wall.
Mixing notch + hole in the same spot
This is the framing equivalent of removing both the seat belt and the airbags. Keep alterations separated by height, or redesign the route.
Forgetting to protect pipes and cables
Nail plates are cheap insurance. The expensive part is the leak you don’t notice until the baseboard starts auditioning for a sponge commercial.
Final Walkthrough: A Clean, Code-Aware DIY Approach
- Plan the route (centerline, consistent height, avoid critical zones).
- Choose boring first, notching only when necessary.
- Respect size limits for holes and notchesespecially in exterior or load-bearing walls.
- Maintain safe distances and protect wiring/plumbing near the stud face.
- Reinforce correctly (stud shoes, straps, doubling studs) when required.
- When in doubt: ask your local building department or a qualified procheaper than guessing.
Conclusion
Drilling holes and notching studs isn’t harddoing it smart is the real DIY flex. Aim for centered bores, keep holes and notches within common code limits, protect anything near the stud face, and treat load-bearing and shear walls with extra respect. If your plan starts requiring “just one more massive notch,” it’s probably time for a better route or proper reinforcement.
DIY Field Notes: 7 Real-World Lessons From the Wall Cavity (Experience)
After enough weekends with a drill in one hand and a flashlight in the other, you start collecting lessonssome learned gracefully, others learned while whispering, “Please don’t be load-bearing” into the studs.
1) The wall is never as empty as you think
The first bay you open looks clean. The second bay contains a fire block, a random nail, and a wire stapled exactly where you wanted your hole. Now you’re drilling at a weird angle like you’re trying to win a carnival game. The fix is planning: peek inside, map the route, and keep a “plan B” bay in mind.
2) Long straight runs love a template
When drilling multiple studs for wiring, the temptation is to eyeball center. That works for about three studs, then your holes start drifting like a shopping cart with a bad wheel. A simple height mark on every stud (or a line) keeps the run neat, makes pulling cable easier, and reduces the chance you’ll end up too close to the face and need nail plates everywhere.
3) Auger bits are worth it when you’re drilling a lot
Spade bits get it done, but they can tear out wood and grab aggressively. The first time you drill a dozen studs with a quality auger bit, you’ll wonder why you ever fought the spade-bit rodeo. Cleaner holes, less effort, fewer splintersyour studs (and wrists) will approve.
4) “Just a little bigger” is how projects turn into repairs
The most dangerous sentence in DIY framing is: “It almost fits.” That’s when people oval out holes, notch deeper, or “shave” the edge until the stud looks like it lost an argument with a beaver. If a pipe doesn’t fit comfortably within sensible limits, change the wall strategyfur out, reroute, or use a proper reinforcement method.
5) Nail plates feel optional until you’ve seen the aftermath
Nothing builds respect for nail plates faster than hearing a drywall screw hit metal with a cheerful tink and realizing it would’ve been your cable. Even worse is the version where you don’t hear anythingbecause it hit your wire instead. Nail plates are a tiny cost for massive peace of mind.
6) Top plates are where good plans go to get complicated
You can drill studs perfectly and still get stuck at the top plate because a duct, pipe, or bundle of cables needs to cross there. This is where DIYers either do it right (proper straps/ties where required) or do it “fast” and regret it later. If you need a big cut in a top plate, treat it as a structural moment, not a convenience cut.
7) The best DIY win is knowing when to ask
Sometimes the smartest move is calling the local building department with a simple question or bringing in a pro for a half-hour consultespecially for load-bearing walls, big plumbing, or shear walls. It’s not defeat; it’s strategy. The goal isn’t “I did everything myself.” The goal is “My wall is solid, safe, and not secretly auditioning to become a parallelogram.”
If you remember nothing else: drill centered when you can, notch lightly when you must, protect your wires and pipes like the future you lives behind that drywall (because, in a way, you do), and don’t be afraid to reinforce or reroute. Your framingand your blood pressurewill stay in much better shape.