A kitchen remodel can feel like trying to play chess on a trampoline: everyone has opinions, everything is expensive, and one wrong move can leave you
cooking dinner on a hot plate next to the laundry sink. The good news? Confidence doesn’t come from memorizing every trend on the internet. It comes from
choosing a floor plan that fits how you actually livethen backing it up with a few time-tested layout rules.
This guide walks you through five classic kitchen floor plans (with modern twists), explains who each one works best for, and gives you practical “confidence
moves” so you can make decisions without second-guessing every cabinet and countertop.
Start Here: 3 Reality Checks Before You Pick a Floor Plan
1) Your walls (and plumbing) might have opinions
If you’re staying within the same footprint, your existing plumbing, venting, windows, and structural walls can narrow the best layout choices fast.
Moving a sink across the room is possible, but it’s rarely the cheapest way to buy happiness.
2) “How you cook” matters more than “how kitchens look on social media”
Are you a one-person chef with a podcast and a plan? Or do you have multiple cooks, kids doing homework at the counter, and a dog who believes every
dropped carrot is a legally binding snack agreement? Your floor plan needs to support the way traffic moves through the room.
3) Bigger isn’t always betterclearer is better
A sprawling kitchen can still feel awkward if the key zones are far apart or if everyone has to walk through the cooking area to reach the backyard.
A smart floor plan reduces unnecessary steps and keeps walkways open.
Quick Layout Rules That Make Almost Any Kitchen Work Better
These rules show up again and again because they solve real problemsburned elbows, fridge-door gridlock, and the classic “why is everyone standing in my
only prep spot?” moment.
Use the work triangle as a baselinethen think in zones
The traditional “work triangle” connects the sink, cooktop/range, and refrigerator to support efficiency. Modern kitchens often add more stations
(coffee bar, beverage fridge, baking nook), so designers frequently think in “work zones” (prep, cook, clean, store, serve). The triangle is still a solid
foundation, especially for safety and easy movementjust don’t treat it like the only rule in the universe.
Protect your aisles and landings
- Work aisles: Plan comfortable width so cooks can pass without doing the awkward sideways shimmy.
- Walkways: Give people a path that doesn’t cut through the main cooking action.
- Landing zones: Provide counter space next to major appliances and the sink so you’re not balancing hot pans like a circus act.
Pro tip: If you’re overwhelmed by measurements, focus on this: leave enough room for doors to open, people to pass, and food to land on a counter
(not in midair). That alone upgrades most kitchens.
1) One-Wall Kitchen (Single-Wall): Simple, Streamlined, Budget-Friendly
Best for
- Apartments, condos, and smaller homes
- Open-concept spaces where the kitchen shares a wall with dining/living areas
- Remodels where you want to minimize moving plumbing and vents
Why it works
Everything lines up on one wall, which can reduce construction complexity. In many cases, a one-wall plan is a cost-effective way to refresh a kitchen
without relocating every utility line in the house.
Confidence moves (make it feel bigger and function better)
- Put the sink between the fridge and range to keep the main tasks connected, even in a straight line.
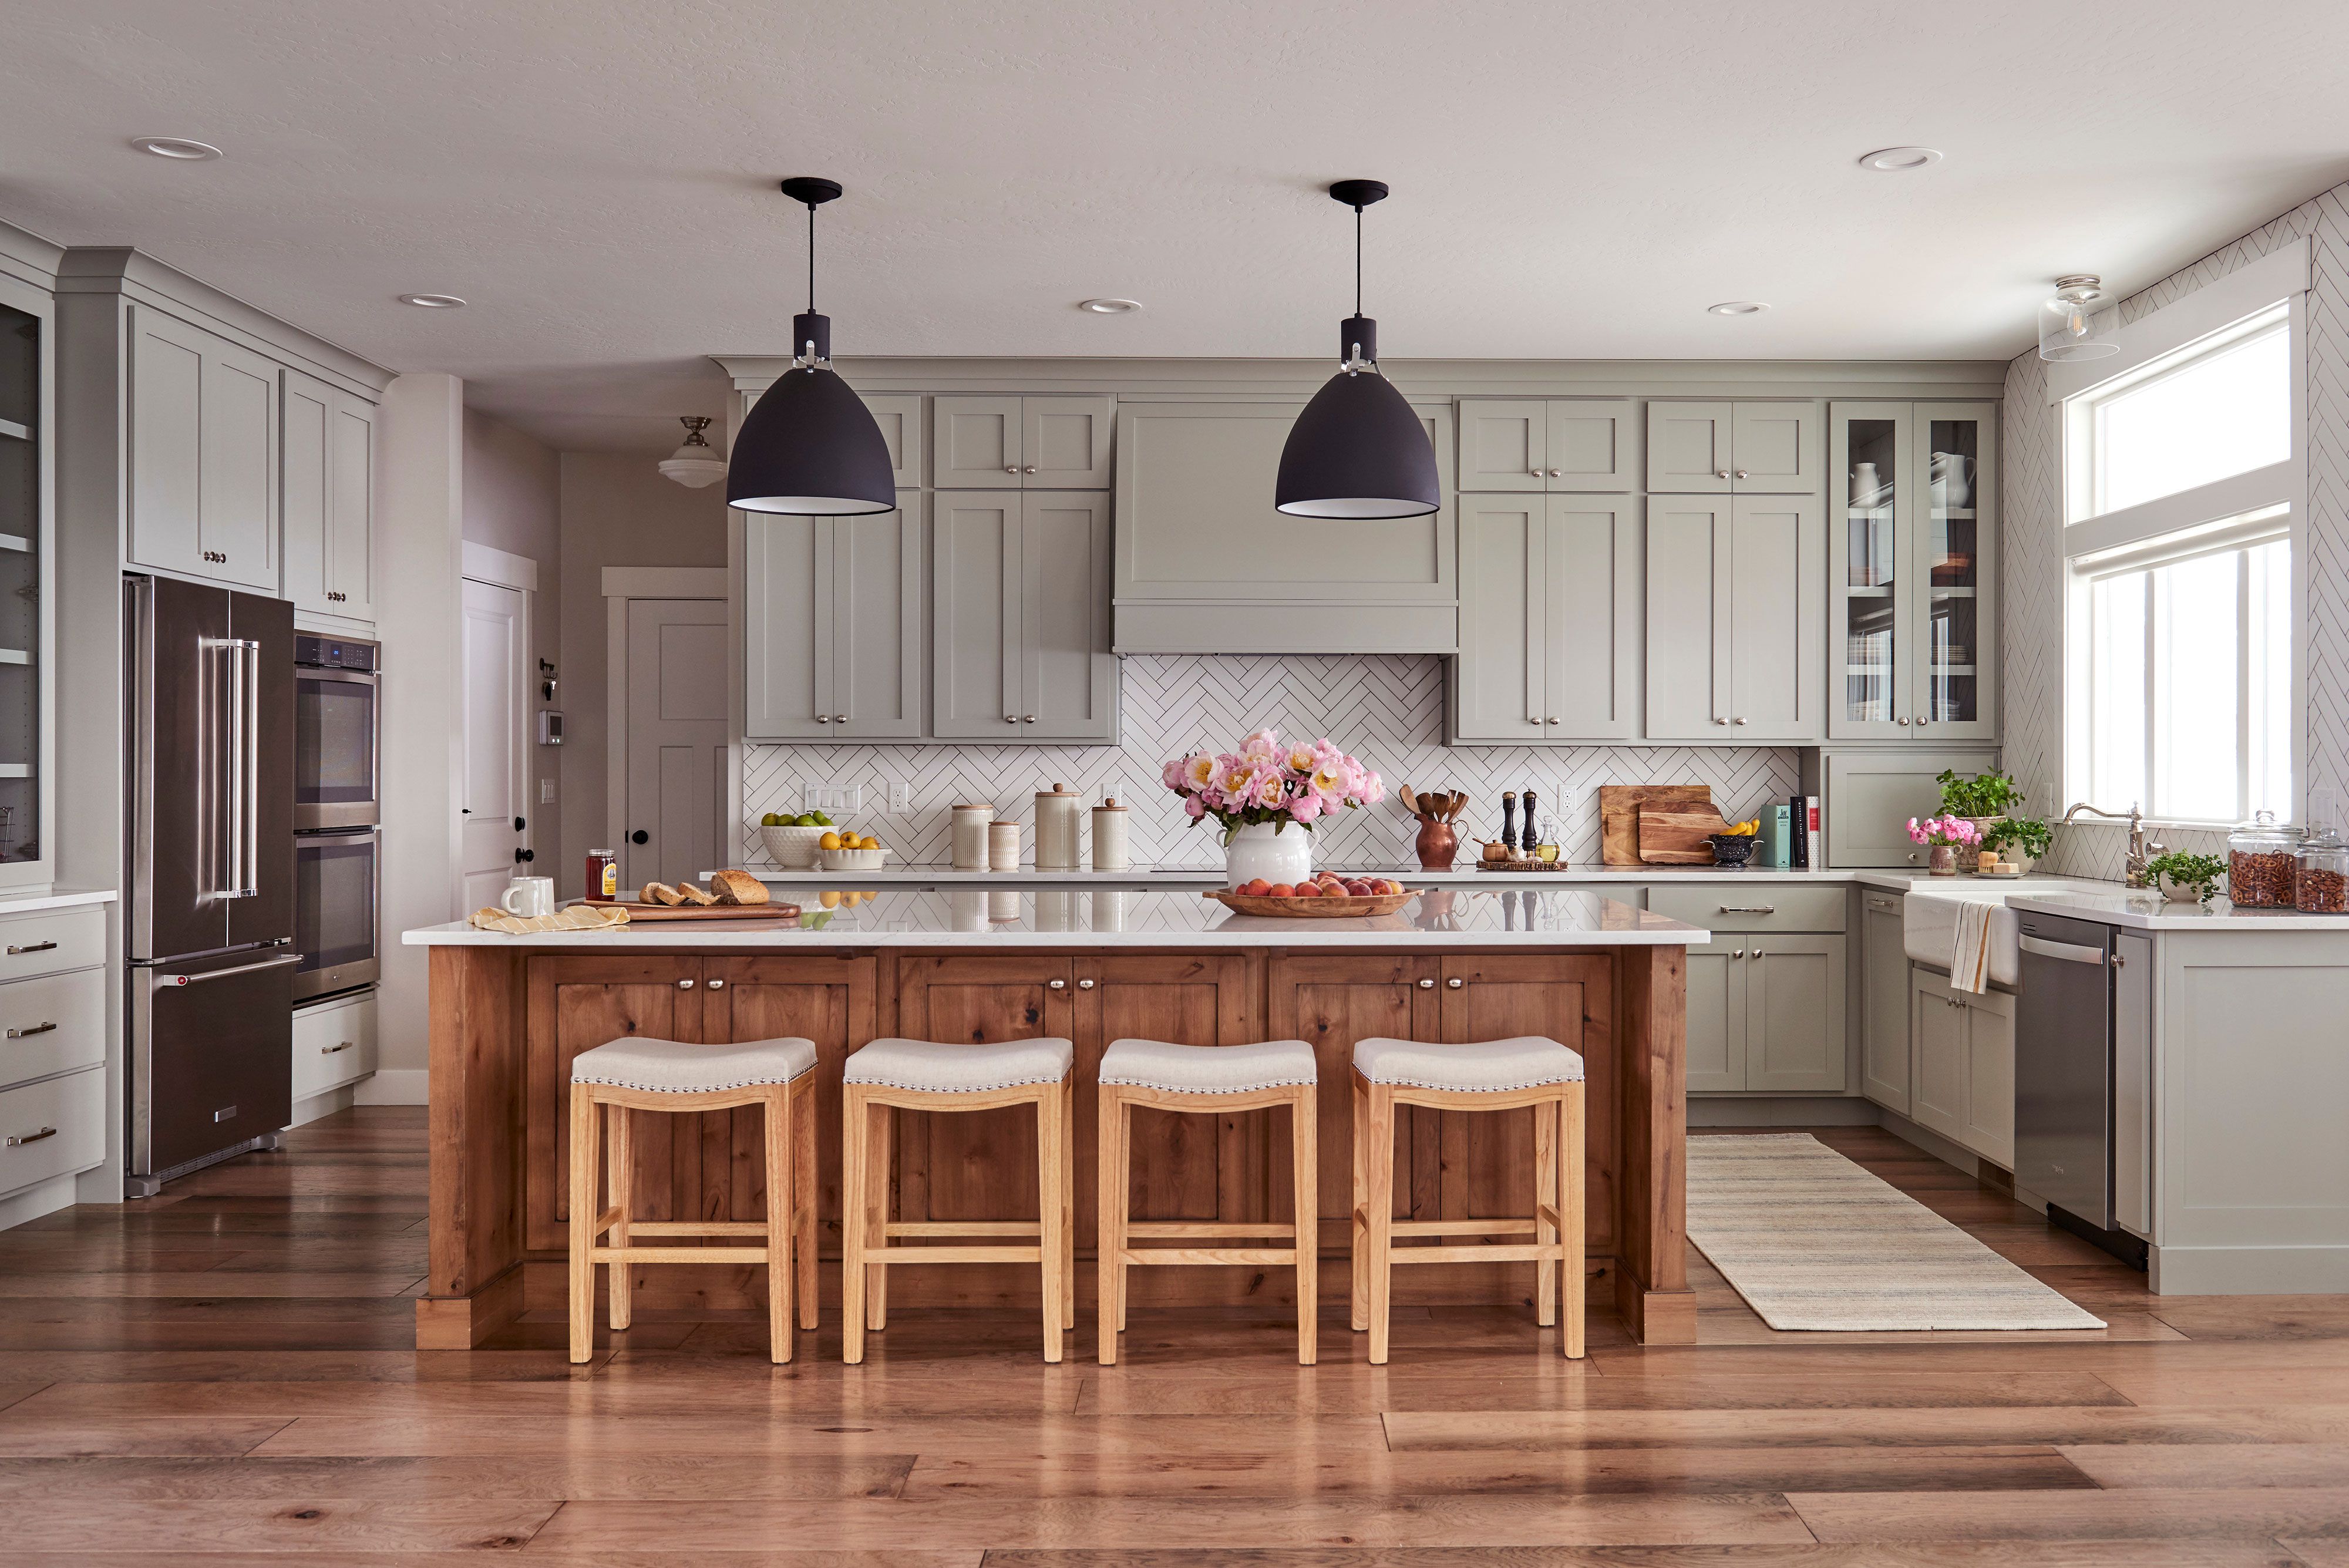
- Add an island or peninsula if space allows for prep area, storage, and seating (even a narrow one can help).
- Go vertical with taller uppers, a pantry cabinet, or open shelving to reduce clutter.
- Create “zones” on the counter: one side for prep, one side for serving, so you’re not constantly shuffling items.
Watch-outs
- Not enough prep space unless you add an island or a dedicated prep counter.
- Traffic crosses your work area in open plans if the kitchen becomes a hallway.
- Storage can get tight without smart pantry solutions.
Example
A 12′ wide open room with a kitchen along one wall: fridge on the left, sink centered, range to the right, then a 6′ island opposite with seating facing
the living room. The island becomes your prep-and-people buffer so guests can chat without blocking the cook.
2) Galley Kitchen: The “Efficiency Machine” (When Designed Right)
Best for
- Narrow spaces where an island won’t fit
- Homes where cooking is a priority and you want a highly functional workflow
- Remodels that can benefit from keeping utilities on two parallel walls
Why it works
A galley places counters and cabinets on two parallel runs, creating short travel distances. Done well, it’s fast, efficient, and surprisingly
comfortablelike a kitchen that actually respects your time.
Confidence moves
- Keep the center aisle generous so drawers, dishwasher doors, and humans can coexist peacefully.
- Balance the runs: use one side for heavy-duty work (sink/range), the other for prep/landing/storage.
- Light it like you mean it: strong task lighting prevents the “cave kitchen” effect.
- Control clutter with a pantry cabinet, pull-outs, and smart corner solutionsgalleys punish mess.
Watch-outs
- Two-cook traffic jams if the aisle is too tight.
- It can feel closed-in without good lighting and visual breathing room.
- Door collisions if you have entry doors at either end (or too many appliances facing each other).
Example
In a 7′ to 9′ wide kitchen: sink and dishwasher on one run, range on the opposite run, fridge near the entry with landing space. Add a tall pantry at the
end to maximize storage without stealing aisle width.
3) L-Shaped Kitchen: Flexible, Friendly, and Great for Open Plans
Best for
- Medium to large kitchens
- Open-concept layouts where the kitchen connects to dining/living
- Homeowners who want room for an island (space permitting)
Why it works
The L-shape uses two perpendicular walls, keeping the kitchen open on at least two sides. That openness makes it easy to add seating, improve flow to
adjacent rooms, and create a social-friendly cooking space.
Confidence moves
- Use the corner strategically: corners are either your secret storage weapon (with the right hardware) or your clutter Bermuda Triangle.
- Add an island if you can protect the aislesit can become your prep hub and a gathering spot.
- Keep the “big three” close (sink, range, fridge) and aim for clear paths between them.
- Plan a landing zone by the fridge so groceries have a natural drop-off point.
Watch-outs
- Too much openness can invite traffic through the cooking zone.
- Island temptation: squeezing in an island “because Pinterest” can backfire if it chokes the room.
- Corner storage can be awkward if you don’t plan for it.
Example
A 14′ x 14′ kitchen: fridge and pantry on one leg of the L, sink centered under a window on the other leg, range on the long run. Add a 7′ x 3′ island
with seating for three, keeping enough aisle space for multiple cooks.
4) U-Shaped Kitchen: Maximum Storage and Counter Space (A Cook’s Classic)
Best for
- Homeowners who want lots of counter space and cabinetry
- Dedicated cooking spaces where you want to keep through-traffic out
- Layouts that can support three walls (or two walls plus a short return)
Why it works
The U-shape surrounds you with work surfaces on three sides, making it easy to pivot between tasks. It’s also a strong choice if you want to keep the
kitchen more self-contained (helpful when you’re cooking and entertaining simultaneously).
Confidence moves
- Protect the center clearance so doors, drawers, and people can move comfortably.
- Put the sink on the “middle” run if possible, with landing space on both sides.
- Use one leg for tall storage (pantry, fridge wall) so tall units don’t interrupt your main workflow.
- Consider a peninsula opening if you want seating without adding an island.
Watch-outs
- Small U-shapes can feel tight if the center aisle is cramped.
- Corner planning is critical: you have more corners, so you need smarter storage solutions.
- It can isolate the cook unless you open one side or add a social perch.
Example
A 10′ x 12′ kitchen: sink centered on the base of the U, range on one side run, fridge on the opposite side run, with the doorway at the open end. Add a
short “coffee and breakfast” zone near the entry so morning traffic doesn’t invade the main prep space.
5) Peninsula Kitchen (G-Shaped / L-or-U Plus a “Bonus Arm”): Social Seating Without Island Drama
Best for
- Kitchens that can’t fit an island comfortably
- Homeowners who want seating and separation between kitchen and living/dining
- Families who like casual meals, homework spots, and chatty cooking
Why it works
A peninsula is essentially an attached islandone end connects to a wall or cabinet run. That makes it easier to fit than a freestanding island, while
still giving you extra counter space, storage, and seating.
Confidence moves
- Use the peninsula as a “traffic gate”: direct foot traffic around the cooking zone instead of through it.
- Plan seating clearance so people can sit without blocking the main path.
- Keep prep on the kitchen side and keep the living-room-facing side cleaner for serving and hanging out.
- Don’t overload it: a sink plus cooktop plus seating can be too much in one strip of countertoppick the top priority.
Watch-outs
- Pinch points happen at the peninsula openingprotect that clearance.
- Seating can conflict with appliance doors if the layout is tight.
- It can become the clutter shelf unless you design a serving zone with intention.
Example
An L-shaped kitchen becomes a peninsula kitchen by extending one run outward toward the dining room. The peninsula adds seating for three and creates a
natural boundary, while the main sink and range stay tucked into the L for focused cooking.
How to Choose Your Best Kitchen Floor Plan (Without Spiraling)
Step 1: Measure the room and mark immovables
Record door swings, windows, ceiling height, and any vents or radiators. Mark structural walls, plumbing stacks, and where you can realistically add ducting
for a range hood. A good floor plan respects physics and your budget.
Step 2: Decide your “anchor” zone
In many kitchens, the sink becomes the anchor because it typically drives plumbing decisions and supports prep and cleanup. If you’re keeping plumbing in
place, that may guide your layout choice immediately.
Step 3: Map the five zones (even if they overlap)
- Storage: fridge + pantry
- Prep: counter space, knives, mixing tools
- Cooking: range/cooktop, oven, spice storage
- Cleaning: sink + dishwasher + trash/recycling
- Serving: where plates land before they go to the table (or couch, no judgment)
Step 4: Run the “traffic test”
Imagine a normal day: someone grabs a drink, another person unloads the dishwasher, someone else makes coffee, and the dog supervises. If your layout forces
everyone through the main cooking zone, it will feel stressful no matter how pretty the backsplash is.
Step 5: Choose island vs. peninsula based on space, not vibes
Islands are fantasticwhen you can keep safe, comfortable clearances around them. If you can’t, a peninsula can deliver many of the same benefits with fewer
layout headaches.
Remodel-With-Confidence Checklist
- Define success: faster cooking, more storage, better entertaining, or all of the above?
- Prioritize function first: aisles, landings, lighting, outlets, ventilation.
- Decide what stays: keeping sink or range locations can save serious money.
- Plan storage like a system: pantry, trash, dish zones, small appliances, and “daily-use” drawers.
- Don’t forget the boring stuff: permits (when required), lead times, and a temporary kitchen setup.
- Mock it up: tape the island footprint on the floor and “walk” the workflow before you commit.
Conclusion: The Best Kitchen Floor Plan Is the One That Fits Your Life
Remodeling confidence isn’t about choosing the fanciest layoutit’s about choosing a floor plan that supports your routines, protects your walkways, and
gives every major task a natural place to happen. Pick the plan that matches your space, then reinforce it with smart clearances, landing zones, and traffic
control. Your future self (and your elbows) will thank you.
Extra: 5 Real-World Remodel Experiences That Make You Smarter (About 500+ Words)
If you want to feel more confident about a kitchen remodel, learn from the patterns that show up in real homesespecially the “we didn’t think about that”
moments. Here are five common experiences homeowners run into, plus what they do differently the next time.
1) The “we need one more foot” aisle lesson
Many remodelers fall in love with an island earlyand then discover that the kitchen turns into a bumper-car track when the dishwasher is open. The fix
usually isn’t “ditch the island forever.” It’s choosing an island that fits the room you have, not the room you wish you had. Sometimes that means a slimmer
island, a furniture-style island, or switching to a peninsula. The confidence takeaway: if opening appliance doors blocks the main path, the layout will feel
cramped every single day, even if it looks amazing in photos.
2) The “landing zone saves dinner” moment
People don’t notice landing space until it’s missing. Then it becomes painfully obviouslike trying to set down a hot sheet pan with nowhere to go. Many
homeowners end up adding a small stretch of counter near the fridge, range, and sink after living with a remodel for a few weeks. The confidence takeaway:
plan your “drop spots” on purpose. Where do groceries land? Where do hot dishes rest? Where do dirty plates pause before the dishwasher? These tiny decisions
make a kitchen feel calm and capable.
3) The “work triangle vs. real life” upgrade
The classic triangle can still help, but real life often includes multiple cooks, snack-seekers, coffee drinkers, and someone hunting for a clean spoon while
you’re sautéing something dramatic. That’s why many remodelers feel happiest when they add a second mini-zone: a beverage center, a microwave drawer with a
small landing counter, or a snack station outside the main cooking path. The confidence takeaway: your kitchen can have a “main cooking lane” and a “support
lane.” When you design for both, the room feels bigger even if the square footage doesn’t change.
4) The “we thought open concept meant open season” traffic problem
Open kitchens are popular, but they can accidentally turn the cooking area into a hallway between the front door, backyard, and sofa. Homeowners often solve
this by using an island or peninsula as a buffer, or by placing the fridge closer to the perimeter so someone can grab a drink without crossing the prep
zone. The confidence takeaway: you don’t have to close off your kitchen to control traffic. You just need to design a path that doesn’t cut through the
busiest work area.
5) The “storage isn’t about more cabinets, it’s about smarter cabinets” realization
After remodels, many people discover that the best storage upgrades are the least glamorous ones: deep drawers for pots, pull-outs for pantry items, a
dedicated trash/recycling spot, and a landing counter that keeps small appliances from living permanently on the main prep space. The confidence takeaway:
don’t chase cabinet countchase usability. A kitchen with fewer, better-organized cabinets often feels more spacious than one with lots of doors and no plan.
Ultimately, confidence comes from testing your layout against real routines: cooking, unloading groceries, making coffee, hosting friends, and surviving a
Tuesday. Choose one of the five floor plans above, apply the clearance-and-landing mindset, and you’ll have a kitchen that doesn’t just look remodeledit
feels easier to live in.