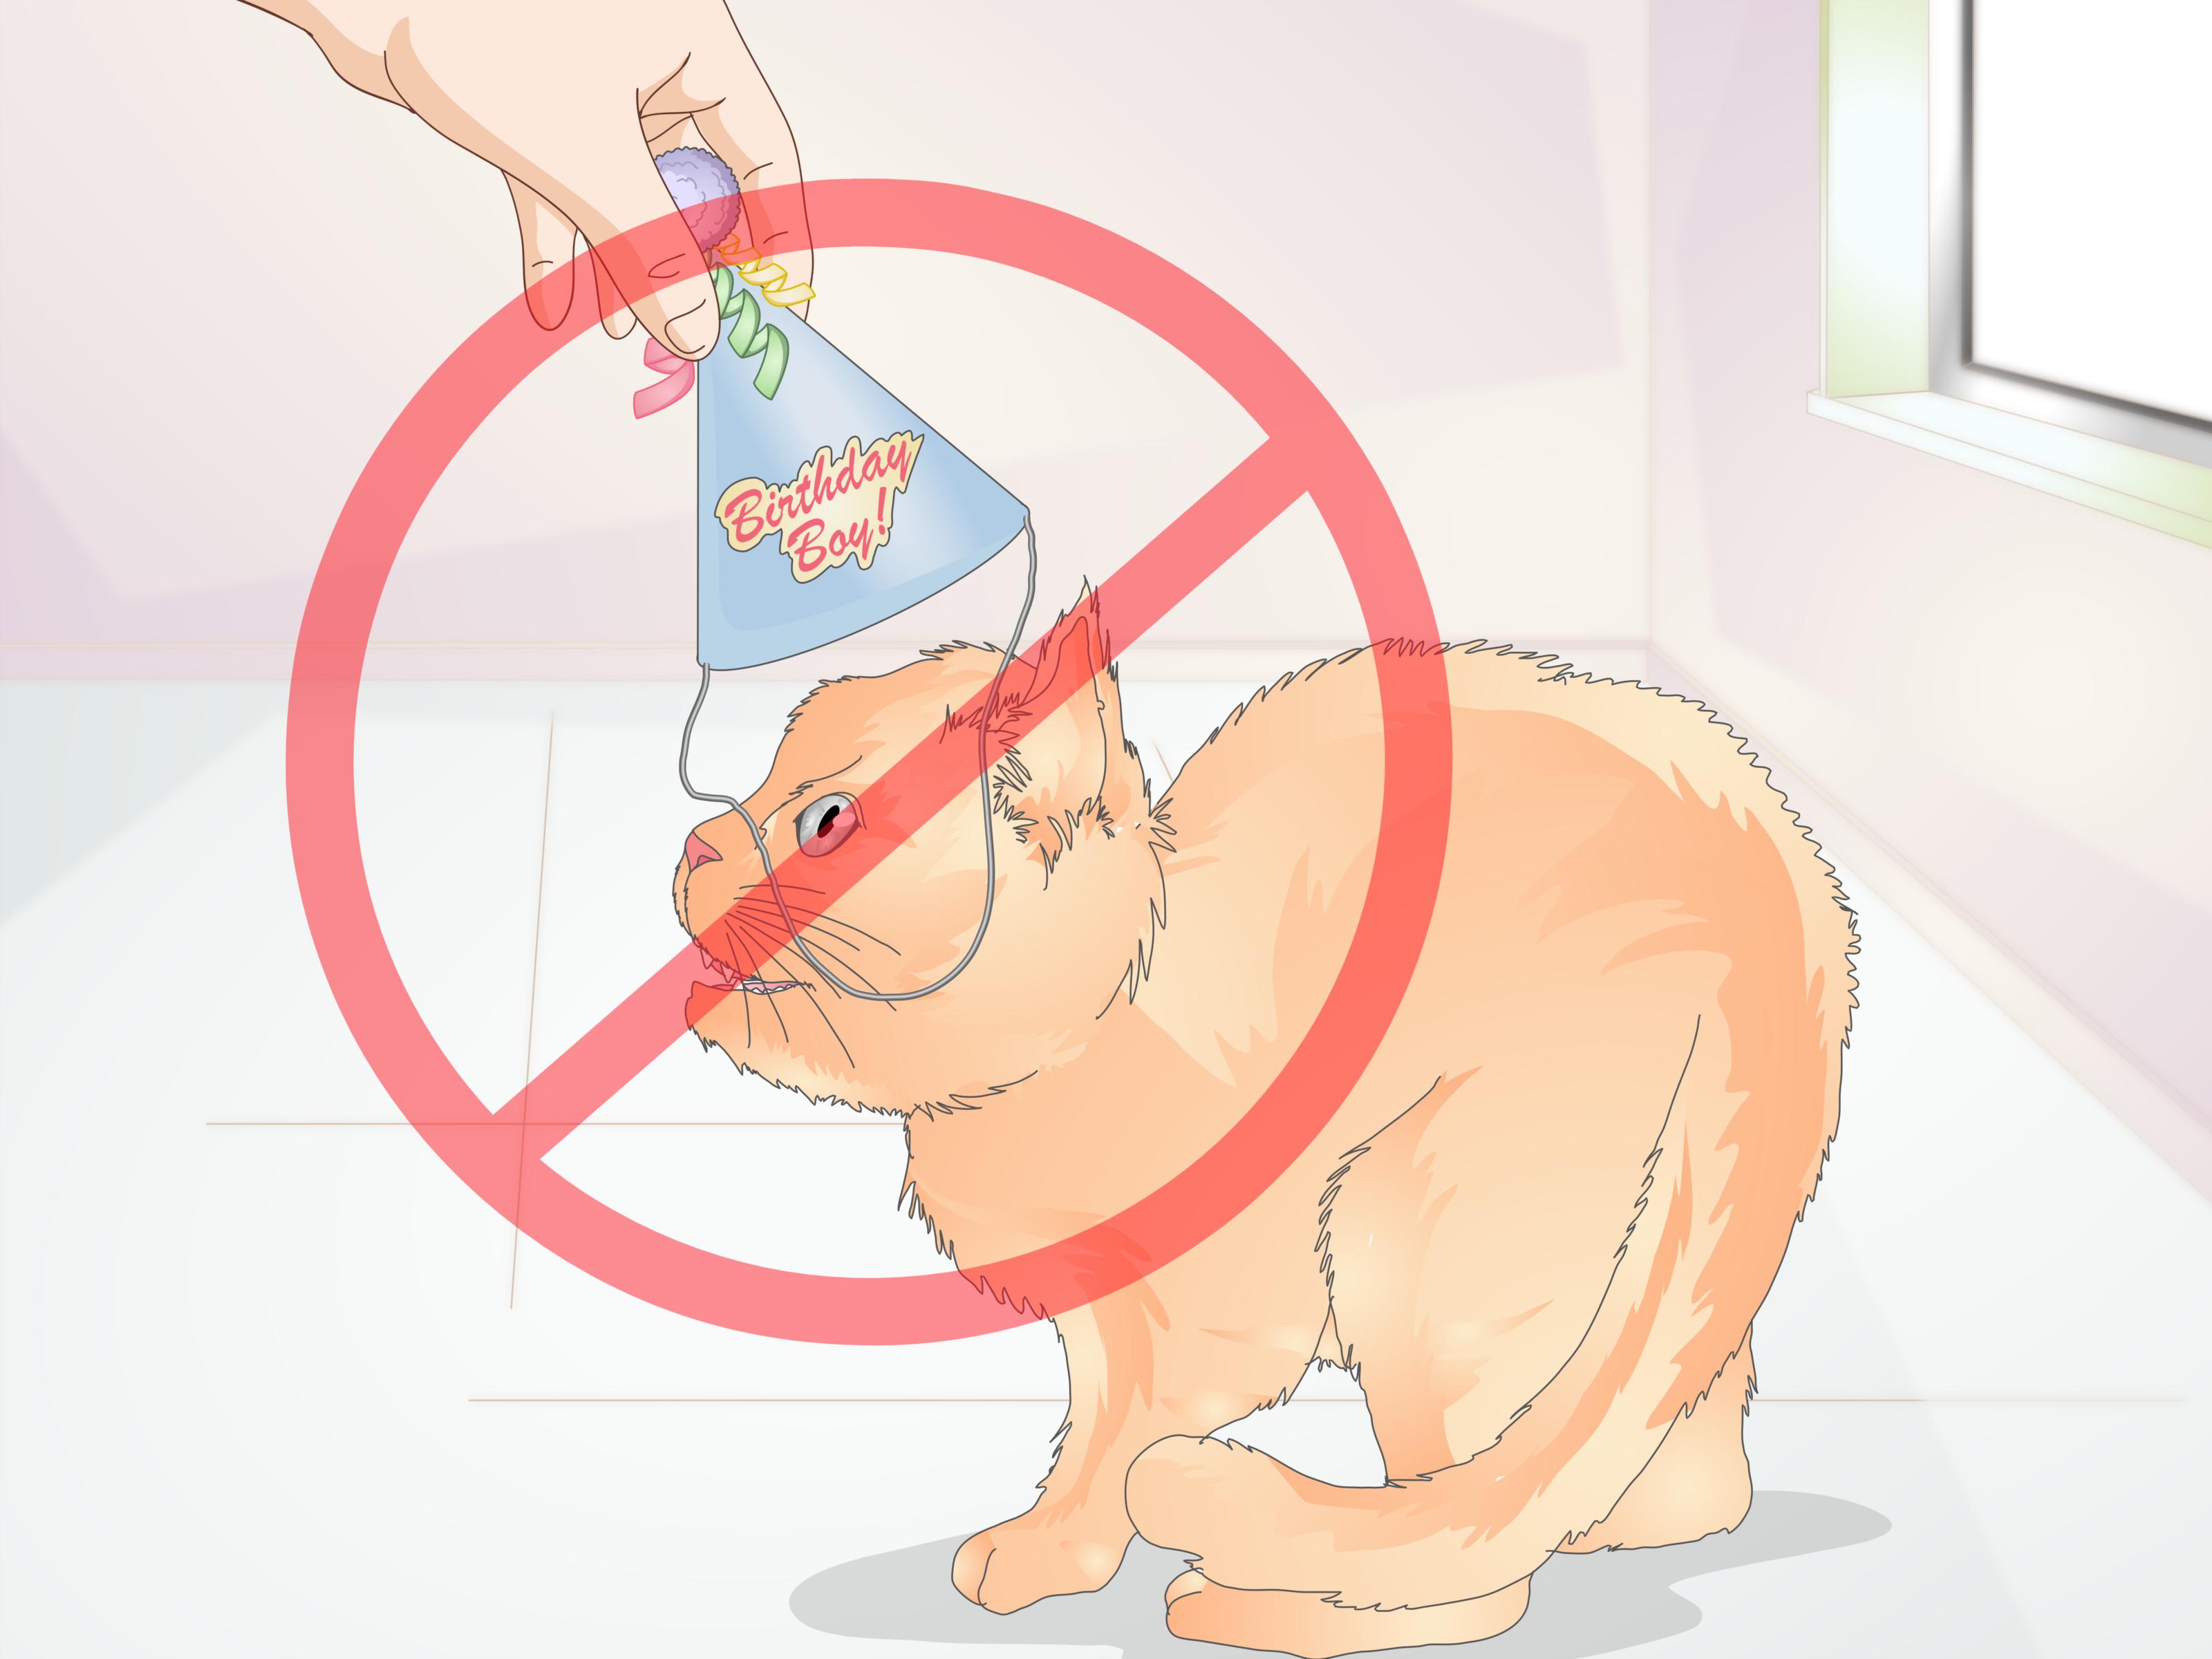
There are two kinds of cat owners in the world: people who have never tried to put a tiny hat on a cat, and people who have already learned that cats are furry little lawyers with strong opinions about personal boundaries. If you are here because you want to make a cone hat for a cat, welcome. This guide will help you create something cute, lightweight, photo-friendly, andmost importantlyrespectful of your cat’s comfort.
A cat cone hat can be perfect for a birthday photo, a Halloween snapshot, a pet adoption announcement, a “gotcha day” celebration, or simply a moment of harmless silliness. But the best cat hat is never the fanciest one. It is the one your cat tolerates calmly for a few seconds, does not chew, does not get tangled in, and can escape from easily if the royal whiskered judge rules against it.
Below are three practical ways to make a cone hat for a cat: a paper party hat, a soft felt cone hat, and a no-stress photo prop cone hat. Each method uses simple supplies, avoids heavy materials, and includes safety notes so your cat stays comfortable. The goal is not to turn your cat into a tiny circus performer. The goal is to make a cute accessory that says, “I love my cat,” not “My cat is filing a complaint.”
Before You Start: Cat Comfort Comes First
Before cutting paper or firing up the glue gun, think like a cat. Cats rely heavily on movement, hearing, sight, whisker awareness, and control of their surroundings. Anything that blocks their ears, presses on whiskers, restricts movement, or feels strange can make them nervous. A hat should be lightweight, short, and worn only while supervised.
Watch your cat’s body language. If your cat hides, freezes, flattens their ears, widens their pupils, flicks their tail sharply, growls, hisses, or tries to paw the hat off, the photo session is over. No dramatic speech. No “just one more picture.” Pay the model in treats and let them leave the studio.
Safe Materials for a Cat Cone Hat
Good materials include lightweight cardstock, scrapbook paper, craft felt, soft cotton fabric, child-safe glue, low-profile hook-and-loop fastener, and thin elastic used only with a breakaway design. Avoid glitter that sheds, sharp staples, metal wire, heavy beads, bells, feathers your cat may chew, toxic paint, strong-smelling adhesives, and tiny decorations that can be swallowed.
If you use hot glue, apply it only when the hat is away from your cat and let it cool completely before use. Cats are curious, fast, and extremely committed to investigating exactly the one thing you do not want them to touch.
Method 1: The Quick Paper Party Cone Hat
This is the easiest version and the best choice for a birthday photo. It is cheap, customizable, and fast enough that you can make another one if the first version looks like it was assembled during a mild paper tornado.
What You Need
- Lightweight cardstock or scrapbook paper
- Pencil
- Scissors
- Glue stick, double-sided tape, or low-temperature glue gun
- Small pom-pom or paper circle for the top
- Optional: soft ribbon, elastic, or hook-and-loop tabs
Step-by-Step Instructions
Start by drawing a small half-circle or wide wedge on your paper. For most cats, a cone hat should be small: about 3 to 4 inches tall is plenty. Anything taller may wobble, slide, or turn your cat into a suspicious wizard.
Cut out the wedge and gently roll it into a cone. Adjust the overlap until the base is wide enough to sit lightly between your cat’s ears without covering the ears. Once you like the shape, secure the seam with glue or tape. If using glue, hold the seam until it sets or add a temporary strip of tape inside the hat.
Decorate the outside before bringing it near your cat. You can add paper stars, a tiny number for a birthday, stripes, polka dots, or your cat’s name. Keep decorations flat and firmly attached. A loose pom-pom may look adorable, but if your cat sees it as prey, it has officially become a snack hazard.
For wearing, the safest approach is usually a short, supervised photo session. Instead of tying a tight string under the chin, consider attaching two soft tabs that connect loosely to a breakaway collar. Another option is using two short pieces of soft ribbon that are not knotted tightly and can be removed instantly. The hat should never squeeze the throat, pull the whiskers, or trap the cat.
Best For
This paper cone hat is best for one-time events, quick photos, birthday posts, adoption anniversary pictures, and cats who are calm around light objects. It is not ideal for cats who chew paper, shred decorations, or believe every craft project is a personal enemy.
Method 2: The Soft Felt Cone Hat
A felt cone hat is a little sturdier and more comfortable than paper. Felt bends softly, does not make loud crinkly noises, and can be reused. This method works well for cats who tolerate gentle accessories but dislike stiff paper near their ears.
What You Need
- Craft felt or thin wool-blend felt
- Paper for making a pattern
- Scissors
- Fabric glue or needle and thread
- Soft trim, such as felt dots or a tiny felt pom-pom
- Optional: low-profile hook-and-loop fastener
Step-by-Step Instructions
First, make a paper pattern. Draw a wedge shape similar to a party hat template, but keep it small. Test the paper pattern by rolling it into a cone and checking the size from a distance while your cat is relaxed nearby. Do not surprise your cat by suddenly lowering a cone from the sky. Cats remember these things.
Once the pattern looks right, trace it onto felt and cut it out. Roll the felt into a cone and secure the seam with fabric glue or a few simple stitches. If you sew it, use small stitches and trim loose thread. If you glue it, let it dry completely before use.
Add decorations made from felt rather than hard plastic. A felt star, felt heart, or small felt pom-pom keeps the hat soft and lightweight. Avoid sequins, beads, jingle bells, and anything that might detach. A cat does not need a hat that doubles as a choking-risk buffet.
To make the base more stable, add a narrow felt band around the bottom edge. This gives the hat a smoother finish and helps it sit better. If you want the hat to connect to a collar, add two tiny hook-and-loop tabs to the base and attach them loosely to a breakaway collar only during a supervised photo moment.
Best For
This soft felt cone hat is best for reusable holiday photos, themed pet portraits, and cats who dislike noisy paper. It is also a good option if you want a more polished look without making the hat heavy.
Method 3: The No-Stress Photo Prop Cone Hat
Here is the secret many pet photographers learn quickly: the easiest hat for a cat is sometimes the hat the cat does not actually wear. A no-stress cone hat prop creates the same visual charm without asking your cat to balance anything on their head.
What You Need
- Cardstock, felt, or thin foam sheet
- Scissors
- Glue or tape
- A wooden craft stick, paper straw, or small stand
- Flat decorations
Step-by-Step Instructions
Make a small cone using paper, felt, or foam, just as you would in the first two methods. This time, do not add straps or collar tabs. Instead, attach the cone to a craft stick, paper straw, or small hidden stand. You can hold it slightly behind your cat’s head for a photo angle that makes it look like the hat is sitting there, without touching your cat at all.
You can also place the hat beside your cat, on a wrapped gift, on a scratching post, or on a plush toy next to your cat. With the right angle, the result is still festive. Your cat remains comfortable, and you avoid the classic “cat exits photo shoot as blur” problem.
For a birthday photo, place the cone hat near a treat plate, toy, or safe cat-friendly backdrop. For Halloween, make a tiny witch-style cone and photograph your cat lounging nearby like a mysterious creature who definitely knows where the treats are hidden.
Best For
This method is best for shy cats, senior cats, kittens, newly adopted cats, anxious cats, and any feline who has already made it clear that wearable fashion is not in their contract. It is also the safest choice for households with multiple pets, because no one can grab, chew, or tug on the hat while it is attached to the cat.
How to Measure a Cat for a Cone Hat
Measuring a cat is less like tailoring a suit and more like negotiating with a tiny cloud that has claws. Keep it simple. When your cat is calm, use a soft measuring tape or a strip of paper to estimate the space between the ears and the gentle curve where the hat might sit. You do not need a perfect measurement. A cat cone hat should sit lightly, not fit tightly.
A good mini cone hat usually has a base diameter of about 2 to 3 inches and a height of about 3 to 4 inches. Larger cats may handle a slightly wider base, but taller is not always better. Tall hats tip over more easily, and cats are not famous for appreciating unstable architecture on their heads.
Decoration Ideas That Look Cute Without Annoying Your Cat
Choose decorations that are flat, lightweight, and firmly attached. Paper dots, felt stars, fabric letters, and simple painted patterns all work well. If you want a birthday theme, add a number or a tiny “Meowday” message. For a holiday look, use seasonal colors rather than bulky objects. For a wizard-style cone, add small paper moons and stars. For a princess-style cone, use soft felt trim and skip long ribbons that could tempt your cat to chew.
Keep the inside of the hat smooth. A rough seam, glue bump, or scratchy edge can bother your cat. Run your finger around the inside before use. If it feels sharp or sticky to you, it will feel worse to a cat.
How to Introduce the Hat Without Starting a Feline Rebellion
Do not place the hat on your cat immediately. Let your cat sniff it first. Put it on the floor near treats or a favorite toy. If your cat ignores it or calmly investigates, reward them. If your cat backs away, give them space.
Next, hold the hat near your cat without touching them. Reward calm behavior. If your cat still seems relaxed, briefly place the hat near the head or lightly on top for one second, then remove it and reward. Build slowly. The entire session may last less than a minute, and that is perfectly fine. A successful cat photo shoot is not measured in time. It is measured in how few offended looks you receive.
Common Mistakes to Avoid
Making the Hat Too Big
A huge cone may look funny in your imagination, but on a real cat it can block movement, slide into the ears, or create stress. Keep it small and light.
Using Tight Chin Straps
Never tie anything tightly around a cat’s neck or under the chin. If you use a strap at all, it should be loose, removable, and used only under direct supervision. A breakaway collar attachment is safer than a fixed knot.
Adding Dangling Decorations
Dangling ribbons, beads, bells, and strings may attract chewing or pawing. They can also get caught on furniture. Flat decorations are safer and usually photograph better.
Forcing the Photo
If your cat says no, believe them. A relaxed cat beside a hat is better than a stressed cat wearing one. The internet has enough chaos. Your cat does not need to contribute unwillingly.
Cleaning and Storing the Hat
Paper hats are usually one-use items. If the hat gets wet, chewed, bent, or covered in treat crumbs, retire it. Felt hats can be spot-cleaned with a slightly damp cloth and air-dried. Store the hat in a small box so it does not collect dust or become a mysterious under-couch object.
Before each use, check for loose seams, peeling glue, detached decorations, or frayed pieces. If anything is coming apart, repair it or make a new hat. Craft supplies are cheaper than vet visits, and your cat will not admire your commitment to “just one more use.”
Extra Experience: What Actually Works When Making a Cone Hat for a Cat
After making a few cat cone hats, most people discover that the craft itself is the easy part. The real project is learning how to work with your cat’s personality. Some cats are calm, curious, and willing to sit like tiny royalty for three seconds. Others treat a paper cone like it is an ancient enemy that must be defeated immediately. Both reactions are normal.
The best experience usually starts with choosing the right time. A cat that is zooming through the hallway at 11 p.m. is not ready for a hat fitting. A cat that is hungry is also not ideal, unless you enjoy being judged with laser-focused disappointment. Try after a meal, after playtime, or during a lazy window-watching moment. Calm timing makes a bigger difference than fancy materials.
Another lesson: smaller hats win. A tiny cone with a clean shape often looks much better than an elaborate tower covered in decorations. The camera reads “adorable party cat” even when the hat is simple. Meanwhile, the cat reads “this is light enough that I may allow it.” That is the partnership you want.
It also helps to prepare the photo area before introducing the hat. Set up the background, adjust the lighting, open the camera app, place treats nearby, and remove clutter. Do not make your cat wait while you search for your phone, move laundry, and debate whether the couch pillow looks weird. Cats have limited patience for human production delays.
Treats are useful, but they should not be used to pressure a nervous cat. Think of treats as payment, not bribery. Reward your cat for sniffing the hat, sitting calmly, or staying near the setup. If your cat walks away, the session ends. This builds trust for the next attempt. A cat who learns that leaving is allowed may become more willing to participate later.
For photos, natural light works beautifully. A window-lit room often gives better results than a flash, which may startle your cat or create spooky glowing eyes. Get low to your cat’s level and take several quick shots. The best picture may happen in the half-second before the hat slides sideways. In fact, a slightly crooked cone hat can be funnier and more charming than a perfect one.
If the wearable hat fails, the prop method saves the day. Hold the cone behind your cat, place it beside a treat bowl, or set it on a nearby stuffed animal. You still get a festive image, and your cat gets to remain emotionally employed as themselves. For many cats, this is the winning compromise.
The biggest takeaway is simple: making a cone hat for a cat should be lighthearted. It should not become a battle, a wrestling match, or a test of who is more stubborn. Spoiler: the cat is more stubborn. Keep the hat soft, small, and safe. Keep the session short. Keep your expectations flexible. When your cat gives you one usable photo, celebrate like you just won an award in pet photography, because honestly, you did.
Conclusion
Making a cone hat for a cat can be fun, affordable, and surprisingly easy when you focus on comfort first. A quick paper party hat is perfect for one-time birthday photos, a soft felt cone hat gives you a reusable option, and a no-stress photo prop delivers the cuteness without requiring your cat to wear anything. The best design is lightweight, smooth, simple, and safe.
Remember that your cat’s comfort matters more than the photo. Watch for stress signals, avoid tight straps, skip chewable decorations, and never leave your cat unattended with a homemade accessory. With patience, treats, and a sense of humor, you can create a tiny cone hat that makes your cat look festive without turning your living room into a courtroom drama starring Whiskers v. Fashion.