A clean shower screen is one of those small household victories that feels strangely heroic. You step into the bathroom, the light hits the glass, and instead of cloudy streaks, soap scum, and mysterious white spots, you see sparkle. Actual sparkle. The kind that makes you briefly consider inviting guests to admire your bathroom, which is not normal behavior but completely understandable.
The problem is that a shower screen lives in a daily storm of water, shampoo, body wash, minerals, steam, and whatever that one “moisturizing” soap bar leaves behind. Over time, glass shower doors and screens collect soap scum, hard water stains, limescale, mildew around seals, and streaks that make the whole bathroom look tired even when it is technically clean.
The good news: cleaning a shower screen does not require a chemistry degree, a hazmat suit, or a shopping cart full of products with names like “Mega Blast Bathroom Annihilator 9000.” In most homes, you can get excellent results with three practical methods: a vinegar-and-dish-soap spray, a baking soda paste for stubborn buildup, and a simple maintenance routine that prevents grime from returning like an uninvited relative.
Below are three reliable ways to clean your shower screen, plus practical tips, safety notes, and real-life experience from the front lines of bathroom cleaning.
Why Shower Screens Get Cloudy in the First Place
Before grabbing a sponge, it helps to know what you are fighting. That cloudy film on a glass shower screen usually comes from two main enemies: soap scum and hard water stains.
Soap scum forms when soap ingredients mix with minerals in water, body oils, and residue from shampoo or conditioner. It sticks to glass, metal frames, tiles, and rubber seals. It often looks gray, cloudy, or slightly waxy.
Hard water stains come from minerals such as calcium and magnesium. When water droplets dry on the glass, those minerals stay behind as chalky white spots or crusty deposits. If they sit too long, they can become much harder to remove and may even etch the glass surface.
That is why the best shower screen cleaning strategy is not only about removing grime. It is also about preventing water from drying on the glass every day. Your future self will thank you. Your sponge will also thank you, though probably silently.
Before You Start: Gather the Right Cleaning Tools
For most shower screens, you will need only a few basic supplies:
- Distilled white vinegar
- Grease-cutting dish soap
- Baking soda
- Warm water
- A spray bottle
- Microfiber cloths
- A soft sponge or non-scratch scrub pad
- A squeegee
- An old toothbrush for tracks, seals, and corners
- Rubber gloves, especially if your skin is sensitive
Avoid steel wool, rough scouring pads, abrasive powders, and anything that feels like it was designed to clean a barbecue grill. Shower glass can scratch, and scratched glass holds grime more easily. That is not cleaning; that is creating a subscription plan for future frustration.
Also, never mix vinegar with bleach. That combination can release dangerous fumes. Use one cleaning method at a time, rinse well, and ventilate the bathroom by turning on the fan or opening a window.
Way 1: Clean Your Shower Screen With Vinegar and Dish Soap
This is the dependable classic. Vinegar helps dissolve mineral deposits and cut through cloudy hard water marks, while dish soap breaks down greasy soap residue. Together, they make a simple DIY shower screen cleaner that works well for regular cleaning and moderate buildup.
Best for:
Soap scum, cloudy glass, water spots, general grime, and weekly shower screen cleaning.
What You Need
- 1 cup distilled white vinegar
- 1 cup warm water
- 1 teaspoon to 1 tablespoon dish soap
- Spray bottle
- Microfiber cloth
- Soft sponge
- Squeegee
Step-by-Step Instructions
1. Start with a dry shower screen. A dry surface helps the cleaner cling to the glass instead of sliding down immediately. If the screen is wet, wipe it quickly with a towel first.
2. Mix the cleaner. Add equal parts white vinegar and warm water to a spray bottle. Add a small amount of dish soap. Shake gently so you do not create a foam volcano in your bathroom.
3. Spray generously. Coat the glass from top to bottom, paying extra attention to cloudy patches, lower corners, and the area near the door handle where hands leave residue.
4. Let it sit. Give the solution 10 to 20 minutes to loosen soap scum and minerals. Do not let it dry completely. If the bathroom is warm, mist the glass again halfway through.
5. Wipe and gently scrub. Use a microfiber cloth or soft sponge to wipe the glass in circular motions. For thicker buildup, use a non-scratch scrub pad and a little patience. Scrubbing harder is not always better; letting the cleaner work longer usually wins.
6. Rinse thoroughly. Rinse the shower screen with warm water. Remove all soap and vinegar residue, especially around the frame, hinges, and seals.
7. Dry the glass. Use a squeegee first, then buff with a dry microfiber cloth. This final step is what gives the screen that “hotel bathroom, but without the tiny shampoo bottles” finish.
Important Caution
Vinegar is great for glass, but it is acidic. Avoid using it on natural stone surfaces such as marble, limestone, or travertine near your shower. It can dull or damage stone finishes. If your shower has natural stone tile, use a pH-neutral cleaner instead and keep vinegar away from the stone.
Way 2: Use Baking Soda Paste for Stubborn Soap Scum and Hard Water Stains
When your shower screen has moved beyond “a little cloudy” and entered “ancient bathroom fog machine” territory, baking soda can help. Baking soda is mildly abrasive, which means it can lift residue without scratching glass when used gently with the right sponge or cloth.
This method is especially useful for stubborn soap scum, mineral spots, and textured lower areas where buildup tends to collect. It also gives you the satisfying feeling of doing serious cleaning without using harsh fumes.
Best for:
Heavy soap scum, old water spots, lower-door buildup, and cloudy patches that did not disappear after the vinegar spray.
What You Need
- 1/2 cup baking soda
- Water, added slowly
- Optional: a small amount of white vinegar
- Soft sponge or microfiber cloth
- Spray bottle of warm water
- Squeegee
- Dry microfiber towel
Step-by-Step Instructions
1. Make a paste. Put baking soda in a bowl and add water a little at a time until it forms a spreadable paste. It should feel like thick frosting, although please do not confuse the two. Bathroom frosting is not a snack.
2. Apply to problem areas. Spread the paste onto cloudy spots, soap scum patches, and hard water stains. Focus on the bottom third of the shower screen, where water and product residue usually collect.
3. Let it sit briefly. Allow the paste to rest for about 5 to 10 minutes. This gives it time to soften grime and cling to vertical glass.
4. Scrub gently. Use a damp microfiber cloth or non-scratch sponge. Work in small circles. If you feel tempted to attack the glass like you are sanding a deck, pause. Gentle pressure is enough.
5. Add vinegar only if needed. For extra-stubborn spots, lightly mist the baking soda paste with vinegar. It will fizz. The fizz is not magic, but it can help loosen residue and make the job easier. Once the fizzing stops, scrub again gently.
6. Rinse very well. Baking soda can leave a gritty film if not rinsed completely. Use warm water and rinse from top to bottom.
7. Dry and inspect. Squeegee the glass, then wipe with a microfiber towel. If a few stains remain, repeat the process on those areas rather than scrubbing the whole screen again.
When Baking Soda Is Not Enough
If your shower screen still looks cloudy after cleaning, the glass may be etched. Etching happens when minerals sit on glass long enough to damage the surface. Cleaning can reduce the appearance, but it may not fully reverse the damage. In that case, prevention becomes even more important: squeegee daily, dry the glass, and consider a shower glass protectant or water-repellent product after the screen is clean.
Way 3: Keep Your Shower Screen Clean With a Daily Prevention Routine
The easiest shower screen to clean is the one that never gets filthy. This may sound like something a cheerful cleaning influencer would say while holding a spotless spray bottle, but it is true. Daily maintenance takes less than a minute and can save you from weekend scrubbing marathons.
Best for:
Preventing water spots, reducing soap scum, keeping glass clear, and making deep cleaning faster.
The 60-Second Routine
1. Rinse the glass after showering. A quick rinse helps remove shampoo, conditioner, body wash, and soap residue before it dries.
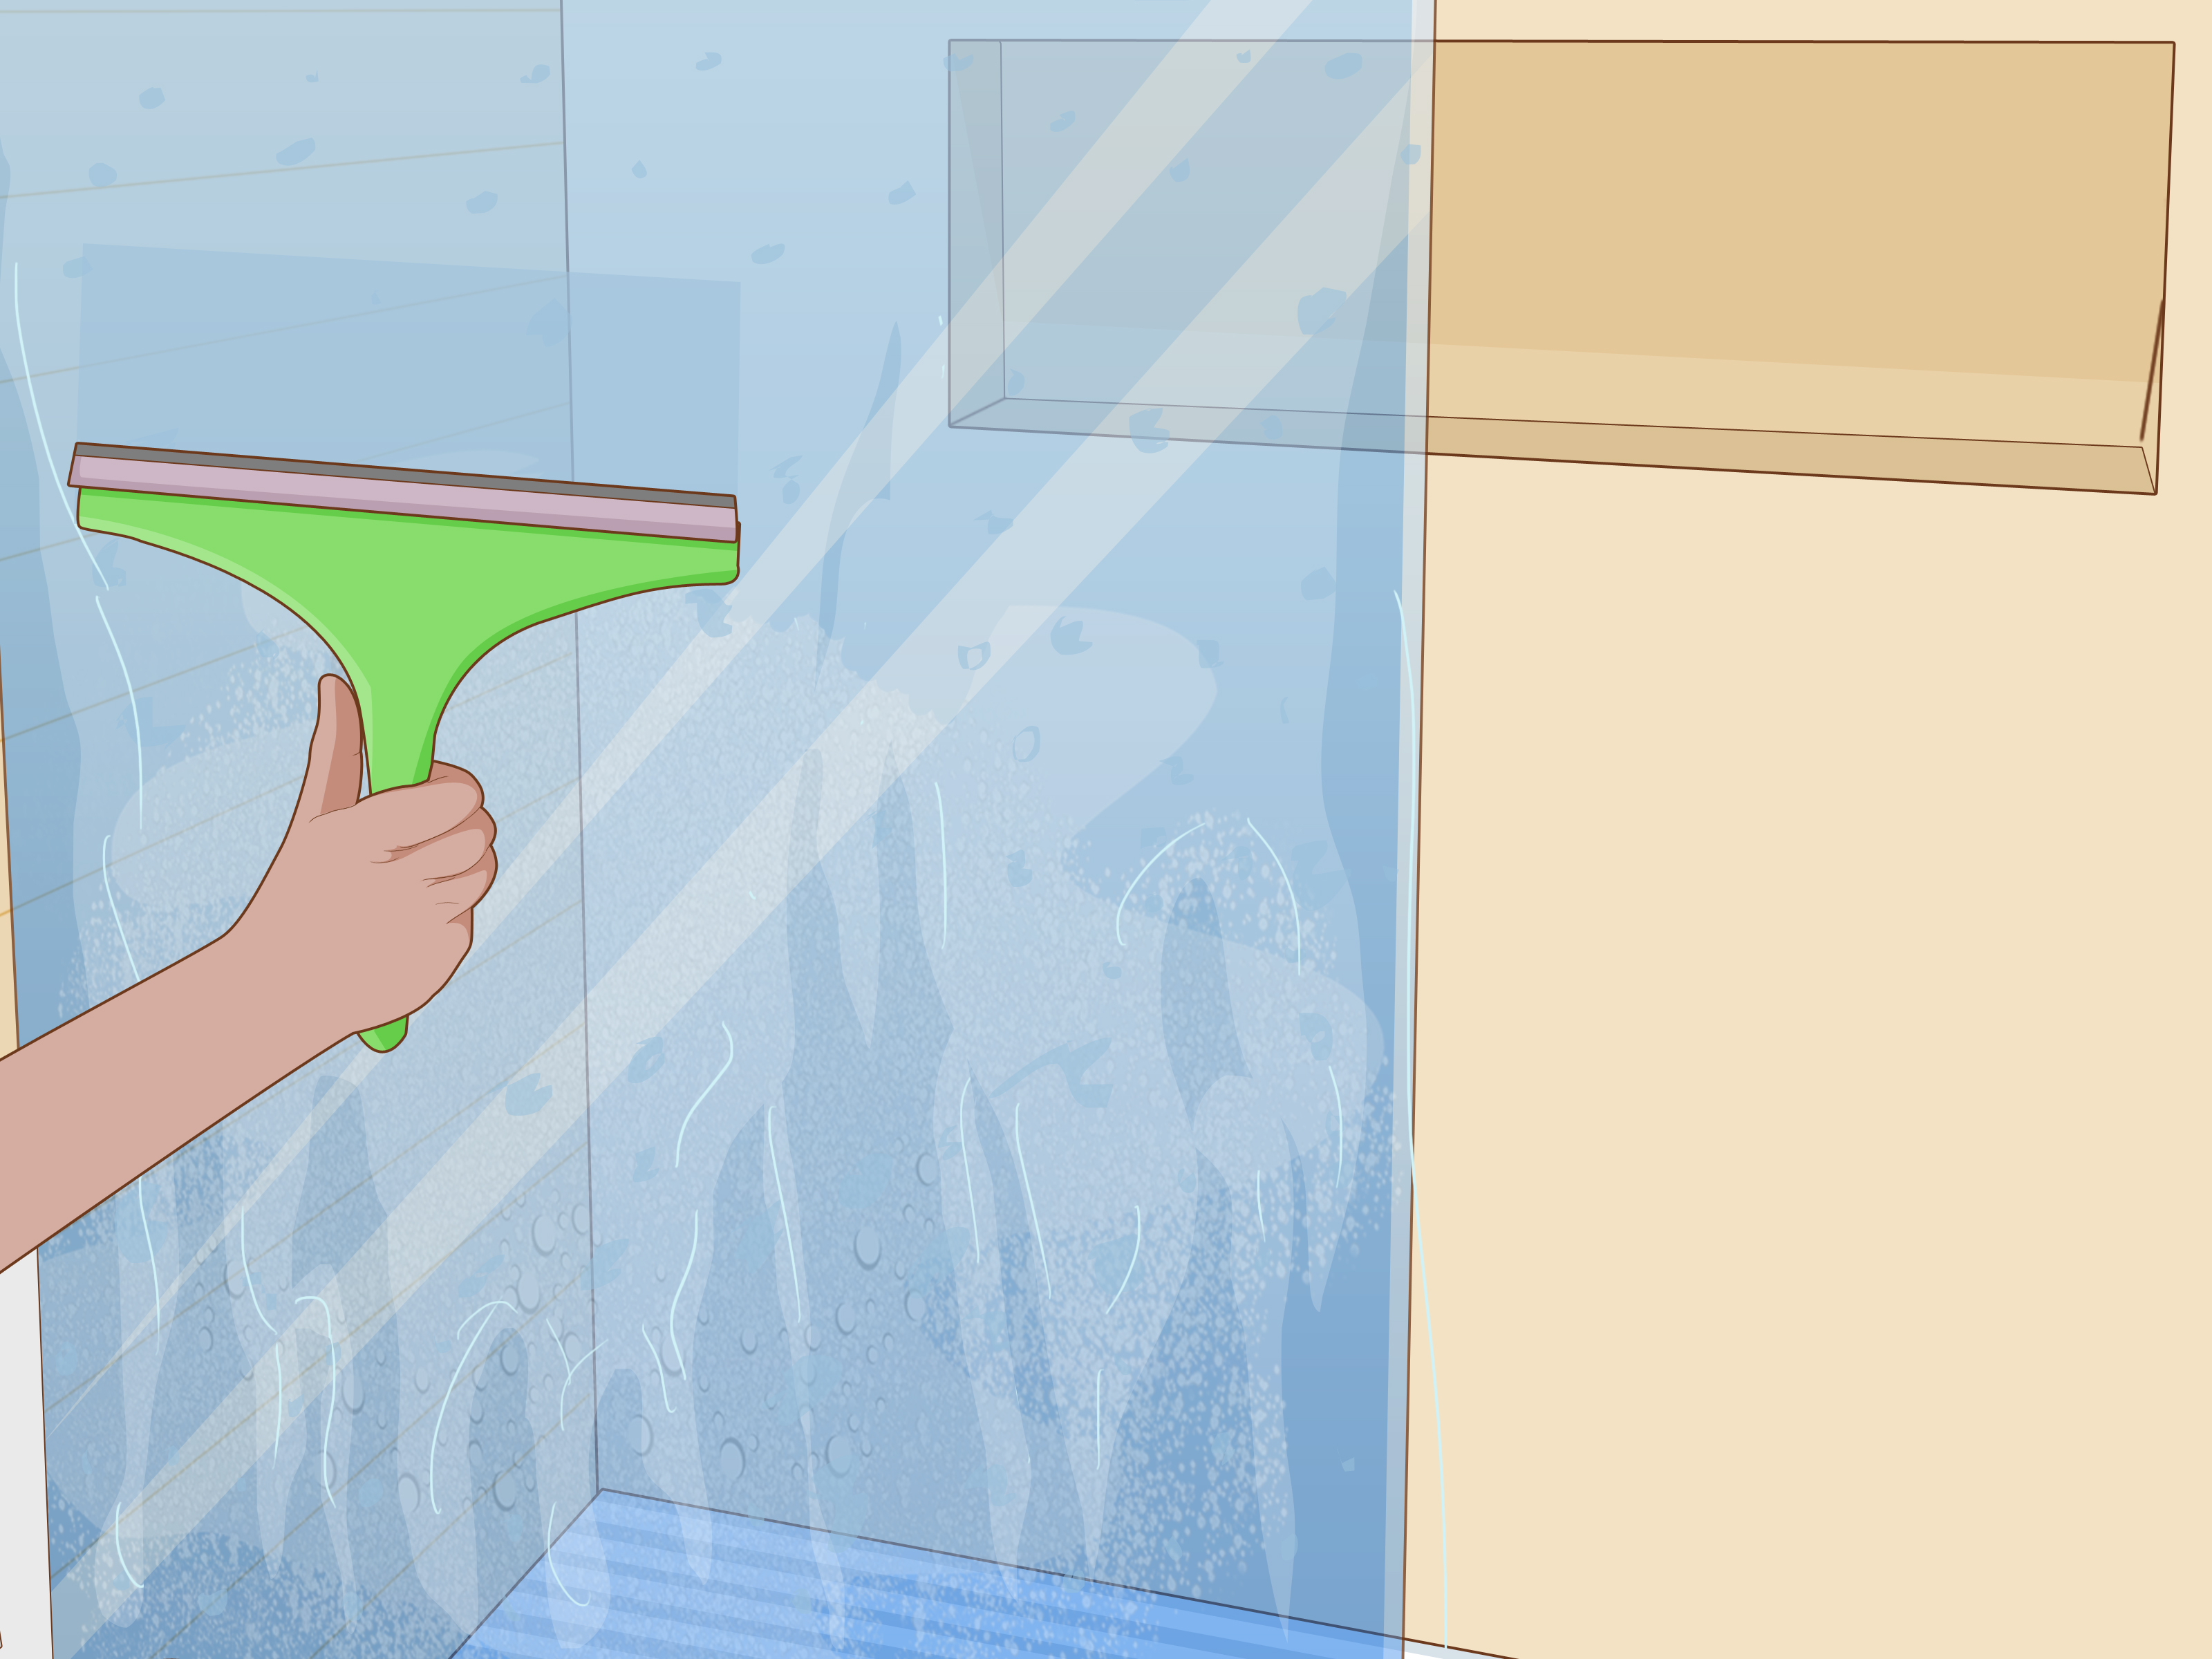
2. Use a squeegee. Pull the squeegee from top to bottom in smooth strokes. Wipe the blade with a cloth if it gets too wet. This removes the water droplets that would otherwise dry into mineral spots.
3. Dry edges and hardware. Use a microfiber cloth to wipe the bottom edge, handle, hinges, and tracks. These areas are small but dramatic. Ignore them for a week and they start looking like they are growing their own ecosystem.
4. Leave the door open slightly. Airflow helps the shower dry faster, which discourages mildew and musty smells.
5. Do a weekly light clean. Once a week, use the vinegar-and-dish-soap spray or a glass-safe bathroom cleaner. Weekly cleaning prevents buildup from becoming a full-blown bathroom negotiation.
Optional: Use a Daily Shower Spray
A daily shower spray can help reduce soap scum and mineral buildup. Choose a product made for glass shower doors, or look for a safer cleaning product that fits your household preferences. Always follow the label directions, especially around ventilation, rinsing, and surface compatibility.
Optional: Apply a Water Repellent
After deep cleaning, some homeowners use a shower glass water repellent. These products help water bead up and slide off the glass, which can reduce spots. Apply only to a clean, dry shower screen and follow the product instructions carefully. Think of it as a raincoat for your glass, minus the tiny hood.
How Often Should You Clean a Shower Screen?
For most households, a weekly cleaning is enough if you squeegee after showers. If several people use the same bathroom every day, clean the shower screen more often. A busy family shower can collect residue faster than a teenager collects charging cables.
Here is a practical schedule:
- After every shower: Rinse, squeegee, and leave the door open for airflow.
- Once a week: Spray with vinegar and dish soap, rinse, and dry.
- Once a month: Deep clean stubborn areas with baking soda paste.
- As needed: Clean tracks, seals, hinges, and handles with a toothbrush and mild cleaner.
If you live in a hard-water area, you may need to clean more frequently. A water softener can reduce mineral buildup throughout the home, but even without one, daily drying makes a huge difference.
Common Mistakes to Avoid When Cleaning a Shower Screen
Using Abrasive Scrubbers
Glass may look tough, but harsh scrubbers can scratch it. Once scratched, it becomes easier for minerals and soap residue to cling to the surface. Use microfiber, soft sponges, or non-scratch pads.
Letting Cleaner Dry on the Glass
Whether you use vinegar spray or a store-bought cleaner, do not let it dry completely on the shower screen. Dried cleaner can leave streaks or residue. Spray, wait, wipe, rinse, and dry.
Forgetting the Bottom Seal
The bottom rubber seal is a grime magnet. Soap, water, and hair gather there like they signed a lease. Clean it with an old toothbrush and mild cleaner. If the seal is cracked, stained, or loose, replacing it may make the whole shower look cleaner.
Cleaning Glass but Ignoring Ventilation
Moisture is the reason shower screens get messy so quickly. Run the bathroom fan during and after showers. Better airflow means faster drying, fewer water spots, and less mildew around edges.
Mixing Cleaning Products
More products do not always mean more power. Never mix bleach with vinegar, ammonia, or other cleaners. Rinse between methods and keep the room ventilated.
Experience Notes: What Actually Works in Real Life
After cleaning many shower screens, one thing becomes obvious: the cleaning method matters, but the habit matters more. A neglected shower screen can take an hour of spraying, waiting, scrubbing, rinsing, and muttering dramatic things under your breath. A maintained shower screen can look good with a quick weekly wipe. The difference is not talent. It is timing.
The vinegar-and-dish-soap method is usually the best first move. It is inexpensive, easy to mix, and strong enough for normal soap scum. The trick is patience. Many people spray and immediately start scrubbing, then wonder why the glass still looks cloudy. Letting the solution sit for 10 to 20 minutes gives it time to soften the residue. Cleaning is sometimes less about muscle and more about allowing the vinegar to do its tiny acidic job.
Baking soda paste works best when you use it selectively. Do not smear it over every inch of glass unless the entire screen needs it. Apply it to the lower panels, corners, and cloudy spots. Those are the places where water sits longest and where conditioner residue seems to build a second home. A damp microfiber cloth works better than a rough sponge because it lifts the paste while protecting the glass.
The biggest real-life upgrade is keeping a squeegee in the shower. Not under the sink. Not in a cleaning caddy across the room. In the shower, where you can actually use it. The squeegee must be visible, reachable, and slightly guilt-inducing. After a shower, 30 seconds of squeegeeing can prevent days of mineral buildup. It is not glamorous, but neither is crouching in the shower on Saturday morning fighting white spots with the determination of a treasure hunter.
Another practical lesson: microfiber towels are underrated. Paper towels can leave lint, and old bath towels may smear water around instead of drying the glass. A dry microfiber cloth gives the final shine. Keep one near the bathroom and wash it regularly without fabric softener, which can reduce absorbency.
For households with hard water, prevention is everything. If water spots appear within a day, clean more lightly but more often. A weekly vinegar spray may not be enough if the glass dries with mineral-heavy droplets every morning. In that case, rinse, squeegee, and dry the screen after each use. It sounds fussy until you realize it saves serious scrubbing later.
Also, pay attention to the products used in the shower. Bar soap often leaves more visible scum than body wash, especially in hard-water homes. Heavy conditioners and oil-based scrubs can also cling to glass. You do not have to change your entire routine, but if your shower screen gets cloudy quickly, your products may be part of the story.
Finally, do not chase perfection every time. A shower screen is a working surface, not a museum exhibit. The goal is clear, hygienic, good-looking glass that does not make you sigh every time you brush your teeth. Clean it well, dry it often, and save your dramatic energy for more important household mysteries, like why socks vanish in the laundry.
Conclusion
Cleaning your shower screen does not have to be a battle. Start with vinegar and dish soap for everyday soap scum, use baking soda paste for stubborn buildup, and build a simple daily routine with rinsing, squeegeeing, and drying. Those three methods can keep glass shower doors clear, bright, and far easier to maintain.
The real secret is consistency. A few seconds after each shower can prevent the cloudy film, hard water stains, and soap scum that make deep cleaning feel like a punishment. Treat your shower screen kindly, avoid abrasive tools, rinse cleaning products well, and keep moisture under control. Your bathroom will look fresher, your glass will stay clearer, and your weekends can be used for something more exciting than negotiating with limescale.
SEO Tags
Note: This article is written for general household cleaning education. Always test cleaners on a small hidden area first, follow product labels, ventilate the bathroom, and avoid using acidic cleaners such as vinegar on natural stone surfaces.