Note: This article is written in standard American English, based on current Twitch creator tools and video-management rules, and formatted as copy-ready HTML.
Every Twitch streamer eventually meets the same tiny monster: the video they wish had never existed. Maybe your microphone sounded like it was trapped under a couch cushion. Maybe your “quick test stream” accidentally stayed public. Maybe a viewer clipped the exact five seconds where your cat launched itself across your keyboard like a furry meteor. Whatever happened, knowing how to delete videos on Twitch is an essential part of keeping your channel clean, professional, and slightly less haunted.
The good news is that deleting Twitch videos is not complicated once you know where Twitch hides the buttons. The less-good news is that Twitch uses different areas for different types of content. Past broadcasts, highlights, and uploads live in Video Producer. Clips live in Clips Manager. Think of it like a streaming closet: same house, different shelves, and one mysterious box labeled “why did I stream this at 2 a.m.?”
This guide explains two simple ways to delete videos on Twitch: removing VODs, highlights, and uploads through Video Producer, and deleting Twitch clips through the Clips Manager. We will also cover what to check before you delete, how Twitch storage works, why deleted videos usually cannot be recovered, and how to avoid future cleanup disasters.
Understanding Twitch Videos Before You Delete Anything
Before clicking the delete button, it helps to understand what kind of Twitch content you are dealing with. Twitch does not treat every video the same way, and that matters because the deletion path depends on the content type.
Past Broadcasts, VODs, Highlights, Uploads, and Clips
A Twitch VOD, or video on demand, is usually a saved recording of a live stream. These are also called past broadcasts. If your stream settings allow Twitch to store past broadcasts, the platform can automatically save your live streams for a limited time after you go offline.
A highlight is a shorter edited section made from a longer broadcast. Creators often use highlights to preserve the best parts of a stream, such as a boss fight, a hilarious chat moment, a tutorial, or the one time your strategy actually worked on the first try.
An upload is video content uploaded directly to Twitch, depending on the account and creator features available. Uploads and highlights are managed in the Video Producer area.
A Twitch clip is a short shareable moment created from a live stream or VOD. Clips can be made by you or by viewers, depending on your channel settings. Clips are useful for discovery, but they can also capture accidental, outdated, awkward, copyrighted, or off-brand moments. In other words, clips are tiny marketing rockets until one of them has your worst sneeze in 1080p.
Method 1: Delete Twitch VODs, Highlights, and Uploads From Video Producer
The first and most common way to delete videos on Twitch is through Video Producer. This is where creators manage saved broadcasts, highlights, and uploaded videos. If you want to delete a full stream replay, a saved past broadcast, or an old highlight, start here.
Step-by-Step: How to Delete a Twitch Video From Video Producer
- Log in to your Twitch account on a desktop browser.
- Click your profile icon in the top-right corner.
- Select Creator Dashboard.
- In the left menu, open Content.
- Click Video Producer.
- Find the video you want to remove. You can filter by video type if needed.
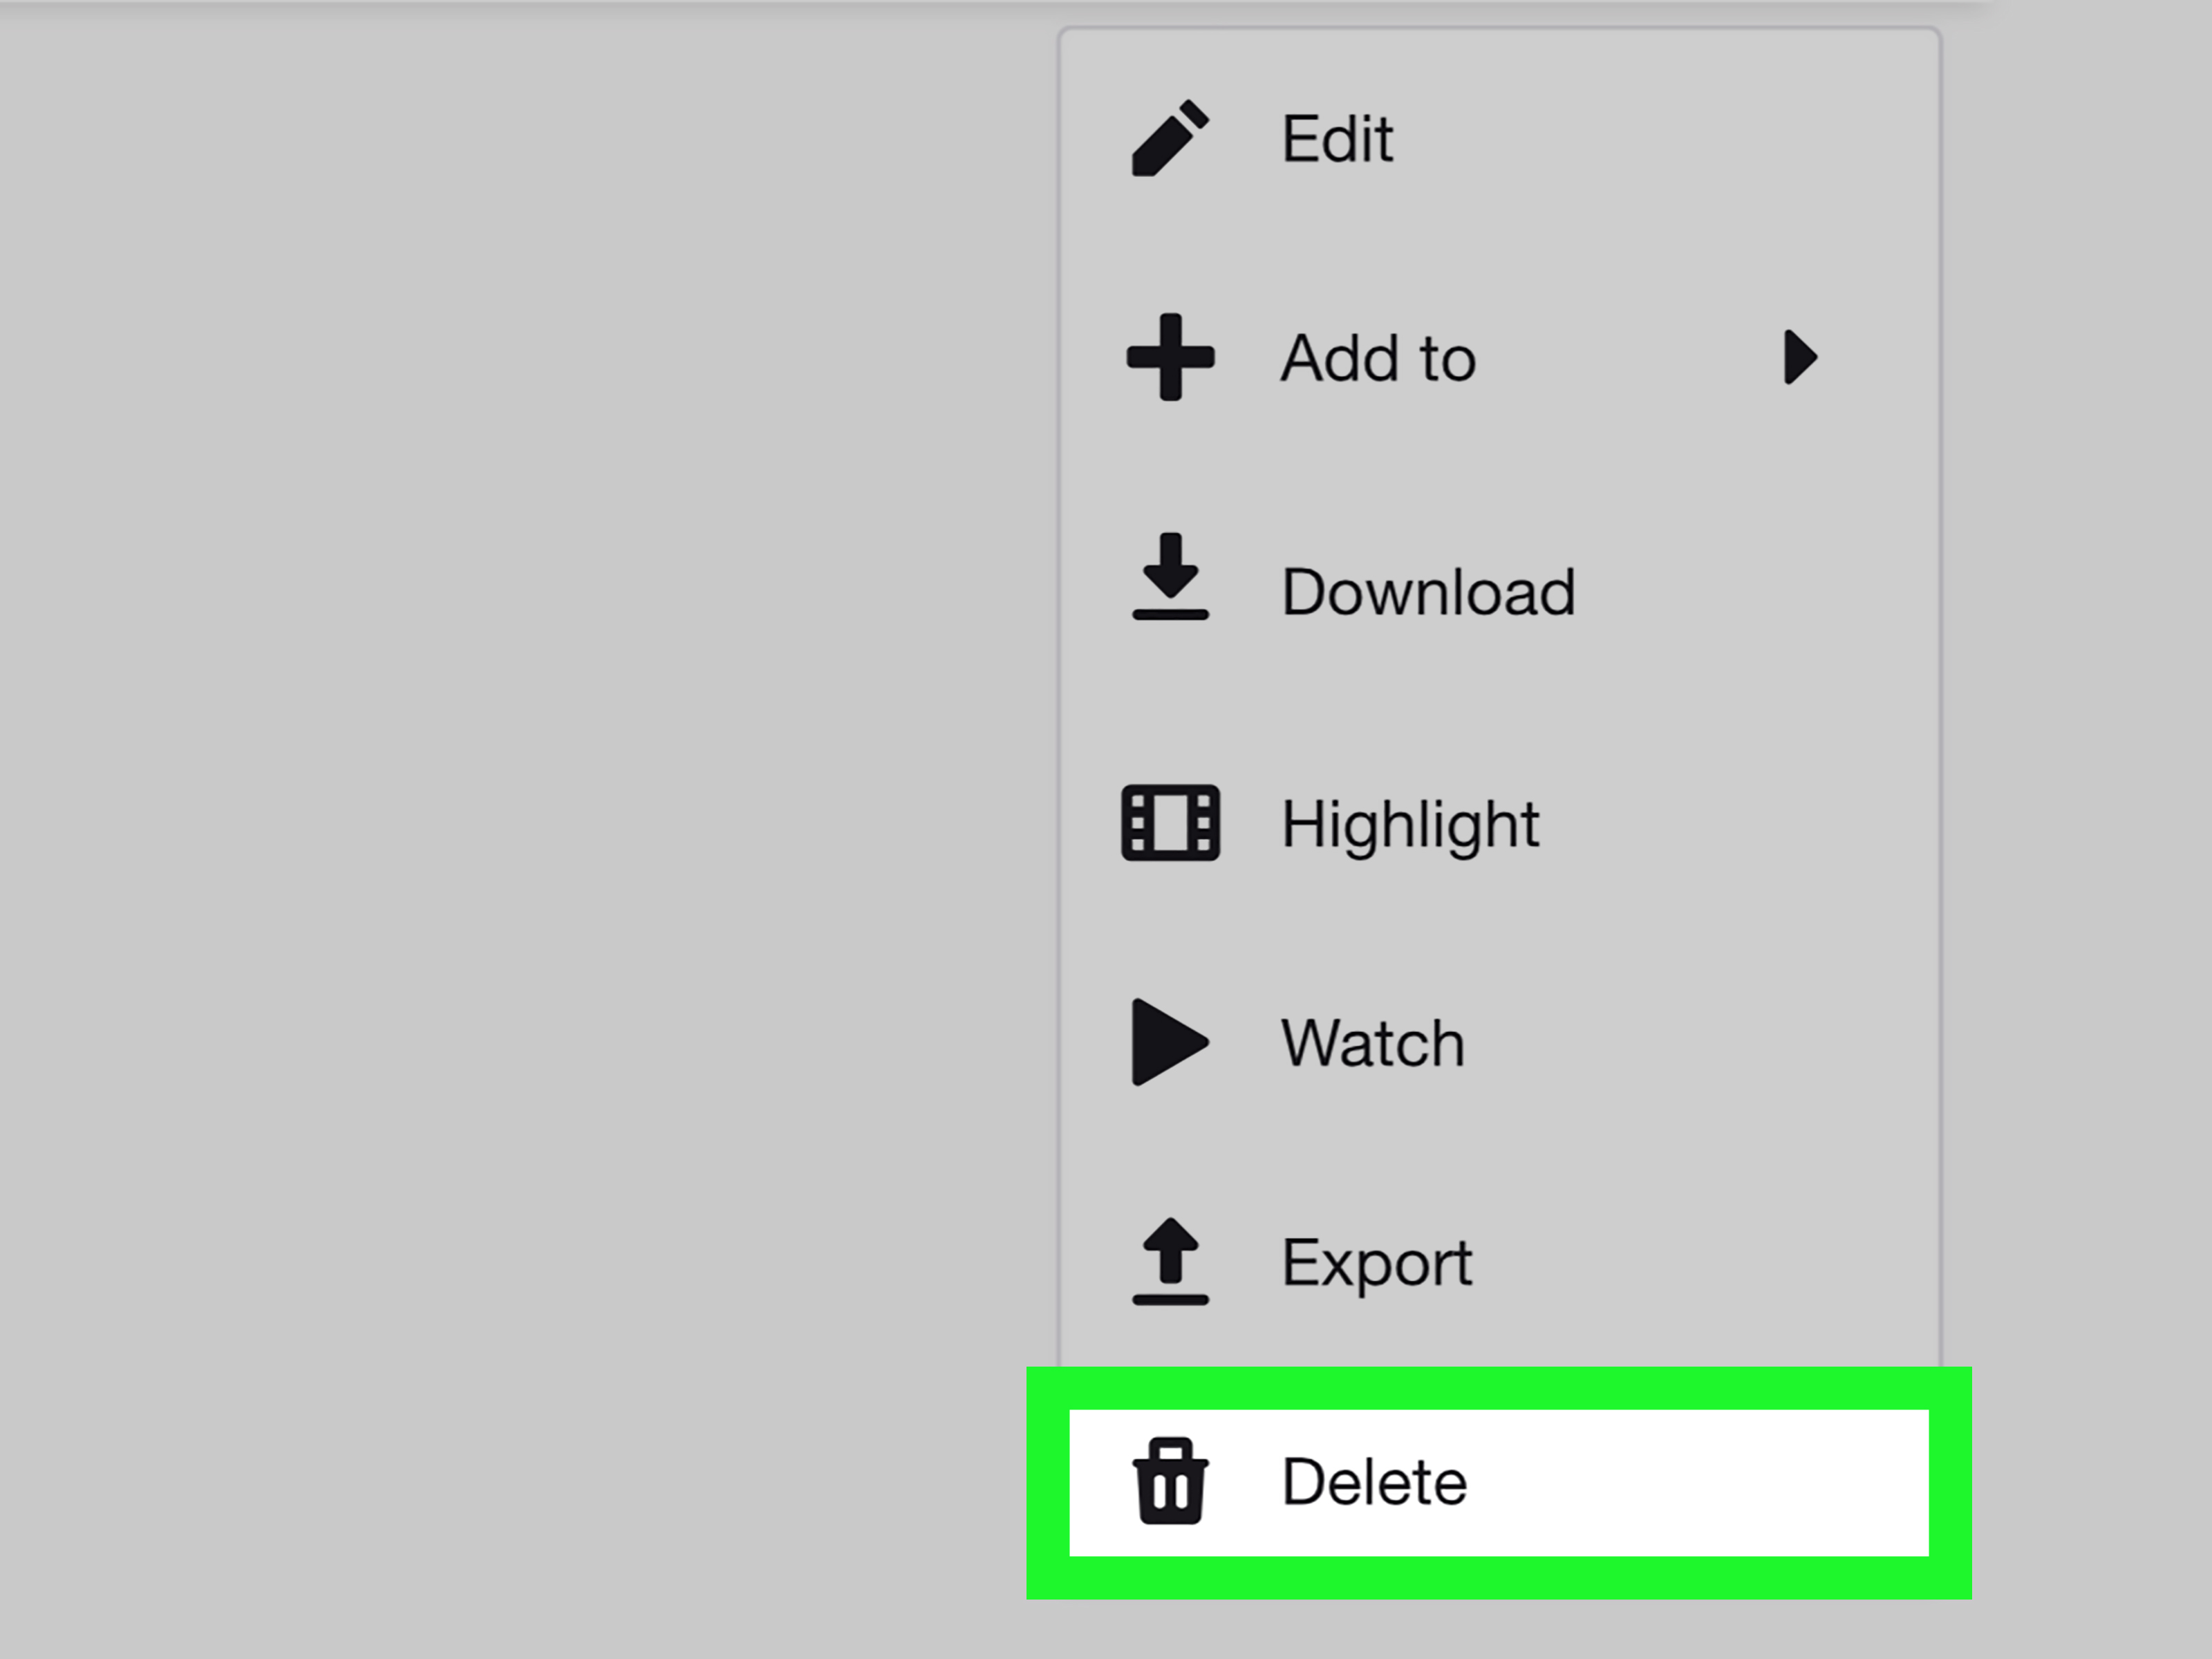
- Click the three-dot menu next to the video.
- Select Delete.
- Confirm that you want to permanently delete the video.
That is the basic process. Once confirmed, the selected video is removed from your channel. Make sure you are deleting the correct file, especially if you have several streams with similar titles like “Testing,” “Testing Again,” “Real Stream This Time,” and “Oops, Still Testing.”
What Happens After You Delete a Twitch VOD?
After you delete a VOD, highlight, or upload, it generally disappears from your public video library and cannot be restored through normal creator tools. Twitch deletion should be treated as permanent. If the video has sentimental value, contains useful gameplay, includes a sponsor segment, or might become a future YouTube upload, download or export it before deleting.
This is especially important because Twitch VODs are not designed to be forever archives. Past broadcasts are stored only for a limited period based on account type and settings. Standard streamers, Affiliates, Partners, Prime members, and Turbo users may have different retention windows. Once a VOD expires or is deleted, you should not assume it can be recovered.
When Should You Delete a Twitch VOD?
Deleting a Twitch VOD makes sense when the video no longer helps your channel. Common reasons include poor stream quality, accidental live tests, copyrighted music, personal information accidentally shown on screen, outdated announcements, technical problems, or content that no longer matches your brand.
For example, imagine you streamed a game for three hours, but the audio was delayed by six seconds the entire time. Viewers clicking that replay later may think your channel quality is lower than it really is. Deleting that VOD can be better than leaving a frustrating experience online.
Another example is accidental exposure. Maybe a browser tab showed private information, a Discord notification appeared, or your desktop wallpaper revealed something you did not intend to share. In those cases, deleting quickly is smart. The internet has the memory of an elephant and the patience of a raccoon in a snack drawer.
Can You Delete Multiple Twitch Videos at Once?
Twitch has offered selection and bulk-management tools inside Video Producer, though available options may vary as the dashboard changes. If your Video Producer page shows checkboxes or bulk actions, you can select multiple videos and delete them together. However, bulk deletion deserves caution. One wrong click can remove more than you planned.
Before using any bulk delete option, sort your videos carefully, double-check the selected items, and consider downloading anything valuable. A clean channel is nice. Accidentally deleting your best stream ever is less nice. That is the kind of “minimalism” nobody asked for.
Method 2: Delete Twitch Clips From Clips Manager
The second simple way to delete videos on Twitch is for clips. Clips are managed separately from full VODs and highlights, so you will not always find them in the same place as past broadcasts. To delete Twitch clips, use the Clips section in Creator Dashboard.
Step-by-Step: How to Delete Clips on Twitch
- Log in to Twitch on a desktop browser.
- Click your profile icon in the top-right corner.
- Open Creator Dashboard.
- Go to Content.
- Select Clips.
- Choose the tab for clips you created or clips from your channel.
- Select the clip or clips you want to remove.
- Click the trash icon or Delete Selected.
- Confirm the deletion.
This is the best route when you want to remove a short clip rather than a full video. It is also useful if viewers created clips from your channel that no longer fit your content, include copyrighted audio, show moderation issues, or capture a moment out of context.
Deleting Clips You Created vs. Clips From Your Channel
Twitch usually separates clips into categories such as clips you created and clips created from your channel. This distinction matters. A clip you made from someone else’s stream is not the same as a clip someone else made from your stream. If you are cleaning up your own public image as a creator, focus on clips associated with your channel.
For streamers, clips from your channel can be more important than clips you personally created. Viewers may discover you through those clips, and the wrong clip can give the wrong impression. A great clip says, “This creator is funny, skilled, and worth following.” A bad clip says, “This creator spent three minutes yelling at a settings menu.” We have all been there.
Can You Delete All Twitch Clips?
Twitch has provided tools for deleting multiple clips, and some creator dashboards may include broader deletion options. Use these carefully. Deleting all clips can be useful after a copyright scare, a rebrand, or a major content change, but it can also remove some of your best discovery content.
Before deleting clips in bulk, review high-performing clips first. Some may still be valuable for social media, YouTube Shorts, TikTok, Instagram Reels, or channel trailers. A better strategy is often to delete weak or risky clips while saving strong clips for repurposing.
Before You Delete: A Quick Safety Checklist
Deleting Twitch videos is easy. Deleting the right Twitch videos is the part that deserves a little patience. Use this checklist before removing content from your channel.
Download Anything You Might Need Later
If a VOD contains useful content, download it before deleting. This is especially important for tutorials, speedruns, sponsored streams, charity events, collaborations, first playthroughs, or memorable community moments. Once a video is gone, rebuilding it from memory is not fun unless your memory comes with a replay button.
Check for YouTube or Social Media Potential
A messy three-hour stream may still contain a brilliant thirty-second moment. Before deleting the whole thing, skim the timeline. You may find a reaction, joke, clutch win, guide section, or community moment worth clipping and posting elsewhere.
Look for Copyright Issues
Copyrighted music and other protected content can create problems for streamers. If your VOD contains music you did not have permission to use, removing or managing that content may be a smart step. Twitch also provides tools for muted audio and content management, but deletion is sometimes the fastest cleanup option.
Review Privacy Concerns
If a stream revealed personal information, private messages, addresses, account details, or sensitive documents, act quickly. Delete the VOD or clip, then check whether the content was shared elsewhere. Also review your streaming setup so the same issue does not happen again.
How Twitch Storage Rules Affect Video Deletion
Twitch video deletion is not only about what creators manually remove. The platform also has storage limits and expiration rules. Past broadcasts automatically expire after a limited period, depending on account type and settings. Highlights and uploads have also been subject to storage limits, including a 100-hour cap that affects how much highlight and upload content a channel can keep.
For creators, this means Twitch should not be your only archive. If you care about long-term storage, keep local recordings or export important content to another platform. Twitch is excellent for live interaction, but it is not a magical vault guarded by a purple dragon. Treat it as a live-streaming platform first and an archive second.
Can You Delete Twitch Videos on Mobile?
You may be able to manage some Twitch content from a mobile browser, especially by requesting the desktop version of the site. However, the full Creator Dashboard is usually easier to navigate on a desktop or laptop. If you are trying to delete VODs, highlights, uploads, or multiple clips, a desktop browser is the smoother option.
On mobile, menus may look different, and some management tools may be harder to access. If you are in a hurry because a clip needs to come down quickly, try opening Twitch in your phone browser, switching to desktop mode, and accessing Creator Dashboard from there. For regular channel maintenance, use a computer and save yourself the thumb gymnastics.
Troubleshooting: Why Can’t I Find the Delete Button?
If you cannot find the delete option, do not panic. Twitch changes dashboard layouts from time to time, and some features may appear differently depending on account type, device, browser, or content category.
You May Be Looking in the Wrong Section
If you are trying to delete a full stream, go to Video Producer. If you are trying to delete a clip, go to Clips Manager. This is the most common mix-up. A VOD is not managed the same way as a clip, even if both are technically videos.
You May Not Own the Content
You can manage content associated with your own channel, but you cannot freely delete another creator’s videos. If you made a clip from someone else’s stream, your control may depend on the clip status and Twitch’s current tools. If someone else clipped your channel, you should manage it through clips from your channel.
The Interface May Have Changed
If the exact button names look different, search for similar options such as three-dot menus, trash icons, bulk actions, filter menus, or “Delete Selected.” Twitch often keeps the same general workflow even when the dashboard design changes.
Best Practices for Managing Twitch Videos Like a Pro
Deleting videos is useful, but the best creators also build a repeatable content-management routine. This keeps your channel clean without turning video cleanup into a monthly archaeological dig.
Review Your VODs After Every Stream
Spend five to ten minutes after each stream checking the replay. Look for audio issues, accidental private information, dead air, muted sections, or moments worth highlighting. This small habit prevents big cleanup sessions later.
Create Highlights Before Deleting Full VODs
If a long broadcast has one excellent section, turn that section into a highlight or clip before removing the full VOD. This lets you keep the best part without leaving a messy replay online.
Use Clear Titles
Rename important videos with clear titles before archiving, downloading, or exporting. “Ranked Matches With Viewers” is more useful than “Stream 05/21.” Future you will appreciate the effort. Future you is tired and has too many files named “final_final_really_final.mp4.”
Record Locally
If your streams matter beyond Twitch, record locally using your streaming software. Local recordings give you a backup for editing, reposting, sponsor proof, portfolio use, or community archives.
Common Mistakes to Avoid When Deleting Twitch Videos
The biggest mistake is deleting before checking. Always open the video, confirm the title, check the date, and make sure it is the correct file. Another mistake is deleting content only because it has low views. Low views do not always mean low value. A tutorial, announcement, or community event might be useful even if it did not perform like a viral clip.
Creators also forget to review clips. A channel may have clean VODs but messy viewer-created clips. If you are rebranding, applying for partnerships, pitching sponsors, or building a more polished channel, clip cleanup matters.
Finally, do not rely on Twitch as your only content library. Platforms change. Storage rules change. Dashboards change. Your best protection is having your own organized backup system.
My Practical Experience With Deleting Twitch Videos
Deleting Twitch videos sounds simple until you are staring at a list of broadcasts with nearly identical titles and wondering which one contains the embarrassing part. In real creator workflows, the deletion decision is rarely just “keep” or “remove.” It is usually a mix of brand management, content strategy, storage limits, copyright caution, and plain old emotional attachment.
One useful habit is to treat every stream like raw footage, not a finished product. A live stream is spontaneous. That is part of its charm. But a public VOD library is more like a storefront. New viewers may click an old video before they ever see you live. If that replay has bad audio, long setup delays, confusing dead air, or outdated branding, it may not represent what your channel is today.
For example, a creator might stream for four hours and have only twenty minutes of truly strong content. Instead of keeping the entire VOD forever, the smarter move is to clip the best moments, create a highlight, export the useful section, and delete the rest. This keeps the channel focused while still preserving the value of the stream. It is not about hiding mistakes; it is about respecting the viewer’s time.
Another lesson is to avoid emotional deleting. Many streamers have a bad broadcast and immediately want to erase everything. Maybe chat was quiet. Maybe the game crashed. Maybe the energy felt off. But sometimes those streams still include useful moments. Wait a few minutes, review the video calmly, and decide based on content value rather than frustration. The delete button is powerful, but it is not a therapist.
Clip management is even more important than many beginners realize. Clips often travel farther than VODs because they are short and shareable. A great clip can bring in new followers. A bad clip can confuse people about your channel. Set a routine: once a week, open Clips Manager, sort through recent clips, keep the ones that show your best personality, and delete anything misleading, low-quality, or risky.
Creators should also build a simple archive system. Create folders by month, game, campaign, or content type. Save important VODs locally. Export strong clips to editing software. Keep sponsor-related streams in a separate folder. This sounds boring until the day you need one specific moment from three months ago and actually know where it is. Organization is not glamorous, but neither is losing your best content because you trusted a temporary VOD window.
The best approach is not to delete everything aggressively. It is to curate. Keep what supports your channel. Remove what distracts from it. Save what might matter later. Delete what creates risk or clutter. A Twitch channel grows like a garden, and sometimes you need to prune the weird branches so the good stuff gets sunlight.
Conclusion
Learning how to delete videos on Twitch is one of the simplest ways to keep your channel organized and professional. Use Video Producer to remove past broadcasts, highlights, and uploads. Use Clips Manager to delete clips from your channel or clips you created. Before deleting anything, download valuable content, check for highlight potential, review copyright or privacy concerns, and confirm that you selected the right video.
Twitch is built for live content, not permanent archiving, so smart creators manage their videos actively. Clean up weak replays, remove risky clips, preserve your best moments, and keep backups outside Twitch when the content matters. With a little routine maintenance, your channel can look polished without feeling over-managed. And yes, you can finally delete that test stream where the only audio was your keyboard and one deeply judgmental cough.