School mornings are already busy enough. Between finded, and wondering where your other shoe went, there is not much time left for a complicated makeup routine.
Fortunately, natural school makeup is not about applying more products. It is about using a few products strategically so your skin still looks like skin, your features appear softly defined, and you feel polished without looking ready for a red-carpet premiere at 8:05 a.m.
The best everyday makeup for teen girls should also be comfortable, affordable, easy to touch up, and friendly to young or acne-prone skin. Before buying anything, check your school’s rules and talk with a parent or guardian when appropriate. Makeup is a creative choice, not a requirement, and healthy skin matters more than chasing an impossible “flawless” finish.
What Makes Makeup Look Natural and School-Appropriate?
Natural makeup does not mean that every product must be invisible. It means that the colors, textures, and placement work with your real features instead of covering them. Think sheer layers, softly blended edges, natural-looking shades, and only as much coverage as you genuinely want.
A school-friendly routine should usually take about five to ten minutes. You should be able to smile, laugh, eat lunch, participate in gym class, and survive a surprise quiz without worrying that your face is melting into your notebook.
1. Begin With Gentle Skin Preparation
Makeup sits more smoothly when the skin underneath is clean and comfortably moisturized. Wash your face with a mild cleanser and lukewarm water. Avoid aggressive scrubbing, rough washcloths, or the mistaken belief that squeaky skin is automatically healthy skin.
After cleansing, apply a lightweight, fragrance-free moisturizer suited to your skin type. Even oily skin can need moisture. When skin becomes overly dry, foundation and concealer may cling to flaky spots while the T-zone continues producing oil, which is an impressively unfair combination.
Keep the morning routine simple
Teen skin usually does not need a twelve-step routine featuring every trending acid, serum, peel, and potion on social media. A gentle cleanser, moisturizer, sunscreen, and any dermatologist-recommended acne treatment are often enough. Give moisturizer a minute to settle before starting your makeup.
2. Make Sunscreen Your Real Makeup Primer
Apply a broad-spectrum sunscreen with SPF 30 or higher before makeup. Sunscreen helps protect the skin from UVA and UVB exposure, including the sunlight you encounter while walking to school, waiting for the bus, practicing outdoors, or sitting beside a bright classroom window.
Choose a facial sunscreen that feels comfortable and does not leave your skin excessively greasy. A lightweight lotion, gel, or tinted mineral formula may work well beneath makeup. Although some foundations and skin tints contain SPF, people rarely apply enough makeup to receive the full protection printed on the label. A separate sunscreen is the more dependable option.
Allow it to set for several minutes. If it pills when makeup is applied, try using thinner layers, waiting longer between products, or avoiding formulas that do not cooperate. Some skincare combinations simply behave like classmates assigned to a group project: technically compatible, practically chaotic.
3. Use a Sheer Base Instead of a Heavy Foundation
For an everyday school look, you probably do not need full-coverage foundation across your entire face. A tinted moisturizer, BB cream, lightweight skin tint, or small amount of sheer foundation can reduce unevenness while allowing freckles and natural skin texture to remain visible.
Place a small amount on the center of your face and blend outward with clean fingers, a damp makeup sponge, or a brush. Most people need less product around the hairline and jaw. Blending outward prevents the dreaded makeup maskthe one that ends at the chin as if your face and neck have stopped speaking to each other.
Choose the right formula and shade
If you are prone to breakouts, look for labels such as “noncomedogenic,” “oil-free,” or “won’t clog pores.” Test foundation along your jaw in natural daylight when possible. The correct shade should blend into both your face and neck rather than appearing noticeably orange, pink, gray, or too pale.
4. Spot-Conceal Only Where You Want Coverage
Concealer can handle small areas without requiring a thick layer of foundation everywhere. Dot it over a blemish, around the sides of the nose, or on any area of discoloration you prefer to soften. Wait several seconds, then tap the edges gently until the product becomes part of the skin.
For under-eye darkness, use a tiny amount near the inner corner, where shadows are often strongest. Covering the entire under-eye area with a heavy triangle can look obvious in daylight and may crease before second period.
Do not pick or squeeze a blemish before covering it. Makeup sits better over calm skin than over a freshly irritated spot. If acne is painful, persistent, scarring, or affecting your confidence, ask a parent, pediatrician, or dermatologist about appropriate treatment.
5. Set Only the Areas That Become Shiny
A natural face should not necessarily be completely matte. Healthy skin reflects some light. Instead of powdering everything, press a small amount of translucent powder onto the forehead, sides of the nose, chin, or other areas that become oily during the day.
Use a fluffy brush for a light veil or a small puff for precise application. Too much powder can make youthful skin appear dry and textured. It can also mix with sweat and create a finish best described as “cupcake frosting after gym class.”
Keep blotting papers or a clean tissue in your bag. Press rather than rub to absorb oil without removing the makeup underneath. Often, blotting is all you need; another layer of powder may not be necessary.
6. Groom Your Brows Without Redrawing Them
Brushed brows instantly make a simple makeup look appear more finished. Comb the hairs upward and slightly outward with a clean spoolie. For naturally full brows, clear or tinted brow gel may be the only product needed.
If you have sparse areas, use a fine pencil or brow pen to draw a few short, hairlike strokes. Concentrate on gaps rather than outlining a solid block around the entire brow. Choose a shade close to your natural brow color or slightly lighter.
The inner portion should usually remain softer than the arch and tail. Step back from the mirror after applying. Brows that look subtle from two inches away can occasionally become extremely ambitious from across the room.
7. Add Soft Definition Around the Eyes
Neutral eye makeup can make your eyes look brighter without producing a dramatic effect. Sweep a matte beige, light brown, soft taupe, peach, or muted rosy shade across the lids. Use a color only slightly deeper than your natural skin tone for easy definition.
You can also press a medium-brown shadow close to the upper lash line with a small angled brush. This creates a softer effect than a thick stripe of black liquid liner and is more forgiving when you are getting ready before your brain has fully loaded.
Avoid putting glitter or non-eye-safe pigments close to the eyes. Wash your hands before applying eye products, keep applicators clean, and never share mascara, eyeliner, or other eye cosmetics. Sharing lip balm may feel friendly; sharing eye bacteria is considerably less charming.
8. Curl Your Lashes and Apply One Light Coat of Mascara
An eyelash curler can make lashes appear lifted even without mascara. Use it gently on clean lashes before mascara, never after the product has dried, because hardened lashes are more likely to stick or break.
Apply one thin coat of lengthening mascara, focusing on the upper lashes. Wiggle the brush lightly at the roots, then sweep upward. Brown or brown-black mascara often creates a particularly soft daytime effect, while black mascara offers slightly stronger definition.
Comb through clumps while the formula is still wet. Waterproof mascara may help during sports, hot weather, or emotional math exams, but it can be harder to remove. Save it for days when you truly need the extra staying power.
9. Use Blush to Create a Natural, Awake-Looking Flush
Blush is one of the fastest ways to make a minimal makeup look feel lively. Cream and liquid formulas tend to blend easily into sheer base products, while powder blush can work well for oilier skin or over setting powder.
Choose a shade that resembles the color your cheeks naturally turn after a brisk walk. Soft peach, muted rose, warm pink, berry, and terracotta can all look natural depending on your skin tone and undertone.
Start with less than you think you need. Place a small amount on the apples of your cheeks and blend slightly upward toward the temples. Do not drag it too close to the nose unless you intentionally want a sun-kissed effect. Blend the edges until the color appears to come from your skin rather than sitting on top of it.
10. Add Optional Warmth or HighlightVery Lightly
Bronzer and highlighter are optional, not required chapters in the School Makeup Constitution. When used softly, bronzer can add warmth around the forehead, cheekbones, and jaw. Choose a shade that looks sun-warmed rather than dramatically darker than your skin.
Apply a small amount with a fluffy brush, tapping off excess first. Bronzer should not form two orange racing stripes beneath the cheekbones. For highlighter, use a subtle satin product on the tops of the cheekbones or inner corners of the eyes.
Avoid covering the entire face in intense metallic shimmer for a natural classroom look. Under fluorescent lights, a tiny amount of glow can appear bright enough to guide ships safely into harbor.
11. Finish With a Tinted Balm or Soft Lip Color
A tinted lip balm, sheer lipstick, lip oil, or lightweight stain provides color without demanding constant maintenance. Rosy nude, peach, berry, and soft brown shades often work well for school because they fade more naturally than opaque lipstick.
Begin with moisturized lips. Apply one layer, blot with a tissue, and add another layer only when you want more color. A clear balm can also make the lips look polished while keeping the routine nearly invisible.
Skip painfully strong plumping products and stop using anything that causes burning, swelling, peeling, or a rash. A tingling sensation is not always proof that a product is “working.” Sometimes your lips are simply filing a formal complaint.
How to Make Natural School Makeup Last Longer
Thin layers generally last better than one thick layer. Let skincare settle, apply complexion products sparingly, and set only areas that need it. Try not to touch your face throughout the day, especially with hands that have handled phones, desks, door handles, sports equipment, and everything else found in a school building.
For quick touch-ups, carry only a few basics: blotting papers, lip balm, a small mirror, and perhaps concealer or pressed powder. There is no need to transport your entire makeup collection unless your backpack has secretly become a beauty supply store.
Remove Everything at the End of the Day
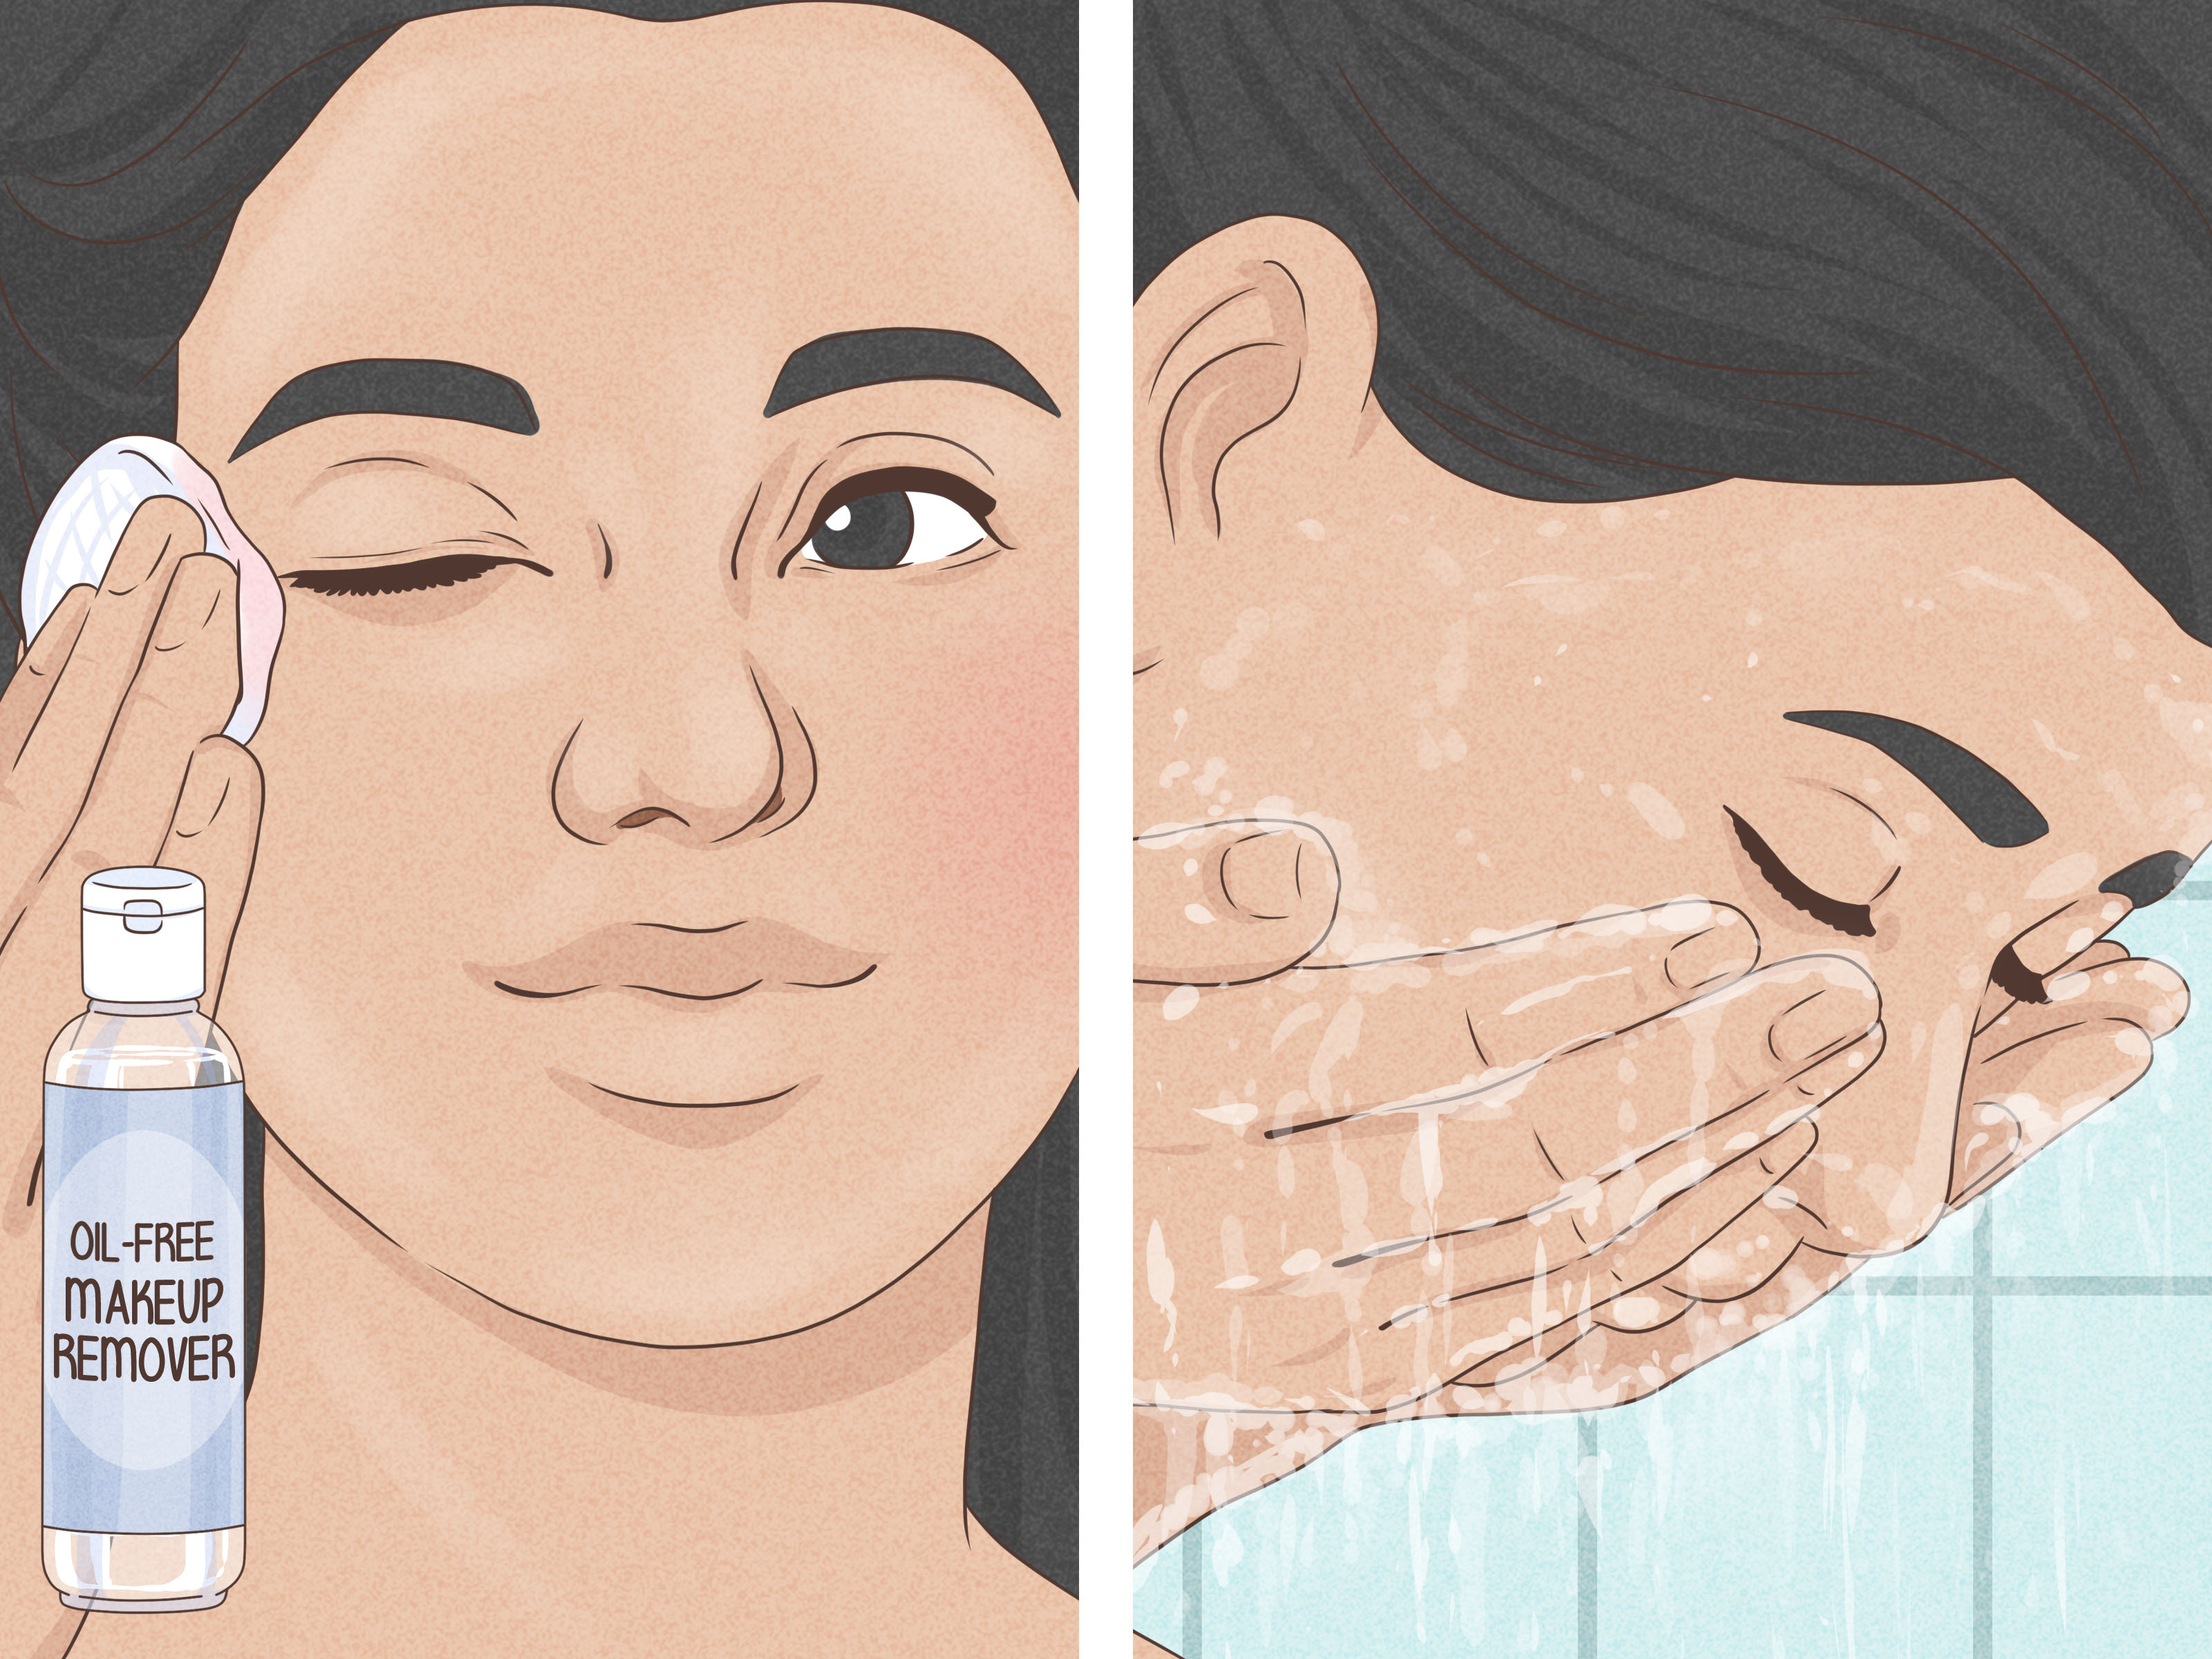
Never make sleeping in makeup part of your routine. Remove mascara, sunscreen, concealer, and other products with a gentle cleanser or makeup remover, then wash your face without scrubbing. Apply moisturizer afterward if your skin feels dry.
Wash reusable brushes and sponges regularly, and let them dry completely in a clean area. Close product containers tightly, replace cosmetics that change in color, smell, or texture, and follow package guidance regarding expiration. Eye products deserve particular care because contaminated products can cause irritation or infection.
Experience-Based Lessons From a Typical Week of School Makeup
The following examples combine common experiences reported by students and practical lessons from simple everyday routines. They are not a claim that every teen has the same skin, schedule, or makeup preferences.
Monday: The “More Coverage Will Fix Everything” Experiment
Imagine waking up with two noticeable blemishes before picture day. The first instinct may be to apply foundation heavily over the entire face. At home, the coverage looks impressive. In daylight, however, the heavy base emphasizes dry areas and creates an obvious difference between the face and neck.
The better approach is surprisingly smaller: moisturizer, sunscreen, a sheer skin tint, and concealer tapped directly onto the blemishes. The spots may not disappear completely, but the overall face looks fresher and more natural. The lesson is that people see your whole expression, not one magnified pore viewed from three inches away.
Tuesday: The Eyebrow Situation Escalates
A rushed brow pencil application begins with one innocent gap. Then one brow appears darker, so the other receives extra product. Five minutes later, both brows have developed strong personalities and may be applying to become school administrators.
Brushing through the color with a spoolie immediately softens the effect. The useful habit is to apply two or three strokes, blend, and step back before adding more. Natural makeup becomes easier when each product is treated as adjustable rather than permanent.
Wednesday: Gym Class Tests the Routine
A thick foundation, heavy powder, and several layers of mascara may look fine during first period but struggle after running laps. Sweat mixes with powder, mascara transfers beneath the eyes, and repeated wiping removes makeup unevenly.
A lighter routine performs better: sunscreen, spot concealer, brow gel, one coat of mascara, and tinted balm. After exercise, gently blot sweat with a clean towel instead of rubbing. The lesson is practical: school makeup should fit the day you are actually having, not the perfectly air-conditioned day imagined by a tutorial.
Thursday: A New Product Causes Irritation
A viral cheek tint promises a beautiful glow, but after application the skin begins itching and turns unusually red. Trying to cover the reaction with more makeup only makes the situation worse.
The safer response is to remove the product gently and stop using it. Testing a small amount of a new product before wearing it for an entire school day can help identify irritation. Students with eczema, allergies, or highly sensitive skin may need fragrance-free products and professional guidance. No trend is worth spending lunch period wondering why your face feels like a spicy tortilla chip.
Friday: The Five-Minute Routine Finally Works
By the end of the week, the most successful routine is often the simplest: gentle moisturizer, sunscreen, spot concealer, brushed brows, curled lashes, mascara, cream blush, and tinted balm. Each product has a specific purpose, application takes only a few minutes, and the result still looks recognizable in natural light.
The biggest experiential lesson is that natural makeup improves through observation. Notice where your skin becomes oily, which products cause irritation, what survives your schedule, and which steps genuinely make you feel good. You may discover that you love blush but dislike foundation, or that brow gel and lip balm are enough on most days.
Makeup should support confidence, not become a daily examination you believe you must pass. Some mornings you may wear eight products; other mornings you may wear sunscreen and nothing else. Both are completely valid.
Final Thoughts
The prettiest natural school makeup is not the routine with the most expensive products or the most complicated technique. It is the routine that feels comfortable, works with your skin, respects school rules, and lets your real features remain visible.
Start with healthy skin preparation, sun protection, sheer coverage, soft brows, lightly defined lashes, a natural flush, and comfortable lip color. Apply less than you think you need, blend carefully, and add more only when necessary. Most importantly, remember that makeup is decorationnot evidence that your bare face needed correcting.
Note: This article is based on current consumer-safety, pediatric skincare, dermatology, and professional beauty guidance from sources including the American Academy of Dermatology, U.S. Food and Drug Administration, American Academy of Pediatrics, Nemours KidsHealth, Mayo Clinic, Cleveland Clinic, Johns Hopkins Medicine, American Cancer Society, Teen Vogue, Allure, Seventeen, and Good Housekeeping. Dermatology guidance supports gentle routines, noncomedogenic cosmetics, daily SPF 30+ protection, makeup removal, and clean tools; FDA guidance warns against sharing cosmetics, especially products used around the eyes. =”seo-json”>