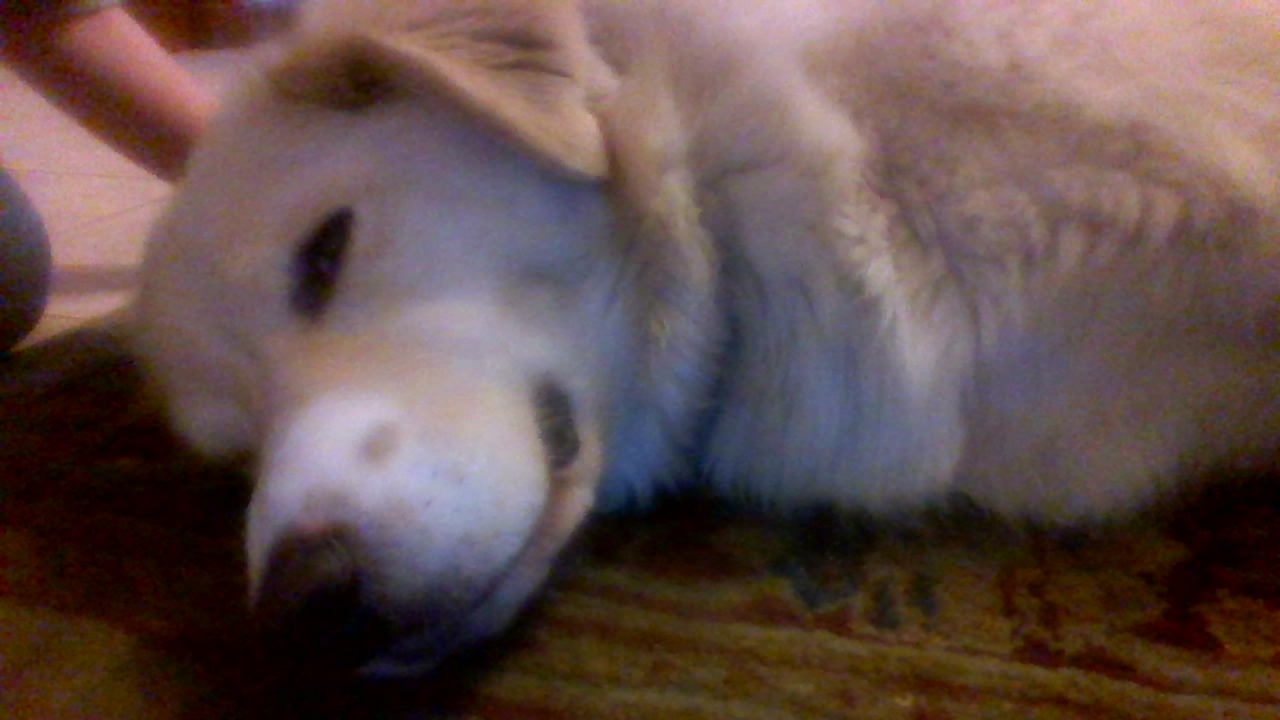
Taking a photo of your pet sounds like a five-second task. Open the camera, point it at the adorable creature, tap the button, and collect your masterpiece. Then reality arrives: the dog turns into a blur, the cat presents its rear end, the rabbit disappears behind a chair, and the bird begins dismantling the backdrop.
Fortunately, great pet photography does not require a professional studio, an expensive camera, or a suspiciously calm golden retriever named Buttercup. It requires patience, good light, careful observation, and a willingness to work with your pet instead of directing them like an unpaid movie extra.
This guide explains how to take a photo of your pet using a phone or camera while capturing the expressions, habits, and delightful weirdness that make your companion unique.
Why You Should Take More Photos of Your Pet
Pet photos are more than social-media decorations. They document changes that are easy to miss when you see an animal every day: a puppy growing into its ears, a kitten losing its baby fluff, a senior dog developing a distinguished gray muzzle, or a rescue pet gradually becoming more confident.
A clear, recent photograph can also be practically useful. Animal-welfare organizations recommend keeping a current picture available in case a pet becomes lost or escapes during travel or an emergency. A recognizable image showing the pet’s face, body shape, coat pattern, and unusual markings can help other people identify the animal.
Most importantly, photographs preserve personality. Years from now, the technically perfect portrait may be lovely, but the image you treasure most might be the one showing your cat asleep in a grocery bag or your dog proudly carrying a sock it absolutely did not steal.
Prepare Before You Pick Up the Camera
Choose the Right Time
Your pet’s mood matters more than your camera settings. Schedule the photo session when the animal is relaxed but alert. A high-energy dog may be easier to photograph after a short walk, while a cat may cooperate best after waking from a nap and discovering that snacks are involved.
Avoid interrupting meals, forcing a tired animal to perform, or beginning a session when the household is noisy. The American Kennel Club recommends using a familiar location, favorite activities, toys, and rewards so the animal feels safe and its real personality can emerge.
Clean the Camera Lens
Before blaming your phone, your pet, the weather, or Mercury retrograde for a cloudy photo, wipe the lens. Phone lenses collect fingerprints, pocket lint, and mysterious grease with extraordinary efficiency. A soft lens cloth can instantly improve sharpness and contrast. AKC photography guidance specifically identifies a clean phone lens as an easy but often overlooked step.
Prepare Treats and Toys
Keep several attention-getters nearby, but do not reveal your entire entertainment department at once. A squeaky toy, feather wand, favorite ball, or tiny treat can produce alert eyes and expressive ears. Use the object near the camera so the pet looks toward the lens rather than admiring your left elbow.
For animals uninterested in food, try a familiar sound, their name, or a gentle movement. Do not repeatedly whistle, clap, or squeak after the sound has stopped working. At that point, your pet has officially classified you as background noise.
Use Light That Flatters Fur, Feathers, and Scales
Start With Natural Window Light
Soft natural light is the easiest route to better pet portraits. Indoors, position your pet near a bright window without placing them in a harsh beam of direct midday sun. A sheer curtain can soften strong light and reduce severe shadows.
Outdoors, early morning and late afternoon usually provide gentler illumination than midday. Best Friends Animal Society recommends soft, even light and notes that indoor subjects can be placed near a window while outdoor sessions often work well near the beginning or end of the day.
Avoid Direct Flash When Possible
A sudden flash may startle an animal and can create harsh shadows, blown-out highlights, or brightly reflected eyes. Increase the available room light, move closer to a window, or photograph outdoors instead. Best Friends also advises avoiding direct flash for indoor pet portraits and using a well-lit location.
Handle Dark Fur Carefully
Black and dark-brown pets can become featureless silhouettes when the background is also dark or the light is too weak. Place the animal near soft directional light and choose a contrasting background. A medium-toned blanket, colorful pet bed, pale wall, or patch of green grass can separate the outline of the body from the scene.
Best Friends recommends colorful backgrounds and accessories when photographing dark-coated animals, especially indoors. The goal is not to decorate your pet like a parade float; one simple contrast element is usually enough.
Protect Detail in White Fur
Bright white fur can lose texture in strong sunlight. Move the animal into open shade or reduce the camera exposure slightly. On most phones, tap the pet’s face to focus, then drag the exposure control downward until individual strands of fur become visible.
Get Down to Your Pet’s Eye Level
Many ordinary pet pictures are taken from a standing human’s perspective. That angle is useful for documenting what your carpet looks like, but it often makes the animal appear small and distant.
Kneel, sit, or lie on the floor so the lens is level with your pet’s eyes. This perspective makes the photograph feel more personal and allows the viewer to enter the animal’s world. Nikon and Fear Free photography guidance both encourage experimenting with low angles and photographing pets at their natural level.
Eye-level photography is not mandatory for every image. A top-down shot can be charming when a dog looks up expectantly, and a low upward angle can make a tiny pet appear hilariously heroic. The important part is choosing the angle instead of accepting whatever view your height accidentally provides.
Focus on the Eyes
The eyes usually carry the emotional weight of a pet portrait. If the nose is slightly soft but the eyes are sharp, the image can still feel successful. If the wallpaper is razor-sharp while the eyes are blurry, congratulations: you have photographed excellent wallpaper.
On a smartphone, tap the nearest eye before taking the picture. With a mirrorless or DSLR camera, use animal eye-detection autofocus when available. Nikon explains that animal-detection autofocus and continuous focusing can help maintain sharp eyes when photographing energetic cats and dogs.
When your pet is facing sideways, prioritize the eye closest to the camera. For close portraits, take several frames because even a small head movement can shift focus from the eye to the nose.
Use Burst Mode for Action
Pets rarely repeat an action exactly. The perfect leap, head tilt, ear bounce, or tongue-out expression may last less than a second. Burst mode captures a rapid sequence of frames, increasing the chance that one image contains the ideal combination of focus, expression, and body position.
Apple recommends Burst mode for moving subjects because it creates multiple high-speed images from which the photographer can select a favorite. Many Android phones and dedicated cameras offer a similar continuous-shooting feature.
Begin shooting just before the expected action. For example, start the burst before throwing a ball rather than waiting until the dog is already airborne. Follow the movement smoothly and leave extra room in the frame so paws, tails, and ears do not escape the composition.
Suggested Camera Settings for Moving Pets
When using a camera with manual or shutter-priority controls, begin around 1/500 second for moderate movement and try 1/1000 second or faster for running, jumping, or vigorous play. Increase the ISO when necessary to maintain a fast shutter speed. Use continuous autofocus and a high-speed drive mode.
These are starting points rather than sacred commandments. A slower shutter can intentionally show motion, while a calmer pet may remain sharp at much lower speeds. Adobe photography guidance emphasizes preparedness and faster shutter speeds when attempting to freeze animals in motion.
Keep the Background Simple
Before taking the photo, inspect the entire frame. Remove laundry piles, tangled cords, overflowing trash cans, and objects that appear to grow from the pet’s head. A simple background keeps attention on the animal and reduces the amount of editing required later.
You do not need a professional backdrop. A plain wall, couch, blanket, wooden fence, shaded sidewalk, or patch of grass can work beautifully. Historic dog-photography advice highlighted by the AKC recommends getting close, minimizing distracting patterns, preparing in advance, and allowing plenty of time.
If the location cannot be cleaned, change your position. Moving a few feet left or right may replace a cluttered kitchen with a calm wall. A lower angle can hide the floor, while a tighter crop can eliminate everything except the pet’s face.
Capture Personality Instead of Demanding a Pose
The best pet photography ideas usually begin with the animal’s normal behavior. Photograph the dog waiting beside the treat cabinet, the cat supervising a cardboard box, the rabbit grooming its ears, or the parrot inspecting an object it has been politely asked not to destroy.
Prepare a small shot list based on your pet’s habits:
- A close-up portrait showing the eyes and facial markings
- A full-body photograph from the side
- An action shot during play
- A quiet image in the pet’s favorite sleeping location
- A picture with a beloved person, toy, or animal companion
- A detailed photograph of paws, whiskers, feathers, scales, or a distinctive marking
These images tell a fuller story than ten nearly identical pictures of an animal sitting in the same spot. They also create variety for albums, framed prints, adoption profiles, and social posts.
Respect Your Pet’s Body Language
No photograph is worth frightening or overwhelming an animal. Watch for signs that your pet wants space. In dogs, discomfort may appear as repeated yawning, excessive panting, turning away, showing the whites of the eyes, trembling, pacing, or a tense posture. Cats may hide, flatten their ears, hiss, growl, swish the tail sharply, or attempt to leave.
If your pet becomes uncomfortable, lower the camera, remove costumes or props, and provide a break. Fear Free photography guidance recommends proceeding at the animal’s pace, never forcing participation, and stopping for water, play, sniffing, or rest when needed.
Do not corner an animal for a photograph. Avoid placing pets on unstable furniture, near traffic, beside dangerous decorations, or in unfamiliar locations without secure handling. Keep leashes attached outdoors unless the area is safely enclosed. A leash can usually be positioned discreetly or removed later during editing; an escaped pet is considerably harder to edit.
Be Careful With Costumes and Props
A bow tie, bandana, birthday hat, or tiny pair of glasses may produce an amusing image, but only when the pet is comfortable. Introduce wearable items gradually, reward calm interaction, and remove the accessory immediately if the animal freezes, paws at it, attempts to flee, or shows stress.
Fear Free guidance notes that many animals are uncomfortable wearing holiday hats or antlers and recommends allowing the pet’s behavior to determine whether accessories should be used.
A natural portrait is always better than a costume photo featuring the unmistakable expression, “I will remember this.”
Take Better Pet Photos With a Smartphone
Modern phones are capable of excellent pet photography when used carefully. Apply these simple techniques:
- Clean the lens before every session.
- Use the rear camera for better image quality.
- Tap the nearest eye to set focus and exposure.
- Use Burst mode for running, jumping, or unpredictable expressions.
- Try Portrait mode for calm pets and uncluttered outlines.
- Avoid heavy digital zoom; move closer when it is safe.
- Hold the phone with both hands and tuck your elbows inward for stability.
- Take a few horizontal and vertical versions of each scene.
Portrait mode can soften the background and help the pet stand out, although wispy fur, whiskers, and moving tails sometimes confuse software-generated blur. Apple allows supported iPhones to adjust background blur and, on some models, change the portrait focus point after capture.
Edit Without Turning Your Pet Into a Cartoon
Thoughtful editing can improve a photo without changing the animal’s identity. Start by cropping distractions and straightening crooked horizons. Then make small adjustments to brightness, shadows, highlights, white balance, contrast, and sharpness.
Brighten shadow detail carefully when editing dark fur. Reduce highlights when white fur appears flat and overexposed. A small increase in texture or clarity may reveal detail, but excessive sharpening can make fur look like steel wool.
Avoid extreme filters that change coat color, remove natural markings, or make the eyes glow like emergency exit signs. Adobe’s pet-photography resources emphasize using editing to improve clarity, emotion, contrast, and subject separation rather than replacing the original character of the image.
Common Pet Photography Mistakes
Waiting for Perfect Cooperation
Your pet may never sit exactly where you imagined. Adapt the concept to the animal in front of you. Candid moments often look more genuine than rigid poses.
Shooting From Too Far Away
Fill more of the frame with the pet. Move closer, use optical zoom, or crop afterward while preserving enough resolution.
Ignoring the Ears and Tail
Check the edges of the frame before pressing the shutter. Accidentally cutting off ear tips, paws, or tails can make an otherwise strong photograph feel cramped.
Using Too Many Treats
Rewards help, but constant feeding can make the pet frantic, distracted, or full. Use tiny portions and include praise, toys, and breaks.
Continuing Too Long
A five-minute session with a relaxed animal can produce better photographs than a 30-minute campaign of negotiations. Stop while the experience is still enjoyable.
Creative Pet Photography Ideas to Try
- The favorite-place portrait: Photograph your pet in the chair, bed, windowsill, or sunbeam it has legally claimed.
- The action sequence: Capture the beginning, middle, and end of a jump, fetch, shake, or sprint.
- The detail study: Focus on paws, nose texture, whiskers, feathers, scales, or a patterned coat.
- The matching portrait: Include the pet beside an owner wearing a coordinated but not humiliating accessory.
- The silhouette: Position the animal against a bright sunset or window and expose for the background.
- The black-and-white edit: Remove distracting colors and emphasize expression, texture, and shape.
- The monthly portrait: Photograph the pet in the same location each month to document growth and aging.
- The daily-life story: Create a sequence showing breakfast, play, exploration, relaxation, and bedtime.
Experiences From Taking Photos of Pets
One of the first lessons pet photography teaches is that animals have no respect for your creative schedule. You may prepare a clean background, place a soft blanket near a window, test the light, and arrange a tasteful collection of props. The moment the pet arrives, it chooses the one corner containing a power cord, a crumpled receipt, and half of an unidentified cracker. Fighting this behavior rarely works. Changing your angle usually does.
Dogs often create the funniest learning experiences because they recognize that treats are involved but misunderstand the assignment. Ask for a sit, and the dog may cycle rapidly through every trick it knows: sit, down, spin, paw, dramatic collapse, and an experimental move invented moments earlier. The photographer learns to reward pauses rather than perfection. Sometimes the best frame appears between commands, when the dog stops performing and looks naturally curious.
Cats offer a different education. Trying to position a cat generally creates two results: the cat leaves, or the cat remains while making it emotionally clear that the partnership has ended. Better cat photographs often come from observing rather than arranging. Place yourself near the cat’s favorite window, prepare the camera, and wait. Eventually, the ears turn toward a sound, the eyes catch the light, or the paws stretch forward. The scene lasts seconds, but it feels authentic because it belongs to the cat.
Small pets require even more preparation. Rabbits, guinea pigs, hamsters, reptiles, and birds can move quickly, hide easily, or become stressed by unfamiliar surfaces. A secure, familiar environment is essential. Photographing through the open door of an enclosure may be safer and more natural than relocating the animal to a decorative setup. The glamorous background is not worth chasing a hamster under the refrigerator while reconsidering every decision that led to this moment.
Another useful experience is learning that the “failed” photographs are often the most memorable. A perfect portrait may earn compliments, but the blurred image of a dog charging toward the camera can communicate pure joy. A cat yawning may look like a tiny opera singer. A bird turning away at the exact second of capture may create a portrait dominated by tail feathers and attitude. These pictures may not belong in a photography competition, yet they preserve the real comedy of living with an animal.
Pet photography also changes how you observe your companion. You begin noticing which direction the ears move when the refrigerator opens, how window light outlines whiskers, when the dog becomes most playful, and where the cat sits during different seasons. Instead of seeing only “a pet on the couch,” you see gestures, habits, expressions, and routines. The camera becomes less of a recording device and more of an excuse to pay closer attention.
The final lesson is simple: patience produces better photographs than expensive equipment. A phone in good light, held at eye level during a genuine moment, can create a more meaningful picture than a complicated camera used while the animal is uncomfortable. The objective is not to prove that your pet can pose. It is to preserve what makes your pet recognizablethe suspicious glance, crooked ear, ridiculous sleeping position, joyful sprint, or quiet companionship that turns an ordinary photograph into part of your family history.
Conclusion
To take a photo of your pet successfully, begin with comfort rather than camera settings. Choose familiar surroundings, use soft light, focus on the eyes, simplify the background, and photograph from the animal’s level. Use Burst mode for action, small rewards for cooperation, and frequent breaks whenever enthusiasm begins to fade.
Do not worry about producing a flawless portrait every time. Pets are unpredictable, which is precisely why photographing them is so rewarding. The tilted heads, accidental blurs, surprise zoomies, and complete refusal to acknowledge the camera are not obstacles to the story. They are the story.
Note: Always prioritize your pet’s safety and comfort. Stop the session when the animal shows stress, avoids interaction, or tries to leave.
This article synthesizes photography and animal-welfare guidance from the American Kennel Club, ASPCA, Humane Society resources, PetMD, Nikon USA, Canon USA, Apple Support, Adobe, Best Friends Animal Society, Fear Free Happy Homes, Cornell University College of Veterinary Medicine, and National Geographic.