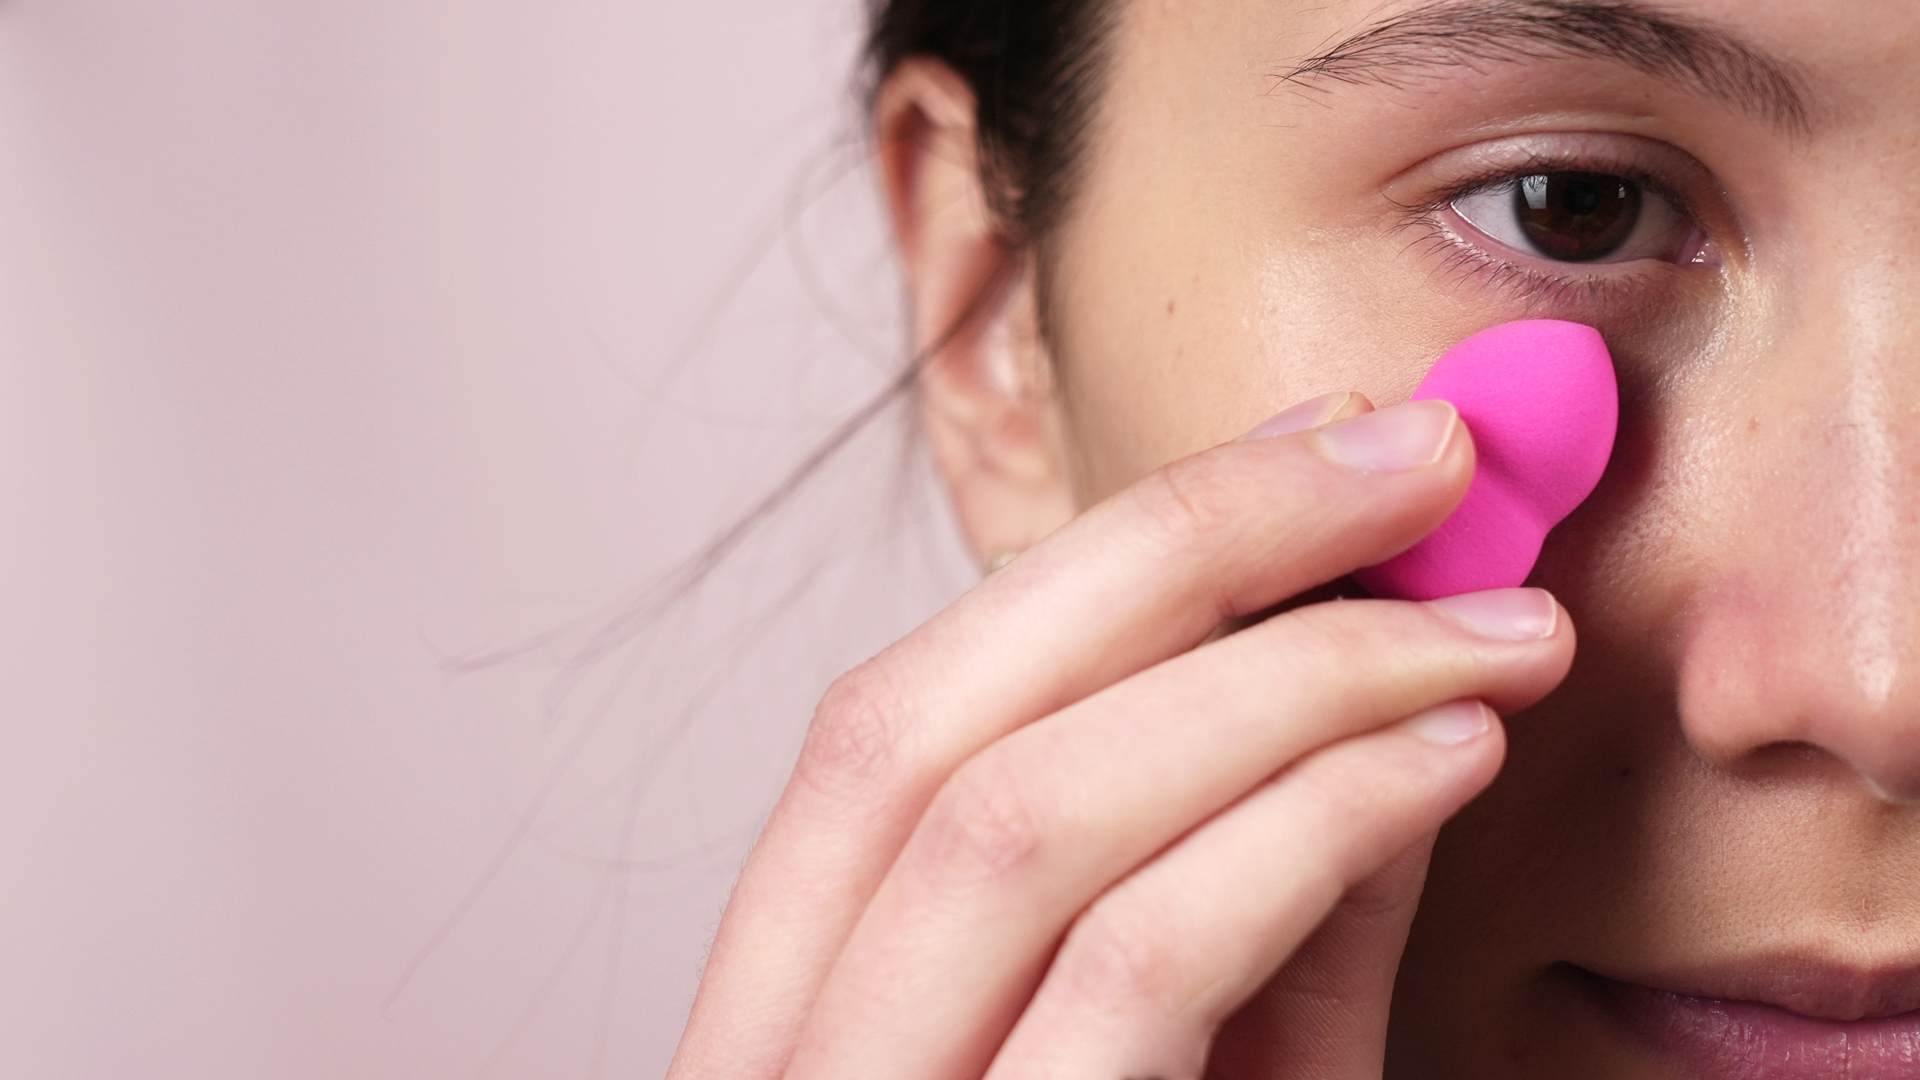
A Beauty Blender may look like a tiny, colorful egg with no obvious career plan, but in capable hands, it can transform streaky foundation into a smootectly, choose the right side, use the proper motion, and resist the urge to scrub your face as though you are cleaning a countertop.
This complete guide explains how to use a Beauty Blender for foundation, concealer, cream blush, contour, highlighter, and setting powder. You will also learn how to control coverage, avoid common application mistakes, clean your makeup sponge safely, and decide when it is time to replace the little teardrop that has been working overtime in your makeup bag.
What Is a Beauty Blender?
A Beauty Blender is an egg-shaped, reusable makeup sponge designed to apply and blend liquid, cream, and powder cosmetics. Although Beautyblender is a specific brand, people often use the name as a general term for similar teardrop-shaped makeup sponges.
The classic design normally includes a broad rounded base and a narrow pointed tip. The rounded section covers larger areas such as the cheeks, forehead, and jaw. The tip reaches smaller spaces around the eyes, nostrils, lips, and individual blemishes.
Unlike a traditional flat cosmetic wedge, a soft blending sponge has no hard corners that automatically leave visible lines. When used with a gentle bouncing motion, it presses makeup into the skin and diffuses the edges at the same time. The result can look smoother and more natural than makeup that has been painted on with long strokes.
Why Should You Wet a Beauty Blender?
Most water-activated makeup sponges are intended to be used damp. When saturated with water, the sponge expands and becomes softer. Its internal pores are already holding moisture, so they have less room to swallow your expensive foundation like a very small but financially irresponsible monster.
A properly damp sponge can also spread liquid and cream formulas in thinner, more even layers. This is especially useful when you want light or medium coverage, a fresh finish, or makeup that resembles actual skin rather than decorative plaster.
Damp does not mean dripping. If water runs down your wrist when you squeeze the sponge, it is too wet. Excess moisture can dilute foundation, create patchiness, and interfere with the way some formulas set.
How to Use a Beauty Blender Step by Step
Step 1: Begin With Clean, Prepared Skin
Foundation blends best on a smooth, hydrated surface. Cleanse your face, apply your usual skin-care products, and finish with moisturizer and sunscreen during the day. Give each layer time to settle before applying makeup. If your skin still feels slippery, foundation may slide instead of blending.
Primer is optional, not a mandatory entrance fee. Use a hydrating primer when dry patches tend to grab makeup, a smoothing formula when texture is your main concern, or a mattifying primer in areas that become oily. Apply only as much as you need.
Step 2: Saturate the Sponge
Hold the Beauty Blender under clean running water and repeatedly squeeze it until it expands. Make sure water reaches the center instead of merely wetting the surface. A fully saturated sponge should feel noticeably larger, softer, and springier than it did when dry.
You can use cool or lukewarm water. Very hot water is unnecessary and may shorten the life of the foam over time.
Step 3: Remove the Excess Water
Turn off the faucet and squeeze the sponge firmly. Avoid twisting or stretching it aggressively because rough handling can produce tears. Wrap it in a clean towel and squeeze once more. It should feel evenly damp but should not release visible drops.
This towel step is worth the extra five seconds. It prevents the common beginner problem of wondering why foundation is mysteriously disappearing from the face while a small river develops on the bathroom counter.
Step 4: Dispense a Small Amount of Foundation
Place a small amount of liquid foundation on the back of a clean hand, a sanitized palette, or another clean surface. Picking up product from a separate surface gives you more control than pumping a large amount directly onto the sponge.
Begin with less foundation than you think you need. You can add another thin layer, but removing a thick layer usually involves tissues, frustration, and renegotiating your morning schedule.
Step 5: Apply Foundation From the Center Outward
Dip the rounded side of the damp sponge lightly into the foundation. Start around the center of the face, where redness and uneven tone are often more noticeable. Bounce the sponge over the nose, inner cheeks, chin, and forehead, then work outward toward the hairline and jaw.
Use quick, gentle tapping motions. Do not wipe, sweep, or drag the sponge across the skin. Dragging can move foundation away from areas that need coverage, emphasize dry texture, and leave uneven streaks.
Continue bouncing until the edges disappear. Blend carefully around the hairline, ears, and jaw so the foundation does not end in an obvious border. A few light taps down the upper neck can soften any remaining transition without covering the entire neck in makeup.
Step 6: Build Coverage Only Where Necessary
For additional coverage, apply another small amount of foundation to specific areas instead of repeating a heavy layer across the whole face. Use the flat side or rounded base to press product onto redness, discoloration, or blemishes.
Let the first layer settle briefly before adding the second. Keep tapping directly over the area rather than blending too far outward. This preserves coverage where you need it while keeping the surrounding complexion light and natural.
Step 7: Blend Concealer With the Pointed Tip
After foundation, apply a small amount of concealer beneath the eyes, around the nose, or over remaining spots. Use the pointed end of the sponge to tap the product into narrow areas.
Under the eyes, begin where darkness is strongest rather than covering the entire area with a thick triangle. Use very light pressure and blend the edges toward the cheeks. Too much concealer can gather in fine lines, while a thin, carefully blended layer usually looks brighter and smoother.
For blemishes, tap concealer directly onto the spot with the tip. Blend only the outer edge so the coverage remains concentrated in the center.
How to Use a Beauty Blender With Different Makeup Products
Liquid and Cream Foundation
A damp sponge is particularly effective with liquid foundation, tinted moisturizer, BB cream, CC cream, and creamy complexion products. It diffuses pigment and helps produce a flexible, skin-like layer.
Lightly bounce the rounded side across larger areas. For fuller coverage, use less water in the sponge, pick up slightly more product, and press it into the skin with smaller, more deliberate taps. Do not apply one enormous layer. Thin layers are easier to blend and less likely to crack or become cakey.
Cream Blush
Place a tiny amount of cream or liquid blush on the back of your hand. Pick it up with a clean side of the sponge, tap off the excess, and bounce it onto the upper portion of the cheeks.
Begin with the sponge where you want the strongest color, then blend outward. This method prevents the accidental clown-cheek situation in which one enthusiastic dot becomes the central theme of your entire face.
Cream Bronzer and Contour
Apply cream bronzer or contour sparingly beneath the cheekbones, around the temples, or along the jaw. Use a flat edge, if your sponge has one, to place the product and the rounded side to soften it.
Blend upward on the cheeks instead of dragging the color toward the jaw. Upward blending usually creates a lifted appearance, while downward blending can make the face look heavier. Keep contour subtle around the nose and blend every edge from multiple angles.
Liquid or Cream Highlighter
Use the pointed tip or a clean section of the sponge to apply a small amount of highlighter to the tops of the cheekbones, brow bones, and cupid’s bow. Press rather than rub so you do not disturb the foundation underneath.
For a natural glow, mix a tiny drop of liquid highlighter with foundation on the back of your hand before applying it. The result is more “healthy morning light” and less “I have recently been laminated.”
Setting Powder
A sponge can apply loose or pressed setting powder, particularly beneath the eyes and through the T-zone. For light setting, use a slightly damp sponge and pick up a small amount of finely milled powder. Press it gently onto areas where makeup tends to crease or become shiny.
For baking, use a drier section of the sponge to press on a thicker layer of loose powder. Leave it briefly, then remove the excess with a soft brush. Baking can be useful for long-wear or stage makeup, but it may look heavy on dry or textured skin. It is a technique, not a legal requirement.
Correcting Cakey Makeup
A clean, damp Beauty Blender can rescue makeup that looks powdery or overapplied. Mist the face lightly with setting spray, wait a moment, and bounce the sponge over the problem areas. The combination of moisture and gentle pressure can soften visible powder and press the layers together.
Use a clean section of the sponge so you do not deposit additional foundation. The goal is to smooth what is already present, not introduce another committee of cosmetic products.
Damp vs. Dry Beauty Blender: Which Is Better?
For most liquid and cream products, a damp Beauty Blender is the safest starting point. It provides a sheer-to-buildable finish and generally absorbs less product than a completely dry sponge.
A dry sponge can be useful when you want denser coverage, need to apply powder, or are working with a sponge specifically designed for wet or dry use. Because a dry sponge may absorb more liquid foundation, start with a small amount and check the manufacturer’s instructions.
Use a Damp Sponge When You Want:
- A fresh, natural, or dewy finish
- Sheer or buildable foundation coverage
- Softer cream blush and bronzer
- Smoother blending around fine lines
- Help correcting powdery or cakey makeup
Use a Dry Sponge When You Want:
- More concentrated coverage
- Precise powder application
- Oil blotting with a sponge designed for that purpose
- A more matte finish from compatible products
Common Beauty Blender Mistakes to Avoid
Using the Sponge Completely Dry by Accident
A dry water-activated sponge is firmer and more absorbent. It may soak up liquid foundation, produce heavier coverage, and make blending more difficult. Saturate it first unless the product instructions specifically recommend dry use.
Leaving the Sponge Too Wet
A dripping sponge can dilute makeup and create patchy coverage. After soaking it, squeeze thoroughly and use a towel to remove the final excess moisture.
Dragging Instead of Bouncing
Long wiping motions move makeup around rather than pressing it evenly into the skin. Use short taps or stippling motions. The sponge is a trampoline, not a windshield wiper.
Applying Too Much Product
A sponge makes layering easy, which can tempt you to keep adding foundation. Begin with a small amount and inspect the result in natural light before building more coverage.
Using One Dirty Surface for Every Product
If the same stained section touches foundation, blush, contour, and concealer, the colors can become muddy. Rotate the sponge as you work, use separate sections, or keep a second clean sponge available for lighter products and corrections.
Ignoring the Hairline and Jaw
Perfectly blended cheeks cannot distract from a visible foundation border. Use the remaining product on the sponge to soften the hairline, jaw, and areas around the ears.
Storing It in a Sealed Makeup Bag While Damp
A wet sponge needs ventilation. Sealing it inside a dark container can slow drying and encourage unpleasant odors or microbial growth. Let it air-dry completely in a clean, ventilated holder before packing it away.
How to Clean a Beauty Blender
Because a makeup sponge comes into repeated contact with moisture, skin oils, and cosmetic residue, cleaning it after each use is the most hygienic routine. Frequent washing also prevents old foundation from hardening inside the foam and affecting future applications.
Basic Cleaning Method
- Rinse the sponge under lukewarm water until it is fully saturated.
- Apply a small amount of gentle liquid cleanser or rub the sponge over a suitable solid cleansing bar.
- Massage and squeeze the sponge carefully to loosen makeup from the interior.
- Rinse it under running water while repeatedly squeezing.
- Repeat the cleansing process if the water is still heavily colored.
- Continue rinsing until the water runs clear and no suds remain.
- Press the sponge in a clean towel and allow it to air-dry in a ventilated location.
Do not dig your fingernails into the foam or twist the sponge aggressively. These shortcuts may remove a stain, but they can also remove a chunk of the sponge, which is not quite the beauty breakthrough anyone requested.
How to Handle Stubborn Foundation Stains
Soak the sponge briefly in warm water with a small amount of gentle cleanser, then massage it again. Oil-based foundation may require more than one cleaning cycle. A permanent tint does not necessarily mean the sponge is still dirty, provided it has been thoroughly washed, rinsed, and no longer releases makeup.
Avoid experimenting with harsh bleach or household disinfectants. Products not designed for cosmetic tools may damage the foam or leave irritating residue.
How to Dry and Store It
Place the clean sponge on an open stand or another clean surface with good airflow. Do not leave it soaking wet in a drawer, plastic bag, or closed travel case. If you need to travel before it is fully dry, use a ventilated container and unpack it as soon as possible.
When Should You Replace a Beauty Blender?
A commonly recommended replacement interval is approximately every three months with regular use, although the exact timing depends on the sponge, cleaning habits, and frequency of application. Replace it sooner if it develops tears, loses its bounce, remains misshapen, smells unpleasant after cleaning, or shows suspicious dark spots.
Beauty Blender Tips for Different Skin Types
Dry Skin
Prepare the skin with moisturizer and allow it to absorb. Use a properly damp sponge and apply thin layers of a hydrating or natural-finish foundation. Avoid repeatedly tapping over flaky areas after the product begins to set, because excessive manipulation can make texture more visible.
Oily Skin
Use a lightweight moisturizer and mattifying primer only where needed. Apply foundation in thin layers, then press a modest amount of powder onto the T-zone with a clean sponge. Too much powder can mix with oil later and create a heavier, textured finish.
Combination Skin
Treat each area according to its needs. Use less foundation on dry sections and add powder only to oil-prone areas. A Beauty Blender is helpful here because you can control pressure, product quantity, and placement with considerable precision.
Mature or Textured Skin
Use hydrating preparation and light layers. A soft, damp sponge can press foundation over the skin without creating brush streaks. Avoid piling powder beneath the eyes or over pronounced texture. Strategic coverage generally looks smoother than attempting to conceal every visible line.
Acne-Prone or Sensitive Skin
Use a clean sponge, clean hands, and cosmetics that suit your skin. Do not share makeup sponges with other people. If applying makeup over irritated, broken, or recently treated skin, follow guidance from a qualified medical professional.
Frequently Asked Questions
Should Foundation Go on the Sponge or the Face?
Either method can work, but placing a small amount on the back of your hand first provides better control. You can pick up a thin layer with the sponge and add more only when necessary. Dotting foundation directly on the face is faster, but large dots may begin setting before you blend them.
Can You Use a Beauty Blender for Skin Tint?
Yes. A damp sponge can create an even, lightweight skin-tint finish. Because the sponge may sheer out the formula, use fingers when you want the lightest possible application and a sponge when you want a more polished, softly blurred result.
Can You Use Setting Spray on the Sponge?
You can lightly mist a clean sponge with setting spray after dampening and squeezing it. This technique may help press makeup together or refresh a powdery finish. Do not soak the sponge with setting spray, particularly if the formula contains ingredients that irritate your skin.
Why Does My Foundation Look Patchy With a Beauty Blender?
Common causes include an overly wet sponge, insufficient skin preparation, incompatible skin-care and makeup formulas, too much foundation, or dragging the sponge. Let skin care settle, remove excess water from the sponge, use thin layers, and blend with tapping motions.
Does a Beauty Blender Waste Foundation?
Any porous sponge can absorb some makeup. Saturating a water-activated sponge before use and applying foundation from a palette or the back of your hand can reduce unnecessary absorption. A dry sponge usually absorbs more liquid than a properly damp one.
Can You Share a Makeup Sponge?
Sharing is not recommended. A sponge touches skin, moisture, oils, and cosmetics, making personal use the cleaner choice. Professional makeup artists should follow appropriate sanitation practices and use clean or disposable applicators for each client.
A Practical Beauty Blender Experience: What You Learn After Repeated Use
The first time someone uses a Beauty Blender, the experience can be slightly underwhelming. You wet the sponge, apply foundation, and expect your face to receive an instant red-carpet lighting package. Instead, the sponge absorbs a suspicious amount of product, the coverage looks thinner than expected, and one side of the face somehow seems more blended than the other.
That awkward first attempt usually comes down to moisture and pressure. A sponge that has only been splashed on the outside remains relatively firm and thirsty in the center. Fully saturating it, then removing the excess water with a towel, produces a much softer tool. Once that change is made, foundation begins spreading more easily and less product disappears into the foam.
The next useful lesson is that gentle tapping works better than force. Beginners often press hard because they assume more pressure creates more coverage. In practice, aggressive bouncing can lift foundation from the skin, especially after the formula starts setting. Light, rapid taps distribute the makeup, while slower, controlled presses build coverage over redness or blemishes.
Product placement also improves with experience. Applying five large pumps of foundation directly to the sponge may feel efficient, but it creates unnecessary cleanup and makes coverage difficult to control. Dispensing one small pump onto the back of the hand works better. The sponge can pick up a little at a time, leaving the center of the face polished while the outer areas remain light.
Using different parts of the sponge becomes surprisingly intuitive. The rounded base handles the cheeks and forehead quickly. The pointed tip fits beside the nose and beneath the eyes without smearing concealer halfway toward the ear. A flat edge, when available, can press cream bronzer beneath the cheekbone before the rounded side softens it.
Another practical discovery is that the sponge is often most valuable at the end of the routine. After foundation, concealer, blush, bronzer, and powder have been applied, a clean damp sponge can be bounced lightly across the face. This final pass softens visible boundaries and makes separate layers look more unified. It is the makeup equivalent of introducing everyone at a party so they stop standing in unrelated corners.
Cleaning habits tend to separate successful long-term users from people who abandon their sponge after two weeks. Washing it immediately after makeup application is easier than trying to remove dried foundation several days later. Fresh residue releases quickly with mild cleanser and water, while old residue settles deeper into the foam and requires repeated washing.
Storage matters just as much. A freshly washed sponge placed directly into a sealed makeup bag may develop an unpleasant odor even when it looked clean. Allowing it to dry in an open holder keeps it fresher and helps the foam maintain its shape.
After several applications, the biggest improvement is not dramatic technique but restraint. Less foundation, less pressure, less powder, and more patient blending generally create the best finish. The Beauty Blender does not erase pores, fine lines, or natural texture. What it does exceptionally well is distribute makeup in thin, seamless layers so the complexion looks polished without appearing heavily coated.
Conclusion
Learning how to use a Beauty Blender is mostly a matter of mastering four habits: soak it completely, squeeze out the excess water, bounce instead of drag, and build makeup in thin layers. Use the rounded base for broad areas, the pointed end for precision, and a clean section whenever you need to soften an edge or correct excess product.
The tool can handle far more than foundation. It can blend concealer, soften cream blush, diffuse contour, apply highlighter, press on powder, and rescue a cakey finish. Keep it clean, let it dry in open air, and replace it when the foam begins to deteriorate. With a little practice, that strange cosmetic egg becomes one of the simplest ways to create smooth, natural-looking makeup.
Note: Makeup sponges and formulas vary. Follow the instructions supplied with your specific sponge, stop using damaged or moldy tools, and seek professional medical advice for persistent irritation or skin concerns.