A freshly sharpened eyeliner pencil can turnr to the lashes, creates cleaner wings, and gives you more control over thin lines, thick lines, and intentionally smoky lines. A dull pencil, meanwhile, behaves like a crayon that has given up on its dreams.
Sharpening eyeliner is simple, but doing it carelessly can waste product, snap the creamy core, leave rough edges, or introduce unwanted residue near your eyes. The right technique depends on the pencil’s construction, the softness of its formula, and the condition of your sharpener.
This guide explains how to sharpen an eyeliner pencil in 11 practical steps, including what to do with plastic barrels, gel formulas, jumbo pencils, retractable liners, and stubborn tips that keep breaking.
What You Need Before Sharpening Eyeliner
Gathering the right tools takes less than a minute and can save you from sacrificing half a pencil to the makeup gods.
- A clean cosmetic pencil sharpener
- A tissue or clean paper towel
- A cotton swab
- Rubbing alcohol for cleaning the sharpener
- Your eyeliner pencil
- A small wastebasket or container for shavings
A dual-hole makeup sharpener is especially useful if you own both standard eyeliner pencils and oversized shadow sticks. Look for a sharp blade, a secure cover, and openings that fit your products without forcing them.
How to Sharpen an Eyeliner Pencil in 11 Steps
Step 1: Confirm That the Eyeliner Is Sharpenable
Before inserting anything into a sharpener, check the packaging, product page, or instructions printed on the pencil. Traditional wooden eyeliner pencils are usually designed for sharpening, but many modern formulas come in plastic-coated barrels that can also be sharpened.
Do not assume a plastic exterior means the pencil is retractable. Some waterproof gel eyeliners deliberately use sharpenable plastic casings to protect their soft formulas. Conversely, twisting a mechanical pencil through a sharpener may damage the component and create an impressive but unnecessary mess.
Look for terms such as “sharpenable,” “wood pencil,” or “use with a cosmetic sharpener.” If the product says “retractable,” “automatic,” “self-sharpening,” or “twist-up,” follow its built-in mechanism instead.
Step 2: Select the Correct Cosmetic Sharpener
Use a sharpener specifically designed for makeup pencils. A school-supply sharpener may look similar, but its blade angle and opening are intended for graphite or colored pencils rather than soft cosmetic cores.
A makeup sharpener supports the barrel more evenly and is less likely to chew through a creamy eyeliner. It can also produce a rounded cosmetic point instead of a needle-like tip that feels uncomfortable near delicate eyelid skin.
Choose an opening that fits the pencil naturally. The barrel should slide in without wobbling excessively, but you should not have to force it. Forcing a jumbo eyeliner into a standard opening can crack the casing or damage the sharpener.
Step 3: Wash and Dry Your Hands
Your fingers will touch the pencil, the sharpener, and possibly the newly exposed eyeliner core. Washing your hands first reduces the transfer of oils, dirt, and cosmetic residue.
Dry them thoroughly. Wet hands can make the barrel slippery, and water trapped inside a sharpener may affect certain formulas or contribute to residue buildup. Clean hands also help you grip the pencil gently instead of squeezing it like the final tube of toothpaste in the house.
Step 4: Clean the Sharpener
Inspect the sharpener before each use. Remove old shavings, glitter, lip color, eyeliner fragments, and any mysterious cosmetic archaeology hiding beneath the blade.
Use a cotton swab or folded tissue to clear visible debris. For a more thorough cleaning, lightly dampen a cotton swab with rubbing alcohol and wipe the blade, interior, and surrounding surfaces. Avoid touching the sharp edge with your fingers.
Allow the sharpener to dry completely before inserting the eyeliner. Never sharpen an eye product in a tool that is visibly dirty, rusty, wet, or shared by half the household.
Step 5: Check the Eyeliner’s Temperature
Soft kohl, kajal, waterproof, and gel pencils are more likely to break when they are unusually warm. If the pencil has been sitting beside a sunny window, in a hot car, or near a styling tool, let it return to a comfortable room temperature.
Some people briefly cool a very soft pencil before sharpening it. This can make the core firmer, but avoid freezing it for long periods unless the manufacturer specifically recommends cooling. Extreme temperatures may change the texture, weaken the core, or affect how smoothly the formula applies.
In most cases, proper room-temperature storage and a sharp blade are enough. Cooling should be an occasional troubleshooting method, not the pencil’s permanent living arrangement.
Step 6: Insert the Pencil Straight
Place the eyeliner into the correct opening and keep the barrel aligned with the sharpener. Tilting it to one side causes uneven pressure, which may produce a lopsided point or expose too much of the soft core.
Insert only enough of the pencil to engage the blade. There is no prize for pushing it all the way into the sharpener. A light, centered position gives you better control and reduces unnecessary product loss.
Step 7: Turn Gently Three or Four Times
Rotate the pencil slowly using light pressure. For many sharpenable gel and wooden eyeliners, three or four gentle turns are enough to refresh the point.
Do not grind the pencil rapidly. Aggressive twisting can generate heat, stress the core, and remove more product than necessary. Pause after a few turns and inspect the shape.
Another useful technique is to hold the eyeliner relatively still while rotating the sharpener around it. This reduces twisting pressure on a fragile core and can help prevent the newly formed tip from snapping.
Step 8: Stop at the Right Point
The ideal sharpness depends on the makeup look you plan to create. You do not always need a dramatic spear tip.
- For thin lash-line definition: Sharpen the pencil to a clean, moderately fine point.
- For a wing: Use a more precise point, but avoid making it painfully sharp.
- For smoky eyeliner: Stop sooner and keep the tip slightly rounded.
- For filling larger areas: A soft, blunt point offers faster coverage.
Over-sharpening wastes eyeliner and exposes a long section of core that may break during application. A short, stable point is usually more useful than an extremely long one.
Step 9: Remove Shavings and Inspect the Barrel
Pull the pencil straight out and examine it under good lighting. Remove loose shavings with a clean tissue. Check for jagged wood, rough plastic, cracks, or sharp casing edges around the cosmetic core.
If the barrel feels rough, give it one additional slow turn in a sharp, properly fitted cosmetic sharpener. Do not scrape rough edges away with scissors, knives, nail files, or your teeth. Your eyeliner routine should not resemble wilderness survival training.
If the casing is badly split, discontinue use. A cracked barrel can continue breaking and may leave fragments near the eye.
Step 10: Test the Point on Your Hand
Draw a small line on the back of your clean hand before using the pencil near your eyelid. This quick test confirms that the point is smooth, the formula is flowing, and no loose shaving is attached.
The line should appear without excessive dragging. If the pencil scratches, looks dry, or leaves hard fragments, wipe the tip and inspect it again. A consistently dry, gritty, unusually hard, or foul-smelling pencil may be past its useful life.
Testing on your hand also slightly softens an overly sharp point, making it more comfortable for application.
Step 11: Clean the Sharpener and Recap the Pencil
Empty the shavings after use instead of allowing them to accumulate. Wipe residue away from the blade and close the sharpener’s cover if it has one.
Replace the eyeliner cap securely. A proper cap protects the point from dust, reduces accidental breakage, and helps prevent the exposed formula from drying out.
Store both items in a clean, dry place away from direct sunlight and major temperature changes. Do not leave an uncapped eyeliner loose in a makeup bag, where it can collect powder, fibers, and enough lint to knit a tiny sweater.
How to Sharpen a Plastic Eyeliner Pencil
Plastic-coated eyeliner pencils cause considerable confusion because they resemble retractable products. However, many plastic barrels are intentionally made from a soft material that a cosmetic sharpener can cut.
Check the label first. If the pencil is described as sharpenable, insert it into a high-quality cosmetic sharpener and rotate it gently. The blade should shave the plastic cleanly along with the core.
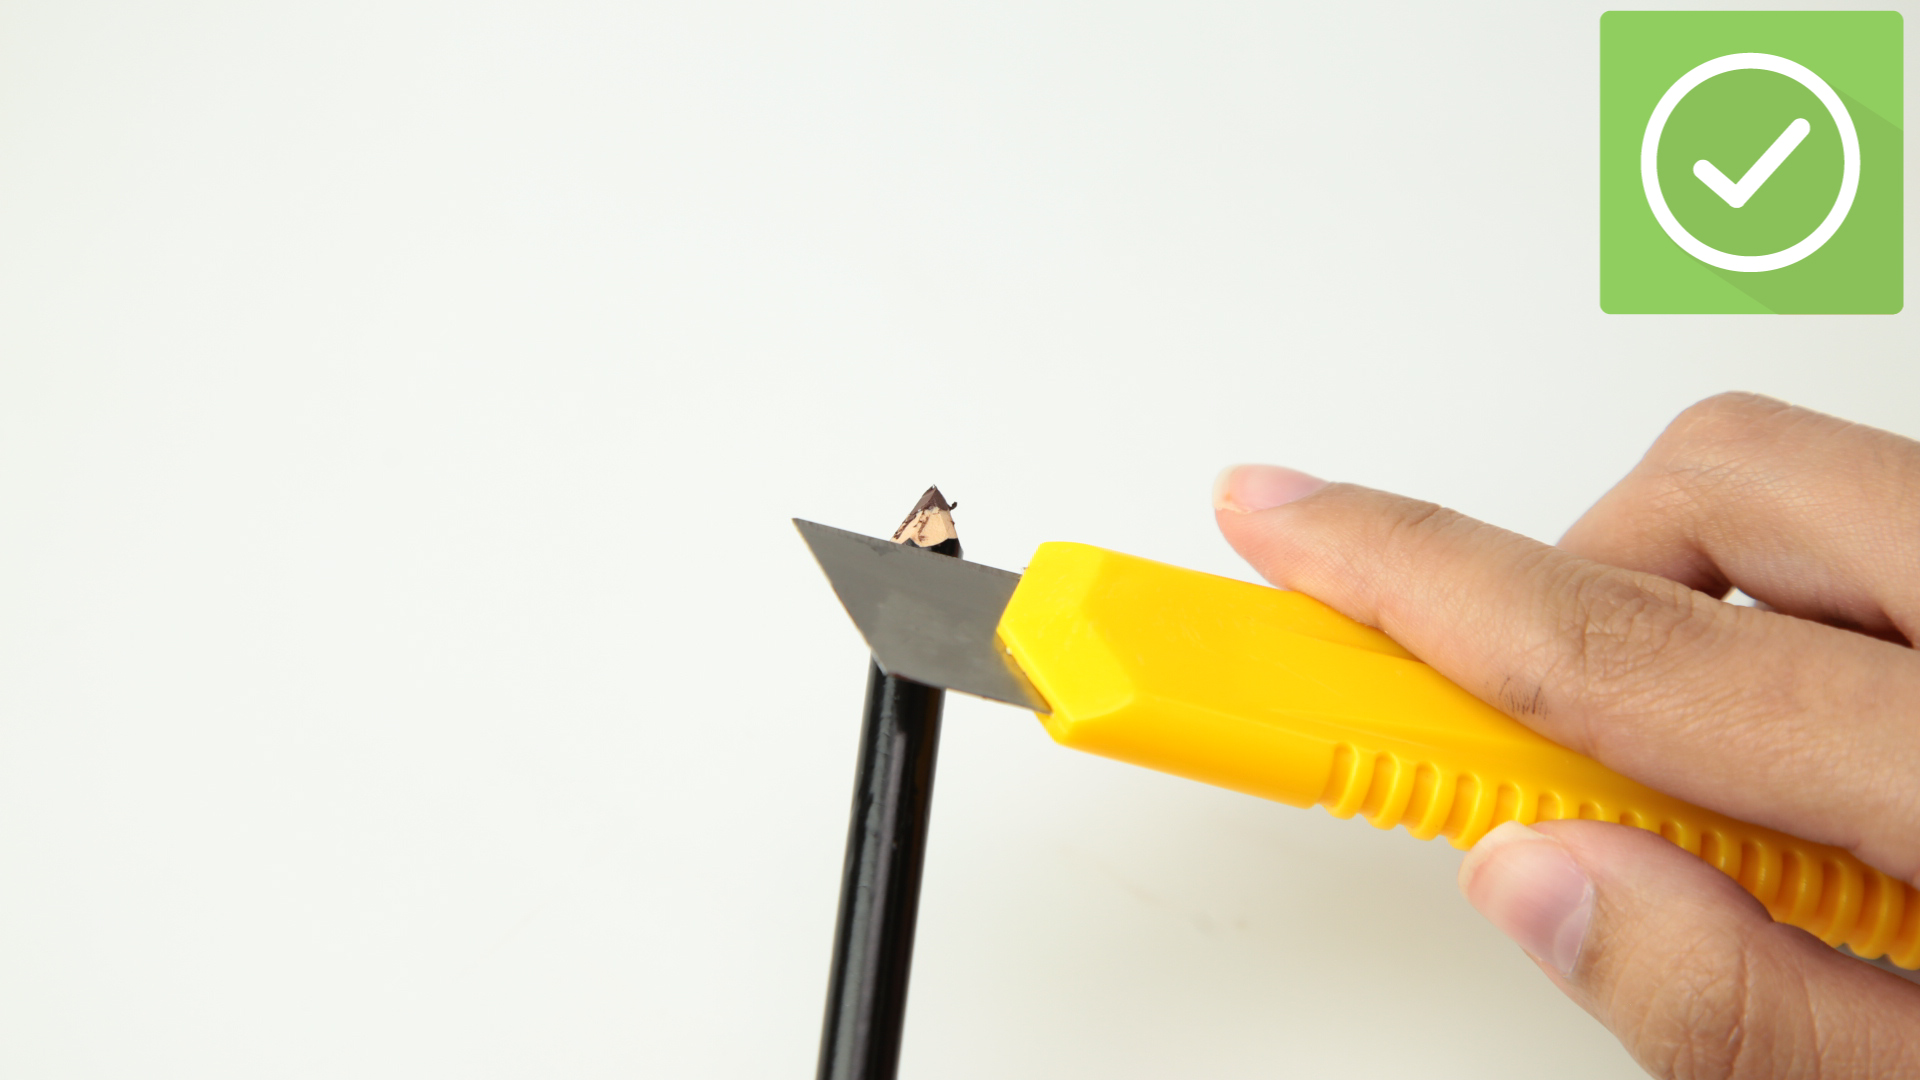
Do not peel the casing, cut it with a craft knife, or attempt to push the product upward from the bottom. A dull sharpener may shred the plastic instead of creating a smooth edge, so replace the tool when the blade starts pulling, cracking, or producing ragged shavings.
How to Sharpen Soft Gel, Kohl, and Kajal Eyeliners
Soft eyeliner formulas create rich color with minimal pressure, but their creamy texture makes them more vulnerable to breakage. Use an especially light touch and sharpen frequently rather than waiting until the pencil becomes completely blunt.
Removing a small amount during each sharpening session puts less strain on the core. Rotate the sharpener around the pencil, stop after a few turns, and avoid creating a long exposed point.
If the tip repeatedly collapses, check whether the pencil is too warm or the blade is dull. A brief rest in a cool room may help, but replacing an old sharpener often solves the problem immediately.
Common Eyeliner-Sharpening Mistakes
Using Too Much Pressure
Heavy pressure does not sharpen the pencil faster. It presses the creamy core against the blade, increasing the chance of cracking or snapping. Let the sharp blade do the work.
Using a Dull Sharpener
A dull blade pulls at the casing instead of slicing through it. Warning signs include uneven points, excessive shavings, repeated breakage, and rough edges. Cosmetic sharpeners are inexpensive compared with the eyeliner they can destroy, so replace a worn tool promptly.
Sharpening a Retractable Pencil
Many mechanical pencils have a twist mechanism or a small built-in shaping tool. Putting the entire component into a standard sharpener may damage the packaging. Read the product directions before proceeding.
Sharing Eye Products
A sharpener removes the outer layer of a pencil, but that does not make sharing eye makeup a good habit. Avoid swapping eyeliners with friends, relatives, testers, or enthusiastic strangers at the beauty counter.
Sharpening During an Eye Infection
Stop using eye cosmetics if you have redness, swelling, unusual discharge, a stye, or another suspected infection. Products used during an infection may need to be discarded to reduce the chance of recontamination. Seek professional medical advice when symptoms are severe, painful, persistent, or affect vision.
How Often Should You Sharpen an Eyeliner Pencil?
Sharpen whenever the pencil becomes too blunt for the line you want. People who prefer crisp wings may sharpen before most applications, while fans of smoky makeup may use the same rounded point several times.
Frequent, minimal sharpening is usually better than occasional, aggressive sharpening. A few gentle turns preserve the pencil while exposing a smoother layer of product.
Also sharpen the pencil when the surface has become dry or uneven. Removing the outermost layer may reveal a creamier core beneath it. However, sharpening cannot rescue a product that has developed an unusual odor, major texture changes, contamination, or a damaged barrel.
When Should You Replace an Eyeliner Pencil?
There is no single replacement date that applies to every formula, so check the period-after-opening symbol and manufacturer’s directions. Track when you open the product and watch for physical changes.
Replace the eyeliner when:
- Its smell has changed
- The formula feels unusually dry, gritty, or sticky
- The color or texture has noticeably changed
- The barrel is cracked or splintered
- The cap no longer closes securely
- The pencil causes new irritation
- It was used during an eye infection
Never add water, saliva, eye drops, or random oils to an eyeliner pencil. These additions may alter the formula and introduce contaminants.
Real-World Experiences and Lessons From Sharpening Eyeliner
The biggest lesson many makeup users learn is that a broken eyeliner tip is not always the pencil’s fault. For years, I blamed creamy formulas whenever a fresh point snapped inside the sharpener. The real culprit was an ancient sharpener that had survived several makeup bags, two moves, and a period when frosted blue eyeshadow seemed like a responsible daytime decision.
Replacing that sharpener changed everything. A fresh cosmetic blade cut through both wood and plastic-coated barrels with noticeably less resistance. Instead of twisting the pencil ten or twelve times and producing a small mountain of expensive shavings, I could restore the point in three gentle turns.
Another useful discovery was that “sharp” does not always mean “better.” An extremely pointed eyeliner looks impressive, but a long, exposed core can break as soon as it touches the eyelid. For daily makeup, a short and moderately fine point offers more control. It can define the upper lash line without poking, scratching, or collapsing halfway through the second eye.
The desired look should guide the sharpening. When creating a subtle line for work, I sharpen until the pencil can fit between the lashes without leaving a thick stripe. For a smoky evening look, I deliberately keep the point rounded. The softer shape deposits more color and blends easily with a small brush before the formula sets.
Plastic-coated gel pencils provided another learning curve. The first time I encountered one, I twisted the bottom repeatedly, assuming the product was automatic. Nothing happened. I then stared at the pencil as though it were withholding information during an interrogation. The packaging eventually confirmed that the plastic barrel was sharpenable.
Using a cosmetic sharpener worked perfectly. The trick was light pressure and a blade that matched the pencil’s diameter. Trying to force the same product into a narrow opening created rough plastic edges, while the correct opening produced a smooth, even casing.
Temperature matters too. A soft pencil left in a warm bathroom tended to smear inside the sharpener and lose its point immediately. Moving cosmetics away from steamy areas made the texture more consistent. On particularly hot days, letting the pencil cool naturally before sharpening was enough; long-term freezing was unnecessary.
Cleanliness also affects the experience. A sharpener packed with old lip-pencil wax or glitter can coat a fresh eyeliner point with residue. Emptying the compartment after every use takes seconds and prevents different products from becoming an accidental cosmetic casserole.
One of the most practical habits is testing the newly sharpened point on the back of a clean hand. This reveals sharp casing edges, removes loose debris, and rounds the tip slightly before it approaches the eye. It also confirms whether the formula still glides. If a pencil repeatedly drags despite sharpening, it may simply be time to replace it.
Finally, sharpening should support comfortable application rather than turn makeup into a test of endurance. Eyeliner should glide with controlled, light strokes. When a pencil pulls at the skin, scratches, crumbles, or smells unusual, continuing to use it is not thriftiness. It is an argument with an object that has already retired.
Frequently Asked Questions
Can I sharpen eyeliner with a regular pencil sharpener?
A cosmetic sharpener is the better choice. It is designed for softer makeup cores and common cosmetic-pencil sizes. A stationery sharpener may create rough edges, waste product, or break the eyeliner.
Why does my eyeliner tip keep breaking?
The pencil may be too warm, the sharpener may be dull, or you may be using too much pressure. Use a clean cosmetic sharpener, rotate gently, and stop after three or four turns to inspect the point.
Can a plastic eyeliner pencil really be sharpened?
Yes, provided the manufacturer identifies it as sharpenable. Many gel eyeliners use soft plastic casings that cosmetic sharpeners can cut. Do not sharpen a pencil labeled retractable or automatic unless its directions specifically tell you to do so.
Should I refrigerate eyeliner before sharpening it?
Routine refrigeration is generally unnecessary. If a very soft pencil has become warm, allow it to cool before sharpening. Avoid prolonged exposure to extreme temperatures unless the manufacturer recommends it.
How do I disinfect an eyeliner sharpener?
Remove all shavings, wipe visible residue away, and clean the blade and interior with a cotton swab lightly dampened with rubbing alcohol. Let the sharpener dry completely before using it again.
Conclusion
To sharpen an eyeliner pencil successfully, first confirm that it is designed for sharpening. Use a clean cosmetic sharpener with a sharp blade, insert the pencil straight, and rotate gently only a few times. Stop when the point suits your intended makeup look, remove loose shavings, and test the liner on your hand before applying it near your eyes.
Frequent light sharpening is kinder to soft formulas than aggressive grinding. Keeping the sharpener clean, storing the eyeliner properly, and replacing damaged or questionable products will help you achieve smoother lines with less waste. Your cat eye may still demand patience, but at least the pencil will no longer be the villain of the story.
Editorial note: This article provides general cosmetic-use and hygiene information. Stop using eye makeup and consult a qualified health professional if you experience significant pain, swelling, discharge, persistent irritation, injury, or changes in vision.