Ordering a Lyft for yourself is simple: tap, ride, arrive, pretend you meant to be five minutes late. Ordering a Lyft for someone else is almost as easy, but it does require a few extra checks so the driver knows who to pick up, the rider gets the right trip details, and nobody stands on the wrong corner waving at every gray sedan like they are auditioning for a spy movie.
The good news: Lyft supports requesting rides for another person directly in the app. The feature is useful when you need to send a ride to a parent, help a friend get home safely, arrange transportation for a visiting guest, or coordinate a pickup for someone who is not standing next to you. The key is using the correct rider information instead of simply entering someone else’s pickup address under your own name.
Below is a practical, updated, step-by-step guide to requesting a Lyft car for someone else, including safety tips, payment reminders, scheduling advice, common mistakes, and real-world examples that make the process smoother than a freshly vacuumed back seat.
Can You Request a Lyft for Someone Else?
Yes. Lyft allows users to request a ride for another person by changing the rider during the booking process. In most cases, the rider should be selected from your contacts, and Lyft may send them ride details by text or through their own Lyft account. This helps the driver identify the correct passenger and helps the passenger track the car, driver, license plate, pickup point, and trip progress.
This is different from simply ordering a ride under your own name and telling the driver, “Actually, please pick up my cousin in the blue hoodie.” That old-school method can cause confusion, delays, cancellations, and the kind of awkward pickup scene where three people named Mike appear at the same curb.
When you use Lyft’s built-in option for requesting rides for others, the trip is clearer for everyone: the rider, the driver, and you, the generous transportation wizard holding the phone.
Before You Start: What You Need
Before requesting a Lyft car for someone else, make sure you have the basics ready. You will need the Lyft app, an active Lyft account, a valid payment method, the rider’s correct name and phone number, the exact pickup location, and the destination address. It is also smart to confirm whether the rider can receive text messages or app notifications.
If the person you are helping does not use smartphones often, call or text them before booking. Tell them what kind of car to expect, where to stand, and how to confirm the driver’s identity. A two-minute conversation before the ride can prevent ten minutes of curbside chaos later.
How to Request a Lyft Car for Someone Else: 11 Steps
Step 1: Open the Lyft App and Check Your Payment Method
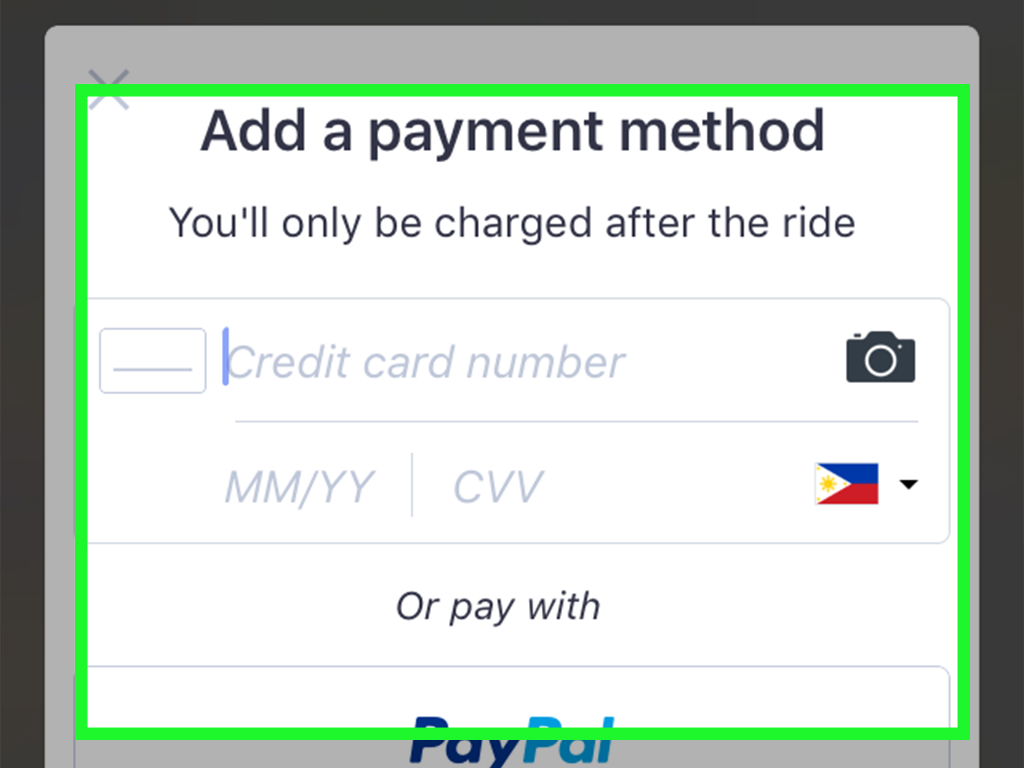
Start by opening the Lyft app on your phone. Before entering the ride details, tap into your payment settings and make sure your card, digital wallet, or other saved payment method is active. If your payment method fails, the ride may not go through, and the person waiting for the car will not appreciate your “technical difficulties era.”
This matters because when you request a ride for another person from your account, you are usually the one responsible for the fare unless the ride is arranged through a business, family, or special program. Also check whether you have any promo codes or credits you want to apply, but do not rely on a discount until the app confirms it at checkout.
Step 2: Confirm the Rider Is Eligible to Take the Ride
Before booking, confirm that the passenger is allowed to ride. Adult riders are generally straightforward. For minors, be careful: do not use a regular adult Lyft account to bypass age rules or safety requirements. If the rider is a teen, use the appropriate Lyft Teen setup where available and only under the parent or guardian rules that apply in the app. Younger children should not be sent alone in a rideshare.
This step is especially important if you are booking for a family member, student, neighbor, or younger sibling. A ride that violates Lyft rules can be canceled, and more importantly, it may put the rider and driver in an uncomfortable or unsafe situation.
Step 3: Enter the Destination First
In the Lyft app, tap the destination field and enter where the rider needs to go. This could be a home address, airport terminal, hotel, doctor’s office, school campus, restaurant, or event venue. Be precise. “Downtown” is not a destination; it is a mood.
Use the full address whenever possible. If you are sending someone to a large location such as a hospital, mall, university, or airport, include the specific building, entrance, terminal, or door number. Drivers do not have magical powers, even though finding parking in a crowded pickup zone sometimes feels like wizardry.
Step 4: Tap “Change Rider” or “Add Rider”
After entering the destination, look near the top of the ride request screen for an option such as “Change rider,” “Me,” or “Add rider.” The exact label may vary depending on your app version, device, and region, but the idea is the same: you are telling Lyft that the person taking the ride is not you.
Tap that option and choose the rider from your contacts. If it is your first time using this feature, Lyft may ask for permission to access your contacts. This helps the app find the rider’s name and phone number so the ride details can be sent correctly.
Step 5: Select the Correct Person from Your Contact List
Choose the rider carefully. If you have three “Dad” contacts, two “Sarah Work” contacts, and one mysterious “Pizza Guy 2019,” slow down and pick the right one. The phone number matters because Lyft uses it to send ride updates and help the driver or rider communicate if needed.
If the person does not appear in your contacts, add them to your phone first with their full name and mobile number. Then return to Lyft and select them as the rider. This small step can save everyone from pickup confusion.
Step 6: Set the Rider’s Pickup Location
Now enter the pickup location where the passenger will actually be waiting. Do not use your own current location unless you are physically with the rider. This is one of the most common mistakes people make when ordering a Lyft for someone else.
Zoom in on the map and place the pin accurately. For apartment complexes, hotels, hospitals, and office buildings, add helpful pickup notes such as “Main entrance on Oak Street,” “Gate code 1234,” “Waiting near lobby doors,” or “Pickup at the rideshare zone, not valet.” Drivers appreciate details that reduce guessing. Riders appreciate not having to sprint across a parking lot like the car is a departing spaceship.
Step 7: Choose the Right Lyft Ride Type
Next, choose the ride type. A standard Lyft ride is usually fine for one to four passengers. If the rider has luggage, mobility equipment, several bags, or a small group traveling together, consider a larger option such as Lyft XL where available. If the rider wants a faster pickup, a priority-style option may appear in some markets. If they are flexible and want a lower price, a wait-and-save option may be available.
Ride types vary by location, time, and availability. Always check the seat count and estimated fare before confirming. The cheapest ride is not always the best ride if your aunt is traveling with two suitcases, a tote bag, and the emotional weight of a delayed flight.
Step 8: Review the Fare, Route, and Pickup Details
Before tapping the final request button, review everything: rider name, pickup address, destination, ride type, estimated arrival time, and price. This is your last easy chance to catch mistakes.
Pay extra attention to addresses with similar names. “North Main Street” and “South Main Street” may be only one word apart, but in real life they can be twenty minutes and several frustrated messages apart. If the rider is at a business, confirm whether the app selected the correct entrance or a nearby back alley that looks like the opening scene of a detective show.
Step 9: Request the Ride and Notify the Rider
Once everything looks correct, request the ride. Lyft should notify the rider that a ride has been sent for them. Still, do not assume they saw the alert. Send them a quick message with the driver’s name, car make and model, license plate, estimated arrival time, and pickup location.
A simple text works well: “Your Lyft is on the way. Driver: Maria. Car: white Toyota Camry. Plate: ABC123. Pickup: main lobby entrance. Please check the plate before getting in.” Clear, calm, and no unnecessary drama. Save the dramatic punctuation for group chats.
Step 10: Track the Ride and Stay Available
After the ride is accepted, keep your phone nearby. You may be able to track the ride in your app, and the rider may receive updates as well. Stay available in case the driver calls, the rider cannot find the pickup point, or the app needs attention.
If the driver contacts you, explain politely that the ride is for someone else and provide the rider’s name. Avoid asking the driver to do anything unsafe or against app rules. Drivers need clear pickup information, not a scavenger hunt.
Step 11: Confirm Pickup and Arrival
When the driver arrives, remind the rider to verify the car, license plate, and driver before entering. After pickup, continue tracking until the ride ends. Once the rider arrives, check in with them. If everything went smoothly, you can tip and rate the driver appropriately in the app.
If something went wrong, use Lyft’s ride history or help tools to report the issue. For lost items, receipts, fare reviews, or safety concerns, the ride record is your best starting point. Keep details specific and factual.
When Should You Request a Lyft for Someone Else?
Requesting a Lyft for another person can be helpful in many everyday situations. You might send a ride to a parent who does not like using apps, help a friend get home after a long shift, arrange transportation for a visitor from out of town, or coordinate a pickup for someone arriving at an airport. Businesses and healthcare organizations may use Lyft Concierge or similar tools to arrange rides at a larger scale, but everyday users can still help friends and family through the regular Lyft app.
The feature is especially useful when the rider is capable of taking the ride but would rather not handle the booking. Maybe their phone battery is low. Maybe they are not comfortable entering payment information. Maybe they are your grandparent and believe every app update is a personal attack. Whatever the reason, booking for them can make transportation simpler.
Important Safety Tips for Sending a Lyft to Someone Else
Always Share Driver and Vehicle Details
The rider should never get into a car just because someone says their name. Tell them to match the license plate, driver name, and car model shown in the app. If anything does not match, they should not enter the vehicle.
Use Pickup Notes Wisely
Pickup notes are not the place for your life story. Keep them short and useful: “Rider is John, waiting by the pharmacy entrance,” or “Pickup at hotel rideshare zone.” Do not include sensitive personal details unless absolutely necessary.
Stay Reachable Until the Ride Ends
If you booked the ride, you are part coordinator, part dispatcher, and part calm friend with a phone. Stay reachable until the passenger arrives. If the rider or driver needs clarification, fast communication keeps the trip moving.
Do Not Book Around Rules
Do not use someone else’s account to avoid age restrictions, verification, payment rules, or safety policies. If a teen ride is needed, use the official teen or family option available in the app and follow the guardian requirements. Safety rules are not decorative; they exist because real people are involved.
Common Mistakes to Avoid
The most common mistake is forgetting to change the rider. If the driver expects you but another person appears, the driver may be confused or may cancel. Another mistake is placing the pickup pin at your own location instead of the rider’s location. This is how cars end up arriving at your house while your friend is standing outside a restaurant wondering whether technology has betrayed them.
Other common mistakes include choosing the wrong contact, entering a vague destination, failing to tell the rider the vehicle details, booking a ride too early, or not staying available during pickup. These mistakes are easy to avoid with a little attention.
Can You Schedule a Lyft for Someone Else?
In many areas, Lyft allows scheduled rides, and the app may let you schedule a ride for another person by changing the rider during the booking process. Scheduling can be helpful for airport trips, medical appointments, early morning commutes, and events where timing matters.
However, scheduled rides are still subject to driver availability, local rules, and app conditions. Confirm the scheduled pickup time with the rider and remind them to be ready early. If the ride is extremely important, such as a flight or appointment, build in extra time. Rideshare apps are convenient, but they are not time machines with cup holders.
What If the Rider Does Not Have the Lyft App?
If the rider does not have the Lyft app, they may still receive ride information by text, depending on the ride setup and local app behavior. However, having the app and an active account often gives the rider a smoother experience because they can see details, communicate, and track the trip more easily.
For people who frequently need help with rides, consider setting up Lyft Family if it is available in your account. Lyft Family can connect accounts, allow shared payment, and make ongoing ride support easier for family members. It is not the same as secretly controlling another adult’s transportation; it works best when everyone understands how the arrangement works.
Example: Sending a Lyft to a Parent at the Airport
Imagine your mother lands at the airport and asks you to help her get home. First, ask which terminal and rideshare pickup zone she is at. Airports often have specific rideshare areas, and the difference between “arrivals curb” and “designated pickup zone B” can be the difference between a smooth ride and a walking tour of concrete.
Open Lyft, enter her home address as the destination, change the rider to your mother, set the pickup location to the correct airport rideshare zone, choose the right vehicle size for her luggage, and request the ride. Then text her the driver name, car model, plate, and pickup instructions. Stay available until she is in the car and safely on the way.
Example: Helping a Friend Get Home
Suppose your friend is at a restaurant and their phone is almost dead. Ask for the restaurant name, exact address, and where they will wait. Add them as the rider, set the pickup pin at the restaurant entrance, choose the destination, and send the ride. Text them the vehicle details immediately.
If their battery is very low, tell them to wait in a safe, well-lit spot and keep the phone on long enough to confirm the license plate. If they cannot reliably communicate, it may be better for them to ask restaurant staff, a trusted adult, or someone physically nearby for help rather than relying only on remote coordination.
Extra Experience Notes: What Actually Makes This Work Smoothly
After helping people book rides a few times, you learn that the app steps are only half the job. The other half is human coordination. Lyft can match a driver to a pickup point, but it cannot make your uncle stand at the correct entrance if he insists that “by the big tree” is a universal GPS coordinate.
The best experience starts with confirming the exact pickup spot before opening the app. Ask the rider what they can see around them. Are they near the front door, side entrance, lobby, gate, rideshare zone, or parking lot? If they are at a large building, ask for landmarks. “I’m outside the pharmacy entrance” is much better than “I’m outside.” Outside is a big place. Astronauts are also outside.
Another useful habit is sending the rider a short checklist after the ride is accepted. Include the driver’s first name, car color, model, license plate, and estimated arrival time. Keep it simple. People waiting for a ride do not need a novel; they need the plate number and a reminder not to get into the wrong car.
Timing matters too. Do not request the ride before the passenger is ready. Drivers are not personal parking assistants, and the rider may be charged wait time or risk cancellation if they are still upstairs looking for their keys. Tell the rider to be fully ready first: shoes on, bag packed, phone in hand, standing near the pickup area. The ride should not arrive before the rider has emotionally committed to leaving.
For older adults or people who are less comfortable with apps, talk them through what will happen. Explain that the driver may call or text, the car may not stop directly in front of them if traffic rules prevent it, and they should verify the license plate. A little explanation turns the experience from mysterious app magic into a normal pickup.
For airports, hospitals, stadiums, and hotels, always assume there is a designated pickup area. Many large venues do not allow rideshare pickups at every door. If the rider is not sure where to go, have them ask staff or follow signs for “Rideshare,” “App Pickup,” or “Transportation Network Company.” That official-sounding phrase basically means “your Lyft probably goes here.”
One more lesson: stay calm if the driver calls. Drivers are often trying to solve the same puzzle you are. Give short, useful information: “The rider is Linda, she is waiting by the main entrance in a red jacket, and she has your plate number.” That is far more helpful than saying, “She should be there somewhere,” which is technically true but spiritually useless.
If you regularly arrange rides for the same person, save their address correctly in your contacts and consider family or shared payment options if available. Repeatedly typing addresses increases the chance of mistakes. A saved, verified contact makes the process faster and less stressful.
Finally, remember that requesting a Lyft for someone else is an act of trust. You are helping another person move through the world, and that deserves attention. Double-check the details, communicate clearly, follow safety rules, and do not rush the process. When done right, sending someone a Lyft feels wonderfully simple: a few taps from you, a safe pickup for them, and one less logistical headache for everybody.
Final Thoughts
Requesting a Lyft car for someone else is easy once you know where to tap and what to check. The essential steps are simple: enter the destination, change the rider, select the right contact, confirm the pickup point, choose the ride type, review the details, and stay available until the passenger arrives. The real secret is communication. Tell the rider where to wait, what car to look for, and how to verify the driver before getting in.
Used properly, Lyft’s ride-for-others feature can help family members, friends, guests, and loved ones get where they need to go without confusion. Used carelessly, it can send a driver to the wrong curb and turn a five-minute pickup into a tiny transportation sitcom. Choose the first option. Everyone likes a smooth ride better than a sitcom cameo.
Note: Lyft app screens, ride types, safety features, family options, teen account availability, and scheduling rules may vary by city, device, and app version. Always follow the current instructions shown inside the Lyft app and use official safety settings when arranging a ride for another person.