Printing mailing labels from Google Sheets sounds like it should be one click away, right next to “Make My Inbox Behave” and “Organize My Life by Friday.” Unfortunately, Google Sheets is fantastic at storing names, addresses, ZIP codes, and customer lists, but it does not include a built-in label-printing feature that automatically turns rows into perfectly aligned sticker sheets.
The good news? You absolutely can print address labels from Google Sheets. The trick is to use Sheets as your clean data source, then connect it to a label layout tool such as Google Docs with a label add-on, Avery Design & Print Online, or another mail merge solution. Once your spreadsheet is prepared correctly, the process becomes surprisingly smoothand far less dramatic than feeding expensive label paper into a printer and hoping for the best.
This guide walks you through how to print labels from Google Sheets for address labels, mailing labels, shipping-style labels, name tags, product stickers, and other everyday projects. We will cover data setup, mail merge methods, label templates, printing tips, troubleshooting, and real-world experience so your label sheet does not come out looking like it lost a fight with the margins.
What You Need Before Printing Labels from Google Sheets
Before you print mailing labels, gather four basic ingredients: a Google Sheets mailing list, a label template, label paper, and a printer that is willing to cooperate. That last one is technically optional, but emotionally important.
Your Google Sheet should contain one recipient or item per row. Each column should hold a separate piece of information, such as first name, last name, street address, city, state, and ZIP code. This structure lets your label tool place the right information in the right spot on every label.
Example Google Sheets Layout for Address Labels
| First Name | Last Name | Address | City | State | ZIP Code |
|---|---|---|---|---|---|
| Maria | Johnson | 123 Maple Street Apt 4B | Denver | CO | 80203 |
| David | Lee | 45 Oak Avenue | Austin | TX | 78701 |
A clean spreadsheet is the difference between a professional mailing project and a pile of labels that say “Dear NULL.” Use simple column headers, avoid merged cells, and keep every address element consistent. If you plan to use mail merge fields, your headers become the labels your merge tool reads, so names like First Name, Address, and ZIP Code are much better than “Stuff,” “Line Thing,” or “Bob’s Column.”
Step 1: Clean Your Mailing List in Google Sheets
The most important part of printing labels from Google Sheets happens before you open any label maker. Clean data prevents duplicate labels, missing ZIP codes, awkward line breaks, and the classic “why did half my addresses shift one row down?” panic.
Remove Duplicate Contacts
In Google Sheets, select your mailing list, then go to Data > Data cleanup > Remove duplicates. Make sure you choose the columns that identify a duplicate record. For a mailing list, that usually means name plus street address, not just first name. Otherwise, every John in your database may mysteriously vanish.
Trim Extra Spaces
Extra spaces can cause ugly labels and strange merge behavior. Select your data and go to Data > Data cleanup > Trim whitespace. This removes leading, trailing, and repeated spaces in cells, which is especially useful if your mailing list came from a form, CRM export, or someone’s ancient spreadsheet named “FINAL_final_REAL.xlsx.”
Separate Address Fields
For mailing labels, separate fields usually work best. Instead of storing everything in one cell like “123 Main St, Chicago, IL 60601,” use individual columns for street address, city, state, and ZIP code. This makes the label merge easier to control and gives you cleaner line breaks.
A standard address label might use this format:
First Name Last Name
Street Address
City State ZIP Code
For U.S. mail, keep the last line simple: city, two-letter state abbreviation, and ZIP code. A clear, left-aligned address in a readable font is still the champion of deliverability. Fancy script fonts may look charming, but postal equipment does not share your love of wedding-calligraphy drama.
Step 2: Choose the Best Method to Print Labels from Google Sheets
There are several ways to turn Google Sheets data into printable labels. The best method depends on your label brand, your design needs, and how often you print labels.
Method 1: Use a Google Docs Label Add-On
One of the most popular approaches is to use a Google Docs or Google Sheets label add-on. These tools connect to your spreadsheet, let you choose a label template, insert merge fields, and generate a printable document or PDF.
Common label add-ons include tools designed for Avery-compatible labels, address labels, name badges, product labels, and other sheet formats. The general workflow is usually similar:
- Open your Google Sheet with the mailing list.
- Install a label or mail merge add-on from the Google Workspace Marketplace.
- Select your label template, such as Avery 5160, Avery 8160, or another product number.
- Insert merge fields like first name, last name, address, city, state, and ZIP code.
- Generate the labels in Google Docs or as a PDF.
- Print a test page before using real label sheets.
This method is convenient because you can stay mostly inside the Google ecosystem. It is also flexible for small businesses, nonprofits, schools, real estate agents, event organizers, and anyone who needs to print a stack of mailing labels without installing desktop software.
Method 2: Use Avery Design & Print Online
If you are using Avery label sheets, Avery Design & Print Online is often the easiest path. You choose your Avery product number, import your Google Sheets data, map your columns, design the label, and print. Avery templates are built around the exact label dimensions, which helps reduce alignment headaches.
This is especially useful for standard address labels like Avery 5160 or 8160, return address labels, product labels, round stickers, name badges, and shipping-style labels. You can also add logos, images, colors, and branding elements if you are printing business labels rather than plain mailing labels.
Method 3: Export Google Sheets to Excel and Use Microsoft Word Mail Merge
If you already use Microsoft Word, you can download your Google Sheet as an Excel file and run a traditional Word mail merge. Go to File > Download > Microsoft Excel in Google Sheets, then use Word’s Mailings tab to start a label mail merge.
This method is reliable for users who are comfortable with Word and need precise control over label layouts. It is also a good fallback if your organization blocks certain Google Workspace add-ons for security reasons.
Method 4: Use a CSV File with Another Label Tool
Some online label makers and printing platforms accept CSV uploads. In Google Sheets, choose File > Download > Comma Separated Values (.csv). Then upload that CSV file into your chosen label design software.
This method works well for e-commerce sellers, warehouse teams, event planners, and businesses that use specialized label printing platforms. Just remember that CSV files may not preserve formatting, formulas, or multiple tabs, so export the final cleaned sheet only.
Step 3: Create Labels Using Google Docs and a Label Add-On
Although different add-ons have slightly different buttons, the process usually follows the same logic. Here is a practical step-by-step workflow.
Install the Add-On
Open Google Docs or Google Sheets, click Extensions > Add-ons > Get add-ons, and search for a label maker or mail merge tool. Review the permissions carefully before installing. A label add-on needs access to your document or spreadsheet so it can read your mailing list and generate labels.
Select Your Spreadsheet
After launching the add-on, choose the Google Sheet that contains your address list. If your spreadsheet has multiple tabs, select the correct sheet. This is a small step, but it prevents a big problem: accidentally printing labels from the “Old List 2021 Do Not Use” tab.
Choose Your Label Template
Look at the label package and find the product number. Avery label sheets, for example, usually show a template number on the front of the package. Choose the matching template in the add-on. If you use a compatible off-brand label sheet, it may say “compatible with Avery 5160” or a similar template number.
Design the Label
Insert the merge fields in the order you want them to appear. A simple mailing label might look like this:
{{First Name}} {{Last Name}}
{{Address}}
{{City}} {{State}} {{ZIP Code}}
You can usually adjust the font, size, spacing, and alignment. For address labels, keep it readable. A clean sans-serif or serif font at around 10 to 12 points is usually safer than decorative lettering. If you are printing product labels, you can be more creative, but make sure barcodes, prices, and product names remain legible.
Generate and Preview
Once your fields are placed, generate the label document. The tool will create a full sheet of labels with one record per label. Preview carefully. Check for missing names, long addresses that wrap badly, empty rows, and labels that need smaller text.
Step 4: Print a Test Page Before Using Label Paper
This step deserves its own spotlight because it saves money, paper, and possibly your mood. Always print one test sheet on plain paper first. Then place the test print behind a blank label sheet and hold both up to a light. If the text lines up inside each label area, you are ready for the real thing.
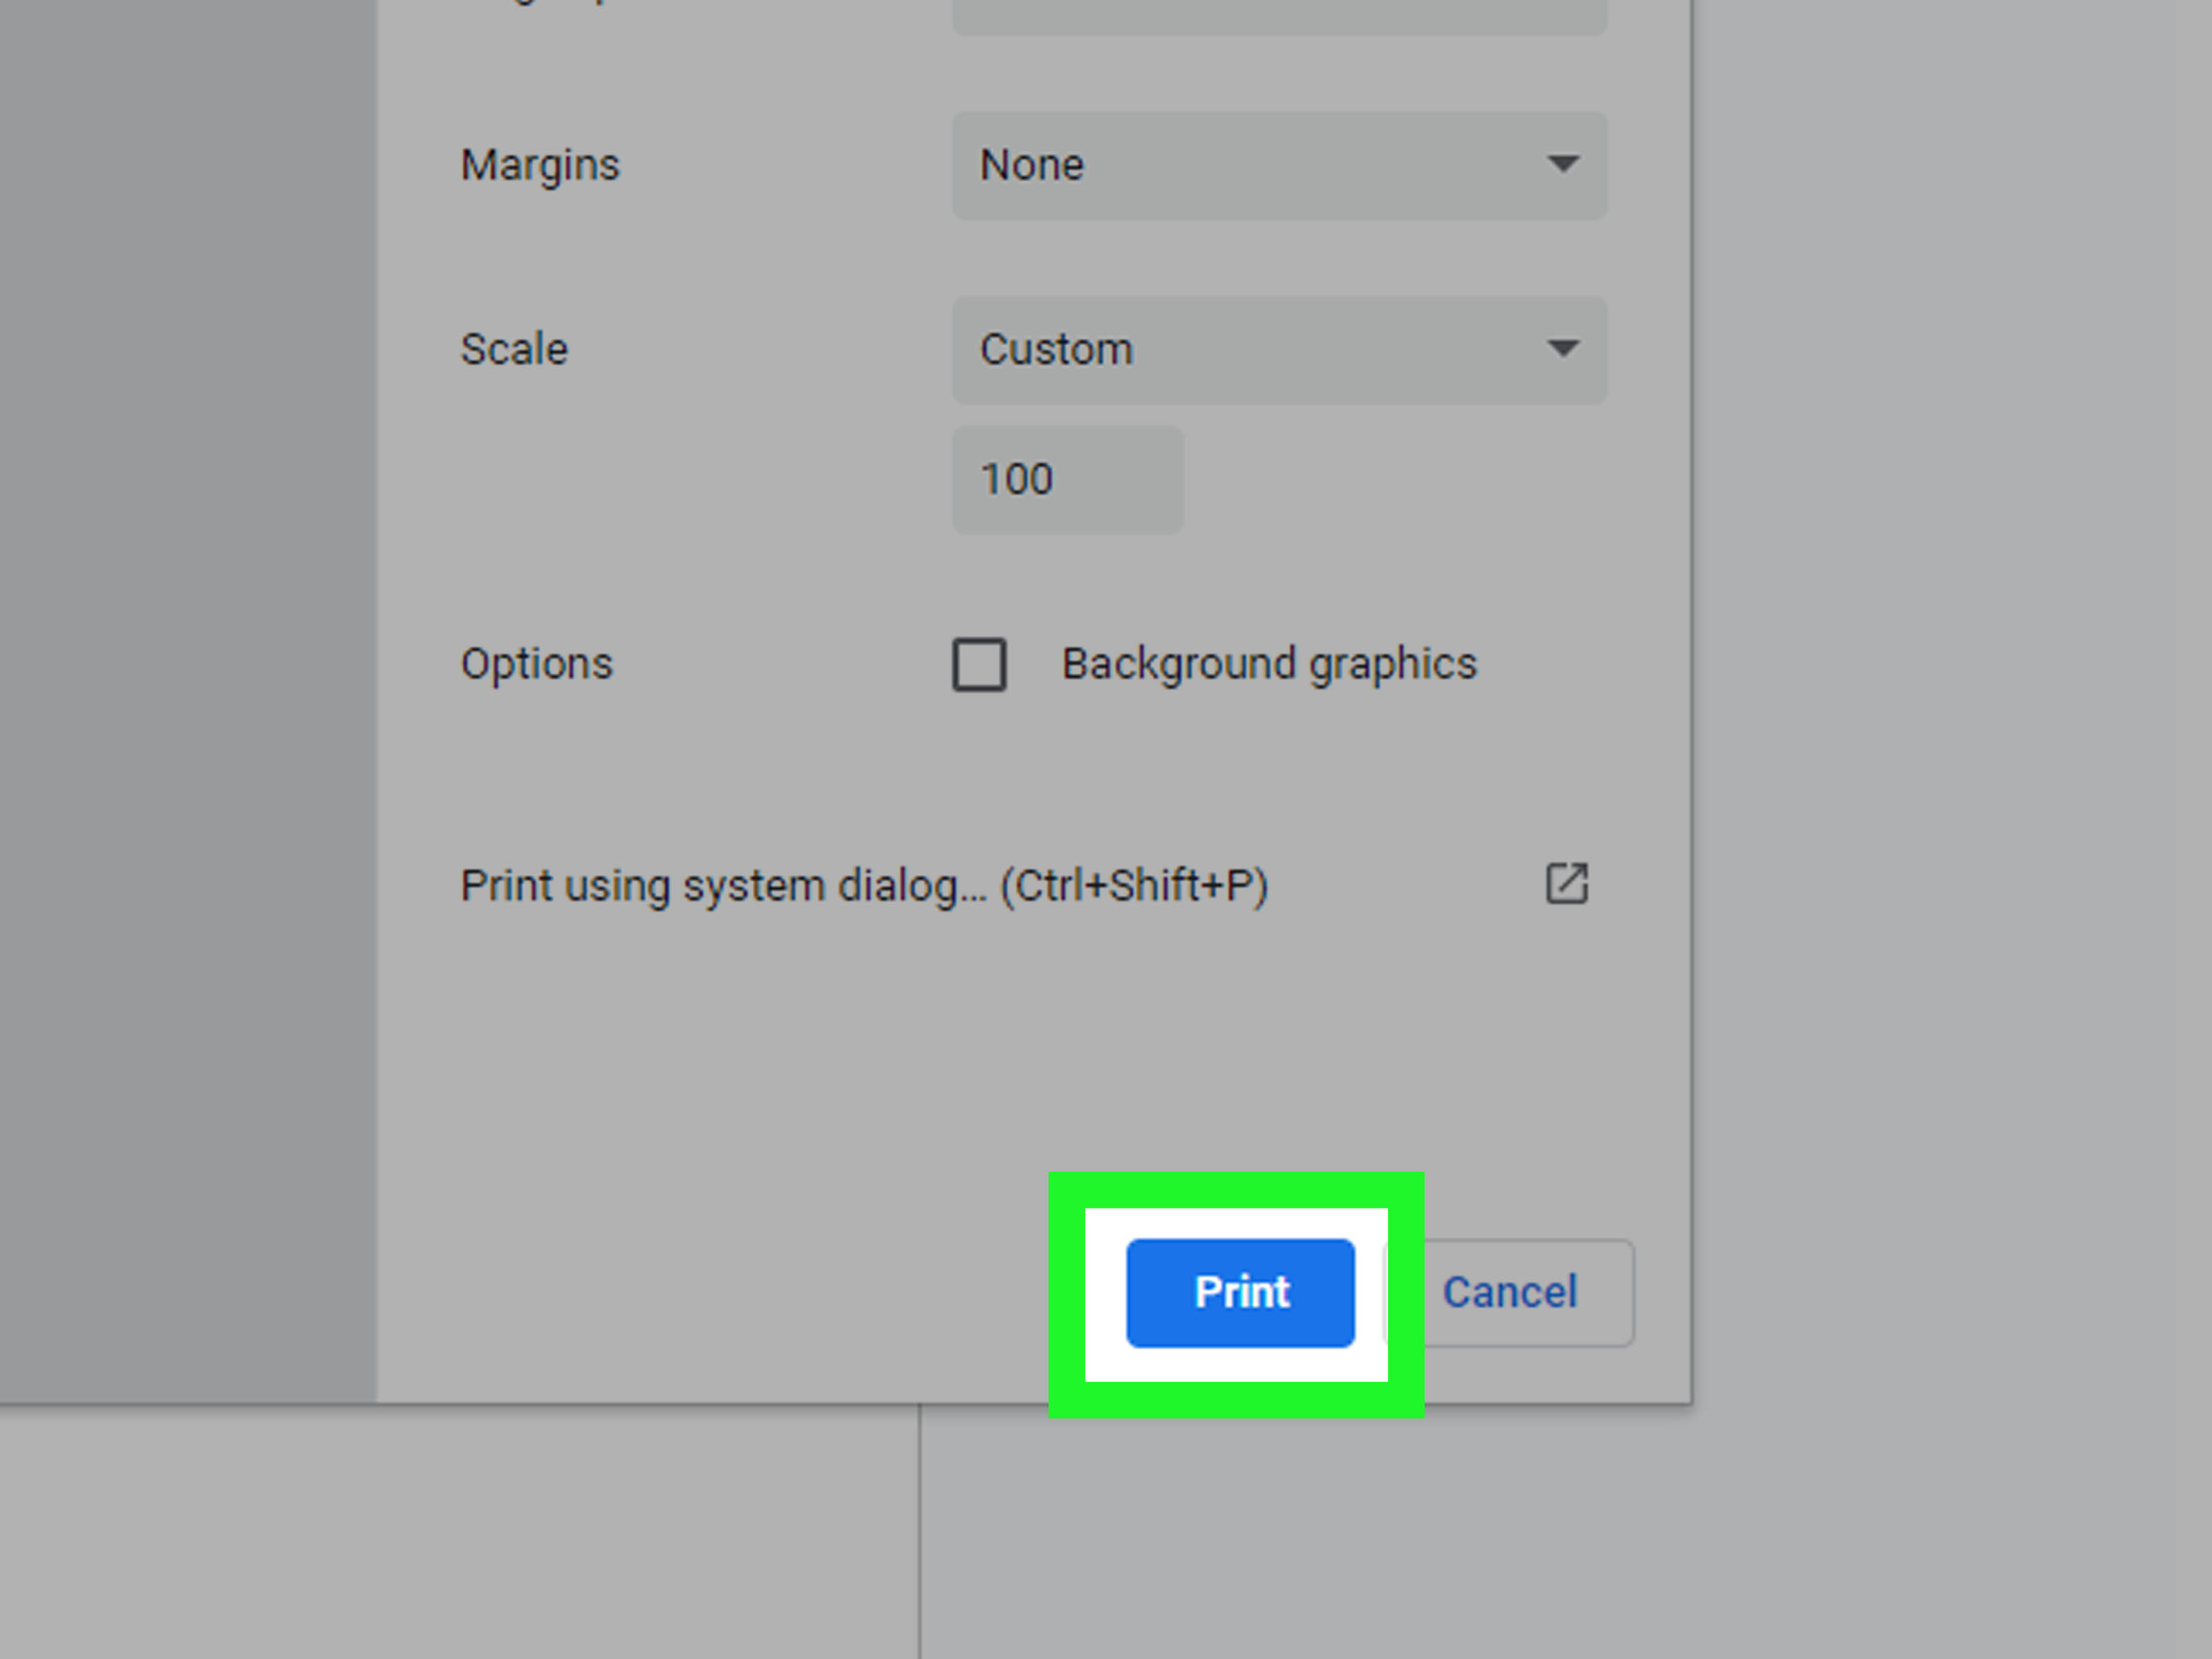
When printing, use these settings whenever available:
- Scale: 100% or “Actual size”
- Fit to page: Off
- Margins: Default unless your template says otherwise
- Paper size: Letter for most U.S. label sheets
- Orientation: Usually portrait for address labels
The most common label printing mistake is allowing the browser or PDF viewer to shrink the page. “Fit to page” sounds helpful, but it can quietly resize your template and make every label drift. For label sheets, precision beats politeness.
Best Practices for Address and Mailing Labels
Use USPS-Friendly Formatting
For domestic U.S. mailing labels, use a simple address block. Put the recipient name on the first line, street address or PO Box on the second line, and city, state, and ZIP code on the last line. Use two-letter state abbreviations and include ZIP+4 when you have it.
A USPS-friendly example:
JORDAN SMITH
2500 WESTLAKE AVE N APT 7
SEATTLE WA 98109-1234
You do not have to use all caps for every casual mailing, but all caps, simple fonts, dark text, and good contrast help automated mail processing. Avoid putting logos, slogans, or extra text below the city-state-ZIP line on mailing labels.
Keep Long Addresses Under Control
Long apartment numbers, business names, and attention lines can overflow small labels. If your label template is tight, use a smaller font or add an extra address line column. For example:
- Company
- Attention
- Address Line 1
- Address Line 2
- City
- State
- ZIP Code
This structure gives you flexibility without stuffing everything into one crowded cell.
Do Not Print Directly from Raw Google Sheets Cells
Technically, you can resize cells in Google Sheets and try to print them like labels. Practically, this is how people discover new levels of frustration. Spreadsheet cells are not label templates. They do not automatically match label sheet gutters, margins, and rounded corners. Use a real label template whenever possible.
Troubleshooting: Why Are My Labels Not Lining Up?
If your labels start aligned at the top but drift lower down the page, the print scale is probably wrong. Set scaling to 100% or actual size. If the entire sheet is shifted left, right, up, or down, check your printer feed tray and paper size settings. If only some labels look bad, your template may not match your label product number.
Common Problems and Fixes
| Problem | Likely Cause | Fix |
|---|---|---|
| Labels drift down the page | Page scaling is enabled | Print at 100% or actual size |
| Text prints between labels | Wrong template number | Match the label package product number |
| Some labels are blank | Empty rows in Google Sheets | Delete blank rows before merging |
| Names are missing | Column header mismatch | Check merge fields and spreadsheet headers |
| Text is cut off | Font too large or address too long | Reduce font size or add address line fields |
When Should You Use Google Sheets for Label Printing?
Google Sheets is excellent for label printing when your list changes often. If you manage customer addresses, donor lists, holiday card contacts, classroom folders, inventory SKUs, product packaging, or event attendees, Sheets gives you one organized source of truth. Update the spreadsheet, rerun the merge, and your labels are fresh.
It is also useful for collaboration. A school office can maintain student names, a nonprofit can update donor addresses, and a small business can manage product label data without emailing spreadsheet attachments back and forth. Since Google Sheets works in the browser, multiple people can review and clean the list before printing.
Experience-Based Tips for Printing Labels from Google Sheets
After working with label projects, one lesson becomes clear very quickly: label printing is not hard, but it is extremely picky. It is like baking. You can be creative with the frosting, but if you ignore the measurements, the cake becomes a pancake with ambition.
The first experience-based tip is to build a “printing copy” of your spreadsheet. Keep your master contact list untouched, then duplicate the sheet and clean the duplicate for printing. This protects your original data while giving you freedom to remove columns, reorder names, delete blank rows, and adjust capitalization. For example, if your master list includes phone numbers, notes, donation history, and email preferences, you probably do not need all of that for mailing labels. A lean printing sheet is easier to merge and less likely to cause confusion.
Second, test with a tiny list before merging hundreds of rows. Create five sample contacts with different address lengths: one short address, one apartment address, one business address, one long city name, and one ZIP+4 address. Generate labels from those five rows first. If they look good, your full list will probably behave. If those five labels look like they are trying to escape the page, fix the template before you involve the entire database.
Third, never trust the printer preview blindly. Preview is useful, but label paper has physical realities: margins, feed direction, rollers, humidity, and paper thickness. Some printers pull label sheets slightly differently than plain paper. If your printer has a manual feed tray, use it. Place the label sheet in the correct direction based on your printer’s instructions. Many label packages include a feed arrow, and yes, that arrow is worth obeying. It has seen things.
Fourth, store successful print settings. Once you find the right combinationtemplate number, PDF viewer, printer tray, scale setting, and orientationwrite it down in a small note inside your Google Sheet. Add a tab called “Print Instructions” and record details like “Avery 5160, print from PDF, actual size, manual feed tray, face down.” Future you will be grateful, especially six months later when you need to print the same labels again and your memory offers only vibes.
Fifth, watch out for browser printing differences. Printing from Chrome, a system PDF viewer, or a built-in browser preview can produce slightly different results. If alignment matters, download the generated labels as a PDF and print from a reliable PDF viewer using actual size. This extra step often improves consistency.
Sixth, keep design simple for mailing labels. Product labels can have personality, but address labels should be boring in the best possible way. Left-aligned black text on a white label is not glamorous, but it gets delivered. Save the artistic fireworks for thank-you cards, packaging inserts, or branded stickers.
Finally, accept that the first test may fail. That does not mean you did anything wrong. Label printing involves software, templates, paper, and printer mechanics all agreeing at the same time, which is basically a tiny office miracle. Print on plain paper, compare alignment, adjust, and then print the real sheets only when the test looks right. This habit alone can save entire packs of labels from becoming expensive scrap paper.
Conclusion
Printing labels from Google Sheets is not a native one-click feature, but it is absolutely manageable when you follow the right workflow. Start with a clean spreadsheet, separate your address fields, remove duplicates, trim whitespace, and choose a reliable label tool. For most users, the easiest options are a Google Docs label add-on or Avery Design & Print Online, especially when using standard Avery-compatible address labels.
The golden rule is simple: prepare the data carefully and test the print alignment before using real label sheets. A five-minute test can prevent crooked labels, wasted paper, and printer-related emotional weather. Whether you are sending wedding invitations, nonprofit mailers, customer thank-you cards, classroom packets, or small business packages, Google Sheets can become a practical mailing label command center.