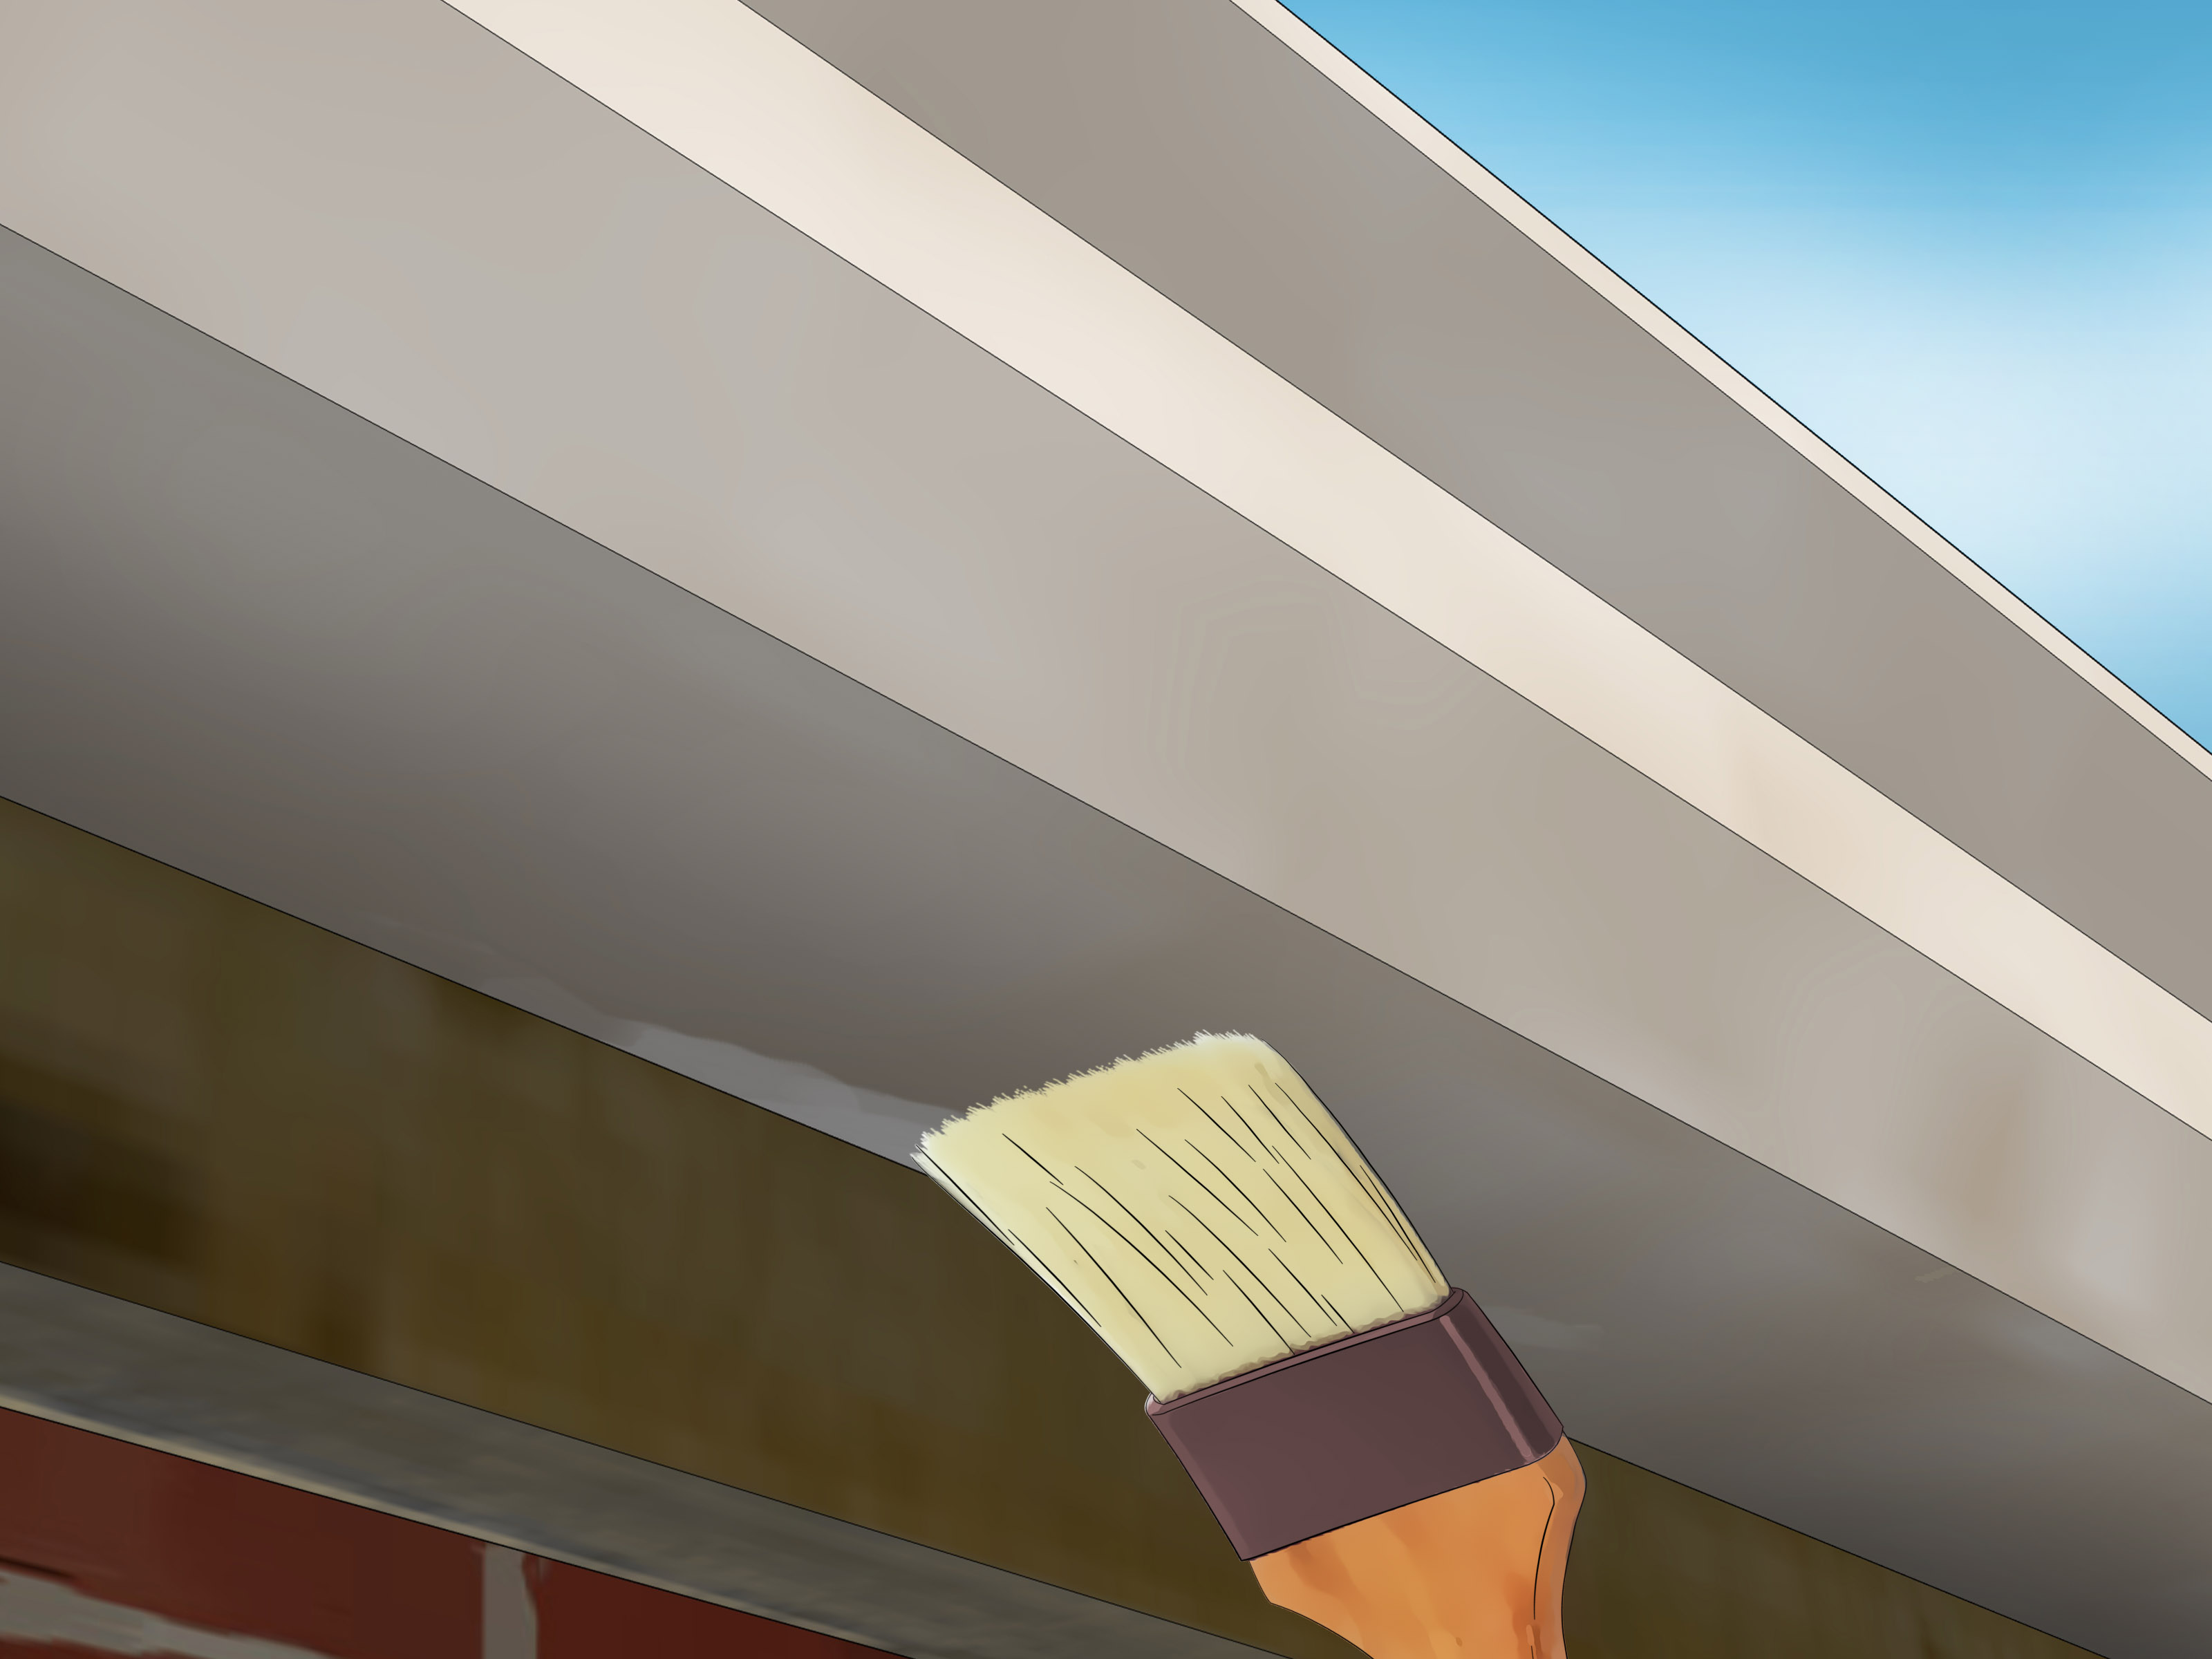
Gutters are not usually the first thing people admire about a house. Nobody walks up to a front porch and says, “Wow, those downspouts changed my life.” But when gutters are faded, streaky, peeling, chalky, or the wrong color, they suddenly become the awkward socks of your home’s exterior: small, visible, and somehow impossible to ignore.
The good news is that painting gutters can be one of the most budget-friendly ways to refresh curb appeal. The not-so-good news is that gutters live a rough life. They bake in the sun, collect grime, catch roof runoff, freeze in winter, and spend every storm acting like tiny water highways. That means you cannot just slap on leftover wall paint and hope for the best. A long-lasting finish starts with cleaning, sanding, priming, and choosing the right exterior paint for the gutter material.
This guide explains how to paint gutters the right way, whether you have aluminum, galvanized steel, vinyl, or previously painted gutters. We will cover tools, prep, safety, primer, paint choices, step-by-step application, drying time, mistakes to avoid, and practical experience from real-world gutter painting projects.
Should You Paint Your Gutters?
Yes, you can paint gutters in many cases, and the results can look surprisingly polished when the work is done carefully. Painting gutters is a smart option when the gutter system is still structurally sound but looks faded, stained, mismatched, or weathered. It can also help gutters blend with trim, fascia, siding, shutters, or the roofline.
However, paint is not a magic wand. If your gutters are sagging, leaking at seams, pulling away from the fascia, rusting through, or overflowing because of poor pitch, fix those problems before painting. Painting a failing gutter is like putting a tuxedo on a raccoon: technically impressive, but the chaos remains.
Good Candidates for Painting
Gutters are usually worth painting when they are firmly attached, drain properly, and have only cosmetic wear. Aluminum gutters with faded factory finishes, white gutters that look dingy, and previously painted gutters with minor peeling can often be restored with the right preparation.
When Replacement Makes More Sense
Replace instead of repainting if the gutters have deep corrosion, crushed sections, large cracks, repeated leaks, or major separation from the roofline. Also consider replacement if the existing gutter size is too small for your roof or local rainfall conditions.
Best Paint for Gutters by Material
The best paint for gutters depends on what the gutters are made of. Most residential gutters in the United States are aluminum or vinyl, but older homes may have galvanized steel, copper, or other metals.
Aluminum Gutters
Aluminum gutters are lightweight, common, and very paintable. For bare or weathered aluminum, use a primer made for aluminum or exterior metal. After priming, apply a high-quality exterior acrylic latex paint or a direct-to-metal coating that is labeled for properly prepared aluminum surfaces. A satin or semi-gloss finish works well because it sheds dirt more easily than flat paint.
Galvanized Steel Gutters
Galvanized steel needs careful prep because the zinc coating can resist adhesion. Clean thoroughly, scuff the surface, and apply a galvanized metal primer before painting. Use an exterior metal paint that is compatible with the primer. Skipping the primer is one of the fastest ways to earn yourself a peeling problem and a weekend of regret.
Vinyl Gutters
Vinyl gutters can be painted, but they require a paint that bonds to plastic or vinyl. Choose an exterior acrylic latex paint rated for vinyl or a compatible bonding primer plus topcoat. Avoid painting vinyl gutters a much darker color than the original unless the paint manufacturer says it is safe for vinyl. Dark colors absorb more heat, which may cause warping in some plastic materials.
Copper Gutters
Copper gutters are usually not painted because their natural patina is part of their charm and value. If you have copper gutters, think carefully before coating them. In many cases, cleaning or preserving the copper finish is better than painting over it.
Tools and Supplies You Will Need
Gather everything before you start so you do not end up balanced on a ladder wondering where your painter’s tape went. A smooth gutter painting project usually requires:
- Work gloves and safety glasses
- Stable ladder or scaffolding
- Bucket, mild detergent, and sponge or soft brush
- Garden hose with spray nozzle
- Scraper or putty knife for loose paint
- Fine- to medium-grit sanding sponge or sandpaper
- Tack cloth or clean microfiber cloth
- Painter’s tape and drop cloths
- Exterior metal or bonding primer
- Exterior acrylic, direct-to-metal, or vinyl-safe paint
- Angled brush, small foam roller, or paint sprayer
- Caulk or gutter sealant for minor exterior gaps, if needed
Safety First: Gutters Are Higher Than They Look
Painting gutters often means working near roof edges, ladders, landscaping, windows, and uneven ground. Do not rush this part. A beautiful paint job is not worth a dramatic tumble into the hydrangeas.
Use a ladder that is tall enough for the job, place it on firm level ground, and keep your body centered between the rails. Do not stretch sideways to reach “just one more foot” of gutter. Climb down and move the ladder instead. Keep three points of contact when climbing, and never carry open paint cans in your hands while going up or down. Use a tool belt, bucket hook, or have another person pass supplies safely from below.
If your home was built before 1978 and the gutters, fascia, or nearby trim have old peeling paint, test for lead or hire a lead-safe certified professional. Scraping or sanding old lead-based paint can create harmful dust. This is especially important around older homes, porches, windows, and rooflines.
How to Paint Gutters Step by Step
Step 1: Check the Weather
Plan for a dry stretch with mild temperatures. A good target for many exterior paints is around 50°F to 85°F, though you should always follow the specific label on your paint. Avoid painting in direct blazing sun, heavy humidity, high wind, or when rain is expected. Morning dew and evening moisture can interfere with adhesion and drying, so mid-morning through late afternoon is often the safest window.
Step 2: Clean Out the Gutters
Before painting the outside, remove leaves, sticks, roof grit, and mystery sludge from the inside. Clogged gutters can spill dirty water over your fresh paint later. Scoop out debris, flush the system with a hose, and confirm that downspouts are draining properly.
Step 3: Wash the Exterior Surface
Paint needs a clean surface. Mix mild detergent with water and scrub the outside of the gutters, including the bottom lip where grime loves to hide. Rinse thoroughly with a hose. For mildew, use a cleaner labeled for exterior mildew removal and follow the product directions. Let the gutters dry completely before sanding or priming.
Step 4: Scrape Loose Paint
If the gutters were painted before, remove any peeling, bubbling, or flaking paint. Do not force off paint that is firmly bonded, but do remove anything loose. Paint applied over failing paint will fail with it. Think of loose paint as a bad foundation: the new coat may look nice briefly, then betray you in public.
Step 5: Sand for Adhesion
Lightly sand glossy, chalky, or previously painted surfaces. You are not trying to grind the gutter into a new shape. The goal is to dull the shine and create a slightly rough surface so primer and paint can grip. Use a fine- to medium-grit sanding sponge, then wipe away dust with a clean damp cloth or tack cloth.
Step 6: Protect the House and Landscaping
Use painter’s tape along fascia, siding, trim, brick, or roof edges. Place drop cloths over shrubs, decks, walkways, and outdoor fixtures. If you are spraying, masking becomes even more important because overspray has a mischievous personality and absolutely loves windows.
Step 7: Repair Small Problems
Now is the time to address minor issues. Tighten loose brackets, resecure sections, and seal small exterior cracks or seams with the correct gutter sealant. Do not paint over wet sealant. Let repairs cure according to the product instructions before continuing.
Step 8: Apply the Right Primer
Primer is what separates a durable gutter paint job from a future peeling confetti show. Bare aluminum and galvanized steel usually need a metal primer. Vinyl may need a bonding primer unless the paint is specifically designed to adhere directly to vinyl. Previously painted gutters in good condition may not always require full priming, but spot-priming bare metal, sanded areas, and repaired sections is wise.
Apply primer in a thin, even coat using an angled brush, foam roller, or sprayer. Watch for drips along the lower edge. Gutters have lots of curves and lips where excess primer can collect. Let the primer dry fully before painting.
Step 9: Choose Your Painting Method
A brush gives excellent control around brackets, seams, and downspout elbows. A small foam roller can make straight runs faster and smoother. A paint sprayer can create a very even finish, but it requires careful masking and calm weather. For most DIY homeowners, a brush plus small roller is the best balance of control, cost, and sanity.
Step 10: Apply the First Coat
Start at one end of the gutter and work in manageable sections. Use long, smooth strokes in the direction of the gutter. Keep the coat thin. Thick coats may sag, drip, wrinkle, or dry unevenly. Paint the front face, bottom edge, outside lip, end caps, and downspouts. Check from different angles because curved gutters can hide missed spots.
Step 11: Let It Dry Properly
Drying time varies by paint type, temperature, humidity, and surface condition. Follow the label carefully. Do not rush the second coat. If the first coat is still soft, the next coat can drag, wrinkle, or trap moisture. Patience is cheaper than sanding everything back down and muttering at the sky.
Step 12: Apply the Second Coat
A second coat improves color depth, durability, and weather resistance. Apply it just as carefully as the first coat, keeping the paint thin and even. Look closely around seams, brackets, corners, and downspouts. These areas are easy to miss and often take the most abuse from weather.
Step 13: Remove Tape and Inspect
Remove painter’s tape before the paint fully hardens, unless the tape manufacturer recommends otherwise. Pull slowly at an angle to help create a clean edge. Inspect the gutters from ground level and close up. Touch up thin spots, drips, or accidental marks on trim.
Color Ideas for Painted Gutters
When choosing a gutter color, the safest design move is to match either the trim, fascia, siding, or roof. White gutters can look crisp on traditional homes with white trim. Black gutters can look modern and sharp when paired with black window frames or dark roofing. Brown, bronze, clay, and gray gutters often blend well with brick, stone, or earth-toned exteriors.
Avoid choosing a gutter color that fights every other exterior element. Gutters are supporting actors, not the lead singer. Unless your design goal is bold contrast, let them blend into the architecture.
Common Mistakes to Avoid
Painting Dirty Gutters
Dirt, pollen, mildew, chalky oxidation, and roof grit can prevent paint from sticking. If you skip cleaning, the paint may bond to the grime instead of the gutter. That is not adhesion; that is wishful thinking.
Skipping Primer on Bare Metal
Primer helps paint bond to slick metal and improves resistance to peeling. Bare aluminum, galvanized steel, and exposed spots should be primed with a compatible product.
Painting in Bad Weather
Heat, cold, rain, dew, and high humidity can all ruin exterior paint performance. Check the forecast before starting. If the weather looks suspicious, believe it.
Using Interior Paint
Interior paint is not built for rain, UV rays, temperature swings, or outdoor grime. Use exterior paint rated for the gutter material.
Applying Paint Too Thick
Thick coats do not mean stronger protection. They often mean drips, uneven drying, and visible brush marks. Two thin coats are usually better than one heroic glob.
How Long Does Painted Gutter Finish Last?
A well-prepped and properly painted gutter finish can last several years, depending on climate, sun exposure, paint quality, and maintenance. Homes in harsh sun, salty coastal air, heavy snow regions, or humid climates may need touch-ups sooner. Annual cleaning helps extend the life of the finish because dirt and organic debris hold moisture against the paint.
Maintenance After Painting Gutters
Once the gutters are painted, keep them clean. Wash the exterior gently once or twice a year, especially after pollen season or heavy storms. Clear the inside regularly so water does not overflow and stain the fresh finish. Inspect seams, hangers, and downspouts during cleaning. Small fixes are much easier than repainting the entire system because one ignored leak turned into a waterfall with opinions.
Real-World Experiences: What Painting Gutters Teaches You
The first thing many homeowners learn when painting gutters is that prep takes longer than painting. The actual paint application may feel quick, but cleaning, drying, scraping, sanding, taping, and setting up ladders can easily take most of the project time. This is normal. In fact, if the painting step feels like the biggest part of the job, there is a good chance the prep was rushed.
One practical experience is that white gutters often look clean from the ground until you get close. Up on a ladder, you may find gray oxidation, black streaks, spiderwebs, roof granules, and sticky tree residue. A simple detergent wash may be enough for light dirt, but heavily weathered gutters often need extra scrubbing. A soft brush works well because it gets under the front lip without gouging the surface.
Another lesson is that sanding glossy gutters matters more than people expect. Factory-finished aluminum can be slick. Paint may appear to cover it at first, but without scuffing and priming, adhesion can be weak. A light sanding pass changes the surface just enough to help the coating grip. You do not need to remove all old paint unless it is failing. You just need a clean, dull, stable surface.
Color choice also looks different outside than it does on a paint chip. A charcoal gutter may look elegant in the store, then appear almost black in bright sun. A soft beige may disappear beautifully against stone but look slightly pink next to tan siding. Testing a small hidden section or painting a sample board and holding it near the gutter line can prevent expensive disappointment.
Downspouts deserve special attention. They are more visible than people realize, especially near front entries, garage doors, patios, and corners. Painting downspouts the same color as siding can make them visually disappear. Painting them to match trim can make them look intentional. Either approach can work, but random contrast usually makes them stand out like punctuation marks on the house.
Many DIY painters also discover that a small angled brush is their best friend. Rollers are great for long straight sections, but brackets, seams, elbows, and end caps need control. Sprayers can look beautiful, but they require serious masking. For a small or medium house, brushing and rolling is often less stressful than fighting overspray.
The biggest experience-based tip is to work in sections and stop before you get tired. Gutter painting involves height, repetition, and detail work. Fatigue leads to drips, missed spots, messy tape lines, and unsafe ladder habits. A patient two-day project usually beats a rushed one-day marathon. Your gutters will not give you a trophy for speed, but they will quietly reward good prep every time it rains.
Conclusion
Painting gutters is a practical way to refresh your home’s exterior without replacing a functional gutter system. The secret is not complicated, but it is specific: clean thoroughly, remove loose paint, scuff glossy surfaces, prime bare or difficult materials, and use an exterior paint suited to aluminum, galvanized steel, vinyl, or your specific gutter type. Choose a dry mild day, work safely, apply thin coats, and give everything enough time to cure.
Done well, painted gutters can sharpen curb appeal, tie exterior colors together, and make an older home look noticeably cleaner. Done poorly, they peel faster than a sunburn. Respect the prep work, and your gutters can go from faded background noise to crisp architectural detail.