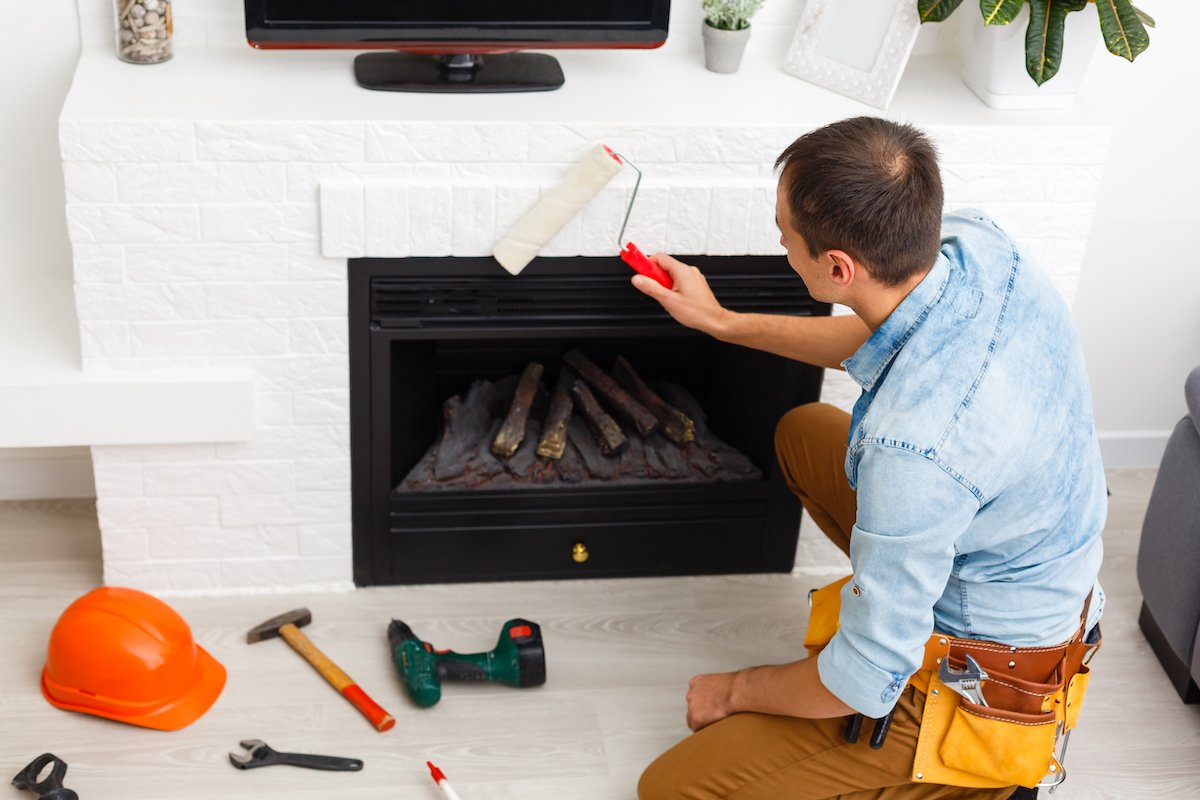
A brick fireplace can be charming, historic, cozy, and occasionally… aggressively orange. If yours looks like it was designed to match a 1970s casserole dish, painting it may be one of the fastest ways to refresh your living room without hiring a demolition crew or selling the house out of frustration.
Learning how to paint a brick fireplace is a very doable DIY project, but it is not the same as painting a flat wall. Brick is porous, mortar is dusty, soot is stubborn, and fireplaces live near heat. That means the secret to a great painted brick fireplace is not simply buying a cute color and going wild with a roller. The real magic is in the prep work: cleaning, repairing, drying, priming, and choosing the right paint for the right part of the fireplace.
This in-depth DIYer’s guide explains how to paint a brick fireplace step by step, what tools to use, what mistakes to avoid, and how to get a finish that looks intentional instead of like a weekend panic project.
Should You Paint a Brick Fireplace?
Painting a brick fireplace is a good idea when the brick is structurally sound but visually outdated, stained, too dark, or clashing with your home decor. Paint can make a heavy fireplace feel lighter, help a small room look brighter, or turn a forgotten feature into a clean focal point.
However, paint is not a magic eraser for damaged masonry. If the brick is crumbling, the mortar is loose, or moisture is coming through the wall, paint may trap problems beneath the surface. Before you begin, inspect the fireplace carefully. Look for cracks, powdery white deposits known as efflorescence, loose mortar, peeling old coatings, or musty smells. Those issues should be corrected first.
Also remember this: painting brick is usually a permanent decision. You can repaint it later, but returning painted brick to its original bare look is labor-intensive and often imperfect. So before you cover that brick, make sure you are ready to commit. Paint is not a first date; with brick, it is closer to a long-term relationship.
Best Paint for a Brick Fireplace
For the exterior face of an indoor brick fireplace, a high-quality interior acrylic latex paint is commonly used. Many homeowners prefer eggshell, satin, or semi-gloss finishes because they are easier to wipe clean than flat paint. A matte or eggshell finish looks softer and more natural, while satin or semi-gloss adds durability and a little polish.
The primer matters just as much as the paint. Brick is thirsty. Without primer, it can drink paint like it just crossed a desert. Use a masonry primer or a high-adhesion stain-blocking primer suitable for brick, masonry, or porous surfaces. Primer helps seal the surface, improves paint adhesion, and reduces blotchy coverage.
What About High-Heat Paint?
The brick surround and mantel-facing areas usually do not require specialty high-heat paint if they are not exposed to direct flames. The inside of the firebox is different. If you plan to paint the interior firebox, read product labels carefully. Many high-heat paints are intended for metal surfaces such as grills, stoves, and radiators, and some are not recommended for surfaces directly exposed to flames.
For a working wood-burning fireplace, it is often best to avoid painting the firebox interior unless you consult a fireplace professional and choose a product specifically rated for that use. For decorative or nonworking fireplaces, black high-heat paint may be used in some cases, but ventilation and label instructions are essential.
Tools and Materials You’ll Need
- Drop cloths or plastic sheeting
- Painter’s tape
- Safety glasses, gloves, and a dust mask
- Stiff-bristle brush or wire brush
- Vacuum with brush attachment
- Bucket, sponge, and mild detergent
- TSP cleaner or soot remover, if needed
- Clean water for rinsing
- Masonry repair caulk or mortar patch
- Masonry primer or stain-blocking primer
- Interior acrylic latex paint
- 2-inch angled brush
- Roller frame and thick-nap roller cover, usually 1/2 inch to 3/4 inch
- Paint tray
- Small artist brush for deep mortar lines, if needed
How to Paint a Brick Fireplace Step by Step
Step 1: Protect the Room
Start by clearing furniture, decor, fireplace tools, and anything else near the work area. Cover the floor with drop cloths, and use painter’s tape around the mantel, walls, trim, hearth, and any surface you do not want painted.
Do not rush this step. Paint has a mysterious ability to land exactly where you did not protect the floor. It is basically a tiny home-improvement goblin.
Step 2: Inspect the Brick and Mortar
Check the fireplace for loose mortar, cracked bricks, old sealers, soot buildup, water stains, and efflorescence. If the mortar is crumbling, repair it before painting. Small gaps can often be filled with masonry repair caulk, while larger mortar problems may require repointing.
If your home was built before 1978 and the fireplace or surrounding trim has old paint, be cautious. Disturbing lead-based paint can create dangerous dust. Use a lead test kit or hire a certified professional before sanding, scraping, or aggressively brushing old painted surfaces.
Step 3: Brush Away Loose Debris
Use a stiff-bristle brush or wire brush to scrub the brick and mortar lines. The goal is to remove dust, cobwebs, loose grit, and any flaky surface material. Pay extra attention to the grooves between bricks, where dust likes to hide like it pays rent.
After brushing, vacuum the entire fireplace with a brush attachment. If you skip this, the primer may bond to dust instead of brick, and that is not exactly the foundation of a lasting makeover.
Step 4: Clean the Brick Thoroughly
Mix warm water with mild detergent and scrub the brick with a sponge or brush. Around the firebox opening, soot may require a stronger cleaner such as TSP or a fireplace-safe soot remover. Always follow the cleaner’s label directions, wear gloves and eye protection, and ventilate the room.
Rinse with clean water after washing. Any soap residue left behind can interfere with primer adhesion. Let the brick dry completely before moving on. This may take 24 hours or longer, depending on humidity and how porous the brick is.
Step 5: Tape and Prime
Once the brick is clean and dry, apply primer. Use a brush to cut into edges, corners, and mortar lines. Then use a thick-nap roller to cover the brick faces. A 1/2-inch or 3/4-inch nap roller helps reach uneven texture, but a brush is still necessary for deep grooves and rough mortar joints.
Work the primer into the brick rather than letting it sit lightly on the surface. If the brick is very dark, stained, or porous, a second coat of primer may be needed. Let the primer dry according to the manufacturer’s instructions.
Step 6: Paint the Mortar Lines First
When the primer is dry, begin painting with a 2-inch angled brush. Start with the mortar lines, inside corners, and edges around the mantel and hearth. Brushing first helps avoid the common problem of painted brick faces with shadowy, unfinished mortar grooves.
This part is slower than rolling, but it makes the final result look professional. Think of it as flossing for your fireplace. Nobody is excited about it, but skipping it shows.
Step 7: Roll the Brick Faces
Pour paint into a tray and use a thick-nap roller to apply paint over the brick faces. Roll in multiple directions to push paint into the textured surface. Avoid overloading the roller, because heavy paint can drip along the mortar lines and create a gloopy finish.
Work in small sections, blending brushed and rolled areas while the paint is still wet. If you notice missed crevices, touch them up with a brush before the paint dries.
Step 8: Apply a Second Coat
Most brick fireplaces need two coats of paint for even coverage. Dark red or brown brick may need more if you are painting it white or cream. Allow the first coat to dry fully, then apply the second coat using the same method: brush the mortar and edges, then roll the brick faces.
Remove painter’s tape carefully before the final coat fully hardens. This helps prevent the tape from pulling up dried paint along the edges.
Step 9: Let the Paint Cure
Dry paint is not the same as cured paint. The surface may feel dry within hours, but it can take days or weeks to reach full hardness. Avoid scrubbing the fireplace, leaning decor against it, or exposing it to heavy use too soon.
If the fireplace is functional, wait until the paint and primer have cured according to product instructions before using it. Good ventilation is important when lighting the fireplace after a paint project.
Painted Brick Fireplace Color Ideas
White is the classic choice for a painted brick fireplace because it brightens the room and works with farmhouse, coastal, traditional, and modern interiors. Warm white or creamy off-white is often more forgiving than stark white, especially in rooms with wood floors or warm lighting.
Soft gray gives the fireplace a cooler, more contemporary look. Greige is a flexible option when the room contains both warm and cool tones. Charcoal or matte black creates drama and can make an outdated fireplace look sleek, especially when paired with a wood mantel or light walls.
For a bolder design, consider deep green, navy, clay, or taupe. These colors can turn the fireplace into a true focal point instead of simply making it disappear. Just test samples first. Brick texture changes how color reads, and the shade that looked calm on a paint chip may look like a theatrical villain on a six-foot fireplace.
Alternatives to Painting Brick
If you are nervous about fully covering the brick, consider whitewashing, limewashing, or staining. Whitewash uses diluted paint to soften the brick color while allowing some original variation to show through. Limewash creates a chalky, old-world finish that can be more breathable than standard paint. Brick stain penetrates the surface rather than sitting on top, preserving more of the masonry texture.
These alternatives are useful when you want a lighter or more updated fireplace but still enjoy the character of brick. They are also great options for homeowners who hear the phrase “solid painted white” and immediately feel commitment anxiety.
Common Mistakes to Avoid
Painting Dirty Brick
Soot, dust, grease, and ash prevent primer from bonding properly. Cleaning is not glamorous, but it is the difference between a durable finish and paint that flakes like a bad sunburn.
Skipping Primer
Primer seals porous brick and helps paint adhere. Without it, the finish may look uneven, require extra coats, or fail earlier than expected.
Using the Wrong Roller
A short-nap roller is fine for smooth drywall but frustrating on brick. Use a thick-nap roller and keep a brush nearby for mortar lines.
Painting Over Moisture Problems
If the brick is damp or showing signs of water intrusion, solve the moisture issue first. Paint can trap moisture and lead to peeling, bubbling, or masonry damage.
Painting the Firebox Without Research
The firebox is exposed to much higher heat than the outer brick surround. Use only products rated for the specific surface and heat exposure, and do not assume every high-heat paint is safe for direct flame contact.
How to Maintain a Painted Brick Fireplace
After painting, keep the fireplace looking fresh with gentle cleaning. Dust it regularly with a soft cloth or vacuum brush attachment. For light smudges, wipe with a damp cloth and mild soap. Avoid abrasive scrubbers, especially during the first few weeks after painting.
If the fireplace sees frequent use, soot may collect near the opening. Clean it carefully and touch up the paint when needed. Keep a small labeled container of leftover paint for future repairs. Your future self will thank you, probably while wearing old sweatpants and wondering why the exact paint color disappeared from memory.
Real DIY Experience: Lessons From Painting a Brick Fireplace
The most important real-world lesson about painting a brick fireplace is that the project looks easy right up until you meet the mortar lines. On a flat wall, a roller feels fast and satisfying. On brick, the roller covers the raised faces beautifully while the recessed joints sit there untouched, quietly judging you. That is why experienced DIYers usually brush the mortar first, then roll the brick faces, then come back with a small brush for the stubborn pockets.
Another practical lesson is that brick absorbs more primer and paint than expected. A fireplace that looks small from the sofa can become a surprisingly hungry surface once you start coating it. Buy a little more primer and paint than the square footage calculator suggests, especially if the brick is rough, dark, or heavily textured. Running out of paint halfway through a final coat is a very specific form of household tragedy.
Color testing is also worth the trouble. White paint on brick can look crisp and clean, but it can also look cold if the room has low natural light. Creamy white may look better in older homes with warm wood trim. Charcoal can be gorgeous, but it changes the mood of the room dramatically. Before committing, paint a sample on a hidden area or on a spare brick if you have one. Look at it in morning light, afternoon light, and evening lamp light. Paint colors are sneaky little shapeshifters.
Cleaning takes longer than most beginners expect. Soot near the firebox does not always disappear with one polite swipe of soapy water. It may take repeated scrubbing, rinsing, and drying. The brick must be completely dry before primer goes on, so this is not the best project to start two hours before guests arrive. A smart schedule is to clean on day one, prime on day two, and paint on day three.
Finally, the project is messy but rewarding. The first coat often looks uneven, especially over red brick. Do not panic. The second coat is where the fireplace starts looking like a design choice instead of a crime scene. By the time the tape comes off and the room is cleaned up, the transformation can feel huge. A painted brick fireplace can make the entire room look brighter, calmer, and more finished, all without removing a single brick.
Conclusion
Painting a brick fireplace is one of the highest-impact DIY projects you can tackle in a living room. The process is straightforward, but the details matter. Clean the brick thoroughly, repair damage, let everything dry, use the right primer, choose a durable interior paint, and take your time with the mortar lines.
Done correctly, a painted brick fireplace can modernize an outdated room, brighten a dark wall, and create a beautiful focal point for far less than a full fireplace remodel. The project rewards patience more than special skill. In other words, you do not need to be a professional painter; you just need to respect the brick, protect the floor, and resist the urge to skip primer.
Note: This article is an original, publish-ready synthesis based on real DIY painting practices, paint manufacturer recommendations, home-improvement guidance, and fireplace safety considerations. Always follow the specific instructions on the primer, paint, cleaner, and fireplace products you use.