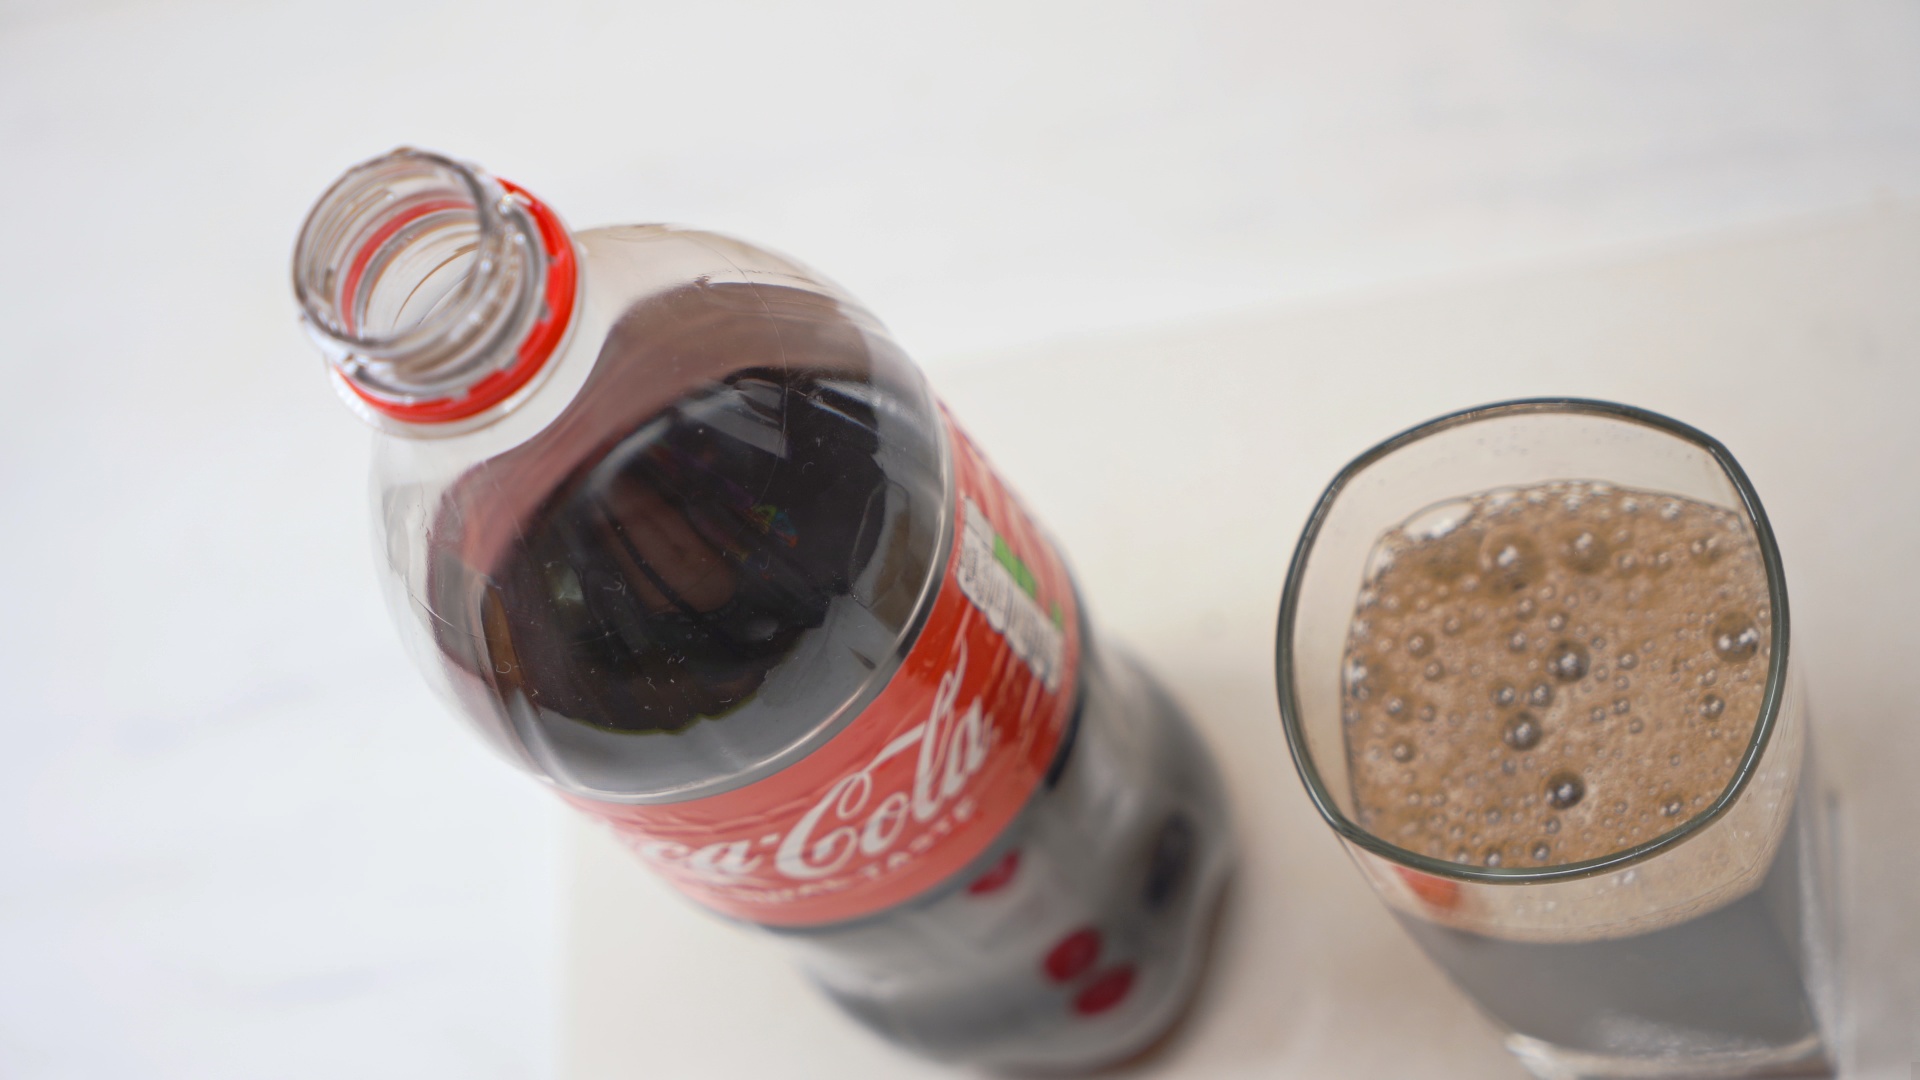
Few household disasters are as dramatic, sticky, and weirdly cinematic as opening a shaken soda. One second, you are thirsty. The next, your kitchen counter looks like it hosted a tiny cola volcano with poor emotional control. Whether the can rolled around in a backpack, bounced in the car, or was “accidentally” shaken by a suspicious sibling, knowing how to open a shaken soda can save your shirt, your floor, and your dignity.
The good news is that a shaken soda is not magic. It is science wearing a fizzy disguise. Soda contains carbon dioxide gas dissolved under pressure. When the container is shaken, tiny bubbles form throughout the liquid and cling to the inside surfaces. Open it too fast, and those bubbles expand suddenly, pushing soda upward and outward like it has been waiting all day to embarrass you.
This guide explains how to open a shaken soda in 12 practical steps, why each step works, and what to do if you are dealing with a can, plastic bottle, warm soda, diet soda, or an especially angry-looking beverage. Grab a paper towel, take a deep breath, and let us calmly negotiate with the fizz.
Why Shaken Soda Explodes in the First Place
Before learning how to open a shaken soda safely, it helps to understand the bubbly troublemaker inside: carbon dioxide. During manufacturing, soda is carbonated by adding carbon dioxide under pressure. Cold liquid holds gas better than warm liquid, which is why soda tends to stay fizzier when chilled.
Inside a sealed can or bottle, the dissolved carbon dioxide remains trapped. When you open the container, pressure drops. In a calm soda, the gas escapes gradually, giving you a satisfying hiss. In a shaken soda, however, shaking has already created countless tiny bubbles. These bubbles act like little escape ramps for the gas. Once the seal breaks, they expand quickly and carry liquid with them. That is the messy “soda explosion” everyone knows and nobody invited.
How to Open a Shaken Soda: 12 Steps
Step 1: Stop Moving the Soda Immediately
The first rule of opening a shaken soda is simple: do not make the problem worse. Put the can or bottle down on a stable surface and stop handling it aggressively. Do not toss it from hand to hand. Do not spin it. Do not perform a confidence-building shake “just to test it.” The soda has already had enough excitement.
Every extra movement can create more bubbles and spread them through the liquid. A still container gives the bubbles time to rise, collapse, or return toward the headspace at the top of the container.
Step 2: Check the Temperature
Warm soda is usually more likely to foam over than cold soda. That is because carbon dioxide escapes more easily from warmer liquid. If the soda has been sitting in a hot car, backpack, picnic basket, or sunny windowsill, treat it like a tiny pressure drama in aluminum clothing.
If possible, place the soda in the refrigerator for 20 to 30 minutes before opening. If you are outdoors, put it in a cooler or ice bath. Do not put a hot soda in the freezer and forget about it; frozen soda can expand and create a much bigger mess than foam on the counter.
Step 3: Set It Upright on a Flat Surface
Place the soda upright on a table, counter, or other flat surface. Upright positioning matters because it helps the gas collect near the top, where it can escape more cleanly when opened. If the can is sideways or tilted, liquid may sit directly under the opening and spray out more easily.
For cans, the pull tab should face upward. For bottles, the cap should be at the highest point. Think of this as giving the fizz a polite exit door instead of forcing it to sprint through a crowd of liquid.
Step 4: Wait as Long as You Can
The most reliable trick for opening a shaken soda is not tapping, chanting, or glaring at it. It is waiting. Time allows bubbles to rise and the gas pressure to settle more evenly. If the soda was only lightly disturbed, a few minutes may be enough. If it was violently shaken, give it 10 to 20 minutes if you can.
Waiting is not glamorous, but neither is mopping root beer off a ceiling fan. If the drink is not urgently needed, patience is the cleanest tool you have.
Step 5: Tap or Flick the Sides, Not Just the Top
Many people tap the top of a soda can before opening it. The idea is to dislodge bubbles stuck to the inside walls so they rise into the headspace. However, tapping the top alone is not always the most effective approach. Since bubbles can cling to the sides and bottom, a few gentle taps or flicks around the sides may help move them upward.
Do this gently. You are not trying to punish the can. Use your fingertips to tap around the sides for 10 to 15 seconds. Rotate the can as you go. The goal is to encourage bubbles to leave the walls and gather at the top, where gas can escape without pushing as much liquid out.
Step 6: Cover the Opening Area with a Napkin or Paper Towel
Even if you do everything correctly, a shaken soda can still surprise you. Before opening, place a clean napkin, paper towel, or dish towel loosely over the top. This will not stop a major explosion, but it can catch minor spray and keep sticky droplets away from your face, keyboard, homework, or someone’s very judgmental cat.
Do not wrap the container tightly or block the opening completely. You simply want a splash guard, not a pressure trap.
Step 7: Open a Can Slowly and Partially
If you are opening a soda can, lift the pull tab just enough to break the seal slightly. Listen for the hiss. The goal is to release pressure in a controlled way instead of popping the can open all at once. If foam begins to rise, pause immediately and let it settle.
Once the first burst of gas calms down, open the tab a little more. Continue slowly until the can is fully open. This gradual method gives the carbon dioxide a chance to escape without dragging half the drink along for the ride.
Step 8: Open a Bottle by Cracking the Cap Tiny Bit by Tiny Bit
Plastic soda bottles are easier to manage than cans because the cap allows more control. Hold the bottle upright, place a towel around the cap area, and twist the cap slightly until you hear a hiss. Do not remove the cap immediately.
Let the pressure escape for a few seconds, then tighten the cap again if foam starts climbing. Repeat this “crack, hiss, pause” process until the soda settles. Once the hissing becomes gentle and the foam is no longer rushing toward the top, slowly remove the cap.
Step 9: Keep Your Face Away from the Opening
This step sounds obvious until the soda acts faster than your reflexes. Keep your face, eyes, and nice clothes away from the opening. Open the container at arm’s length, angled slightly away from you and other people.
Even though soda is not usually dangerous in small splashes, it can sting if it gets in your eyes and can make a sticky mess on skin, glasses, and clothing. A little distance gives you time to react if the fizz has one last dramatic speech prepared.
Step 10: Use the Sink When in Doubt
If the soda was seriously shaken, open it over a sink. This is especially smart for cans, warm bottles, diet soda, sparkling water, and any drink that has traveled through a backpack during a school day like it was training for a rodeo.
A sink gives the foam somewhere harmless to go. You can also rinse the container before drinking from it if sticky soda runs down the sides.
Step 11: Pour Slowly Into a Glass
After opening a shaken soda, pour it slowly if you plan to use a glass. Tilt the glass and let the liquid run down the side rather than splashing straight into the bottom. A hard pour creates more bubbles and may turn a successfully opened soda into a foam mountain.
Pour a little, pause, and let the foam settle. Then continue. This is especially useful for root beer, cola, cream soda, and sparkling water, all of which can foam enthusiastically under the right conditions.
Step 12: Clean the Container Before Drinking
If any soda leaked or foamed around the rim, wipe the top before drinking. This is partly for cleanliness and partly for comfort. Sticky rims are unpleasant, and nobody wants to take a heroic first sip only to discover that the can has become a syrup bracelet.
Use a clean napkin, paper towel, or rinse the container under water if available. Then enjoy your drink, ideally with the proud calm of someone who defeated carbonation using science and patience.
Can You Really Stop a Shaken Soda from Exploding?
You can reduce the risk, but there is no perfect guarantee. The result depends on how hard the soda was shaken, the container type, the temperature, the drink formula, and how long you waited. A cold can that was gently jostled may open cleanly after a short rest. A warm diet soda that was shaken like a maraca may still foam even after tapping.
The best combination is simple: chill it, keep it upright, wait, tap the sides gently, and open it slowly. That approach gives the gas the best chance to escape without taking the soda with it.
Special Tips for Different Soda Containers
For Aluminum Cans
Cans are trickier because pull tabs release pressure quickly. You cannot unscrew a can a quarter turn and pause the way you can with a bottle. That is why waiting and opening over a sink are especially useful. Tap the sides, cover the top with a napkin, and lift the tab slowly until you hear the first hiss.
For Plastic Bottles
Plastic bottles offer more control. Use the crack-and-pause method: loosen the cap slightly, let gas escape, tighten if foam rises, and repeat. Never squeeze the bottle while opening it. Squeezing can push liquid upward and make the foam problem worse.
For Glass Bottles
Glass bottles can be less forgiving because many require a bottle opener and do not allow gradual pressure release. Keep the bottle cold, upright, and still for as long as possible. Open it over a sink or outdoors, and keep your face away from the cap. If the bottle looks damaged, cracked, or unusually pressurized, do not open it.
Common Mistakes When Opening a Shaken Soda
Mistake 1: Opening It Immediately
This is the classic error. The soda gets shaken, someone says, “It’ll be fine,” and then the beverage proves that optimism is not a cleaning strategy. Waiting is boring, but it works better than rushing.
Mistake 2: Tapping Too Hard
Gentle tapping can help dislodge bubbles, but aggressive pounding adds more movement. You want to calm the soda, not challenge it to a duel.
Mistake 3: Opening It Near Electronics
Never open a suspicious soda near a laptop, phone, game controller, power strip, or anything else that becomes expensive when sticky. The safest place is over a sink, outside, or on a surface that can be wiped easily.
Mistake 4: Forgetting About Temperature
Warm soda foams more easily. A chilled drink is easier to open safely because cold liquid holds carbonation better. When possible, cool the drink first.
Does Diet Soda Explode More Than Regular Soda?
Many people believe diet soda foams more aggressively than regular soda, and in everyday life, it often seems that way. The exact behavior can vary by brand and formula, but ingredients such as sweeteners, preservatives, and carbonation levels may influence bubble formation and foam stability.
The practical advice is easy: treat diet soda with extra respect. Chill it, wait longer, and open it over the sink. Diet cola has a reputation for drama, and sometimes reputations are earned.
How Long Should You Wait Before Opening a Shaken Soda?
For a lightly shaken soda, wait at least 2 to 5 minutes. For a heavily shaken soda, 10 to 20 minutes is safer. If the drink is warm, chill it first and then open it slowly. If you have the luxury of time, waiting longer is better.
The bubbles created by shaking do not stay suspended forever. Over time, they rise, shrink, collapse, or return toward equilibrium. In normal-person language: the soda gradually stops plotting against your outfit.
What If the Soda Starts Foaming Anyway?
If foam starts rising while you open the container, stop. For a bottle, tighten the cap again gently and wait. For a can, pause with the tab partly opened if possible and let the foam settle. Keep the container upright and avoid squeezing or tilting it.
If the foam spills, do not panic. Move the container to the sink, let the excess foam run off, and wipe the sides. Most soda mishaps look more dramatic than they are. The main enemy is stickiness, and stickiness can be defeated with water, towels, and emotional resilience.
Real-Life Experience: The Backpack Soda Incident
Anyone who has ever carried a soda in a backpack knows the danger. You put a can in the side pocket in the morning, walk around all day, toss the bag onto a chair, forget about it, and later decide it is time for a refreshing drink. Unfortunately, that soda has spent the day bouncing between textbooks, earbuds, and whatever mysterious crumbs live at the bottom of your bag. It is no longer a beverage. It is a pressurized prank.
The first experience many people have with shaken soda is opening it too quickly. The tab snaps, the hiss turns into a wet roar, and foam shoots out like the can has been waiting for revenge. The counter gets sticky. The floor gets sticky. Somehow, even your elbow gets sticky, despite not being involved in the original event. This is when most people learn that shaken soda deserves a plan.
A better approach is to treat the soda like it needs a short timeout. Place it upright on a counter and leave it alone. If it feels warm, chill it. After several minutes, tap around the sides with your fingertips. Then take it to the sink, cover the top with a paper towel, and lift the tab just enough to hear the first whisper of gas. The moment foam appears, pause. Let the drink settle. Continue slowly.
This method is not flashy, but it turns a likely disaster into a manageable hiss. Instead of a cola fountain, you may get a small puff of foam. Instead of scrubbing the wall, you wipe the rim and enjoy the drink. That is a win.
Real-Life Experience: Opening a Shaken Bottle in the Car
Plastic bottles can be sneaky because they feel safer than cans. You may think, “I can just open it slowly.” That is true, but only if you actually open it slowly. A common mistake is twisting the cap too far on the first try. The bottle hisses, foam climbs fast, and suddenly you are holding a bubbling science project between your knees.
The best bottle-opening experience comes from patience and control. Hold the bottle upright. Do not squeeze it. Twist the cap a tiny amount until you hear a soft hiss. Then stop. If foam rises toward the neck, tighten the cap slightly and let the bubbles drop. Repeat this several times. It may feel silly, like you are negotiating with a carbonated raccoon, but it works.
Opening a shaken bottle inside a car is risky because there is nowhere good for the foam to go. If possible, step outside first. If you cannot, place the bottle in a cup holder, aim it away from people and electronics, and use a napkin around the cap. The cup holder may catch minor overflow, but a sink is still the champion.
Real-Life Experience: The Party Cooler Problem
At picnics, parties, and cookouts, soda cans often live in coolers full of ice. That sounds safe because cold soda behaves better than warm soda. But coolers also get bumped, dragged, opened, closed, and searched by people digging for “the good flavor.” A can at the bottom may be cold but thoroughly shaken.
When pulling soda from a cooler, check whether the can has been rolling around. If it feels suspicious, set it upright for a few minutes before opening. Wipe off melted ice water so your fingers do not slip on the tab. Then open it slowly over grass, a sink, or a safe outdoor spot. Cold soda may foam less, but it can still surprise you if bubbles are clinging inside.
A helpful habit is to store cans upright in the cooler when possible. It keeps the headspace near the top and reduces sideways sloshing. It will not prevent every problem, but it makes the cooler less chaotic. Your future self, wearing a clean shirt, will appreciate the effort.
Real-Life Experience: When Waiting Saves the Day
One of the simplest lessons from shaken soda is that waiting often beats every trick. People love clever hacks, but carbonation is stubbornly practical. Give the bubbles time to move upward and the pressure to settle, and the drink usually becomes much less dramatic.
Imagine dropping a can while unloading groceries. It hits the floor, rolls under the table, and makes a sound that suggests trouble. The worst move is to pick it up and open it immediately. The better move is to place it upright in the refrigerator, finish putting away the groceries, and come back later. By then, the soda is colder and calmer. You can tap the sides, open it slowly, and avoid turning your kitchen into a sticky crime scene.
This experience applies to almost every shaken soda situation. Backpack soda? Wait. Car soda? Wait. Cooler soda? Wait. Soda dropped by a friend who says, “Oops, but it’s probably fine”? Definitely wait. The more violent the shake, the more useful the delay.
Final Thoughts: Respect the Fizz
Learning how to open a shaken soda is really about respecting pressure, bubbles, and timing. You do not need fancy tools or complicated tricks. You need to stop moving the container, keep it upright, chill it if possible, wait, gently tap the sides, and open it slowly. For bottles, release pressure in tiny stages. For cans, use extra caution because the pull tab gives you less control.
The next time a soda gets shaken, do not panic. Do not sprint to open it. Do not trust the friend who says, “It won’t explode,” while standing suspiciously far away. Use the 12 steps above and let science handle the fizz. Your drink will taste better, your clothes will stay cleaner, and your kitchen will not smell like cherry cola for the rest of the afternoon.
Note: This article is written for practical household guidance. If a can or bottle appears damaged, bulging, cracked, leaking, or unsafe, do not open it. Dispose of it carefully and choose another drink.