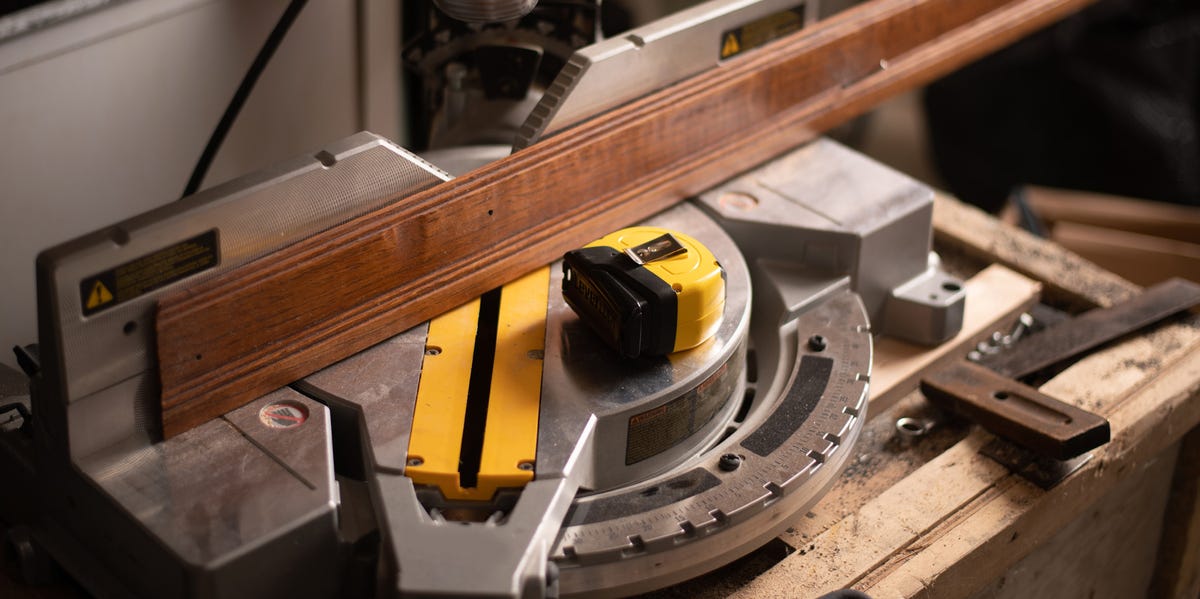
Marking wood trim molding sounds like one of those tiny carpentry details that should take thirty seconds. Then you install the piece, step back, and discover a gap big enough to store loose change. Welcome to finish carpentry, where one pencil line can decide whether your room looks custom-built or “enthusiastically attempted.”
The good news is that marking trim is not mysterious. It is a repeatable process built on careful layout, direct marking, test fitting, and understanding which side of the line to cut. Whether you are installing baseboards, crown molding, shoe molding, chair rail, window casing, or decorative wall trim, accurate marks make cleaner joints, tighter miters, and fewer “creative” caulk moments.
This guide explains how to mark wood trim molding like a patient pro, even if your walls are not square, your corners have opinions, and your tape measure keeps trying to become part of the problem.
Why Marking Wood Trim Molding Matters
Wood trim is the jewelry of a room. It frames doors, hides wall-to-floor gaps, finishes ceilings, and gives plain drywall a crisp architectural edge. But unlike rough framing, trim is visible. A slightly short stud disappears behind drywall. A slightly short baseboard stares at you every time you vacuum.
Accurate marking helps you:
- Cut trim to the correct length the first time.
- Keep miters tight at inside and outside corners.
- Transfer real wall conditions onto the molding.
- Reduce waste from repeated cutting mistakes.
- Plan scarf joints, returns, copes, and reveal lines.
- Avoid relying too heavily on filler, putty, or caulk.
The best trim work starts before the saw spins. It starts with a pencil, a square, a sharp eye, and the humility to admit that most houses are not built like geometry textbooks.
Tools You Need to Mark Trim Molding Accurately
You do not need a luxury workshop to mark wood trim molding well. You do need tools that help you make clear, repeatable marks.
Essential Marking Tools
- Sharp pencil: A dull pencil creates a fuzzy line. A sharp pencil gives you a decision.
- Tape measure: Useful for long runs, rough layout, and confirming dimensions.
- Combination square: Great for square cut lines, reveals, and transferring marks around trim edges.
- Speed square: Handy for quick 45-degree and 90-degree layout marks.
- Utility knife: Useful for scoring ultra-precise marks on stain-grade trim.
- Painter’s tape: Helpful for labeling pieces and making visible marks on dark wood.
- Angle finder or bevel gauge: Useful when corners are not exactly 90 degrees.
- Scrap blocks: Excellent for test cuts, templates, and marking reveal lines.
For cutting, a miter saw is the usual choice for baseboard, casing, crown molding, and chair rail. A coping saw, jigsaw, or rotary tool can help shape inside corner copes. But remember: a fancy saw cannot rescue a bad mark. It will simply cut your mistake faster.
Understand the Trim Before You Mark It
Before making any mark, identify the type of trim and how it sits on the wall.
Baseboard
Baseboard runs along the bottom of the wall. It is usually marked from corner to corner, casing to corner, or casing to casing. Inside corners may be coped or mitered. Outside corners are typically mitered.
Shoe Molding and Quarter Round
Shoe molding covers small gaps between the baseboard and flooring. Because it is thin and flexible, it often benefits from direct marking and careful test fitting. Small errors show quickly at returns and corners.
Crown Molding
Crown molding sits at an angle between the wall and ceiling. Marking crown requires special attention because the top and bottom edges are not interchangeable. If you mark crown molding upside down by accident, congratulations: you have made decorative firewood.
Door and Window Casing
Casing is marked around jambs with a reveal, usually a small consistent setback from the edge of the jamb. The reveal line matters because it keeps the casing looking balanced.
Chair Rail and Picture Frame Molding
These pieces rely heavily on layout lines. The marks must be level, evenly spaced, and consistent from wall to wall.
Step 1: Plan the Layout Before You Touch the Trim
Start by studying the room. Look for inside corners, outside corners, doorways, long walls, short returns, vents, outlets, built-ins, stair skirts, and uneven floors. Then decide where each piece of molding will start and stop.
For baseboard, begin with the longest walls when possible. Long pieces reduce seams and make the room look cleaner. For crown molding, plan around the most visible walls first so any unavoidable joints land in less noticeable areas. For casing, mark all reveal lines before cutting the trim so the design stays consistent.
Numbering pieces is a simple trick that saves sanity. Sketch the room on paper, label each wall, then write matching numbers on the back of each trim piece. This is especially helpful when you have several similar-looking cuts. Without labels, trim pieces multiply on the floor like confused wooden noodles.
Step 2: Use Direct Marking Whenever Possible
One of the best ways to mark wood trim molding is to place the trim exactly where it will be installed and mark it directly. This avoids the classic problem of measuring a wall, transferring the number to a board, misreading one tiny fraction, and blaming the tape measure like it acted alone.
For short pieces, hold the molding in place against the wall. Push one end tight to the corner, casing, or adjoining piece. Then mark the other end where the cut needs to occur. This technique is especially effective for baseboard, shoe molding, short returns, and trim around cabinets or built-ins.
When direct marking, make sure the trim is seated correctly. Baseboard should rest flat against the wall and floor. Crown molding should be held at its proper spring angle. Shoe molding should sit naturally against the baseboard and floor, not twisted into a position it will never hold after nailing.
Step 3: Mark the Correct Side of the Cut
Every trim mark should answer one question: which side of this line is waste?
After marking the cut location, place a small “X” on the waste side. This prevents one of the most common mistakes in trim work: cutting on the wrong side of the line. A saw blade removes material, so the blade kerf matters. If you cut directly through the line without thinking, the finished piece may end up short.
For tight trim work, many carpenters “sneak up” on the final fit. That means cutting the piece slightly long, test-fitting it, and trimming off a thin amount until it fits. This approach is slower than bold guessing but faster than driving back to the store for one more stick of molding.
Step 4: Mark Square Cuts Clearly
Square cuts are used where trim meets flat casing, plinth blocks, inside coped corners, or a straight stop point. To mark a square cut, use a combination square or speed square to draw a clean 90-degree line across the face of the molding.
Do not rely on a tiny dot at the edge of the board. A full line makes it easier to align the saw blade and reduces confusion when the trim is turned around at the saw station. If the molding has a detailed profile, carry the mark over the top or bottom edge so it remains visible from the cutting position.
Step 5: Mark Miter Cuts for Outside Corners
Outside corners usually require two matching miter cuts. In a perfect world, each piece would be cut at 45 degrees to wrap around a 90-degree corner. In actual homes, outside corners are often 88 degrees, 91 degrees, or “built during a thunderstorm.”
Before marking expensive trim, test the corner with scrap pieces. Cut two small scraps at 45 degrees and hold them together around the corner. If the front opens, the angle needs adjustment. If the back opens, adjust the other direction. A small angle finder can also help divide the corner angle accurately.
When marking a miter, think in terms of long point and short point. For outside corners, the long points usually meet at the outside edge. Mark the exact point where the long point should land, then orient the saw so the blade cuts away from the measured length.
Step 6: Mark Inside Corners for Coping
Inside corners can be mitered, but coping often produces a better fit, especially when walls are not perfectly square. A coped joint has one piece cut square into the corner, while the adjoining piece is shaped to match the face profile of the first piece.
To mark for a coped joint, first cut a 45-degree miter on the end of the piece to expose the molding profile. The edge of that profile becomes your cutting guide. Darken the profile line with a pencil if needed, then cut along it with a coping saw. Back-cut slightly so only the front edge touches the adjoining trim.
Once the cope is shaped, hold the piece in place and mark the opposite end for length. This order matters. Fit the coped end first, then mark the other end. If you mark the length before shaping the cope, small changes at the coped end can throw off the whole piece.
Step 7: Mark Crown Molding Without Losing Your Mind
Crown molding deserves its own little pep talk. Because crown sits at an angle, it must be marked, positioned, and cut consistently. The bottom edge goes against the wall. The top edge goes against the ceiling. Mark the back of each piece with “wall” and “ceiling” if you are new to crown. This is not childish. This is survival.
For crown molding installed using the nested method, the piece is placed upside down against the miter saw fence, with the ceiling edge on the saw table and the wall edge against the fence. Because this can be confusing, make reference marks on scrap pieces and use them as templates.
Before installation, mark level reference lines around the room or use a crown template to mark where the bottom edge should land. These guide marks help maintain a consistent spring angle. If crown molding rolls up or down during installation, even perfectly cut joints can open.
Step 8: Mark Reveals for Door and Window Casing
A reveal is the small visible edge of the jamb left uncovered by casing. Common reveals are around 1/8 inch to 1/4 inch, depending on style and preference. The exact size matters less than consistency.
To mark casing, set a combination square to the desired reveal and draw light lines around the jamb. These lines show where the inside edge of the casing should land. Then hold the casing in place against the reveal line and mark the outside length for the miter.
For window and door casing, mark the short point of the miter at the reveal intersection. The miter extends outward from that point. This creates a clean frame around the opening.
Step 9: Mark Scarf Joints on Long Walls
When a wall is longer than your molding, you need a scarf joint. A scarf joint overlaps two angled cuts, usually at 30 or 45 degrees, so the seam is less visible than a square butt joint.
Mark scarf joints where they will be least noticeable. Place them away from eye level when possible and, for baseboards, consider landing the joint over a stud so both pieces can be fastened securely. Mark both pieces carefully so the angled cuts overlap in the correct direction.
If the trim will be painted, a tight scarf joint with a little wood glue and careful sanding can disappear nicely. If the trim will be stained, grain matching becomes more important, so choose adjoining pieces that look similar.
Step 10: Mark Stud Locations Before Installation
Marking the trim itself is only half the job. You also need to know where to fasten it. Use a stud finder to locate wall studs, then mark them lightly on the wall above or below the trim location. For crown molding, mark studs and ceiling joists where possible.
Make the marks where they will be covered or easy to erase. For painted walls, a light pencil mark is usually fine. For delicate finishes, painter’s tape can hold the mark without leaving graphite behind.
Fastening into studs helps trim stay tight to the wall, especially if the wall is wavy. The prettier your marking and cutting, the more insulting it is when the board bows away from the wall because you nailed into air.
Common Mistakes When Marking Wood Trim Molding
Measuring Everything Instead of Marking in Place
Tape measures are useful, but direct marking often produces better results. Whenever the trim can be held in position, mark it in place.
Forgetting the Saw Kerf
The saw blade removes material. Always mark the waste side and align the blade accordingly.
Using a Dull Pencil
A fat pencil line can create a visible gap. Keep the pencil sharp, especially for stain-grade molding.
Assuming Corners Are Square
Many corners are not exactly 90 degrees. Test with scrap, use an angle finder, and adjust before cutting the real piece.
Marking Crown Molding Upside Down
Label the wall and ceiling edges. One tiny note can prevent a very expensive comedy routine.
Skipping Test Fits
Dry-fit every important piece before fastening. Trim is easier to adjust on the saw than on the wall.
Pro Tips for Cleaner Trim Marks
- Use painter’s tape on dark trim: Pencil marks show better on tape than on walnut, mahogany, or stained molding.
- Score stain-grade trim: A light knife mark can be more precise than pencil, but use care.
- Cut slightly long: You can remove more wood; you cannot add it back without entering the kingdom of filler.
- Make templates: Scrap templates for crown, returns, and tricky corners prevent repeated layout mistakes.
- Keep reference orientation: Mark the back of each piece with location, direction, and top edge.
- Work around the room in order: Random cutting leads to random confusion.
Specific Example: Marking Baseboard Around a Room
Imagine a 12-by-14-foot bedroom with one door and four inside corners. Start by sketching the room and labeling the walls A, B, C, and D. Locate the longest wall and cut that baseboard first. If the left end dies into an inside corner, cut it square and install it. For the next wall, cope the end that meets the installed baseboard, fit that cope, then mark the far end directly at the next corner.
At the doorway, hold the baseboard in position and mark where it meets the door casing. Use a square cut if it butts into casing. If the wall has an outside corner, mark the long point of the miter and test with scraps before cutting the actual board.
This sequence keeps every new piece based on the real installed position of the previous piece. That is the quiet secret of good trim: do not measure the room you wish you had; mark the room you actually have.
Specific Example: Marking a Window Casing
For a window, first set your combination square to the reveal distance. Mark the reveal around the entire jamb. Cut the top casing first or one side casing first, depending on your preferred method, but always base the miter mark on the reveal intersection.
Hold the side casing against the reveal line. Mark the top short point where the reveal line meets the inside edge of the trim. Cut the miter outward from that point. Repeat for the other side. Then hold the head casing in place and mark both ends from the outside edges of the side casing. Dry-fit the frame before nailing.
If the miters are slightly open, adjust with tiny cuts. Do not try to force a bad miter shut with nails. Wood remembers. It will reopen later, usually after you have painted.
Experience Notes: Lessons From Marking Wood Trim Molding in Real Rooms
The first practical lesson about marking wood trim molding is that the wall is always telling the truth. Your tape measure may say the opening is 36 inches. Your drawing may say the corner is square. Your optimism may say, “This will be quick.” But when the molding is held against the wall, the actual fit becomes obvious. Direct marking teaches you to trust the physical situation more than the number in your head.
One of the most useful habits is to bring the trim to the wall more often than feels necessary. Hold it in place. Look at the floor line. Check whether the drywall bows. Notice if the casing leans slightly. A piece of baseboard may be technically the correct length and still look wrong because the wall curves behind it. In those moments, the mark is not just a measurement; it is a record of the room’s personality.
Another experience worth remembering is that small scraps are not trash. They are tiny consultants. Before cutting an outside corner, two short test pieces can tell you more than five minutes of staring at an angle finder. Before coping a new profile, a scrap lets you practice the cut without risking the full board. Before installing crown molding, labeled scrap templates can prevent the classic upside-down-and-backward confusion. Keep a few test pieces nearby and your project will feel less like gambling with lumber.
It also helps to develop a marking language. For example, put an “X” on the waste side, draw arrows showing the installation direction, write “top” on casing, and label crown edges as “wall” and “ceiling.” These notes may look excessive when you make them, but they become priceless when you walk to the saw, rotate the board, answer a text, sip coffee, and suddenly forget which end was which. Trim work rewards boring organization.
Patience is another major advantage. Beginners often try to cut exactly to the final mark in one dramatic pass. Experienced installers often leave the piece a hair long, test-fit it, then shave it down. The difference is not talent; it is strategy. A miter saw can remove a whisper-thin slice. It cannot apologize and regrow the quarter inch you cut off by mistake.
Finally, expect imperfection but do not surrender to it. Homes move, lumber swells, corners drift, and floors dip. Good marking does not create a perfect building; it helps your trim adapt gracefully to an imperfect one. When the marks are clear, the cuts are intentional, and the pieces are test-fitted before nailing, the finished room feels sharp and deliberate. That is the real goal: not mathematical perfection, but trim that looks calm, clean, and confidently installed.
Conclusion
Learning how to mark wood trim molding is one of the fastest ways to improve your finish carpentry. The technique is simple, but the payoff is huge: tighter corners, cleaner reveals, better joints, and fewer wasted boards. Start with a plan, mark directly whenever possible, identify the waste side, test corners with scrap, cope inside joints when appropriate, and label pieces so confusion never gets a vote.
Great trim work is not about rushing. It is about careful marks, smart sequencing, and small adjustments that add up to a polished room. Measure when you must, mark in place when you can, and remember: the sharpest tool in trim carpentry is often not the saw. It is the pencil line you trusted enough to make correctly.