A handmade garter is one of those tiny accessories that somehow carries a suspiciously large amount of personality. It can be romantic, playful, vintage, dramatic, minimalist, sparkly, “something blue,” or so frilly it looks like it has its own social calendar. The best part? You do not need to be a professional seamstress, own a sewing room, or speak fluent sewing-machine tension settings to make one.
Whether you want a wedding garter, a costume garter, a prom accessory, a boudoir detail, or a pretty keepsake, this guide walks you through three beginner-friendly methods: a no-sew garter, a satin ribbon garter, and a lace ribbon garter. You will learn how to measure, cut, assemble, decorate, and troubleshoot your garter so it stays comfortable instead of slowly migrating down your leg like it has somewhere better to be.
What Is a Garter?
A garter is a narrow band worn around the thigh. Historically, garters had a practical job: they helped hold up stockings before modern elastic hosiery became common. Today, garters are mostly decorative, especially in bridal fashion. Some people wear one as a wedding tradition, some make twoone to keep and one to tossand others simply like the look for costumes, photo shoots, or personal styling.
The modern handmade garter usually combines three basic elements: elastic for fit, ribbon or lace for structure, and embellishments for personality. That is the whole recipe. Think of it as a tiny cake for your leg, except please do not frost it.
Before You Start: Choose Your Garter Style
The right garter style depends on how you plan to wear it. A wedding garter should be soft, secure, and comfortable under clothing. A costume garter can be bolder, wider, brighter, or more dramatic. A satin garter looks polished and sleek, while a lace garter feels delicate and romantic. A no-sew garter is perfect when you want fast results without threading a needle.
No-Sew Garter
A no-sew garter uses fabric glue, fusible bonding tape, or hot glue for decorative-only projects. Fabric glue is usually the best option for wearable fabric because it stays more flexible than craft glue. Fusible bonding tape is another clean option if your ribbon and lace can handle heat from an iron.
Satin Ribbon Garter
A satin ribbon garter has a smooth, elegant finish. Satin ribbon works beautifully for bridal garters, formal accessories, and “something blue” details. Because satin can fray, it helps to seal the cut ends with a tiny amount of clear fabric glue, fray check, or careful heat sealing if the ribbon fiber allows it.
Lace Ribbon Garter
A lace ribbon garter is the classic romantic choice. Stretch lace can sometimes become the entire garter if it fits snugly, while non-stretch lace usually needs elastic threaded through a ribbon casing. Lace also hides small construction imperfections, which makes it friendly to beginners and anyone crafting at midnight with a snack nearby.
Supplies You Will Need
For most DIY garters, gather the following materials:
- Soft measuring tape
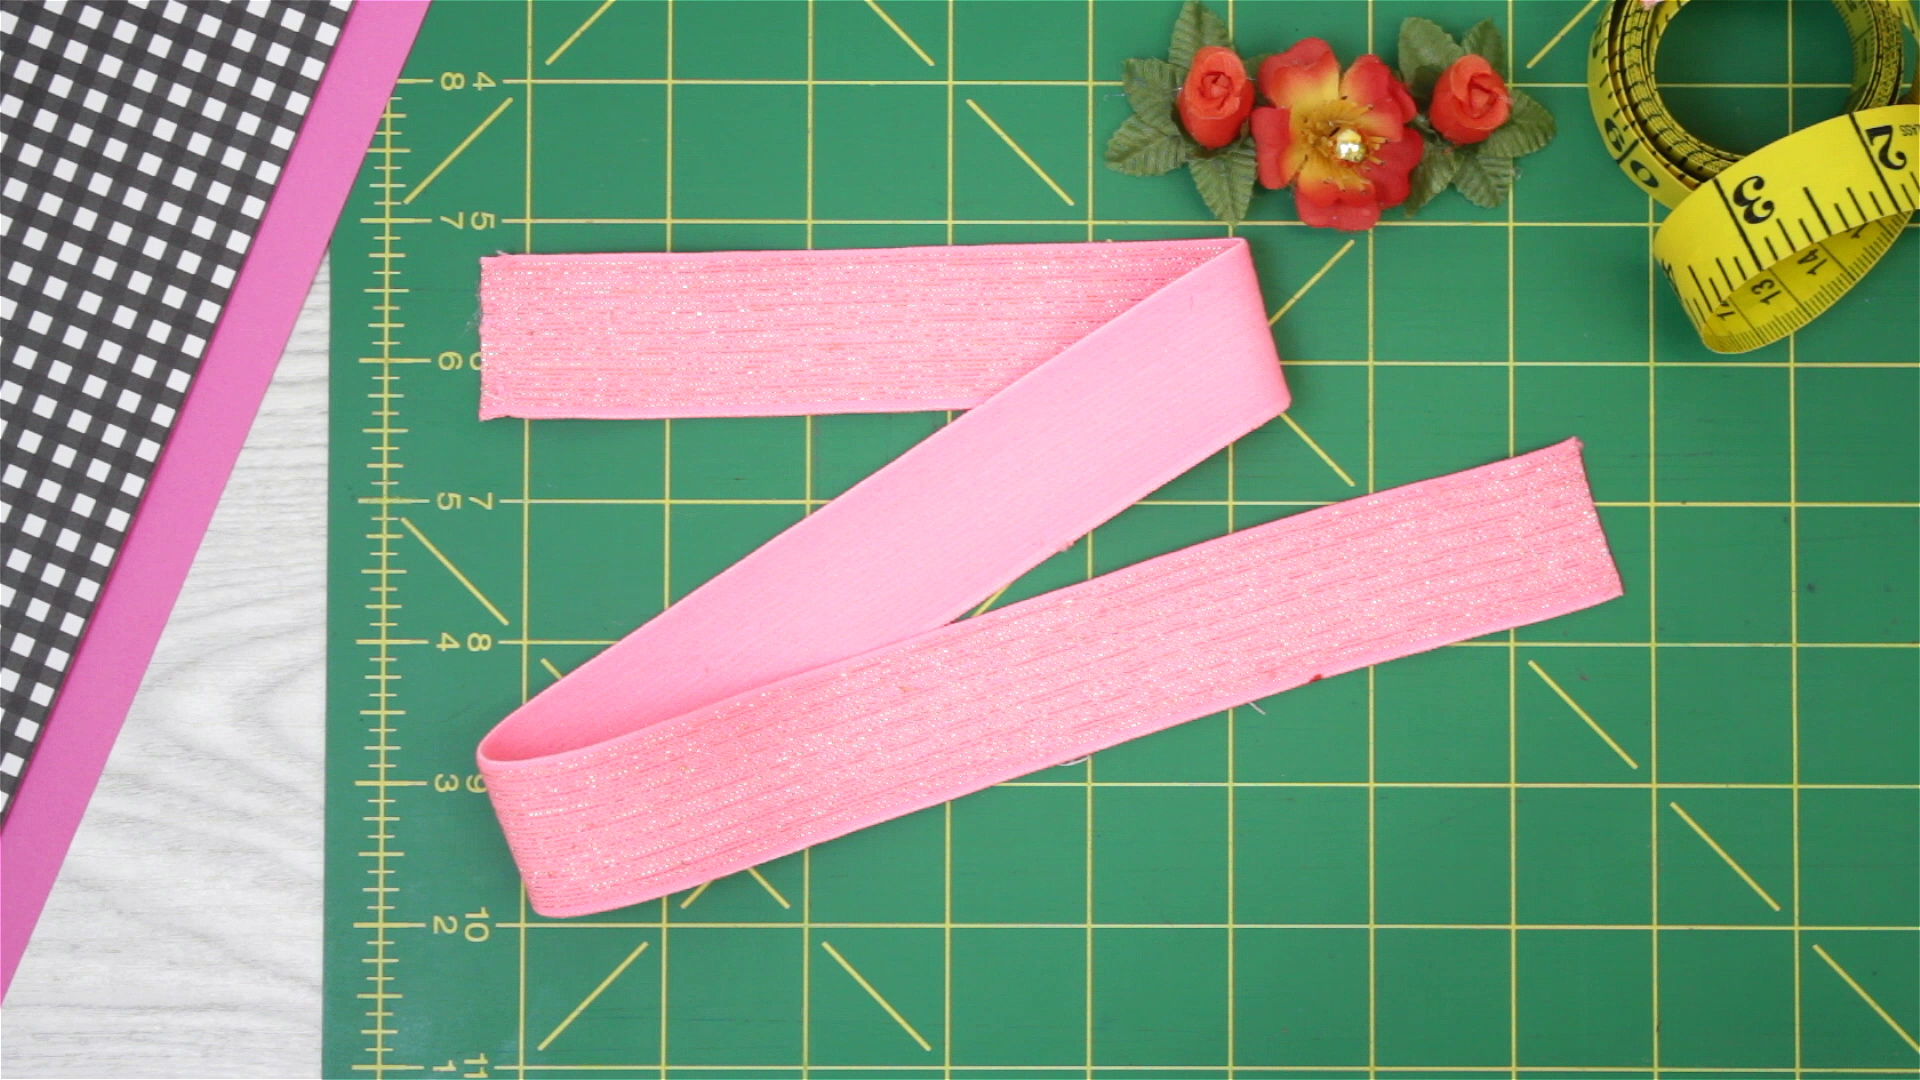
- Elastic, usually 1/4 inch to 1/2 inch wide
- Satin ribbon, lace ribbon, or decorative trim
- Fabric scissors
- Safety pin, bodkin, or elastic threader
- Fabric glue, fusible bonding tape, needle and thread, or sewing machine
- Straight pins or clips
- Optional embellishments: bow, charm, pearl beads, rhinestones, silk flowers, buttons, or tiny blue ribbon
For comfort, choose soft elastic. Scratchy elastic may be cheap, but your thigh will file a complaint by hour two. If the garter will be worn under a dress, avoid bulky decorations that may show through the fabric.
How to Measure for a Garter
Measure around the part of your thigh where you want the garter to sit. Most people place a bridal garter a few inches above the knee because that area is comfortable, easier to access, and less likely to create a visible bump under a fitted dress. There is no universal rule for left leg versus right leg, so choose the side that feels best.
Once you have your thigh measurement, use this simple formula:
- Elastic length: thigh measurement minus 1 to 2 inches
- Ribbon or lace length: thigh measurement plus 4 to 7 inches
For example, if your thigh measures 18 inches, cut the elastic around 16 to 17 inches. Cut the ribbon or lace around 22 to 25 inches, depending on how gathered and ruffled you want the finished garter to look. More extra ribbon creates fuller gathers. Less extra ribbon creates a smoother, simpler band.
Before final assembly, wrap the elastic around your thigh and check the fit. It should feel secure but not tight. If it digs in, it is too short. If it slides down when you walk, it is too long. The goal is “comfortable accessory,” not “tiny thigh tourniquet.”
Method 1: How to Make a No-Sew Garter
This method is ideal for beginners, quick wedding crafts, costume accessories, and anyone who believes sewing machines are secretly judging them.
Step 1: Cut the Elastic
Measure your thigh and cut the elastic 1 to 2 inches shorter than that measurement. Overlap the ends by about 1/2 inch and test the fit around your leg. Adjust before gluing.
Step 2: Create the Elastic Circle
Use fabric glue to bond the overlapped elastic ends. Press firmly and hold with clips until set. For extra strength, glue a small piece of ribbon over the joined area like a patch. Let the adhesive cure according to the product instructions. Do not rush this step unless you want the garter to dramatically surrender mid-event.
Step 3: Add Lace or Ribbon
Cut lace or ribbon slightly longer than the elastic circle so it can gather gently. Apply a thin line of fabric glue along the back of the trim and attach it to the elastic in small sections. Gather as you go so the trim distributes evenly around the circle.
Step 4: Hide the Join
Place a small bow, silk flower, charm, or decorative button over the seam where the elastic joins. This makes the garter look intentional and polished. In crafting, this is called “design.” In real life, it is also called “covering the evidence.”
Step 5: Let It Dry Completely
Lay the garter flat and let it dry fully. Wear it only after the glue is cured. A flexible fabric adhesive works best because the garter needs to stretch when it goes over your leg.
Method 2: How to Make a Satin Ribbon Garter
A satin ribbon garter looks elegant and works well for weddings, formal events, and heirloom-style keepsakes. This method uses a ribbon casing, which is a narrow tunnel that holds the elastic.
Step 1: Cut the Satin Ribbon
Cut satin ribbon 4 to 7 inches longer than your thigh measurement. Choose ribbon wide enough to fold around your elastic. For 1/2-inch elastic, ribbon that is about 1 to 1 1/2 inches wide usually works well.
Step 2: Make a Casing
Fold the ribbon lengthwise with the wrong sides together, leaving enough room for the elastic to slide through. Sew or bond the long edge closed. If sewing, stitch close to the edge in a straight line. If using fusible bonding tape, place the tape inside the fold and press according to the tape instructions.
Step 3: Thread the Elastic
Attach a safety pin or bodkin to one end of the elastic. Feed it through the ribbon casing, gently bunching the satin as you go. Hold the other elastic end carefully so it does not disappear inside the casing. Elastic loves doing this. It is basically its hobby.
Step 4: Secure the Elastic Ends
Overlap the elastic ends by about 1/2 inch. Sew them together by hand, machine stitch them, or bond them securely with fabric glue and a small ribbon patch. Once the elastic circle is joined, distribute the satin gathers evenly.
Step 5: Close the Ribbon Ends
Tuck one raw ribbon end into the other, or overlap the ends neatly. Stitch or glue the final seam closed. Add a bow or embellishment to hide the closure and give the garter a finished look.
Method 3: How to Make a Lace Ribbon Garter
Lace ribbon is forgiving, pretty, and wonderfully photogenic. It is also excellent at making a simple project look more expensive than it was, which is the official love language of DIY.
Step 1: Pick the Right Lace
If you use stretch lace, you may not need separate elastic. Cut the lace slightly smaller than the thigh measurement, join the ends, and test the fit. If you use non-stretch lace, pair it with elastic and ribbon so the garter can expand comfortably.
Step 2: Layer Ribbon Over Lace
Cut lace and ribbon to the same length, usually your thigh measurement plus 4 to 7 inches. Center the ribbon over the lace. The ribbon will become the casing for the elastic while the lace creates the decorative ruffled edges.
Step 3: Stitch or Bond the Ribbon Edges
Sew or glue both long edges of the ribbon to the lace, leaving the short ends open. This creates a tunnel between the ribbon and lace. Keep the lines straight, but do not panic if they are not museum-level perfect. Once the elastic gathers the garter, tiny wobbles disappear into the ruffles.
Step 4: Insert the Elastic
Use a safety pin or elastic threader to guide the elastic through the tunnel. Gather the lace evenly as the elastic moves through. Pin both elastic ends so they do not slip back inside.
Step 5: Join and Finish
Overlap the elastic ends and secure them. Then place the short ends of the lace and ribbon together with the right sides facing, and sew or glue the side seam. Turn the seam inward if possible, then add a bow, charm, pearl, or small flower.
Design Ideas for a Custom Garter
The charm of a DIY garter is that you can make it personal. For a bridal garter, add a small blue bow for “something blue.” For a vintage look, use ivory lace, champagne satin, and a pearl button. For a modern minimalist garter, choose white satin with a tiny flat bow. For a dramatic costume garter, use black lace, red ribbon, metallic trim, or layered ruffles.
You can also add meaningful details. A charm with an initial, a piece of lace from a family garment, a ribbon in your wedding color, or a tiny embroidered patch can turn a simple accessory into a keepsake. Just keep comfort in mind. Anything sharp, heavy, or bulky should be placed where it will not poke, snag, or announce itself under your outfit.
How to Make the Garter Comfortable
Comfort is the difference between a garter you love and a garter you secretly remove in the restroom after twenty minutes. Use soft materials, avoid stiff lace against bare skin, and test the fit while sitting, standing, and walking. If the garter rolls, the elastic may be too narrow or too tight. If it slides, the elastic may be too loose or the fabric too slippery.
For wedding dresses, test the garter under the actual dress or a similar fabric. Fitted gowns may reveal thick trims or large bows. A-line and ball gown styles are more forgiving, so you can usually wear a fuller garter without worrying about visible lines.
Common Mistakes to Avoid
Using Hot Glue for Everything
Hot glue is useful for some costume pieces, but it can become stiff and uncomfortable on wearable accessories. For a garter that needs to stretch, flexible fabric glue is usually a better choice.
Cutting Elastic Too Short
Elastic should hold the garter in place, not leave a mark worthy of a detective board. Start with slightly longer elastic and shorten gradually if needed.
Forgetting to Seal Ribbon Ends
Satin ribbon can fray quickly. Seal the ends with fabric glue, fray-prevention liquid, or careful heat sealing when appropriate for the ribbon fiber.
Adding Heavy Decorations
A huge charm may look cute on the table but annoying on your leg. Choose lightweight embellishments, especially for a garter you plan to wear for hours.
Care and Storage Tips
Store your garter flat in a small box or fabric pouch. Keep it away from moisture, direct sunlight, and anything that may crush the embellishments. If it gets dusty, gently spot clean it with a damp cloth. Avoid soaking a glued garter unless the adhesive is washable and fully cured. For heirloom garters, wrap them in acid-free tissue and store them with other keepsakes.
Real-World Experience: What Actually Helps When Making a Garter
After making a few garters, one lesson becomes very clear: measuring matters more than decorating. It is tempting to spend the first thirty minutes choosing between ivory lace and white lace as if the fate of civilization depends on it, but the real success of the project comes down to fit. A beautiful garter that slides down is not charming. It is a fabric elevator. Always test the elastic before adding the final decorations.
A helpful trick is to make a quick practice ring from elastic first. Overlap the ends with a safety pin, try it on, walk around the room, sit down, and stand up again. If it stays put without pinching, you have the right length. Only then should you commit to sewing or gluing. This tiny test can save you from remaking the entire garter after the lace is already attached.
Another experience-based tip: do not overdo the glue. Beginners often apply a thick bead because it feels stronger, but too much glue can seep through lace, dry stiff, or create shiny spots. A thin, even layer is better. Press the pieces together firmly and give them time to cure. Fabric glue is not instant magic; it is more like a polite agreement between fibers. Let it finish negotiating.
When working with satin ribbon, clips are often easier than pins because pins can leave tiny holes or snags. If you do use pins, place them within the seam area. Satin also shows crooked lines more than lace does, so go slowly when creating the casing. A slightly wider ribbon is easier to manage than a narrow one, especially if your elastic is 1/2 inch wide.
Lace is the friendliest material for first-time garter makers because it hides small mistakes. If your stitching is not perfectly straight, the texture disguises it. If your gathers are uneven, a little fluffing usually fixes the look. However, lace can snag, so use sharp scissors and handle delicate edges gently. For a romantic bridal finish, ivory lace with champagne ribbon often looks softer than bright white, especially with warm-toned wedding dresses.
If the garter is for a wedding, consider making two. The keepsake garter can be more delicate and meaningful, while the toss garter can be simpler and sturdier. That way, the special one stays safe, and nobody has to launch your hand-sewn pearl-trimmed masterpiece across a dance floor like a tiny decorative frisbee.
Finally, take photos of your process. Not because every craft must become a documentary, but because handmade details are part of the story. A DIY garter may be small, but it carries effort, creativity, and personal style. Even if the first attempt is slightly lopsided, it is still yoursand honestly, a little handmade character beats factory-perfect blandness every time.
Conclusion
Learning how to make a garter is easier than it looks. Once you understand the basic formulameasure the thigh, cut the elastic slightly smaller, cut the ribbon or lace longer, create a casing, and finish with a pretty detailyou can customize the design in endless ways. A no-sew garter is quick and beginner-friendly, a satin ribbon garter feels polished and elegant, and a lace ribbon garter delivers that classic romantic look with very little drama.
The best handmade garter is comfortable, secure, and personal. It should fit your body, match your style, and survive the event without slipping, pinching, or shedding decorations like a nervous craft project. Whether you are making one for a wedding, costume, keepsake, or just because you enjoy pretty things, this small accessory is a satisfying DIY project with big charm.