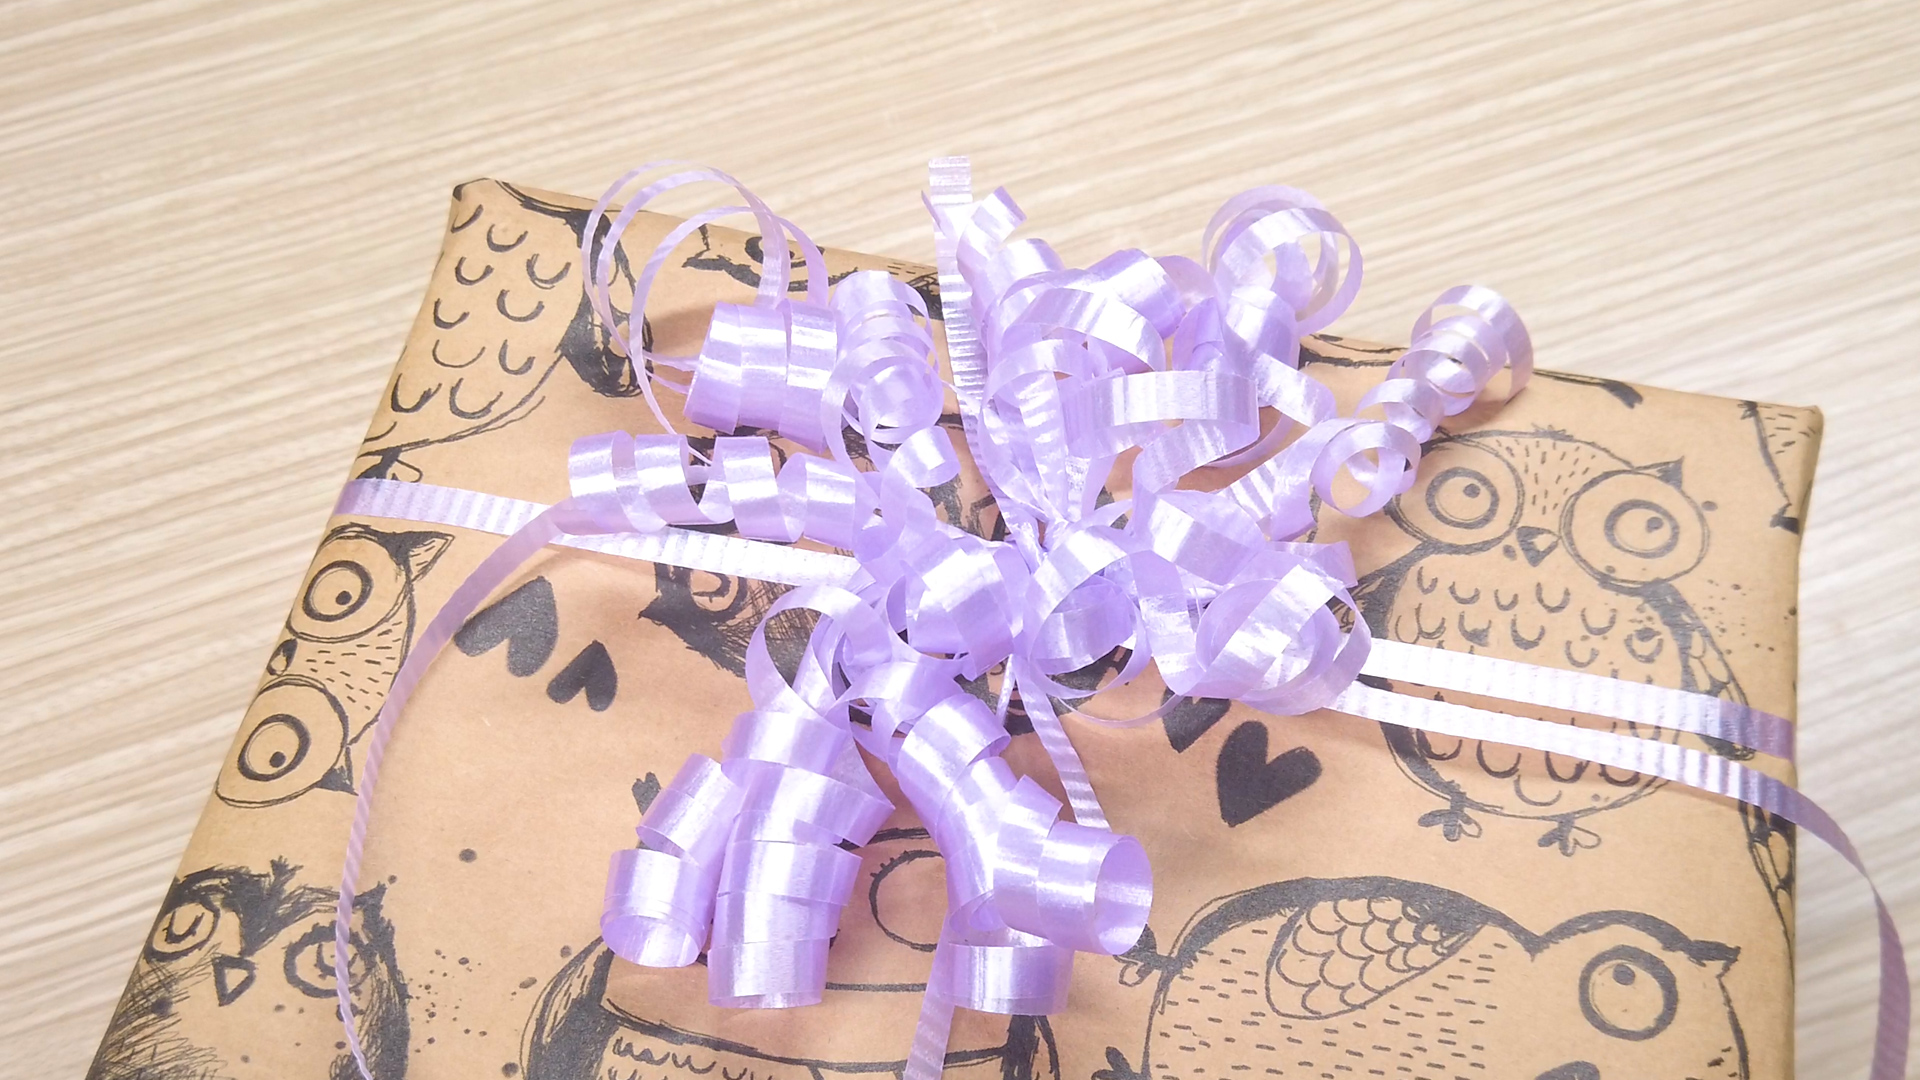
There are two kinds of gift wrappers in this world: the ones who calmly finish a present with a gorgeous waterfall of ribbon, and the ones who somehow end up with a sad plastic shoelace hanging off the box. If you’ve ever stared at a spool of ribbon and a pair of scissors like they were supposed to explain themselves, welcome. You are among friends.
Learning how to curl ribbon with scissors is one of those tiny skills that instantly makes a gift look more polished. A plain box becomes party-ready. A bakery bag looks boutique. A balloon bouquet suddenly has personality. Best of all, it is fast, inexpensive, and oddly satisfying. One smooth pull and that flat ribbon flips into a springy curl like it has somewhere fabulous to be.
In this guide, you’ll learn exactly how to curl ribbon with scissors, what type of ribbon works best, which mistakes ruin the curl, and how to make your gift wrapping look intentional instead of “I fought this ribbon and the ribbon won.” Whether you are wrapping birthday presents, baby shower favors, holiday packages, or party treats, this simple technique can seriously upgrade the final look.
Why Curled Ribbon Still Looks So Good
Curled ribbon works because it adds movement, texture, and volume without much effort. A flat ribbon can look neat and minimal, but curled ribbon creates a festive finish. It catches light, softens hard box edges, and gives even a basic package that “somebody really tried” energy.
It is also incredibly versatile. You can use curled ribbon on gift boxes, favor bags, floral bundles, treat cones, party decorations, and balloon strings. It suits everything from cheerful kids’ gifts to elegant wedding favors. The secret is not expensive supplies. It is technique.
What You Need Before You Start
- Curling ribbon: Narrow ribbon designed for gift wrapping works best.
- Sharp scissors: Clean blades give smoother, more consistent curls.
- A wrapped gift, bag, bouquet, or balloon: Optional, but ribbon always looks happier when it has a job.
- A little patience: Just a little. This is not tax season.
The best ribbon for this technique is usually the shiny gift-wrap style ribbon you see on spools in craft stores, party aisles, and wrapping stations. It is lightweight, slick, and designed to respond to pressure. Thick fabric ribbon, velvet ribbon, and heavily wired ribbon do not usually curl the same way. They may bend, twist, or glare at you, but they rarely give that classic springy spiral.
How to Curl Ribbon with Scissors: Step by Step
1. Choose the Right Ribbon
If your goal is a classic curled finish, start with a ribbon that is thin, flexible, and smooth. Metallic curling ribbon is a popular choice because it holds shape well and looks bright on gifts. Matte ribbon can also work beautifully for a softer look. If you are testing a new spool, curl a short scrap first before committing to an entire package.
A good rule of thumb is this: if the ribbon feels papery, slick, and light, you are in good shape. If it feels soft like fabric or thick like a shoelace, your scissors may not perform magic.
2. Cut the Length You Need
Before you curl anything, decide where the ribbon will go. Are you tying it around a gift box? Attaching it under a bow? Making a cluster of curls for a balloon? Cut a generous length. Curled ribbon appears shorter than flat ribbon, so if you cut it too stingily, the finished result can look skimpy.
For a standard gift box, longer strands usually create a fuller, more dramatic cascade. If you want a playful spray of curls, use several separate pieces in different lengths. For a cleaner, more tailored style, keep the strands closer in size.
3. Hold the Ribbon Correctly
This is where people either become ribbon heroes or accidentally create modern art. Hold one end of the ribbon firmly between your thumb and index finger. Keep the ribbon taut, but not stretched so hard that it looks nervous.
Open the scissors and use the outer edge of one blade, not the cutting action that snips. You are not cutting the ribbon. You are dragging the blade edge along it to create tension and shape. Think of it more like scraping than slicing.
4. Angle the Scissors and Pull Downward
Place the ribbon against the outside edge of the scissor blade. Press your thumb over the ribbon so it stays in place against the metal. Then pull the scissors downward along the ribbon in one smooth motion while maintaining steady pressure.
This is the moment. Too little pressure and nothing happens. Too much pressure and the ribbon may split, snag, or break. The sweet spot is firm but controlled. When done correctly, the ribbon will spring into a curl as the blade moves down its length.
Do not rush. Fast does not mean better here. A smooth pull produces a more even curl than a jerky, panicked sprint to the end.
5. Repeat for More Volume
One curled strand is nice. Several curled strands look like you know what you are doing. Repeat the same motion with additional pieces of ribbon until you get the fullness you want. Mix ribbon colors for a festive look, or use one color family for something more polished.
You can also vary the pressure slightly to create different effects. Firmer pressure tends to make tighter curls. Lighter pressure can create softer waves. This is where practice becomes useful, because ribbon has opinions and different brands behave a little differently.
6. Attach, Arrange, and Fluff
Once your ribbon is curled, tie it to the gift, tape it under a bow, or attach it to a gift tag. Then separate the curls with your fingers so they do not stick together in one awkward plastic noodle clump. Spread them out. Let them fall naturally. Give them a little air and attitude.
If you want extra drama, add a few shorter strands between the longer ones. That layering makes the finished curl cluster look fuller and more professional.
Tips for Getting Better Ribbon Curls
- Use sharp scissors. Dull blades can drag unevenly and rough up the ribbon.
- Work with clean, dry hands. Sticky fingers can make ribbon cling or flatten.
- Practice on scraps first. Every ribbon brand behaves a little differently.
- Keep your motion steady. A smooth pull usually creates the prettiest curl.
- Do not over-squeeze. Crushing the ribbon too hard can cause splits.
- Cut longer than you think. Curled ribbon shrinks visually.
If you are curling ribbon for a big event, such as party favors or holiday gifts, make a few test strands first. Once you find the right pressure and pace, the rest goes much faster. Ribbon curling is a lot like parallel parking: mysterious until it clicks, then weirdly satisfying forever.
Common Mistakes to Avoid
Using the Wrong Ribbon
This is the biggest problem. If the ribbon is too thick, too soft, or too fabric-like, you may never get a proper curl. Save yourself the emotional journey and use ribbon meant for curling.
Actually Cutting the Ribbon
If you close the scissors like you are trimming paper, you will simply cut the ribbon and feel betrayed. Use the blade edge, not the cutting action.
Pulling Too Hard
Excessive pressure can split the ribbon or make the curl look tight in a bad way, like it is under stress. Gentle control beats brute force.
Curling Too Close to Your Fingers
Give yourself enough room to work safely. Keep your fingers clear of the blade path. Beautiful wrapping is wonderful. Emergency bandages are less festive.
Leaving the Curls in One Lump
After curling, separate the strands. Otherwise, all that good work can collapse into one shiny ribbon tangle that looks more confused than celebratory.
Creative Ways to Use Curled Ribbon
Once you know how to curl ribbon with scissors, you will start finding excuses to use it everywhere. On gift boxes, it adds height and movement. On party favor bags, it makes simple packaging look intentional. On flower bouquets, it brings a cheerful finishing touch. On balloon strings, it turns floating plastic into a real party statement.
You can also use curled ribbon for holiday treat bags, shower favors, school events, craft projects, and seasonal decor. Green ribbon curled tightly can look like little vines on pumpkin-themed packaging. Metallic curls can dress up New Year’s party favors. Soft pastels are perfect for baby showers. Red and gold together practically announce that somebody somewhere has started playing holiday music too early.
How to Match the Curl Style to the Occasion
For Birthdays
Use bright colors and lots of strands. Birthday gifts can handle a little drama, and ribbon curls are happy to provide it.
For Weddings or Showers
Choose fewer strands with a softer color palette. White, ivory, blush, or muted metallics create a more elegant look.
For Holidays
Layer two or three colors together. Try red and green, silver and blue, or gold and cream for a festive but coordinated finish.
For Minimalist Gifts
Keep it simple with one ribbon color and a small cluster of curls. Even minimalist wrapping can enjoy one tasteful little flourish.
Frequently Asked Questions
Can you curl ribbon without scissors?
Sometimes, yes. In a pinch, a firm thumbnail can create a similar effect, though it usually takes more patience. Scissors are faster and more consistent.
Why is my ribbon not curling?
You may be using the wrong ribbon, too little pressure, or dull scissors. Test a new strand with slightly firmer pressure and a smoother pull.
Why did my ribbon split?
You probably pressed too hard, pulled too abruptly, or used damaged ribbon. Ease up slightly and try again with a fresh piece.
Can satin ribbon be curled with scissors?
Some satin or flat poly ribbons may bend or curl a little, but the classic springy spiral usually comes from standard curling ribbon. Satin tends to be less predictable.
How do I make curls tighter?
Use slightly firmer pressure and a slower, more controlled pull. Test first, because too much pressure can damage the ribbon.
Experience: What I Learned from Actually Curling Ribbon for Real Gifts
The funny thing about learning how to curl ribbon with scissors is that it looks ridiculously easy when someone else does it. You watch a person glide the ribbon over the blade once, and suddenly it turns into perfect spirals. Then you try it at home and end up with one half-curled strand, one snapped strand, and one piece of ribbon that looks emotionally unavailable. That was my first experience, and honestly, I respect ribbon a lot more now.
The first time I really got the hang of it was during a holiday wrapping marathon. I had a pile of gifts, a roll of metallic ribbon, and the dangerous confidence of someone who had watched exactly one tutorial. At first, I pulled too hard because I assumed stronger pressure meant better curls. It did not. It meant shredded ribbon and the kind of deep sigh usually reserved for assembling furniture. Once I eased up and focused on a smooth, steady motion, everything changed. The ribbon curled cleanly, and suddenly every package looked ten times better.
I also learned that ribbon length matters more than most people think. Flat ribbon can look long enough on the spool, but once it curls, it visually shrinks. I started cutting longer strands than I thought I needed, and the finished result looked fuller and more balanced. That one small adjustment made my gift wrapping look less sparse and more intentional.
Another lesson came from wrapping birthday favors for a family party. I tried mixing two colors, thinking it might look chaotic. Instead, it made the favors look playful and custom, almost like something from a boutique. Since then, I have become a little insufferable about color combinations. Not in a dramatic way. More in a “this silver needs a friend” kind of way.
The biggest practical takeaway was that sharp scissors matter. I had one pair that was old and slightly sticky from craft glue, and the ribbon dragged instead of curling. When I switched to a cleaner, sharper pair, the ribbon curled faster and more evenly. It was such a small change, but it made the whole process less frustrating.
What surprised me most is how much this tiny skill changes the final presentation. A plain gift bag can look ordinary until you add a cluster of curled ribbon. A bakery box can go from simple to celebratory in under a minute. Even a balloon string looks more finished with a few neat spirals bouncing underneath it. It is one of those details people notice without always knowing why they like it.
So yes, curling ribbon with scissors is a small skill. But it is also one of those sneaky little upgrades that makes everything look more polished. Once you get the pressure right and stop fighting the ribbon like it insulted your family, it becomes easy, fast, and weirdly fun.
Final Thoughts
If you want a simple way to make gifts look more polished, learning how to curl ribbon with scissors is absolutely worth it. The technique is quick, affordable, and easy to practice. With the right ribbon, a sharp pair of scissors, and a smooth pull, you can create curls that add charm, texture, and a more finished look to almost any package.
Start with a few test strands, keep your pressure steady, and do not panic if the first attempt looks like ribbon-based abstract expressionism. Most people improve fast. Once you get comfortable, you will be adding curled ribbon to everything from birthday presents to party favors just because you can. And honestly, that is a pretty delightful problem to have.