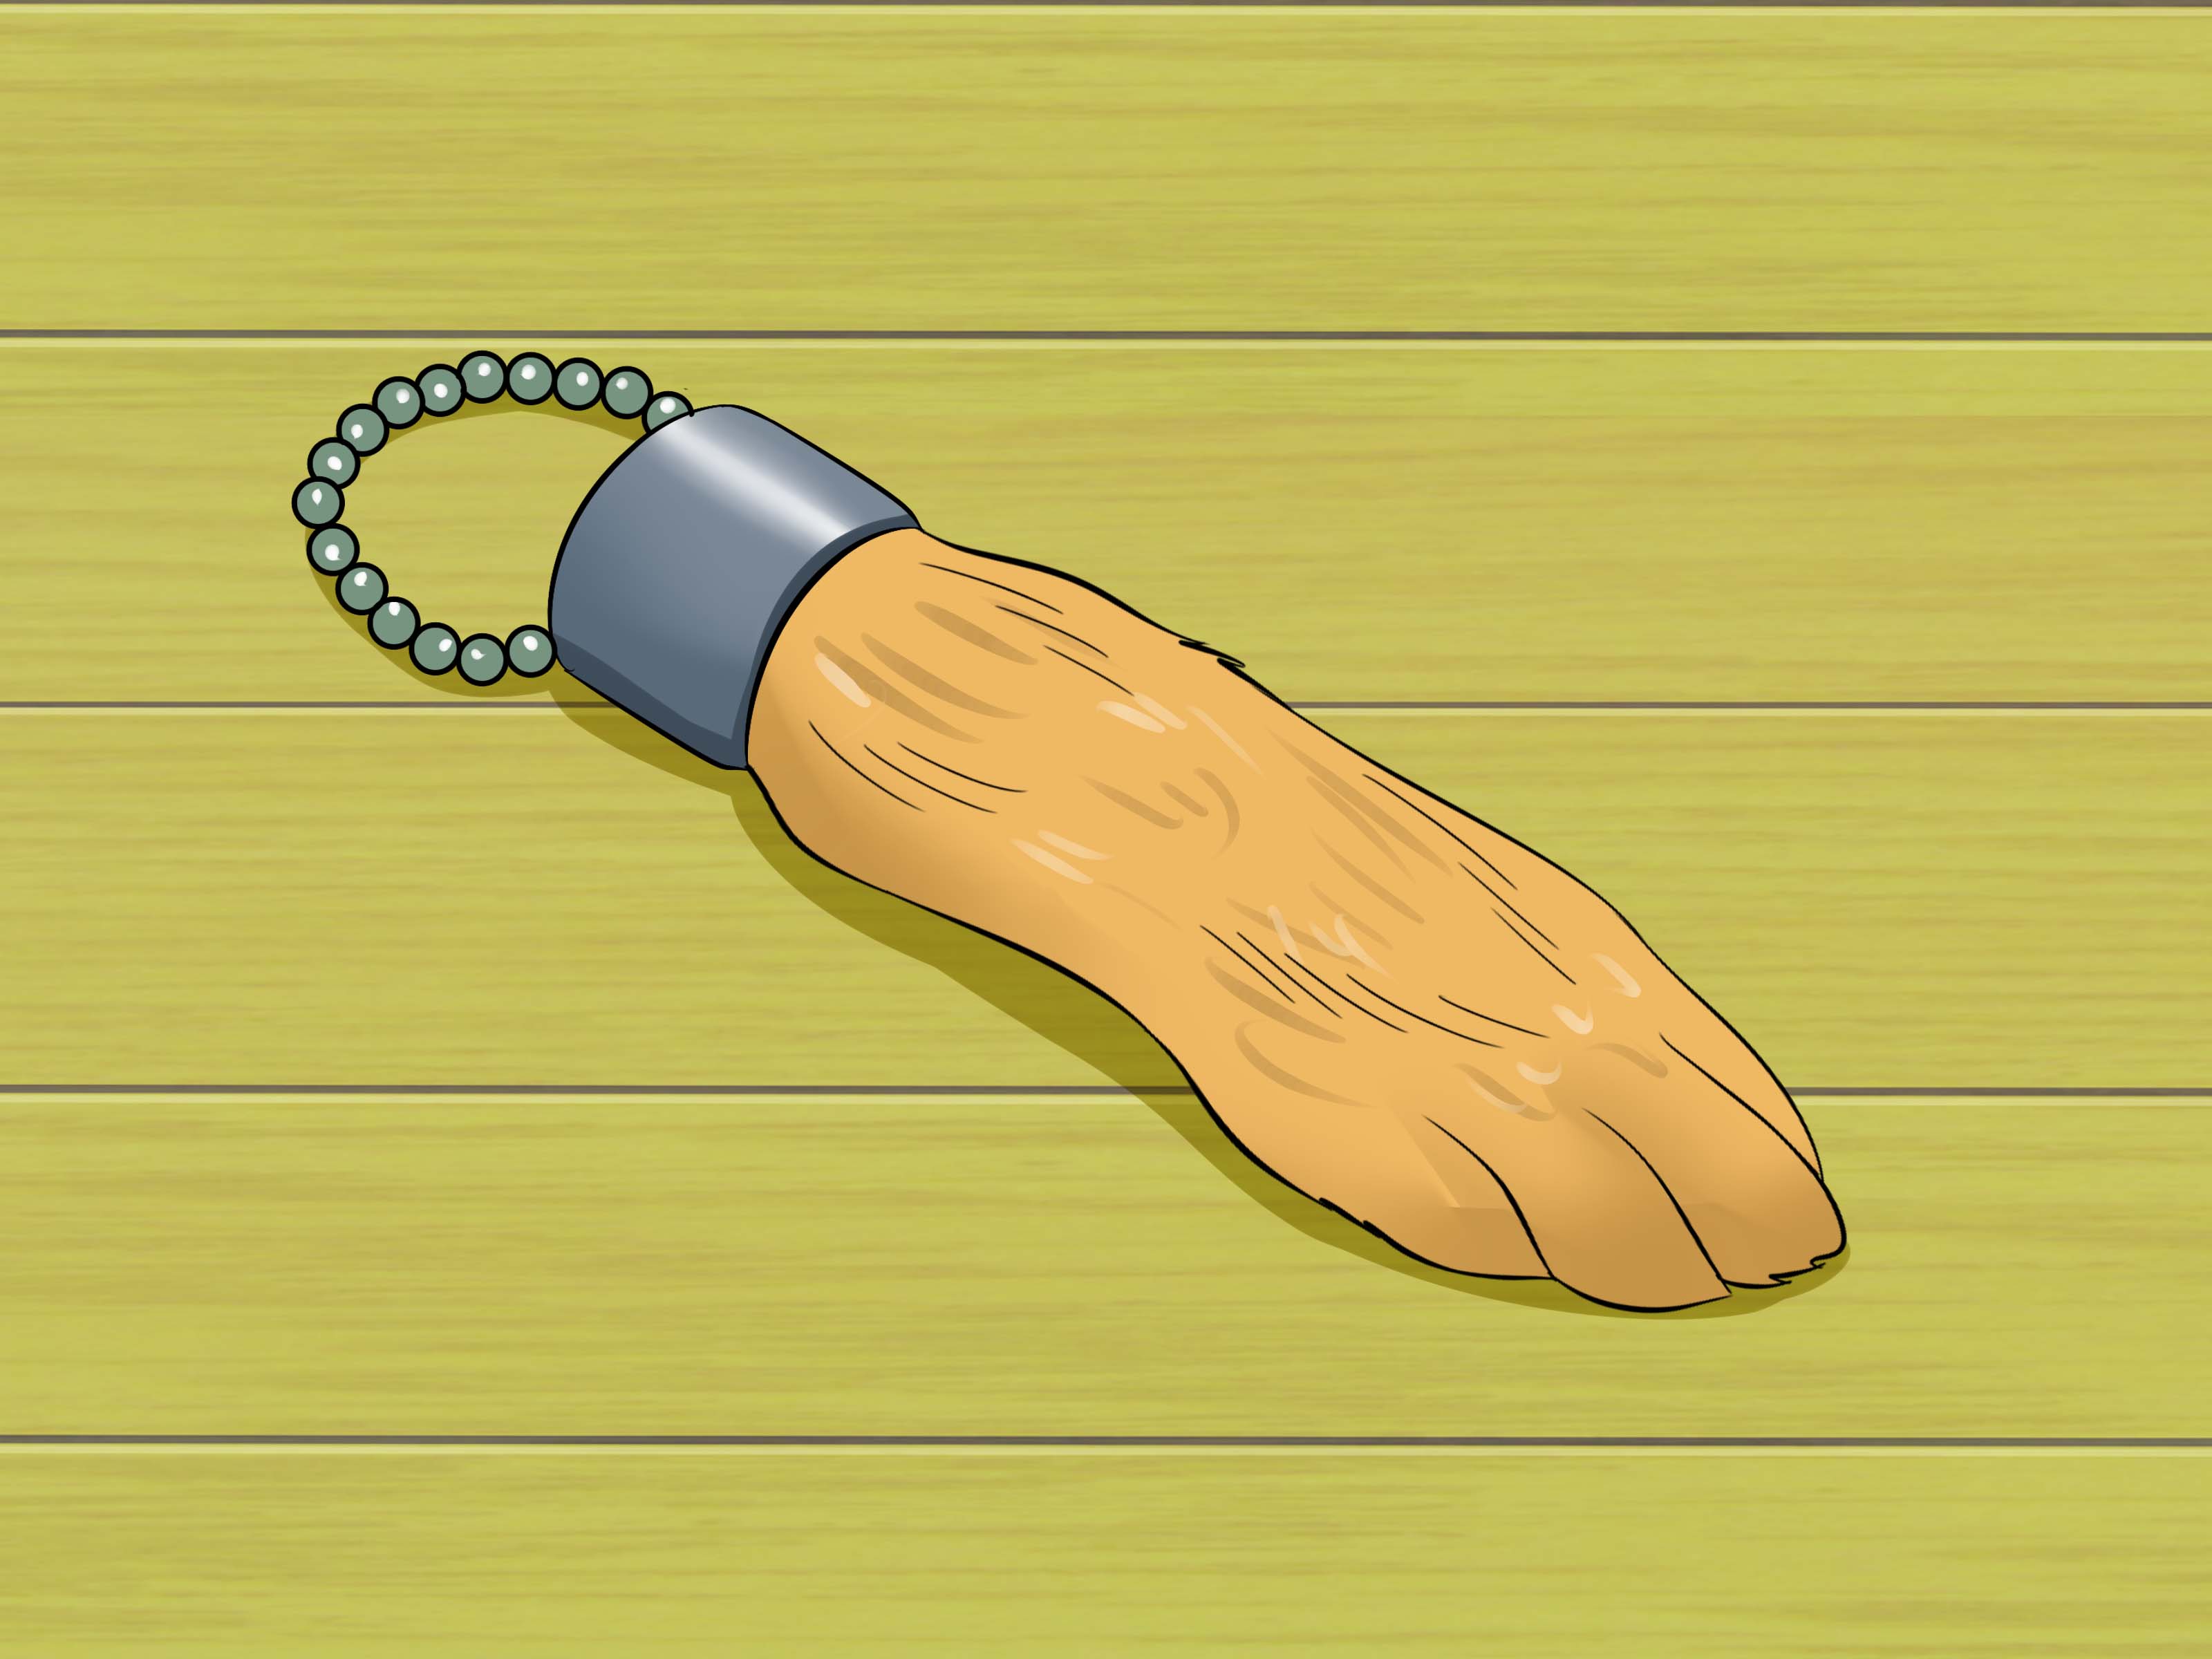
Learning how to cure a rabbit’s foot is a small craft project with surprisingly big rules: keep it legal, keep it sanitary, keep it respectful, and absolutely keep the “mystery smell” out of your house. A cured rabbit’s foot has long been used as a folk charm, keychain, costume accessory, educational taxidermy sample, or rustic keepsake. But before you start picturing yourself as a backwoods artisan with a jar of salt and a dramatic soundtrack, let’s be clear: this guide focuses on safe, ethical, non-graphic dry preservationnot hunting, harming animals, or handling questionable wild remains.
The basic idea is simple. Curing removes moisture so the foot dries instead of decomposing. Salt, borax, airflow, time, and cleanliness do most of the work. The hard part is not the technique; it is patience. A rabbit’s foot does not become shelf-stable in an afternoon. It needs days or weeks to dry thoroughly, depending on size, humidity, temperature, and how carefully it is packed in the drying material.
This step-by-step guide explains what curing means, what materials to use, how to prepare a rabbit’s foot safely, how long the process takes, how to finish the charm, and what mistakes to avoid. Think of it as a practical preservation guide with a strong side of common sense.
What Does It Mean to Cure a Rabbit’s Foot?
To cure a rabbit’s foot means to preserve it by drying and stabilizing it so it can be kept long-term. In simple terms, moisture is the enemy. Bacteria, mold, and bad odors thrive when organic material stays damp. A successful cure pulls moisture out of the tissue and creates conditions that discourage decay.
Traditional dry curing usually relies on non-iodized salt, borax, or a blend of both. Salt helps draw out moisture. Borax, also known as sodium borate, is commonly used in craft taxidermy because it helps dry small specimens and discourages insects. However, borax should be handled carefully, kept away from children and pets, and never used around food-preparation areas. Gloves are not optional; they are the ticket price for this craft.
The result should be a dry, firm rabbit’s foot with clean fur and no sour, rotten, or musty smell. If it smells wrong, it is wrong. Your nose may not have a degree in biology, but it is very good at announcing when a project has gone sideways.
Ethical and Safety Notes Before You Begin
Only use a rabbit’s foot that is legally and ethically sourced. The safest option is a foot from a domestic rabbit that was already processed for food or obtained through a licensed, reputable source. Do not handle wild rabbits found dead outdoors. Wild animals can carry diseases, and a rabbit that looks “fresh” is still not a safe craft supply.
Rabbits and hares can be associated with tularemia, sometimes called rabbit fever, and other diseases that matter to humans, pets, and domestic rabbits. If an animal appeared sick, acted strangely, was found dead, or came from an uncertain source, do not use it. That is not being squeamish; that is being smart.
Also avoid harsh chemicals such as formaldehyde, strong solvents, or mystery liquids from the back of a garage shelf. This guide uses a dry-curing approach because it is simpler, safer, and better suited for a small charm-style project.
Supplies You’ll Need
Basic Materials
- One legally sourced rabbit’s foot
- Disposable nitrile or latex gloves
- Paper towels
- Mild dish soap
- Clean water
- Non-iodized salt, borax, or a 50/50 mix of both
- A sealable plastic container or glass jar
- A small soft brush or old toothbrush used only for crafts
- A well-ventilated drying area away from pets and children
- Optional: rubbing alcohol for cleaning the outside only
- Optional: keychain cap, cord, jump ring, or small decorative hardware
What Not to Use
- Bleach, which can damage fur and create harsh fumes
- Food containers you plan to use again for food
- Kitchen counters or cutting boards
- Perfume or fragrance spray to “fix” bad odor
- Heat from an oven, which can create smell and uneven drying
Set up a dedicated workspace. A garage table, outdoor workbench, or craft area with washable surfaces is better than the kitchen. If your workspace also hosts sandwiches, cereal bowls, or last night’s pizza box, choose another workspace.
How to Cure a Rabbit’s Foot: Step-by-Step
Step 1: Inspect the Rabbit’s Foot
Before curing, check that the foot is suitable. It should be clean, fresh, and from a known legal source. Do not use anything that smells rotten, has visible mold, came from a sick animal, or was found outdoors. When in doubt, throw it out. A failed craft project is much better than a health problem.
Put on gloves before touching the foot. Keep the project away from your face, and avoid touching your eyes, mouth, phone, or snacks while working. Yes, your phone counts. It always somehow sneaks into every project like a tiny germ taxi.
Step 2: Clean the Outside Gently
Use a damp paper towel with a small amount of mild dish soap to wipe the fur and outer surface. The goal is to remove dirt, not soak the foot. Too much water makes the curing process harder because you are adding the very thing you are trying to remove.
If needed, use a soft brush to lightly clean the fur. Work gently so the hair does not pull out. After wiping, use dry paper towels to remove as much surface moisture as possible.
Step 3: Prepare the Drying Container
Choose a sealable container that will not be used for food again. Add a thick layer of non-iodized salt, borax, or a salt-and-borax mix to the bottom. The layer should be deep enough that the rabbit’s foot will not touch the bottom of the container directly.
For beginners, a 50/50 mix of non-iodized salt and borax is common because salt draws moisture while borax helps with drying and pest resistance. If you prefer to avoid borax, salt alone can still work, but it may require more frequent changes and extra drying time.
Step 4: Bury the Foot Completely
Place the rabbit’s foot on top of the drying layer, then cover it completely with more salt, borax, or the mix. Make sure drying material surrounds all sides, including between toes and around the ankle end. No part should be exposed.
Do not pack it so aggressively that you crush the shape. Gentle coverage is enough. Think “tucked into a dry mineral blanket,” not “buried under a parking lot.”
Step 5: Seal and Store in a Cool, Dry Place
Close the container and store it in a cool, dry, well-ventilated area away from direct sunlight, pets, and children. A shelf in a garage, craft room, or utility area can work well if humidity is low. Avoid damp basements, steamy bathrooms, and hot windowsills.
Label the container with the date. This is not just for organization. After several days, every container in a craft area starts looking suspiciously similar, and nobody wants to accidentally open the wrong jar during a cleaning spree.
Step 6: Check and Replace the Drying Material
After three to five days, open the container while wearing gloves. If the salt or borax feels clumpy or damp, replace it with fresh material. Gently brush the old material off the foot and bury it again in a clean, dry batch.
For best results, repeat this every few days during the first week or two. Changing the drying material helps remove moisture more efficiently and lowers the chance of odor or mold. If you notice a bad smell, sliminess, or mold growth, discard the project safely. Do not try to rescue it with perfume, sunshine, or wishful thinking.
Step 7: Let It Cure Fully
A rabbit’s foot usually needs one to four weeks to cure properly, depending on thickness, humidity, and drying conditions. Smaller feet dry faster; larger feet take longer. The foot is ready when it feels firm, dry, and lightweight, with no unpleasant odor.
Patience matters here. A foot that feels dry on the outside may still hold moisture inside. Removing it too early can lead to odor later. Let it cure longer than you think it needs, especially if you live in a humid climate.
Step 8: Brush and Finish the Fur
When curing is complete, remove the rabbit’s foot and brush away any remaining salt or borax. A soft toothbrush works well. You can fluff the fur gently with your fingers or a small comb. If the fur looks dusty, wipe it lightly with a dry cloth.
Avoid soaking it after curing. Water can reverse progress and invite trouble. If you want a cleaner look, use the tiniest amount of rubbing alcohol on a cloth to wipe the outside, then let it air-dry completely. Do not drench it.
Step 9: Add a Cap, Cord, or Keychain Hardware
If you want to turn the cured rabbit’s foot into a keychain or charm, attach hardware to the dry ankle end. Many crafters use a small metal cap, leather cord, jump ring, or decorative wrapping. Use a strong craft adhesive suitable for mixed materials, and let it cure according to the product instructions.
Keep the final charm dry. It is decorative, not waterproof. Do not hang it from a backpack that gets rained on daily unless you enjoy testing the limits of preservation science.
How Long Does It Take to Cure a Rabbit’s Foot?
Most rabbit’s feet take about two to four weeks to dry fully with a salt or borax method. In a dry climate, a small foot may finish faster. In a humid climate, the same project may need extra time and several changes of drying material.
Here is a simple rule: if it still feels flexible, cool, damp, heavy, or smells unpleasant, it is not finished. A properly cured rabbit’s foot should be dry, firm, and stable. Give it more time when unsure.
Common Mistakes to Avoid
Using an Unknown Wild Animal Source
This is the biggest mistake. Wild rabbits can carry diseases, and found remains are not safe craft materials. Use only a legal, known, ethical source.
Adding Too Much Water During Cleaning
Wiping is fine. Soaking is not. Extra moisture slows drying and increases the risk of odor.
Not Changing Damp Salt or Borax
Drying material can only absorb so much moisture. If it becomes damp or clumpy, replace it.
Stopping Too Soon
A half-cured rabbit’s foot may seem fine at first and then develop odor later. Let the process run longer if conditions are humid.
Trying to Cover Bad Smells
A bad smell is not a cosmetic problem. It usually means decomposition or trapped moisture. Discard the project safely and start over with better materials.
How to Store a Cured Rabbit’s Foot
Once cured, keep the rabbit’s foot in a dry place. Moisture is still the enemy. Avoid bathrooms, damp storage boxes, and outdoor exposure. If you display it, choose a shadow box, sealed jar, or dry shelf. If you carry it as a keychain, understand that daily use will wear it down faster.
Check it occasionally for odor, shedding, insects, or softness. If it becomes damp, let it air-dry in a safe place. If it develops mold or a strong smell, discard it. A preserved charm should not require heroic maintenance. If it does, it has become less “lucky rabbit’s foot” and more “tiny biology lesson.”
Can You Cure a Rabbit’s Foot Without Borax?
Yes, you can cure a rabbit’s foot with non-iodized salt alone, although it may take longer. Salt works by drawing out moisture, but it should be replaced when it becomes damp. A salt-only method is a reasonable choice for people who want a simpler supply list.
However, borax is popular in small taxidermy projects because it helps dry and discourage pests. If you use borax, treat it as a craft chemical: wear gloves, avoid inhaling dust, wash your hands afterward, and keep it away from food, pets, and children.
Is a Cured Rabbit’s Foot Safe to Touch?
A properly cured rabbit’s foot from a safe source is generally handled as a decorative object, but it is still an animal-derived item. Wash your hands after touching it, keep it away from your mouth, and do not let pets chew it. If the charm gets wet, dirty, or damaged, clean and dry it carefully.
For children, classrooms, or public displays, a faux rabbit’s foot may be the better choice. Artificial charms avoid disease concerns, last longer, and do not require explaining to a room full of people why there is a container of salt in the garage labeled “foot project.”
Simple Troubleshooting Guide
The Foot Smells Bad
Discard it. Bad odor usually means decay. Do not try to mask it.
The Salt Is Wet or Clumpy
Replace the salt or borax with a fresh dry batch. The material is doing its job, but it needs help.
The Fur Looks Flat
Brush it gently after curing. Do not soak it to “fluff” the fur.
The Foot Still Feels Soft
Return it to fresh drying material for another week. Softness often means moisture remains inside.
There Is Mold
Discard the project. Mold means the conditions were too damp or the foot was not suitable.
Experience Notes: What Curing a Rabbit’s Foot Teaches You
The first thing most people learn when curing a rabbit’s foot is that preservation is mostly patience wearing work gloves. The process itself is not complicated, but it rewards careful habits. You clean lightly, dry thoroughly, change the salt or borax when needed, and then resist the urge to keep checking it every six hours like it is a sourdough starter with fur.
A common beginner experience is underestimating humidity. In dry weather, a small rabbit’s foot may cure neatly with minimal fuss. In humid weather, the same project can become stubborn. The drying material clumps faster, the foot stays flexible longer, and the timeline stretches. This is where labeling dates and changing material regularly makes a big difference. The cure is not failing; it is just moving at the speed of moisture leaving tissue.
Another useful lesson is that cleanliness at the start affects everything later. A foot that is gently wiped, patted dry, and handled with gloves is much easier to cure than one that is soaked, handled repeatedly, or placed into too little drying material. Many failed projects begin with too much water. The cleaner should not become the problem. A barely damp cloth is often better than an enthusiastic rinse.
People also discover that finishing matters. A cured rabbit’s foot can look plain when it first comes out of the salt or borax. It may be dusty, flattened, or less charming than expected. A soft brush changes that. Gentle brushing lifts the fur, removes leftover drying powder, and gives the piece a more polished look. Adding a small cap, cord, or keychain ring can turn it from “science project in progress” into an intentional handmade charm.
The biggest practical lesson is knowing when to stop. If a project smells bad, grows mold, or came from an uncertain animal source, the best move is disposal, not rescue. Good preservation starts with good judgment. There is no craft trophy for saving a questionable specimen. In fact, the wisest crafters are often the ones willing to say, “Nope, not worth it,” and start again safely.
Finally, curing a rabbit’s foot can teach respect for materials. Whether the finished piece is used as a folk charm, a rustic accessory, a learning sample, or a conversation piece, it came from a living animal. That deserves thoughtfulness. Ethical sourcing, careful handling, and responsible storage are not boring rules; they are what make the project appropriate. A well-cured rabbit’s foot should be dry, clean, odor-free, and respectfully madenot rushed, risky, or treated like a novelty with no responsibilities attached.
Conclusion
Curing a rabbit’s foot is a simple preservation project when you keep the process clean, dry, legal, and ethical. Start with a known safe source, wear gloves, clean the outside gently, bury the foot completely in salt, borax, or a mix of both, and give it enough time to dry fully. Replace damp drying material, watch for odor or mold, and finish the charm only when it is firm, dry, and stable.
The best results come from patience. A rabbit’s foot that cures slowly and thoroughly will look better, last longer, and smell like absolutely nothingwhich, in this craft, is the scent of success. When safety is uncertain, choose a faux charm or consult a professional taxidermist. Luck is nice, but good judgment is better.