Copying files to a USB drive sounds like a job for File Explorer: drag, drop, wait, and hope Windows does not suddenly decide your “five-minute transfer” needs the emotional arc of a three-hour documentary. But Command Prompt, also known as CMD, gives you another way to move files with precision, repeatability, and a little old-school computer confidence.
Whether you are backing up school projects, moving photos, saving work documents, or transferring an entire folder before a laptop reset, learning how to copy files to a USB using Command Prompt can be genuinely useful. CMD lets you copy one file, many files, entire folders, hidden items, and large directory structures with commands such as copy, xcopy, and robocopy. Once you understand the basics, it feels less like typing mysterious computer spells and more like using a very obedient file-moving robot.
This guide walks through the process step by step using standard American English, practical examples, and enough humor to keep your USB drive from feeling like a tiny plastic homework assignment.
Why Use Command Prompt to Copy Files to a USB?
File Explorer is convenient, but Command Prompt shines when you want control. With CMD, you can copy files by exact path, automate backups, repeat the same transfer later, include subfolders, exclude unnecessary items, and see clearer transfer messages. It is especially helpful when File Explorer freezes, the mouse is acting like it has joined a labor union, or you need to copy files from a recovery environment.
CMD is also useful for people who manage many files. Instead of opening folders one by one, you can run one command and let Windows do the work. For example, copying a folder named Projects from your Desktop to a USB drive can be done with a single command. No dragging. No guessing. No accidentally dropping the folder into another folder called “New Folder (7),” where files go to retire.
Before You Start: Understand Drive Letters and File Paths
Windows assigns drive letters to storage devices. Your main system drive is usually C:. A USB flash drive may appear as D:, E:, F:, or another letter depending on your computer. The most important first step is identifying the correct USB drive letter.
How to Find Your USB Drive Letter
Plug the USB drive into your computer. Open File Explorer and select “This PC.” Look for your USB drive under “Devices and drives.” You may see something like USB Drive (E:). In that example, the drive letter is E:.
You can also check from Command Prompt by typing:
Another simple method is to type a drive letter followed by a colon, then use the dir command to inspect it:
If the files and folders shown look like your USB drive, you found it. If not, do not panic. Just try another likely drive letter. CMD will not judge you. It has seen worse.
Step 1: Open Command Prompt
To open Command Prompt, click the Start menu, type cmd, and press Enter. For normal file copying, standard Command Prompt is usually enough. If you are copying protected files, system files, or files from restricted folders, you may need to right-click Command Prompt and choose Run as administrator.
Once CMD opens, you will see a prompt similar to this:
This tells you your current location. Think of it as CMD saying, “I am standing here. Where are we going?”
Step 2: Use Quotation Marks for Paths With Spaces
One of the most common CMD mistakes is forgetting quotation marks around file paths that contain spaces. Windows treats spaces as separators unless you wrap the path in quotes. For example, this may fail:
The corrected version is:
As a rule, use quotation marks whenever a folder or file name contains spaces. Honestly, you can use them even when there are no spaces. CMD will accept the extra politeness.
Step 3: Copy a Single File to a USB Drive
The basic command for copying one file is:
For example, to copy a file named resume.docx from your Documents folder to a USB drive with the letter E:, use:
After you press Enter, Windows should display a message such as:
That message is small, quiet, and beautiful. It means the file has been copied successfully.
Copy and Rename the File at the Same Time
You can also copy a file to the USB drive and give it a new name:
This is useful when you want a backup copy without overwriting an existing file.
Step 4: Copy Multiple Files to a USB Drive
To copy all files from one folder to the USB drive, use a wildcard. The asterisk means “everything that matches.” For example:
This copies files from the Documents folder to the root of the USB drive. However, the basic copy command does not copy folders and subfolders. It is great for individual files, but it is not the best choice for full folder backups.
Copy Only Certain File Types
If you only want PDF files, use:
For images:
This makes CMD surprisingly handy when you want to grab just one type of file. It is like telling Windows, “Only bring the PDFs. Leave the chaos.”
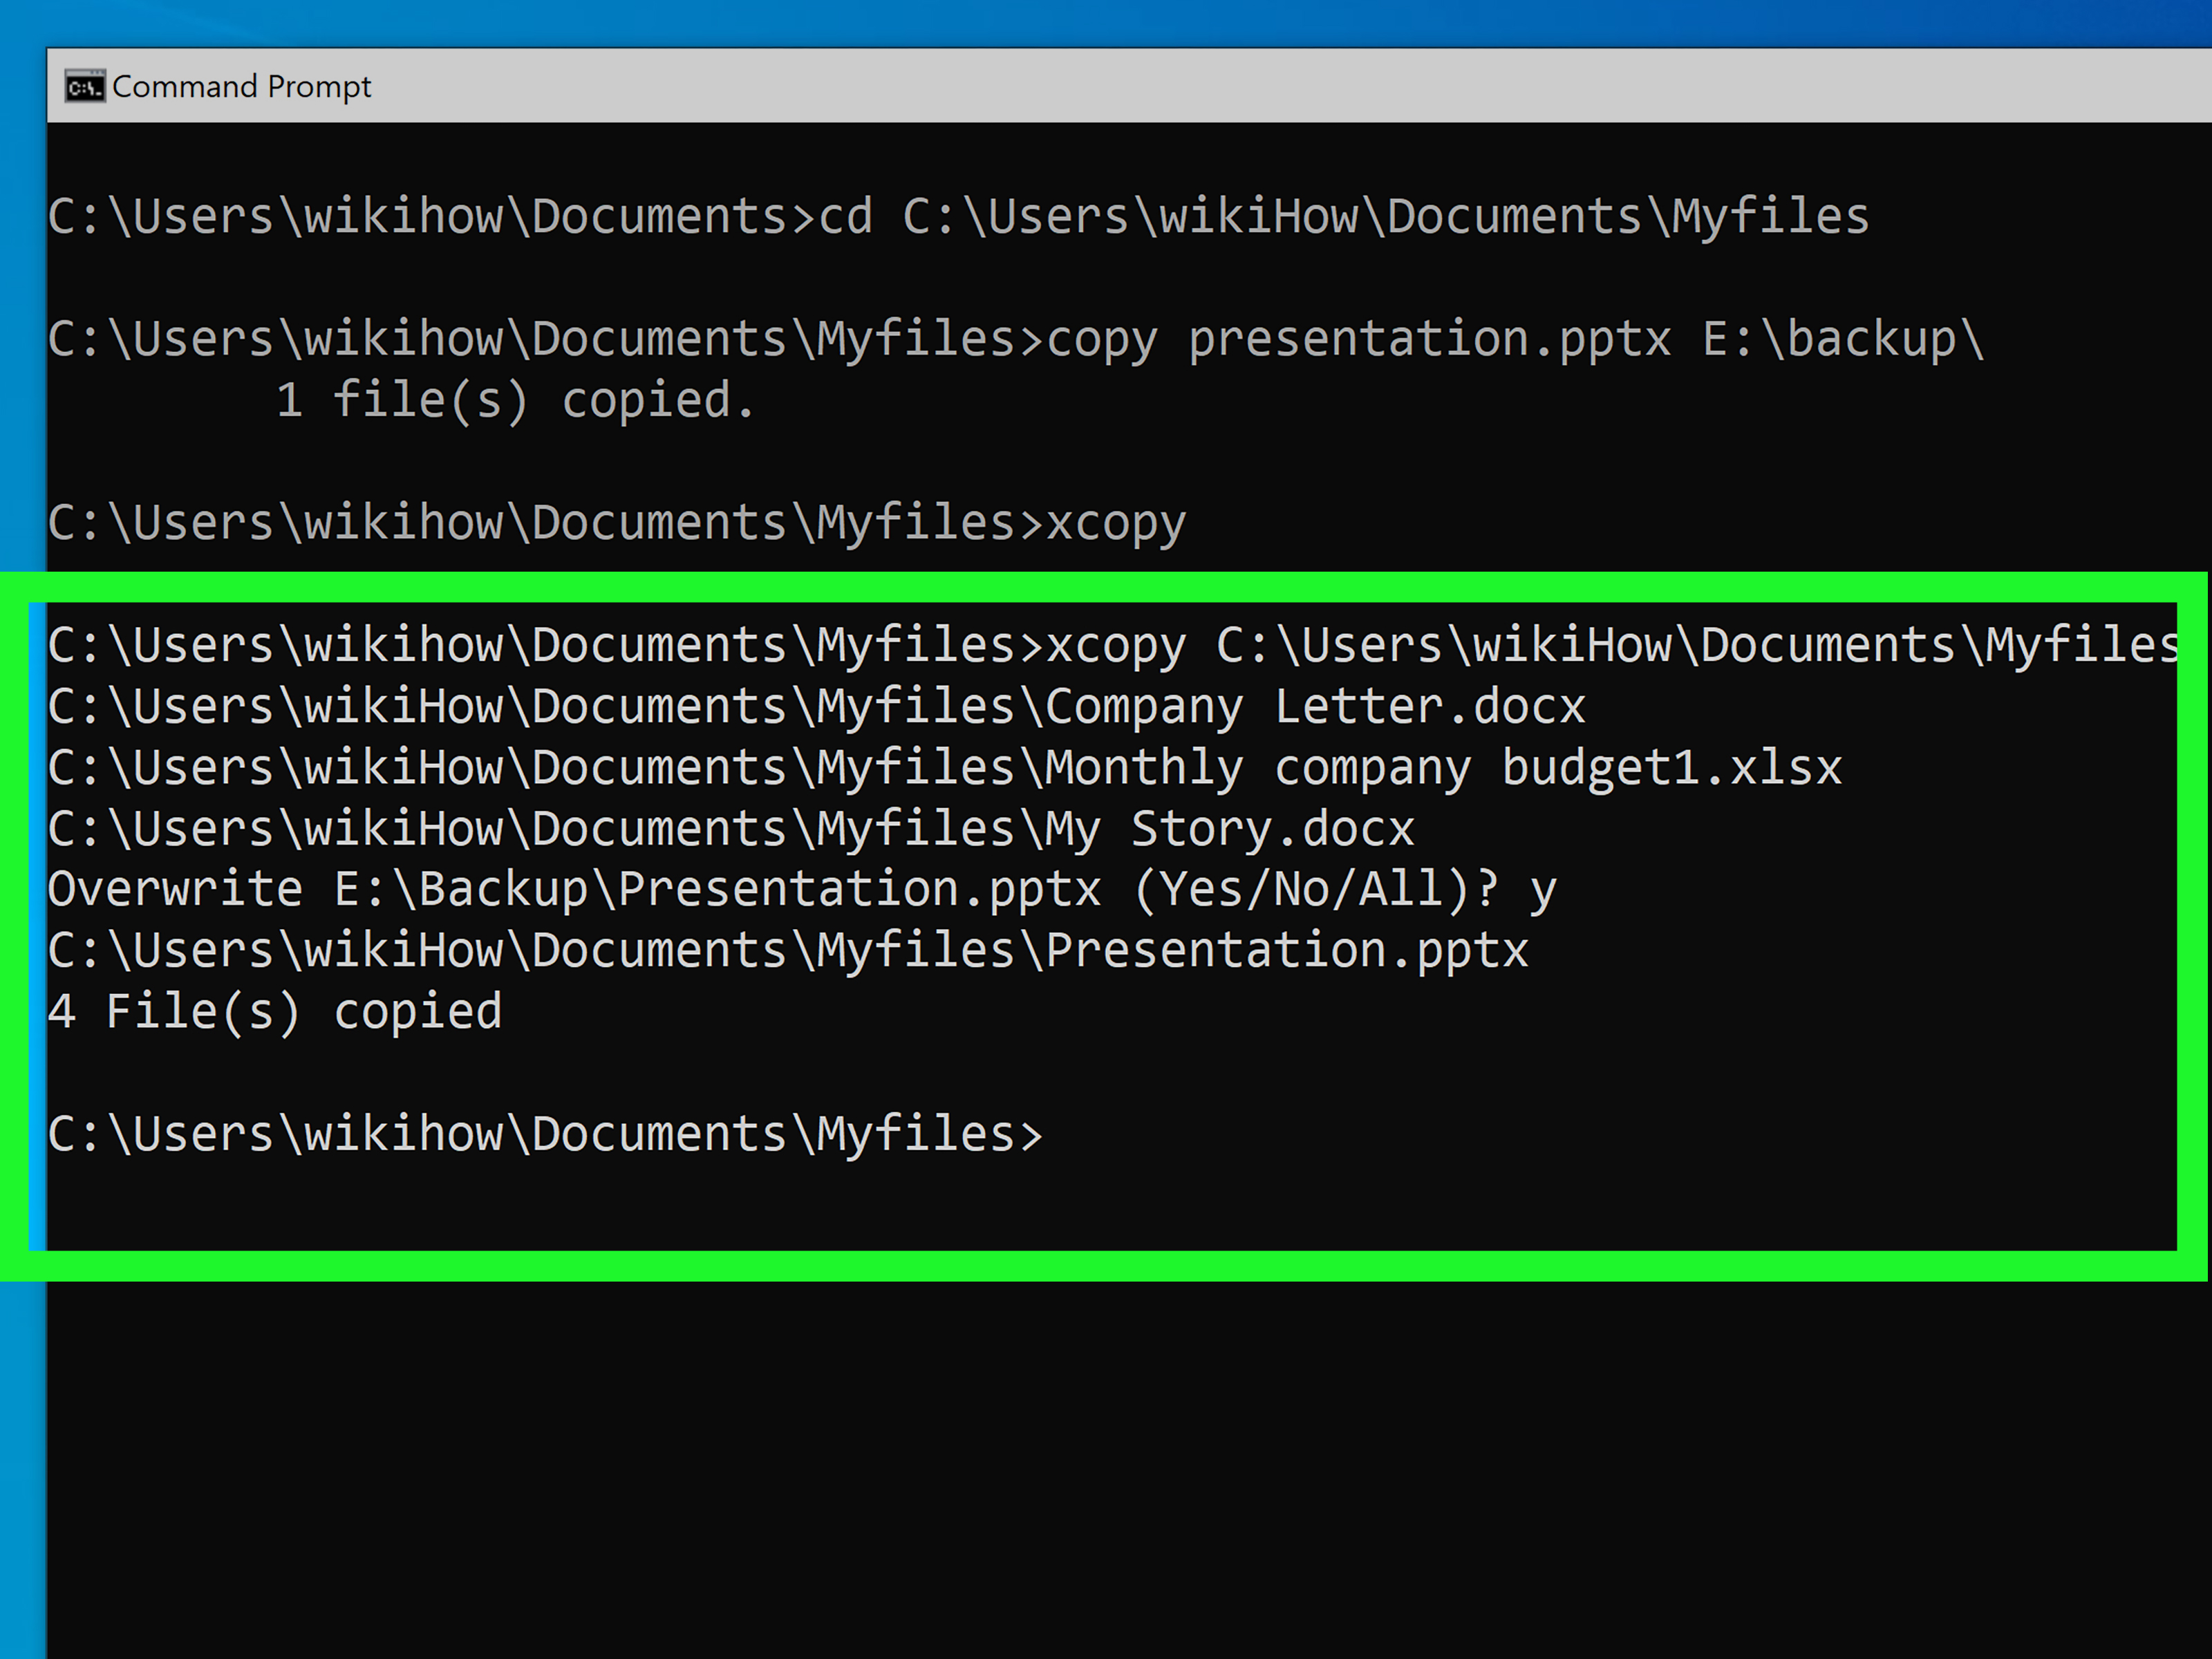
Step 5: Copy Folders to a USB Using XCOPY
If you want to copy an entire folder, including its contents, xcopy is more useful than copy. It can copy files, folders, and subfolders with extra options.
Here is a common command:
Here is what those switches mean:
/Ecopies all subfolders, including empty ones./Iassumes the destination is a folder if it does not already exist./Hcopies hidden and system files./Ysuppresses overwrite confirmation prompts.
This command copies the entire Projects folder from your computer to the USB drive. If the destination folder does not exist, CMD creates it. That is a small miracle, especially if you have ever manually recreated twenty folders and questioned your life choices halfway through.
Use ROBOCOPY for Bigger or More Reliable Transfers
For large folder transfers, robocopy is usually the strongest option. Its name stands for “Robust File Copy,” and yes, that sounds like a superhero whose power is backing up tax documents. Robocopy is built for copying directory trees and handling interruptions better than basic copy commands.
Here is a practical example:
This copies the folder and all subfolders, including empty folders. If you want a more detailed backup command, use:
Here is what the extra switches do:
/Zuses restartable mode, useful if a transfer is interrupted./R:3retries failed copies three times./W:5waits five seconds between retries.
Robocopy is often the best command for copying big folders to a USB drive because it is more resilient. If you are transferring thousands of photos, project folders, or a backup before reinstalling Windows, robocopy is the friend who actually brings boxes on moving day.
How to Check That Files Copied Correctly
After copying, verify the files on the USB drive. You can switch to the USB drive and list its contents:
To inspect a specific folder, use:
The dir command displays files, folders, sizes, and available free space. If your copied file or folder appears in the list, you are in good shape.
You can also open File Explorer and visually confirm the copied files. CMD is powerful, but there is nothing wrong with using your eyes. They have excellent backward compatibility.
Common CMD Copy Examples
Copy a Desktop File to USB
Copy All Word Documents to USB
Copy a Photos Folder to USB
Copy a Large Backup Folder With Robocopy
Troubleshooting: When CMD Does Not Copy Files
“The System Cannot Find the File Specified”
This usually means the source path is wrong, the file name is misspelled, or the path needs quotation marks. Double-check the folder name, file extension, and spaces.
“Access Is Denied”
You may not have permission to copy the file, or the file may be open in another program. Close the file and try again. If needed, open Command Prompt as administrator.
“There Is Not Enough Space on the Disk”
Your USB drive does not have enough free space. Check the drive with:
If the folder is larger than the available space, delete unnecessary files from the USB drive or use a larger drive.
USB Drive Letter Changed
Windows may assign a different drive letter when you unplug and reconnect the USB drive. If yesterday it was E: and today it is F:, do not accuse the computer of betrayal. Just check “This PC” again and update your command.
File Is Too Large for the USB Drive
If a single file is larger than 4 GB and the USB drive uses FAT32, the transfer may fail. FAT32 has a single-file size limit of 4 GB. For large videos, disk images, or backup files, a USB drive formatted as exFAT or NTFS is usually more practical. Always back up existing USB data before formatting because formatting erases the drive.
Best Practices for Copying Files to USB With CMD
First, always confirm your USB drive letter. Copying files to the wrong destination may not ruin your day, but it can create a surprise scavenger hunt. Second, use quotation marks around paths. Third, choose the right command: copy for single files, xcopy for folders, and robocopy for large or serious transfers.
Fourth, do not yank the USB drive out immediately after a transfer. Wait until the command finishes, close any open files, and use the Windows eject option when appropriate. This reduces the risk of incomplete writes or corrupted files. The USB drive may look calm, but inside it may still be finishing paperwork.
Real-World Experience: Lessons From Copying Files to USB Using CMD
After using Command Prompt for USB file transfers in real situations, one lesson becomes obvious: accuracy matters more than speed. The command line rewards careful typing. A missing quote, a wrong drive letter, or a tiny typo can make Windows respond with an error that feels colder than a printer refusing to print one page. The good news is that most CMD copy problems are easy to fix once you understand what the message means.
For small transfers, the copy command is fast and simple. It is perfect when you need to move a document, a spreadsheet, a PDF, or a few images. The most practical habit is to copy the full path from File Explorer when possible, then paste it into CMD inside quotation marks. This avoids spelling mistakes and saves time. It also prevents the classic “Where did I put that file?” moment, which is basically hide-and-seek for adults with deadlines.
For folders, xcopy feels like a reliable middle option. It is easy to understand and works well for copying common folders such as Documents, Pictures, Downloads, and school or work project directories. The switches /E /I /H /Y are especially useful because they copy subfolders, create the destination folder when needed, include hidden files, and reduce repeated confirmation prompts. That combination makes the process smoother, especially when transferring a folder with many layers.
For larger backups, robocopy is the command I would trust most. It provides clearer progress information, handles complicated folder structures better, and can retry failed copies. When copying thousands of files to a USB drive, basic drag-and-drop may freeze or become vague about what happened. Robocopy gives a more technical but more dependable result. It is not flashy, but it is the dependable friend who labels boxes during a move and remembers where the phone charger went.
Another important experience is to keep folder names simple when possible. Long folder names, deeply nested paths, special characters, and spaces can make commands harder to read. Quotation marks solve many spacing problems, but clean organization still helps. A folder like C:\Backup\School is easier to work with than a path that looks like a sentence fell down the stairs.
Finally, always verify the copied files before deleting originals. Use dir, open the USB drive in File Explorer, and check a few important files. If you copied photos, open several images. If you copied documents, open the most important ones. A backup is only useful if it actually works. CMD can move files efficiently, but the smartest user still checks the result. Trust the command, but verify the USB drive. That tiny plastic stick may be powerful, but it is not above needing supervision.
Conclusion
Learning how to copy files to a USB using Command Prompt gives you a practical Windows skill that works beyond simple drag-and-drop. Use copy for individual files, xcopy for folders, and robocopy for larger or more reliable backups. Remember to confirm the USB drive letter, wrap paths in quotation marks, check available space, and verify the copied files before removing anything from your computer.
CMD may look old-fashioned, but it remains one of the most efficient ways to control file transfers in Windows. Once you know the commands, copying files to a USB drive becomes faster, cleaner, and much less mysterious. Best of all, you get to feel like the computer expert in the room, even if the room is just you, your desk, and a USB drive that has somehow collected three mystery files from 2018.