Coding HTML on Chrome OS is a little like making coffee in a tiny kitchen: at first, you wonder where everything fits, then you realize the setup is surprisingly efficient. A Chromebook may look simple, lightweight, and suspiciously innocent, but it can absolutely become a capable web development machine. You can write HTML in the browser, use cloud coding platforms, install Linux tools, run Visual Studio Code, preview pages in Chrome, and inspect your work with Chrome DevTools.
The best part? HTML is one of the friendliest programming-adjacent languages to learn on Chrome OS because it does not require a massive workstation, a roaring fan, or a laptop that sounds like it is preparing for takeoff. Since HTML runs directly in the browser, your Chromebook already has the most important tool installed: Google Chrome.
This guide explains how to code HTML on Chrome OS from beginner-friendly methods to more serious development workflows. Whether you are a student, blogger, future web developer, small business owner, or someone who just wants to build a personal webpage without angering the technology gods, you will find a practical path here.
Why Chrome OS Works Well for HTML Coding
Chrome OS was designed around the web, and HTML is the language that gives web pages their structure. That makes the combination feel natural. You do not need to install a heavy software suite just to create a basic HTML file. You can write code in a simple text editor, save the file with a .html extension, and open it in Chrome to see the result.
Modern Chromebooks also support several development options. You can use browser-based editors like CodePen, Replit, StackBlitz, or GitHub’s web editor. On many Chromebooks, you can enable the Linux development environment and install professional tools such as Visual Studio Code, Git, Node.js, and command-line utilities. That means Chrome OS can support both “I am learning my first heading tag” and “I am building a portfolio site with version control” workflows.
What You Need Before You Start
To code HTML on Chrome OS, you do not need much. A working Chromebook, a Google account, Chrome browser, and a little patience are enough for basic projects. If you plan to use Linux apps, you will need a Chromebook that supports the Linux development environment and enough storage space for code editors and packages.
For beginners, the easiest tools are online editors. They remove setup headaches and let you focus on learning HTML tags, page structure, links, images, lists, and forms. For intermediate users, a local folder plus a code editor gives you better organization. For advanced users, Linux on Chrome OS unlocks a more traditional developer setup.
Method 1: Code HTML Directly in the Browser
The fastest way to start is with an online HTML editor. Platforms such as CodePen and Replit let you write HTML, CSS, and JavaScript inside Chrome and preview the result instantly. This is perfect for beginners because you do not have to worry about file paths, extensions, or local servers.
Using CodePen
CodePen is popular for front-end experiments. You type HTML in one panel, CSS in another, and JavaScript in a third. The preview updates automatically, which feels almost magical until you forget a closing tag and your page starts acting like a raccoon in a drawer.
For simple HTML practice, create a new Pen and write something like this:
This method is ideal for testing snippets, learning semantic HTML, and sharing examples. However, because the HTML panel usually represents content inside the page body, it may not teach you the full document structure unless you deliberately practice it.
Using Replit
Replit is another strong choice for Chromebook users. It runs in the browser and supports HTML, CSS, and JavaScript projects. You can create a web project, edit files, preview the page, and share your work. It also keeps your project online, which is useful if your Chromebook storage is limited.
A typical HTML project includes three common files:
The index.html file holds the structure, style.css controls the design, and script.js handles interactivity. You can start with just HTML, then add CSS when your page begins looking like it was decorated by a spreadsheet.
Method 2: Create a Local HTML File on Chrome OS
If you want to code HTML without an internet connection, you can create files locally on your Chromebook. Chrome OS includes a Files app for managing folders, and you can use a simple text editor or install a code editor.
Step 1: Create a Project Folder
Open the Files app and create a folder named something clear, such as html-practice, portfolio-site, or my-first-website. Avoid names like new final final version real one, because future you deserves kindness.
Step 2: Create an HTML File
Create a new file named index.html. The name matters because many web servers look for index.html as the default home page. If your editor does not let you create a file directly, create a text file and rename it with the .html extension.
Step 3: Write a Basic HTML Document
A full HTML document should include a doctype, language attribute, head section, and body section. Here is a clean starter template:
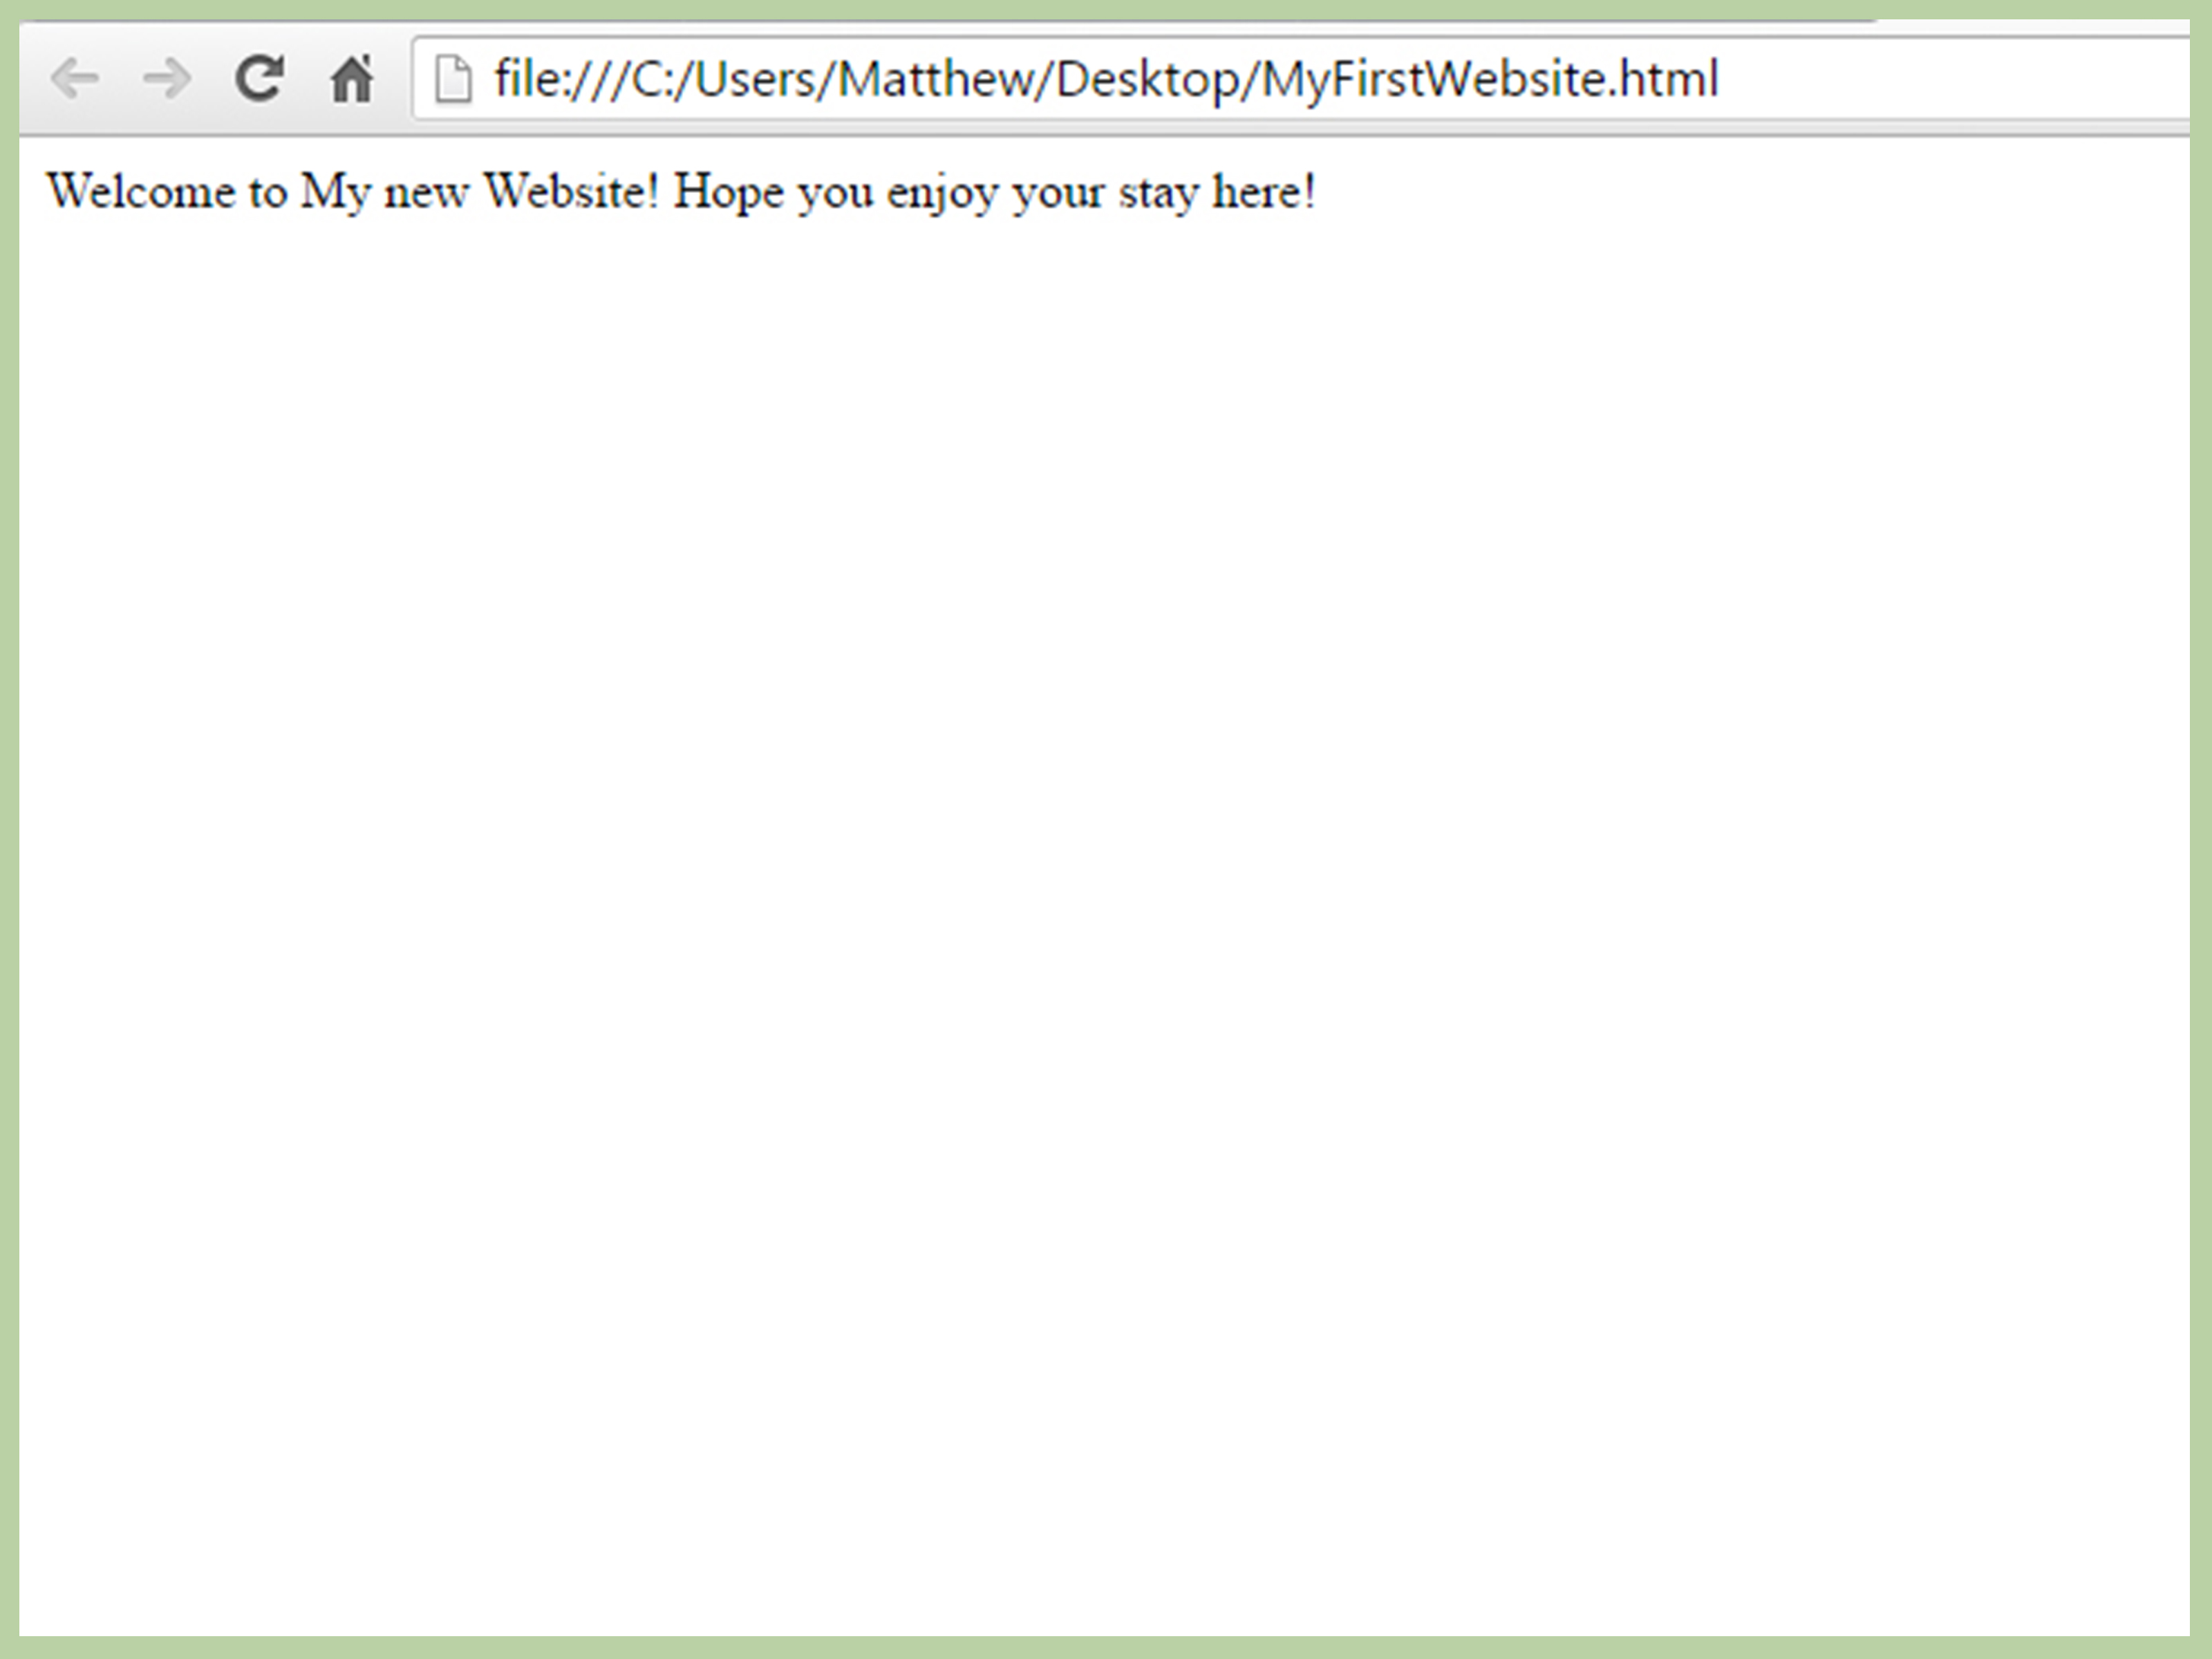
Save the file, then double-click it in the Files app. Chrome should open it like a normal web page. Congratulations: your Chromebook is now a tiny web laboratory.
Method 3: Use Visual Studio Code on Chrome OS
Visual Studio Code is one of the most popular code editors for web development. On Chrome OS, you have two main options: use VS Code for the Web in the browser, or install the desktop version through the Linux development environment.
VS Code for the Web
VS Code for the Web gives you a lightweight coding experience directly in Chrome. It is useful for editing files, working with GitHub repositories, and writing HTML without installing a desktop app. For many Chromebook users, this is the sweet spot: more powerful than a plain text editor, less setup than a full Linux environment.
VS Code Through Linux
If your Chromebook supports Linux apps, you can enable the Linux development environment from Chrome OS settings. After setup, you can install Linux development tools and run a desktop version of VS Code. This gives you access to extensions, terminal commands, Git workflows, and local project folders.
The general path is:
- Open Chrome OS Settings.
- Go to the Developers section.
- Turn on the Linux development environment.
- Install VS Code using the official Debian package.
- Create a project folder and open it in VS Code.
Once installed, VS Code makes HTML development much smoother. You get syntax highlighting, auto-completion, file navigation, formatting, extensions, and an integrated terminal. Add a live preview extension or use a simple local server, and your Chromebook starts feeling like a compact professional coding setup.
Understanding HTML Basics Before You Build
Learning how to code HTML on Chrome OS is not just about tools. You also need to understand what HTML does. HTML stands for HyperText Markup Language. It is not used to “program” logic in the same way JavaScript does. Instead, HTML describes the structure and meaning of content.
Common HTML Elements
Here are some elements every beginner should know:
<h1>to<h6>define headings.<p>defines a paragraph.<a>creates a link.<img>displays an image.<ul>,<ol>, and<li>create lists.<header>,<main>,<section>, and<footer>create semantic page structure.
Semantic HTML is important because it helps browsers, screen readers, and search engines understand your content. A page built with meaningful tags is usually easier to maintain and better for accessibility and SEO.
How to Preview HTML on a Chromebook
Previewing HTML on Chrome OS is simple. If your file is local, open it in Chrome. If you use an online editor, use the built-in preview. If you are working in Linux with a larger project, you can run a local development server.
For a basic HTML file, no server is required. You can open index.html directly. But if your project uses JavaScript modules, fetch requests, routing, or frameworks later, a local server becomes more useful. Many developers use tools such as Python’s built-in server or Node-based development servers for that purpose.
Using Chrome DevTools to Improve Your HTML
Chrome DevTools is built into the Chrome browser, which means every Chromebook already includes a serious debugging toolbox. Right-click a page and choose Inspect, or press the keyboard shortcut for DevTools. From there, you can inspect elements, edit HTML temporarily, test CSS changes, check console errors, view network requests, and run Lighthouse audits.
The Elements panel is especially helpful for HTML learners. You can click parts of the page and see which HTML element created them. You can also edit text and attributes live. Just remember: DevTools changes are temporary unless you copy them back into your actual file. DevTools is a brilliant sketchpad, not a permanent notebook.
Testing HTML Quality with Validators and Lighthouse
After writing HTML, test it. The W3C Markup Validation Service can check your HTML for syntax problems, missing tags, invalid nesting, and other markup issues. Validation does not guarantee that your design is beautiful, just like spellcheck does not guarantee your poem is emotionally devastating. But it does help catch technical mistakes.
Chrome Lighthouse is another useful tool. It can audit performance, accessibility, best practices, and SEO. For a simple HTML page, Lighthouse can reveal missing meta descriptions, weak contrast, unhelpful link text, image issues, and mobile layout problems. This is especially helpful if your HTML page is meant to become a real website rather than a digital refrigerator note.
Best Practices for Coding HTML on Chrome OS
Keep Your Project Organized
Use clear folders and file names. A simple structure works well:
This structure makes your project easier to understand. It also prepares you for real-world web development, where organization is not optional unless you enjoy archaeological file hunts.
Write Semantic HTML
Use elements based on meaning, not appearance. For example, use <h2> for a section heading, not just because it looks bigger. Use <button> for clickable actions and <a> for links. Search engines and assistive technologies depend on these choices.
Use Alt Text for Images
Every meaningful image should include helpful alt text. This improves accessibility and helps users who cannot see the image understand its purpose. For decorative images, empty alt text can be appropriate.
Make Pages Mobile-Friendly
Always include the viewport meta tag in full HTML documents:
This helps your page scale properly on phones, tablets, and small Chromebook screens. Without it, your layout may look like it was designed for a billboard and squeezed into a lunchbox.
Save Often and Use Version Control
For serious projects, learn Git. GitHub works well on Chromebooks through the browser, GitHub’s web editor, Codespaces, or Linux tools. Version control lets you save snapshots of your project and recover from mistakes. That is valuable because sooner or later, every developer deletes something important and briefly stares into the middle distance.
Common Problems and Easy Fixes
The HTML File Opens as Text Instead of a Web Page
Check the file extension. It should end in .html, not .txt. On some systems, a file may look like index.html but actually be index.html.txt. Rename it carefully.
Images Do Not Show Up
Check the file path. If your image is inside an images folder, the source might look like this:
Also confirm the file name matches exactly. Capital letters matter in many web environments. Photo.jpg and photo.jpg may not be treated as the same file.
Changes Do Not Appear in Chrome
Save the file first, then refresh the browser. If needed, use a hard refresh. When using online editors, check whether auto-save is enabled. When using a local server, make sure the server is running and you are editing the correct project folder.
Linux Is Not Available
Some Chromebooks, school-managed devices, or older models may not support Linux or may have it disabled by an administrator. In that case, use browser-based tools such as CodePen, Replit, GitHub’s web editor, or VS Code for the Web. You can still learn HTML effectively without Linux.
Which Chrome OS HTML Coding Method Is Best?
The best method depends on your goal. If you are brand new, start with CodePen or Replit. If you want offline practice, create local HTML files and open them in Chrome. If you are serious about web development, enable Linux if available and install VS Code. If you work with GitHub repositories, try github.dev or Codespaces.
For most beginners, the recommended path is simple: learn basic HTML in an online editor, build a small local project, then move to VS Code when you want better file management. You do not need to install everything on day one. In fact, installing every tool before writing your first paragraph of HTML is a classic developer trap. It feels productive, but so does sharpening twelve pencils before writing one sentence.
Example Mini Project: A Personal Bio Page
Here is a beginner-friendly project you can build on Chrome OS. Create an index.html file and add this code:
This project teaches headings, paragraphs, lists, semantic layout, and document structure. Once it works, add CSS, images, links, and a contact section. Small projects are the best way to learn because they give your brain something real to wrestle with, instead of floating through tutorials like a sleepy cloud.
Extra Experience: What Coding HTML on Chrome OS Feels Like in Real Use
After spending time with HTML workflows on Chrome OS, one thing becomes clear: the Chromebook is strongest when you match the tool to the task. For quick learning, browser-based coding feels excellent. You open Chrome, launch an editor, type a few tags, and the result appears instantly. There is very little friction. That matters because beginners often lose momentum during setup. When the first hour of “learning HTML” becomes an hour of installing packages, updating dependencies, and wondering why a terminal is yelling, motivation can disappear faster than a snack in a room full of teenagers.
For simple pages, Chrome OS feels clean and focused. You can keep a tutorial in one window, your editor in another, and the preview beside it. The lightweight nature of a Chromebook helps you stay close to the essentials: structure, content, headings, links, images, and readable markup. You are not distracted by a giant desktop environment or a dozen background apps begging for attention.
The main challenge is file handling. New users sometimes struggle with where files are saved, how to rename them, and how to make sure index.html is truly an HTML file. Once that clicks, the process becomes simple. Creating a dedicated project folder solves many problems. Keep your HTML, CSS, images, and JavaScript in predictable places. When something breaks, you can inspect the file path instead of searching through the Downloads folder like a detective in a very boring crime drama.
Using Linux on Chrome OS is a bigger step, but it is worth it for learners who want to go beyond basic HTML. With Linux enabled, the Chromebook becomes much closer to a traditional developer machine. You can run VS Code, use Git, install Node.js, and practice command-line workflows. The tradeoff is that Linux takes storage and introduces more complexity. If you are only learning headings and paragraphs, you probably do not need it yet. If you are building full websites, portfolios, or front-end projects, Linux becomes much more useful.
Cloud development tools are another major advantage. GitHub Codespaces, Replit, and similar platforms let a Chromebook borrow power from the cloud. This is especially helpful on budget Chromebooks with limited storage or modest processors. Instead of forcing the device to do everything locally, you can code in the browser while the platform handles the environment. The downside is that cloud tools depend on internet access and may have usage limits, so they are not always ideal for offline work.
Chrome DevTools is the secret weapon. When learning HTML, you should inspect real websites often. Look at how pages use headings, navigation, sections, buttons, forms, and images. Do not copy other sites, but study their structure. DevTools turns the web into a living textbook. You can click an element, see the HTML behind it, test quick edits, and understand how the browser interprets your code. It is one of the best reasons Chrome OS works so well for front-end learning.
The best long-term habit is to build tiny projects repeatedly. Make a personal bio page, a recipe page, a landing page, a class schedule, a product card, a photo gallery, and a simple FAQ page. Each project teaches a different HTML pattern. Over time, you stop memorizing tags mechanically and start thinking in page structure. That is when HTML begins to feel less like code soup and more like architecture.
In short, Chrome OS is not a limitation for HTML. It is a practical, affordable, web-first environment that can grow with you. Start in the browser, practice locally, use DevTools constantly, validate your markup, and move into Linux or cloud development when your projects demand it. The Chromebook may be small, but for HTML, it carries a surprisingly large toolbox.
Conclusion
Learning how to code HTML on Chrome OS is completely realistic, whether you use a basic Chromebook or a more powerful model. Start with simple browser-based editors if you want the fastest path. Create local files if you want offline control. Use VS Code, Linux, GitHub, or cloud development environments when you are ready for a more professional workflow.
The key is not the device; it is the habit. Write HTML, preview it, inspect it, validate it, fix it, and build again. Chrome OS gives you enough tools to learn the fundamentals and enough flexibility to keep growing. Your first page may be plain. Your second will be better. By the tenth, you may start caring deeply about semantic markup and file structure, which is how you know the web development bug has officially bitten.