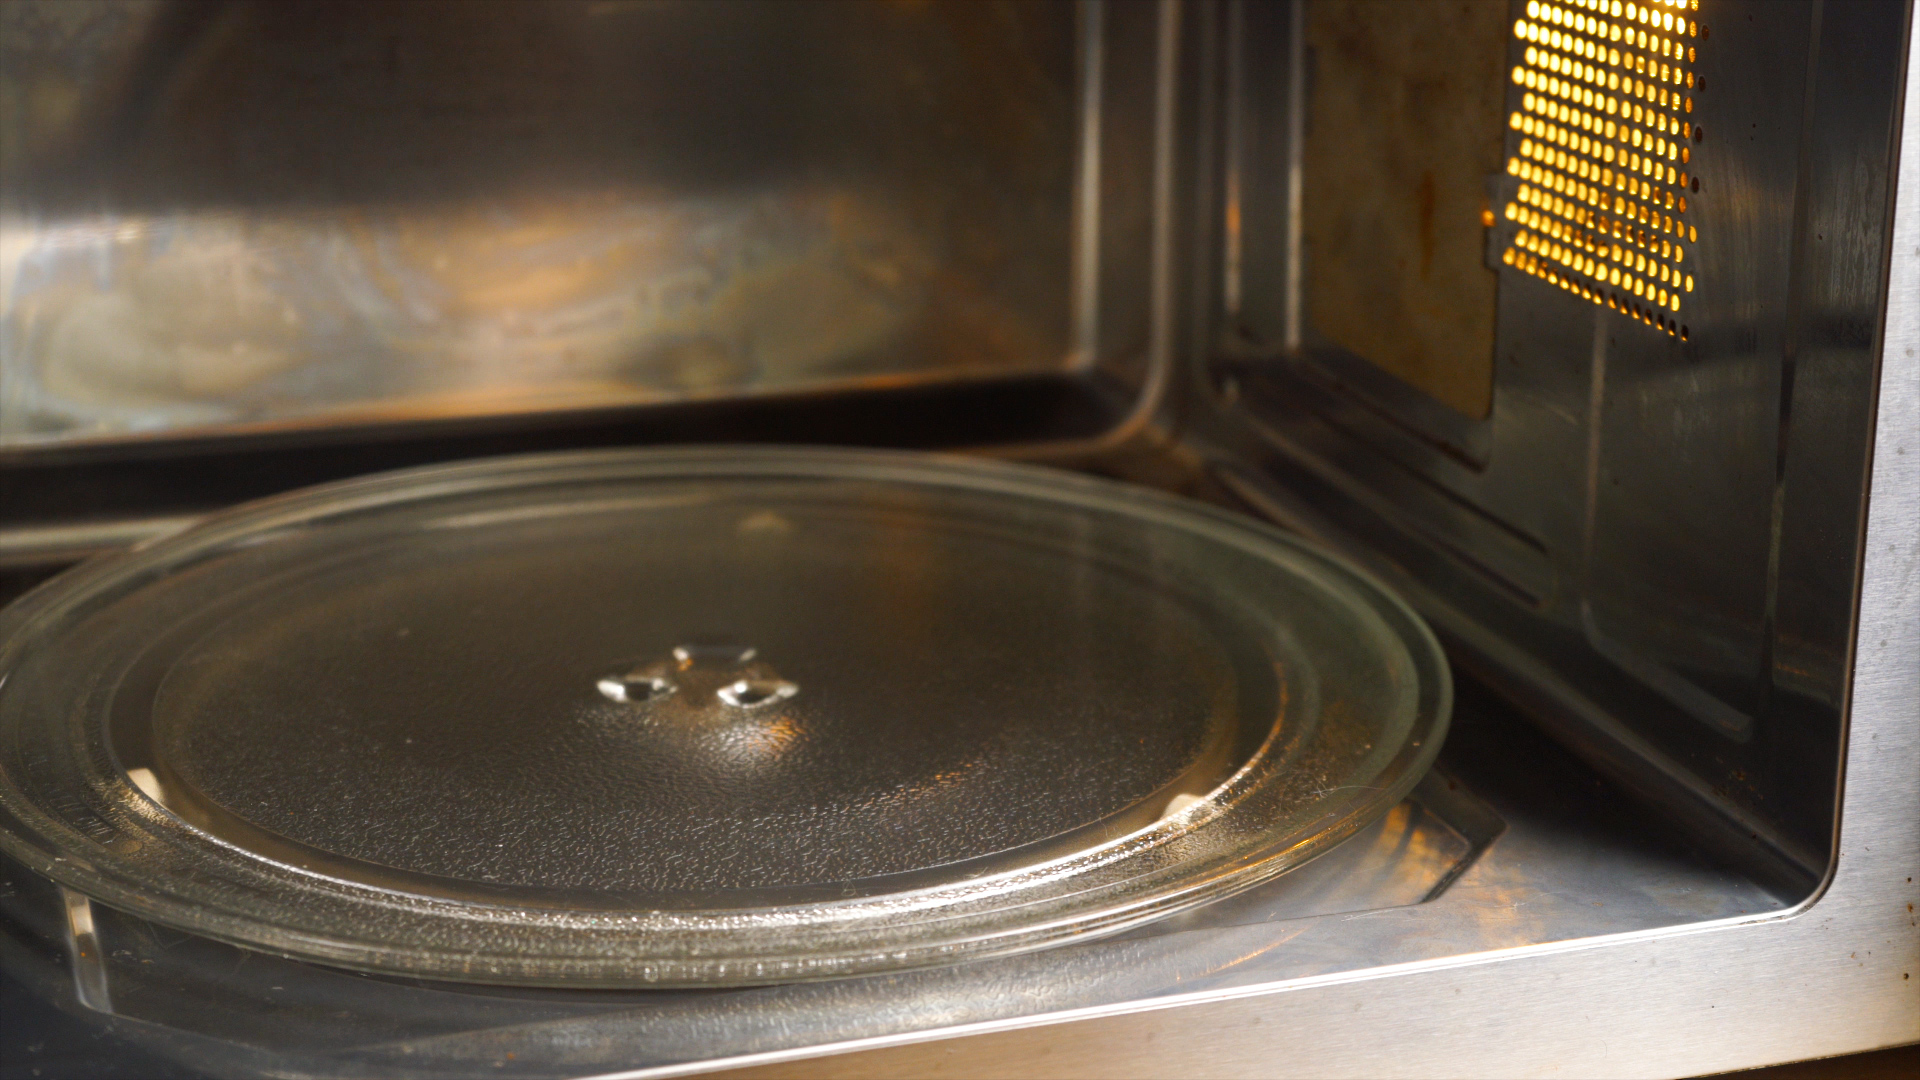
There are two kinds of people in the world: people who wipe out microwave splatters immediately, and people who discover a fossilized spaghetti explosion three weeks later. No judgment. Microwaves are tiny, busy boxes that somehow attract sauce, steam, cheese, grease, and the mysterious aroma of reheated fish.
The good news is that you do not need a cabinet full of harsh sprays to get your microwave looking respectable again. A simple box of baking soda can help loosen food residue, tackle stubborn splatters, and reduce lingering odors without leaving behind a heavy chemical scent. With a microwave-safe bowl, warm water, and a soft cloth, you can turn your microwave from “crime scene casserole” back into “ready for popcorn.”
Note: Always check your microwave’s care instructions before cleaning, especially if it has a convection feature, metal rack, specialty coating, or over-the-range ventilation system. Avoid getting moisture into vents, electrical components, door seals, or the protective panel inside the microwave cavity.
Why Use Baking Soda to Clean a Microwave?
Baking soda is one of those humble pantry staples that quietly does more household work than its tiny box suggests. It is mildly abrasive, which means it can help lift dried food and greasy residue without requiring aggressive scrubbing. It also helps neutralize many unpleasant smells, making it especially useful after burnt popcorn, garlic pasta, fish leftovers, or a forgotten mug of soup has turned your microwave into a scent museum.
Unlike heavily perfumed cleaners, baking soda does not leave the inside of your microwave smelling like a fake tropical forest. That matters because this is an appliance that heats food. A gentle cleaning method is usually the better choice for a space where tomorrow’s oatmeal, leftovers, and midnight nachos will be warming up.
The Fastest Baking Soda Microwave Cleaning Method
For everyday splatters and light grime, steam is your best helper. The steam softens dried food particles, while baking soda helps freshen the interior. This method takes only a few minutes of active work, although your microwave may look so much better that you will briefly consider cleaning the rest of the kitchen. That feeling usually passes.
What You Need
- 1 microwave-safe bowl or measuring cup
- 1 cup of water
- 2 tablespoons of baking soda
- A soft sponge, microfiber cloth, or nonabrasive dishcloth
- Warm soapy water for the turntable
- A dry towel for finishing
Step 1: Remove Loose Crumbs and the Turntable
Unplugging the microwave is not always necessary for a quick interior wipe, but it is a smart precaution if you plan to clean the exterior, controls, or underneath the appliance. Remove the glass turntable and roller ring if your microwave has them. Take out loose crumbs with a dry cloth or paper towel first. Otherwise, those crumbs can become a damp little paste once the steam arrives.
Step 2: Make a Baking Soda Steam Bowl
Pour 1 cup of water into a microwave-safe bowl. Stir in 2 tablespoons of baking soda until most of it dissolves. Do not heat dry baking soda by itself. The water is important because it creates steam, which does most of the hard work by loosening food splatters from the walls, ceiling, floor, and door.
Place the bowl in the center of the microwave. Heat it on high for about 3 to 5 minutes, or until the interior looks noticeably steamy. The exact time depends on your microwave’s wattage and how dirty it is. A lightly used microwave may need only 3 minutes, while a microwave that has hosted several dramatic pasta incidents may benefit from the full 5 minutes.
Step 3: Let the Steam Sit
When the timer ends, keep the door closed for about 5 minutes. This short pause gives the steam time to soften dried-on food. It is the cleaning equivalent of letting a stubborn stain think about its choices.
Be careful when opening the door. The bowl and steam can be hot. Use oven mitts or a thick dry towel to remove the bowl if needed.
Step 4: Wipe the Interior
Use a soft damp cloth or nonabrasive sponge to wipe the ceiling, side walls, back wall, floor, and inside of the door. Start at the top and work downward so you are not wiping drips onto an area you already cleaned. Most softened residue should lift easily. Rinse the cloth often in warm water so you are removing grime instead of giving it a new ZIP code.
Finish by wiping the interior with a clean damp cloth, then dry it with a soft towel. Leaving the microwave dry helps prevent streaks and keeps moisture from lingering around seams or vents.
How to Remove Tough Microwave Stains with Baking Soda Paste
Some stains are more committed than others. Tomato sauce, melted cheese, burned syrup, and old grease can cling to microwave walls with the confidence of a bad reality-show contestant. For those stubborn spots, use a thicker baking soda paste.
Make a Gentle Cleaning Paste
Mix about 3 tablespoons of baking soda with 1 tablespoon of water. You want a spreadable paste, not a watery soup. If it runs down the wall immediately, add a little more baking soda. If it resembles concrete, add a few drops of water.
Apply the Paste Carefully
Wait until the microwave is cool. Apply the paste only to the stained areas using a soft cloth, sponge, or old toothbrush with soft bristles. Let it sit for 5 to 10 minutes, then gently wipe it away with a damp microfiber cloth.
Do not scrub aggressively. Baking soda is mild, but repeated hard scrubbing can dull delicate surfaces over time. Avoid putting paste directly on the microwave’s vents, door mesh, control panel, rubber seals, or the protective waveguide cover inside the cavity. If you are unsure what a component is, treat it like a mysterious button in an elevator: do not poke it with cleaning paste.
For extremely stubborn buildup, repeat the steam method first, then try the paste again. Softened residue is easier to remove than dry, baked-on food that has been reheated more times than a sitcom rerun.
Cleaning the Turntable, Door, and Exterior
Wash the Glass Turntable Separately
Wash the glass turntable and roller ring in the sink with warm water and mild dish soap. If the turntable has greasy residue, sprinkle a small amount of baking soda onto a damp sponge and wipe gently. Rinse thoroughly and let it dry completely before putting it back into the microwave.
Do not place a hot glass turntable directly into cold water. Sudden temperature changes can cause glass to crack, and nobody wants their cleaning day to become an impromptu glass-removal exercise.
Clean the Microwave Door
Use a soft cloth dampened with warm water and a little mild dish soap to clean the inside and outside of the door. Pay attention to the edges and handle, where fingerprints and food splatters love to gather. Wipe the door glass gently rather than using gritty scrubbing tools.
Never damage or scrape the fine mesh inside the microwave door. That mesh is an important protective component, not decorative wallpaper.
Wipe the Exterior and Control Panel
For the exterior, use a lightly damp microfiber cloth with a small amount of mild dish soap. Do not spray cleaner directly onto the control panel, vents, or buttons. Spray the cloth first, then wipe. This reduces the chance of liquid seeping behind buttons or into electrical areas.
If your microwave is stainless steel, wipe in the direction of the grain. A dry microfiber cloth can help buff away fingerprints afterward.
How to Deodorize a Microwave with Baking Soda
Cleaning removes residue, but some odors need a little more convincing. Baking soda can help freshen a microwave after fish, burnt popcorn, spicy leftovers, onions, or that one mysterious container found at the back of the refrigerator.
After cleaning the interior, place an open bowl with about 1/2 cup of dry baking soda inside the microwave overnight. Keep the door closed, and make sure nobody uses the appliance while the bowl is inside. In the morning, remove the baking soda and wipe the interior once more with a clean damp cloth.
For a stubborn burnt smell, use the baking soda steam method first, then leave the dry bowl inside overnight. You can also leave the microwave door open for a couple of hours when it is not in use to help air out the interior.
Common Microwave Cleaning Mistakes to Avoid
- Do not use steel wool or harsh scouring pads. They can scratch interior surfaces and door glass.
- Do not use oven cleaner inside a microwave. It can be too harsh for microwave surfaces and may leave unwanted residue.
- Do not soak vents or electrical areas. A damp cloth is safer than spraying liquid directly into the appliance.
- Do not microwave an empty bowl. Always include water when using the steam-cleaning method.
- Do not combine baking soda and vinegar in the same cleaning bowl. The dramatic fizz looks impressive, but the two ingredients largely neutralize one another. Use them separately when needed.
- Do not ignore the owner’s manual. Different microwave finishes and features may require specific care.
How Often Should You Clean a Microwave?
For a microwave used every day, wipe up spills as soon as they happen and give the interior a quick cleaning once a week. A deeper baking soda clean once a month is usually enough for most households. If your microwave handles frequent family meals, office lunches, butter explosions, or late-night snack experiments, you may need to clean it more often.
The easiest way to prevent a grimy microwave is to cover food with a microwave-safe lid or vented splatter guard. It takes two seconds, saves several minutes of scrubbing, and prevents marinara sauce from attempting a daring escape across the ceiling.
Conclusion: A Cleaner Microwave Without Harsh Chemicals
Cleaning a microwave with baking soda is simple, affordable, and surprisingly satisfying. The steam method handles everyday messes, while a baking soda paste helps with stubborn stains. Add an overnight bowl of dry baking soda, and even lingering food odors can become much less dramatic.
Keep the process gentle: use soft cloths, avoid harsh abrasives, clean removable parts separately, and never soak sensitive components. With a little baking soda and a few minutes of attention, your microwave can return to its natural state: a helpful kitchen appliance instead of a tiny haunted cave of old spaghetti sauce.
Real-Life Experiences Cleaning a Microwave with Baking Soda
One of the best things about cleaning a microwave with baking soda is that it works well even when you have procrastinated far beyond the point of polite denial. Many people start with the idea that they will need a powerful store-bought cleaner, rubber gloves, and perhaps a motivational speech. Then they try a bowl of water and baking soda, let the microwave steam up, and realize the dried sauce is suddenly willing to leave without a courtroom battle.
A common experience is discovering that the ceiling is worse than the bottom. The floor of the microwave gets attention because it is visible every time the door opens. The ceiling, however, quietly collects splatters from soup, oatmeal, spaghetti sauce, and melted butter. Once steam has softened the residue, a damp microfiber cloth can usually remove it with a few wipes. It feels oddly rewarding, like finding money in an old jacket pocket, except the money is tomato sauce and the jacket is an appliance.
Burnt popcorn is another classic microwave story. It begins with confidence: “I only need two minutes.” Then someone gets distracted by a phone call, a pet, a delivery, or the irresistible urge to check one more email. Suddenly, the kitchen smells like a campfire held inside a plastic bowl. Baking soda can help after the immediate disaster is over. First, clean away any visible residue. Next, steam the interior with baking soda and water. Finally, leave a dry bowl of baking soda inside overnight. The smell may not disappear instantly, especially after a serious burn, but it often becomes noticeably less intense by morning.
People also tend to appreciate baking soda when dealing with greasy microwave interiors. Grease can make dust and food particles stick to the walls, producing a film that feels sticky even after a basic wipe-down. A gentle baking soda paste is useful here because it gives you a little more grip without requiring harsh chemicals. The key is patience. Let the paste sit for several minutes, then wipe with a damp cloth. Scrubbing harder is not always the answer. Sometimes the better strategy is to let the cleaner do its quiet, boring, effective work while you make coffee.
Another useful experience involves cleaning the microwave turntable separately. It is easy to forget that the glass plate is removable. Many people try to wipe it while it is still inside the microwave, which turns a simple job into a clumsy one. Taking it out and washing it in the sink with warm soapy water is faster and gives you access to the crumbs hiding underneath. Once the roller ring is cleaned too, the microwave often sounds smoother when the turntable rotates again.
Finally, the biggest lesson is that small cleanups prevent big cleanups. Wiping a spill while it is fresh takes seconds. Waiting until it has been reheated six times turns it into a hard, shiny monument to procrastination. Keeping baking soda nearby makes routine microwave cleaning easier, cheaper, and much less intimidating. You do not need perfect habits. You only need a bowl, some water, a soft cloth, and the willingness to face whatever is currently living on the microwave ceiling.