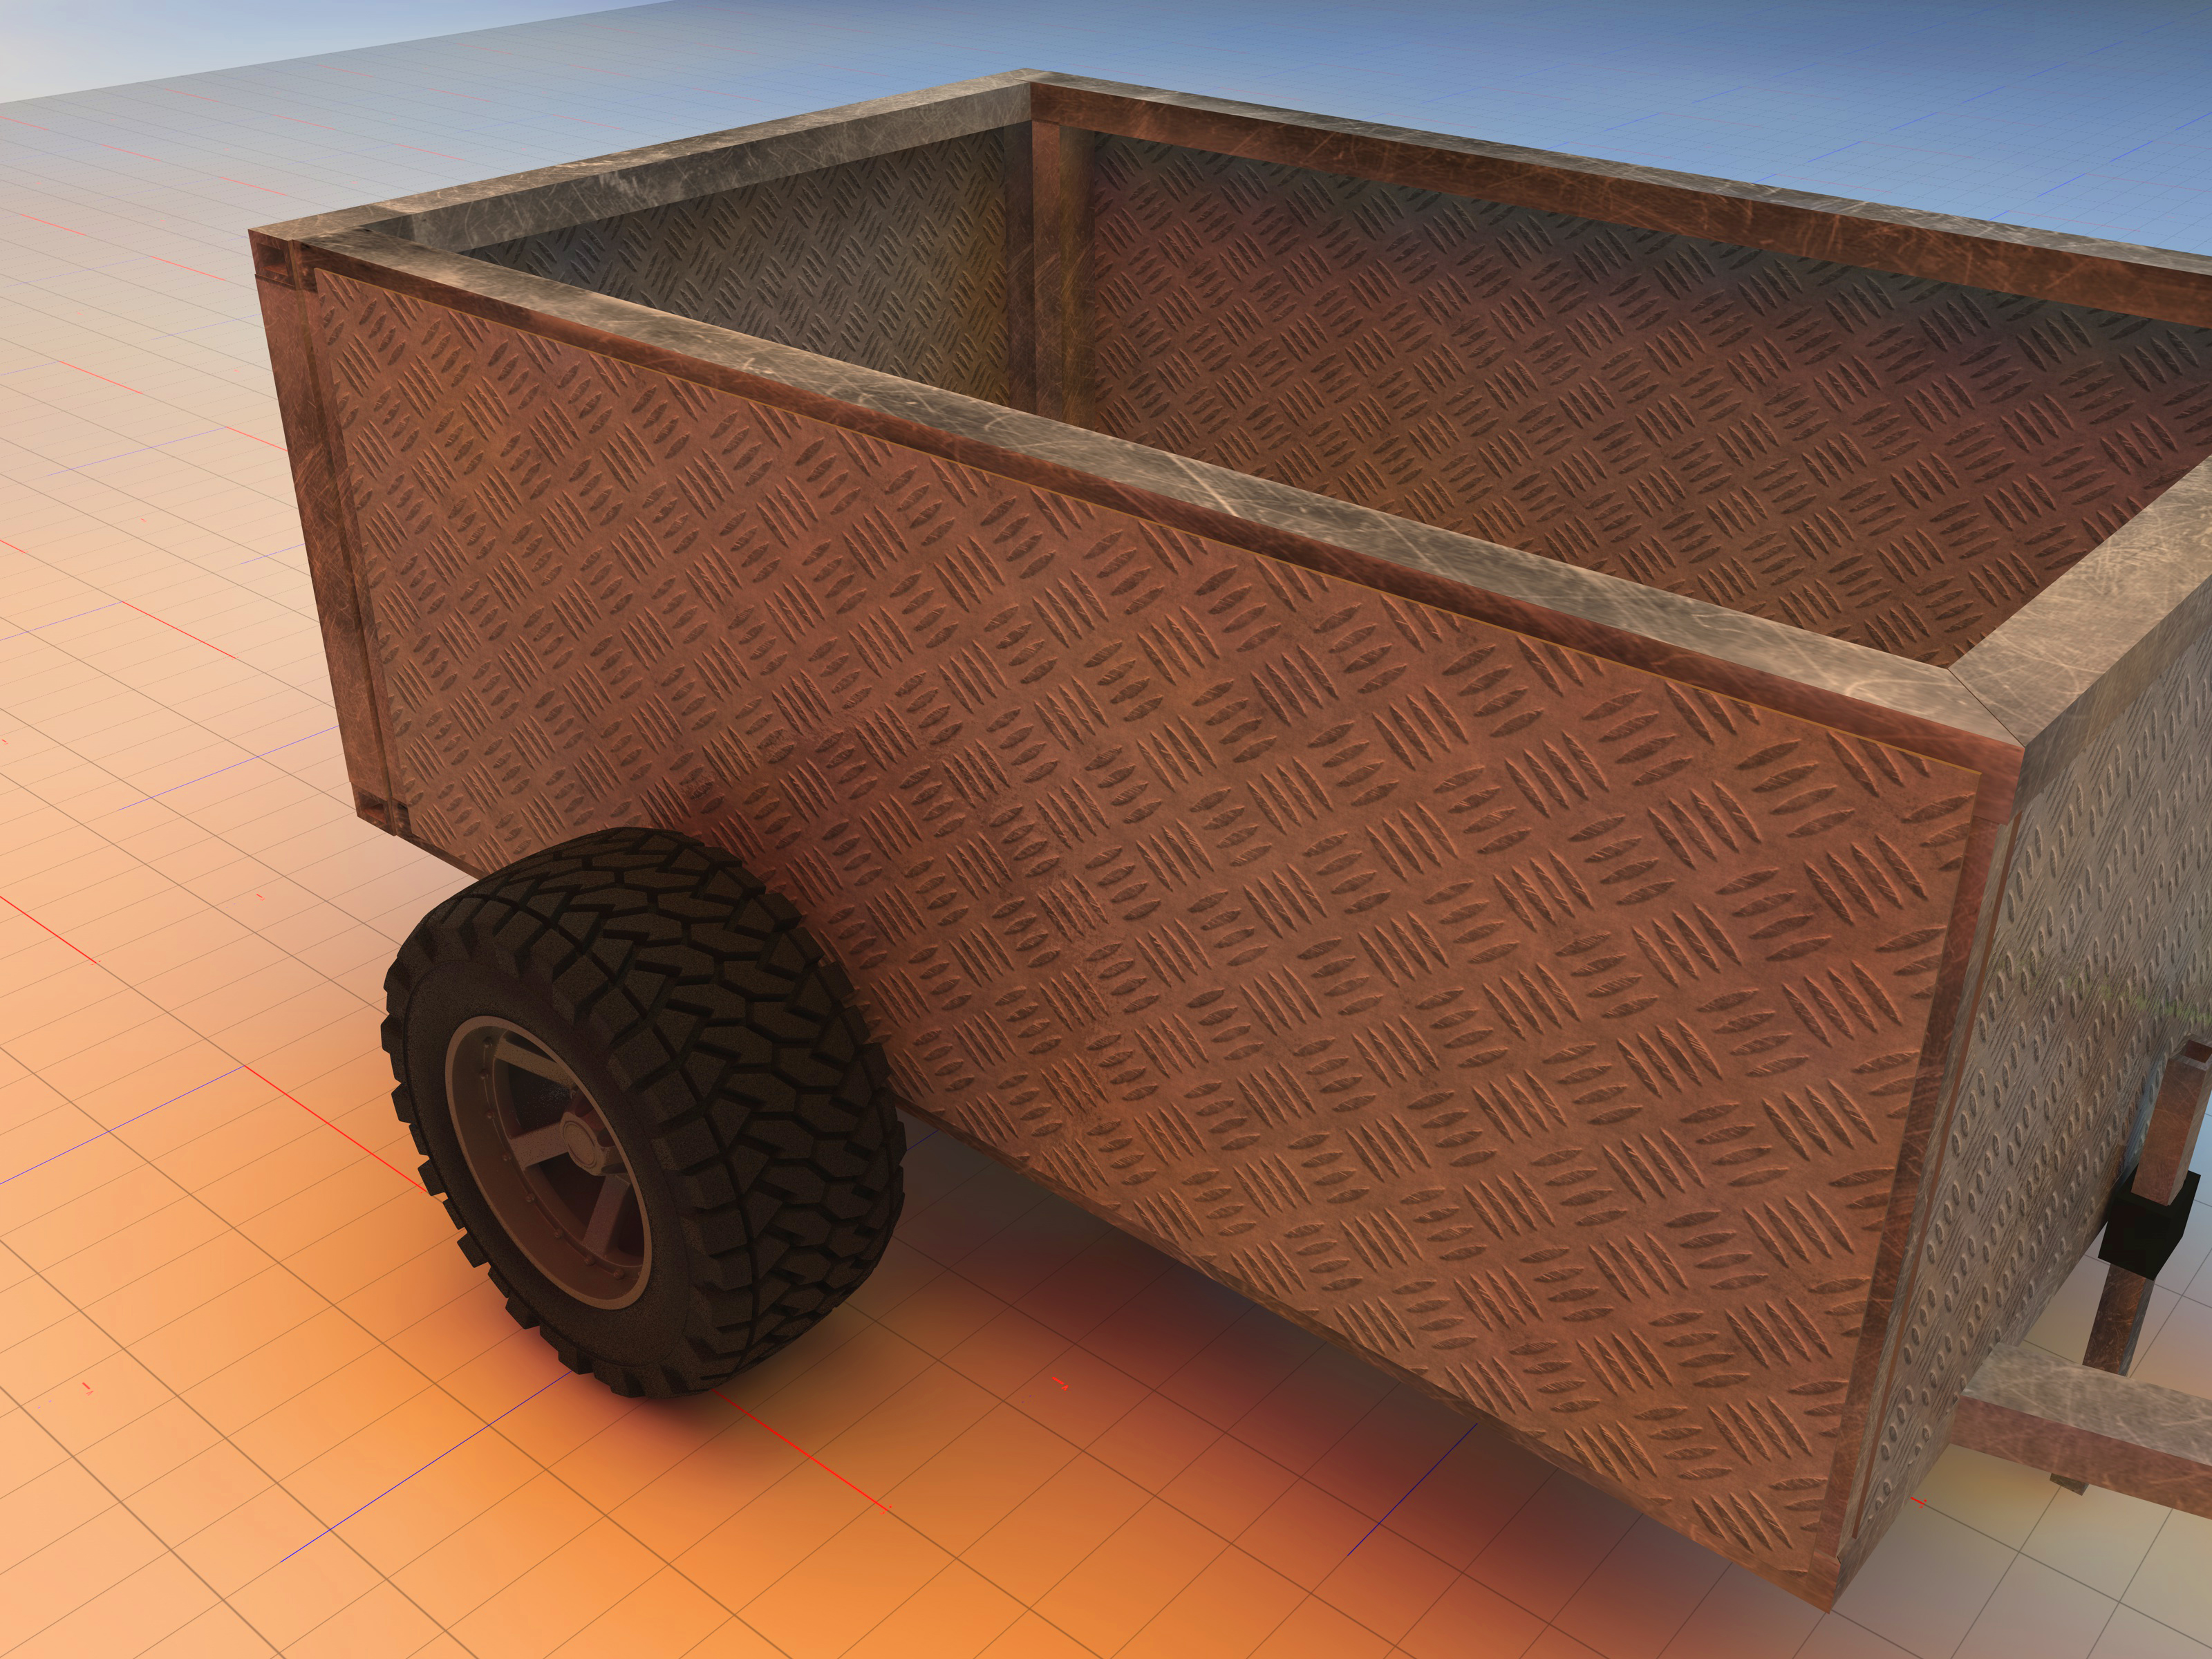
Building a trailer is one of those projects that starts with a simple thought: “How hard can it be?” Then you price steel, discover the phrase tongue weight, and suddenly you are reading axle manuals at midnight like they are mystery novels.
Still, a well-planned DIY utility trailer can be a rewarding project. It can haul yard equipment, motorcycles, lumber, landscaping supplies, furniture, or the mountain of “I’ll use this someday” items living in your garage. The key is to treat it as a road-going machine, not a rolling welding experiment.
This guide explains how to build a utility trailer safely, from planning the frame and selecting axles to wiring lights, installing brakes, and preparing for registration. It focuses on small road trailers, not heavy commercial trailers, enclosed trailers, or specialty equipment haulers that may require professional engineering.
Start With the Job, Not the Steel
The best trailer design begins with a boring question: what will it carry most often?
A lightweight 5-by-8-foot utility trailer for mulch and household runs needs very different running gear from a 16-foot car hauler. Building too light creates a fragile trailer. Building too heavy can waste money, add unnecessary tow weight, and turn your driveway into a small-scale steel yard.
Define Your Trailer’s Purpose
- Light utility trailer: Yard waste, furniture, small tools, bicycles, and general household hauling.
- Landscaping trailer: Mowers, trimmers, bagged soil, wheelbarrows, and garden equipment.
- Motorcycle trailer: One or more motorcycles, wheel chocks, ramps, and tie-down points.
- Equipment trailer: Compact tractors, skid steers, mini excavators, or other heavy machinery.
- Boat or specialty trailer: A project where hull shape, bunks, balance, corrosion resistance, and launching conditions matter.
Write down the heaviest realistic load, then add the estimated empty trailer weight. That combined number is your working gross trailer weight target. Do not choose parts based on what you hope to haul once in a blue moon. Choose parts for what the trailer may actually be asked to survive on a hot Saturday when your friend says, “It should fit.”
Trailer capacity is limited by the lowest-rated component in the system. A strong axle does not rescue undersized wheels, weak springs, overloaded tires, a low-rated coupler, or flimsy tie-down points. Dexter’s application guidance specifically notes that an assembly’s capacity is constrained by its lowest-rated component.
Plan the Trailer Before You Cut Anything
Do not start by buying a pile of angle iron because it is on sale. Start with a scaled drawing. It does not need to be museum-quality drafting. A clear sketch with accurate measurements is enough to prevent expensive surprises.
Build a Basic Trailer Plan
Your drawing should show the overall length and width, deck dimensions, tongue length, axle location, crossmember spacing, fender clearance, coupler location, jack placement, ramp or gate design, and locations for lights and tie-downs.
Also decide whether your trailer will use a single axle or tandem axles. A single-axle utility trailer is simpler, lighter, and easier to maneuver by hand. Tandem axles can support more load and offer more stability, but they add cost, tires, brakes, suspension parts, and maintenance.
Keep the trailer’s center of gravity low whenever possible. Tall sidewalls, stacked cargo, roof racks, and oversized toolboxes can make a trailer feel like it is trying to audition for a circus act during sharp turns.
Choose the Frame Style
Most utility trailers use a rectangular perimeter frame with crossmembers underneath the deck. The tongue may be a straight center tongue or an A-frame tongue that ties into both sides of the front frame. An A-frame tongue is common because it spreads towing forces across more of the frame.
For a first-time build, a simple open utility trailer is generally easier than an enclosed trailer, dump trailer, tilt trailer, or car hauler. Those advanced designs involve more complex load paths, hydraulic systems, doors, ramps, and braking demands.
Select Quality Trailer Components
The frame is important, but the trailer is only as trustworthy as the parts that connect it to the road.
Frame Material
Steel is the most common material for homebuilt utility trailers because it is strong, widely available, and relatively familiar to welders. Common choices include rectangular steel tubing, channel steel, angle iron, and structural sections designed for trailer use.
Do not choose frame member dimensions from a random forum post titled “Mine Has Been Fine for 20 Years.” The correct steel size depends on trailer span, cargo weight, crossmember layout, axle placement, intended use, and whether the trailer will see smooth pavement or rough job sites.
For a road trailer, it is wise to have the frame concept reviewed by an experienced trailer fabricator, qualified welder, or engineer before committing to materials. A cracked weld can be repaired. A poor structural design may reveal itself at highway speed, which is a much less charming time to learn a lesson.
Axles, Springs, Wheels, and Tires
Buy axle assemblies that are designed for trailer use and matched to your intended gross trailer weight. The axle, springs or torsion suspension, hubs, bearings, wheels, and tires must all work together as a rated system.
Use the manufacturer’s mounting instructions for axle placement, spring centers, hanger locations, torque values, and brake compatibility. Trailer manufacturers and axle suppliers stress that suspension geometry, load distribution, hitch arrangement, and towing conditions all affect performance.
Trailer tires are not just regular vehicle tires wearing a new job title. Select tires with an appropriate load range, speed rating, and size for the trailer. Check cold tire pressure before trips and replace tires that show cracks, bulges, exposed cords, major cuts, or abnormal wear.
Coupler, Safety Chains, and Jack
Choose a coupler that matches the hitch ball size and exceeds the trailer’s intended loaded capacity. The ball, ball mount, receiver, coupler, safety chains, and towing vehicle must all be rated for the job.
Install two properly rated safety chains. They should cross under the trailer tongue with enough slack for turns but not enough slack to drag on the road. Crossing them helps support the tongue if the coupler separates from the tow vehicle.
A tongue jack makes loading, hitching, storage, and maintenance far less annoying. Add a jack that is rated for the trailer’s tongue load and mount it where it can safely support the front of the trailer without interfering with turning clearance.
How to Build the Trailer Frame
Once the plan is set, build the frame on a level, stable surface. A flat welding table is ideal, but a carefully prepared concrete slab can work for many utility trailer projects.
Step 1: Cut and Lay Out the Steel
Cut the perimeter rails, crossmembers, tongue members, and any rail supports according to your drawing. Before welding, lay every part out dry and verify the dimensions.
Measure diagonally from opposite corners. If the two diagonal measurements match, the rectangle is square. If they do not match, stop and correct the layout before welding. Trying to “fix it later” is how trailers become slightly diamond-shaped and permanently argumentative.
Step 2: Tack Weld First
Tack weld the frame at key joints, then recheck length, width, diagonal measurements, and tongue alignment. Tack welding gives you a chance to make adjustments before you turn every mistake into a permanent steel sculpture.
Once everything is square, complete the welds using a process appropriate for the material and your qualifications. If you are not confident in structural welding, hire a certified or highly experienced welder for the frame, tongue, coupler area, suspension brackets, and critical tie-down mounts.
Step 3: Add Crossmembers and Deck Supports
Crossmembers support the trailer deck and help keep the frame rigid. Their spacing depends on deck material, cargo type, and expected concentrated loads. A trailer that will carry a riding mower needs stronger deck support than one that will mostly haul bags of leaves and optimism.
Add side rails, stake pockets, ladder racks, or removable sides only after the core frame is complete and square. Every add-on changes weight, balance, and how the trailer behaves when loaded.
Install the Tongue and Axle System
Build a Strong Tongue Connection
The tongue is one of the most important parts of the trailer because it transfers towing, braking, and turning forces into the frame. A-frame tongues are commonly tied back into the side rails or reinforced crossmembers rather than ending at the front edge of the deck.
Mount the coupler carefully and use the manufacturer’s recommended hardware or weld method. The coupler must fully engage the correct hitch ball and lock securely before the trailer moves. Carry-On’s towing guidance emphasizes verifying that the coupler fully covers the ball and is properly latched before travel.
Mount the Axle Carefully
Axle placement is not a one-size-fits-all measurement. It depends on trailer length, expected cargo location, deck design, tongue length, and target tongue weight. A lightly loaded trailer may behave differently from the same trailer carrying a compact tractor or a stack of concrete blocks.
Instead of relying on a simplistic “put the axle here” formula, follow the axle manufacturer’s application guidance or have a trailer professional calculate the placement. Your goal is stable towing with appropriate tongue weight, not a trailer that starts wagging its tail the moment a pickup truck passes.
When mounting leaf-spring suspension, use the correct hangers, equalizers, bolts, and torque specifications for the suspension system. Use jack stands rated for the load when working underneath a trailer. Never trust a hydraulic jack alone to hold a trailer while you work beneath it.
Add the Deck, Fenders, Ramp, and Tie-Downs
The deck can be wood, steel, aluminum, expanded metal, or another material suited to the job. Pressure-treated lumber is popular for utility trailers because it is replaceable and offers traction. Steel decking can be durable, but it adds weight and may become slippery when wet.
Install fenders with enough clearance for suspension movement and tire travel. Do not assume the tire only moves vertically. Suspension flex, uneven pavement, and turning forces can make a tire travel farther than expected.
If you need a loading ramp or gate, design it for the actual equipment being loaded. A mower ramp, motorcycle ramp, and mini-excavator ramp are not interchangeable. Reinforce pivot points, use secure latches, and make sure ramps cannot drop open while driving.
Add rated tie-down points where they can transfer load into strong parts of the frame. Do not rely on a thin side rail or decorative metal loop to restrain a heavy mower, motorcycle, or tool chest.
Wire Trailer Lights and Brakes
Trailer wiring is where many otherwise excellent projects begin acting haunted. Lights flicker, brake circuits fail, grounds disappear, and one turn signal somehow activates both taillights and your patience.
Install Road-Legal Lighting
Use a complete trailer lighting kit with tail lights, brake lights, turn signals, reflectors, side markers, and any clearance lights required for the trailer’s width and configuration. Federal lighting rules require stop lamps to activate when service brakes are applied.
Protect wiring with loom, grommets, clips, and routing that avoids sharp edges, moving suspension parts, hot exhaust components, and road debris. SAE trailer connector guidance addresses circuits for lighting, electric brakes, auxiliary power, battery charging, and protection from shorts or wiring hazards.
Decide Whether You Need Trailer Brakes
Trailer brake requirements vary by state and trailer weight. Even where brakes are not legally required, electric or hydraulic brakes may be a smart safety choice for heavier trailers, steep terrain, frequent towing, or valuable cargo.
If you install electric brakes, use compatible brake assemblies, a properly sized electrical connector, an in-cab brake controller, and a breakaway system where required. A breakaway system uses a battery and switch to apply the trailer brakes if the trailer separates from the tow vehicle. The cable should attach to the tow vehicle structure, not the hitch ball or safety chains.
Finish the Trailer Properly
Paint and Corrosion Protection
Clean weld spatter, remove rust, degrease the metal, apply a suitable primer, and use durable trailer paint or coating. Pay extra attention to the underside, tongue, fender brackets, and areas where water can collect.
If the trailer will see road salt, coastal air, boat ramps, or frequent wet conditions, corrosion protection becomes even more important. A trailer can look tough in black paint while quietly rusting from the inside out like a grumpy old pirate ship.
Registration, VIN, and Inspection
Before taking a homebuilt trailer on public roads, contact your state motor vehicle agency. You may need receipts for major components, a weight certificate, a vehicle inspection, a homemade trailer affidavit, photographs, a VIN assignment, or a safety inspection.
Do not wait until the trailer is complete to investigate registration rules. Some builders discover too late that they needed specific paperwork for the axle, frame materials, or original parts. A few phone calls before construction can save a heroic amount of paperwork afterward.
Perform a Pre-Road Test Inspection
Before the first road trip, inspect the trailer like you are borrowing it from someone who will notice every scratch.
- Verify all lug nuts are torqued to the wheel manufacturer’s specification.
- Check tire pressure while tires are cold.
- Confirm the coupler locks securely onto the correct ball size.
- Cross and secure the safety chains.
- Attach the breakaway cable correctly if the trailer has brakes.
- Test running lights, brake lights, turn signals, and marker lights.
- Inspect wiring for loose clips, exposed conductors, or dragging wires.
- Secure the cargo with appropriate straps, chains, or binders.
- Check that ramps, gates, and toolboxes are latched.
- Take a slow test drive in an empty parking lot before highway travel.
Manufacturer safety guidance consistently recommends checking the coupler, chains, tires, brakes, breakaway system, secured load, and lighting before towing.
Common DIY Trailer Building Mistakes
Building for the Empty Trailer Instead of the Loaded Trailer
A trailer can feel stable while empty and become unpredictable when loaded. Design for the heaviest expected use, not the easiest test drive around the block.
Ignoring Tongue Weight
Too little weight on the hitch can contribute to sway. Too much can overload the rear of the tow vehicle, reduce steering control, and exceed hitch ratings. Load heavy cargo toward the front of the trailer while keeping weight balanced side to side. Carry-On recommends placing heavier cargo toward the front half of an open trailer and securing it to prevent shifting.
Using Decorative Tie-Down Points
A cheap tie-down ring may look sturdy until a 1,000-pound mower decides it wants to become a passenger-seat accessory. Use rated anchors attached to reinforced frame members.
Skipping Brake and Lighting Tests
A trailer that looks finished is not necessarily ready for traffic. Test every function before each tow, especially after storage, repairs, or electrical work.
Experience-Based Lessons From Building and Towing Trailers
People who build and tow trailers often say the biggest surprise is not welding the frame or mounting the axle. It is discovering how many small details separate a trailer that merely rolls from one that feels calm, predictable, and trustworthy on the highway.
One common lesson is that the first draft of a trailer plan is rarely the final draft. Builders often start with a simple flat deck in mind, then realize they need a spare-tire mount, taller side rails, a better jack location, more tie-down points, a ramp storage solution, or extra clearance for the tow vehicle’s tailgate. The smart move is to think through loading, unloading, storage, and hitching before steel is cut.
Another frequent lesson involves weight. A trailer may look light when it is just a bare frame, but steel crossmembers, decking, fenders, gates, ramps, paint, jacks, lights, a spare tire, and hardware add up quickly. Builders who estimate trailer weight too optimistically can end up with less usable payload than expected. The trailer itself starts eating into the capacity like it showed up at its own buffet.
Many DIY builders also learn that axle placement is worth extra time. A trailer that is even slightly unbalanced can feel fine at low speed but become uncomfortable when traffic, hills, bumps, wind, or uneven cargo enter the picture. Experienced trailer owners tend to load heavy equipment carefully, check tongue weight, and avoid assuming that every load can simply be tossed onto the deck wherever it fits.
Wiring is another area where experience matters. The neatest-looking trailer can develop electrical problems if the ground connection is weak, wires rub against sharp steel, connectors are left exposed, or the harness hangs low enough to meet every puddle and speed bump. Builders who protect wiring in loom, use sealed connectors, add strain relief, and test lights before every trip usually spend less time diagnosing “mystery blinking” later.
Then there is the paint lesson. Freshly painted steel looks fantastic until the trailer is parked outside through rain, dirt, winter salt, and months of neglect. Builders who spend extra time cleaning, priming, coating hidden surfaces, and touching up chips usually get many more years from the frame. Rust is patient. It does not need a dramatic entrance.
Perhaps the most useful experience comes after the first few towing trips. New trailer owners often notice how much safer towing feels when they slow down, leave more following distance, take wider turns, avoid abrupt steering, and inspect the trailer at fuel stops. Towing is less about proving confidence and more about managing momentum. The trailer does not care how experienced you feel; it only cares about physics.
Finally, experienced builders almost always recommend keeping a trailer tool kit. Include a lug wrench, jack, wheel chocks, spare fuses, electrical tape, zip ties, basic hand tools, gloves, a tire gauge, spare light bulbs or LED modules, and a way to secure a damaged wire temporarily. You may never need it during the first ten trips. Then one evening, in the rain, beside a gas station, it will feel like you packed a tiny roadside superhero.
Conclusion
Learning how to build trailers is not just a welding project. It is a planning, safety, balance, and maintenance project with a license plate attached. Start with the intended load, choose properly rated components, build a square and reinforced frame, use correct axle and tongue geometry, protect the wiring, and test every safety system before towing.
A homemade trailer can be practical, durable, and satisfying to use for years. Just remember: a trailer does not need to be fancy. It needs to be strong, balanced, visible, controllable, and legal. The goal is not to build the loudest trailer in the hardware-store parking lot. The goal is to build one that gets home without creating a story people tell at family gatherings.