Note: This article includes picture placeholders with descriptive captions so you can replace them with your own original images before publishing.
Attaching thigh highs to a garter belt looks mysterious the first time you try it, like assembling elegant furniture without the tiny wrench. The good news? Once you understand how the clips work, the whole process becomes simple, secure, and surprisingly satisfying. A garter belt is not just a pretty lingerie accessory; it is a practical little support system designed to keep stockings smooth, lifted, and in place.
Whether you are getting ready for a special outfit, styling bridal lingerie, building a vintage-inspired wardrobe, or simply trying to stop your stockings from slowly migrating south during dinner, this guide walks you through everything step by step. You will learn how to choose the right thigh highs, how to fasten garter clips correctly, how to adjust the straps, and how to fix common problems like slipping, twisting, and clips that pop open at the worst possible moment.

What You Need Before You Start
Before attaching thigh highs to a garter belt, make sure you have the right pieces. You do not need a drawer full of fancy lingerie equipment, but you do need items that work together. A beautiful garter belt with weak clips is like a sports car with bicycle brakes: technically exciting, practically stressful.
1. A Garter Belt That Fits Snugly
The garter belt should sit securely around your waist or high hips, depending on the style. It should feel snug but not painful. If it slides down before you even attach the stockings, it will not magically behave better later. High-waisted garter belts often provide more stability, while low-rise styles can look sleek under certain outfits but may require more adjusting.
2. Thigh High Stockings or Garter Stockings
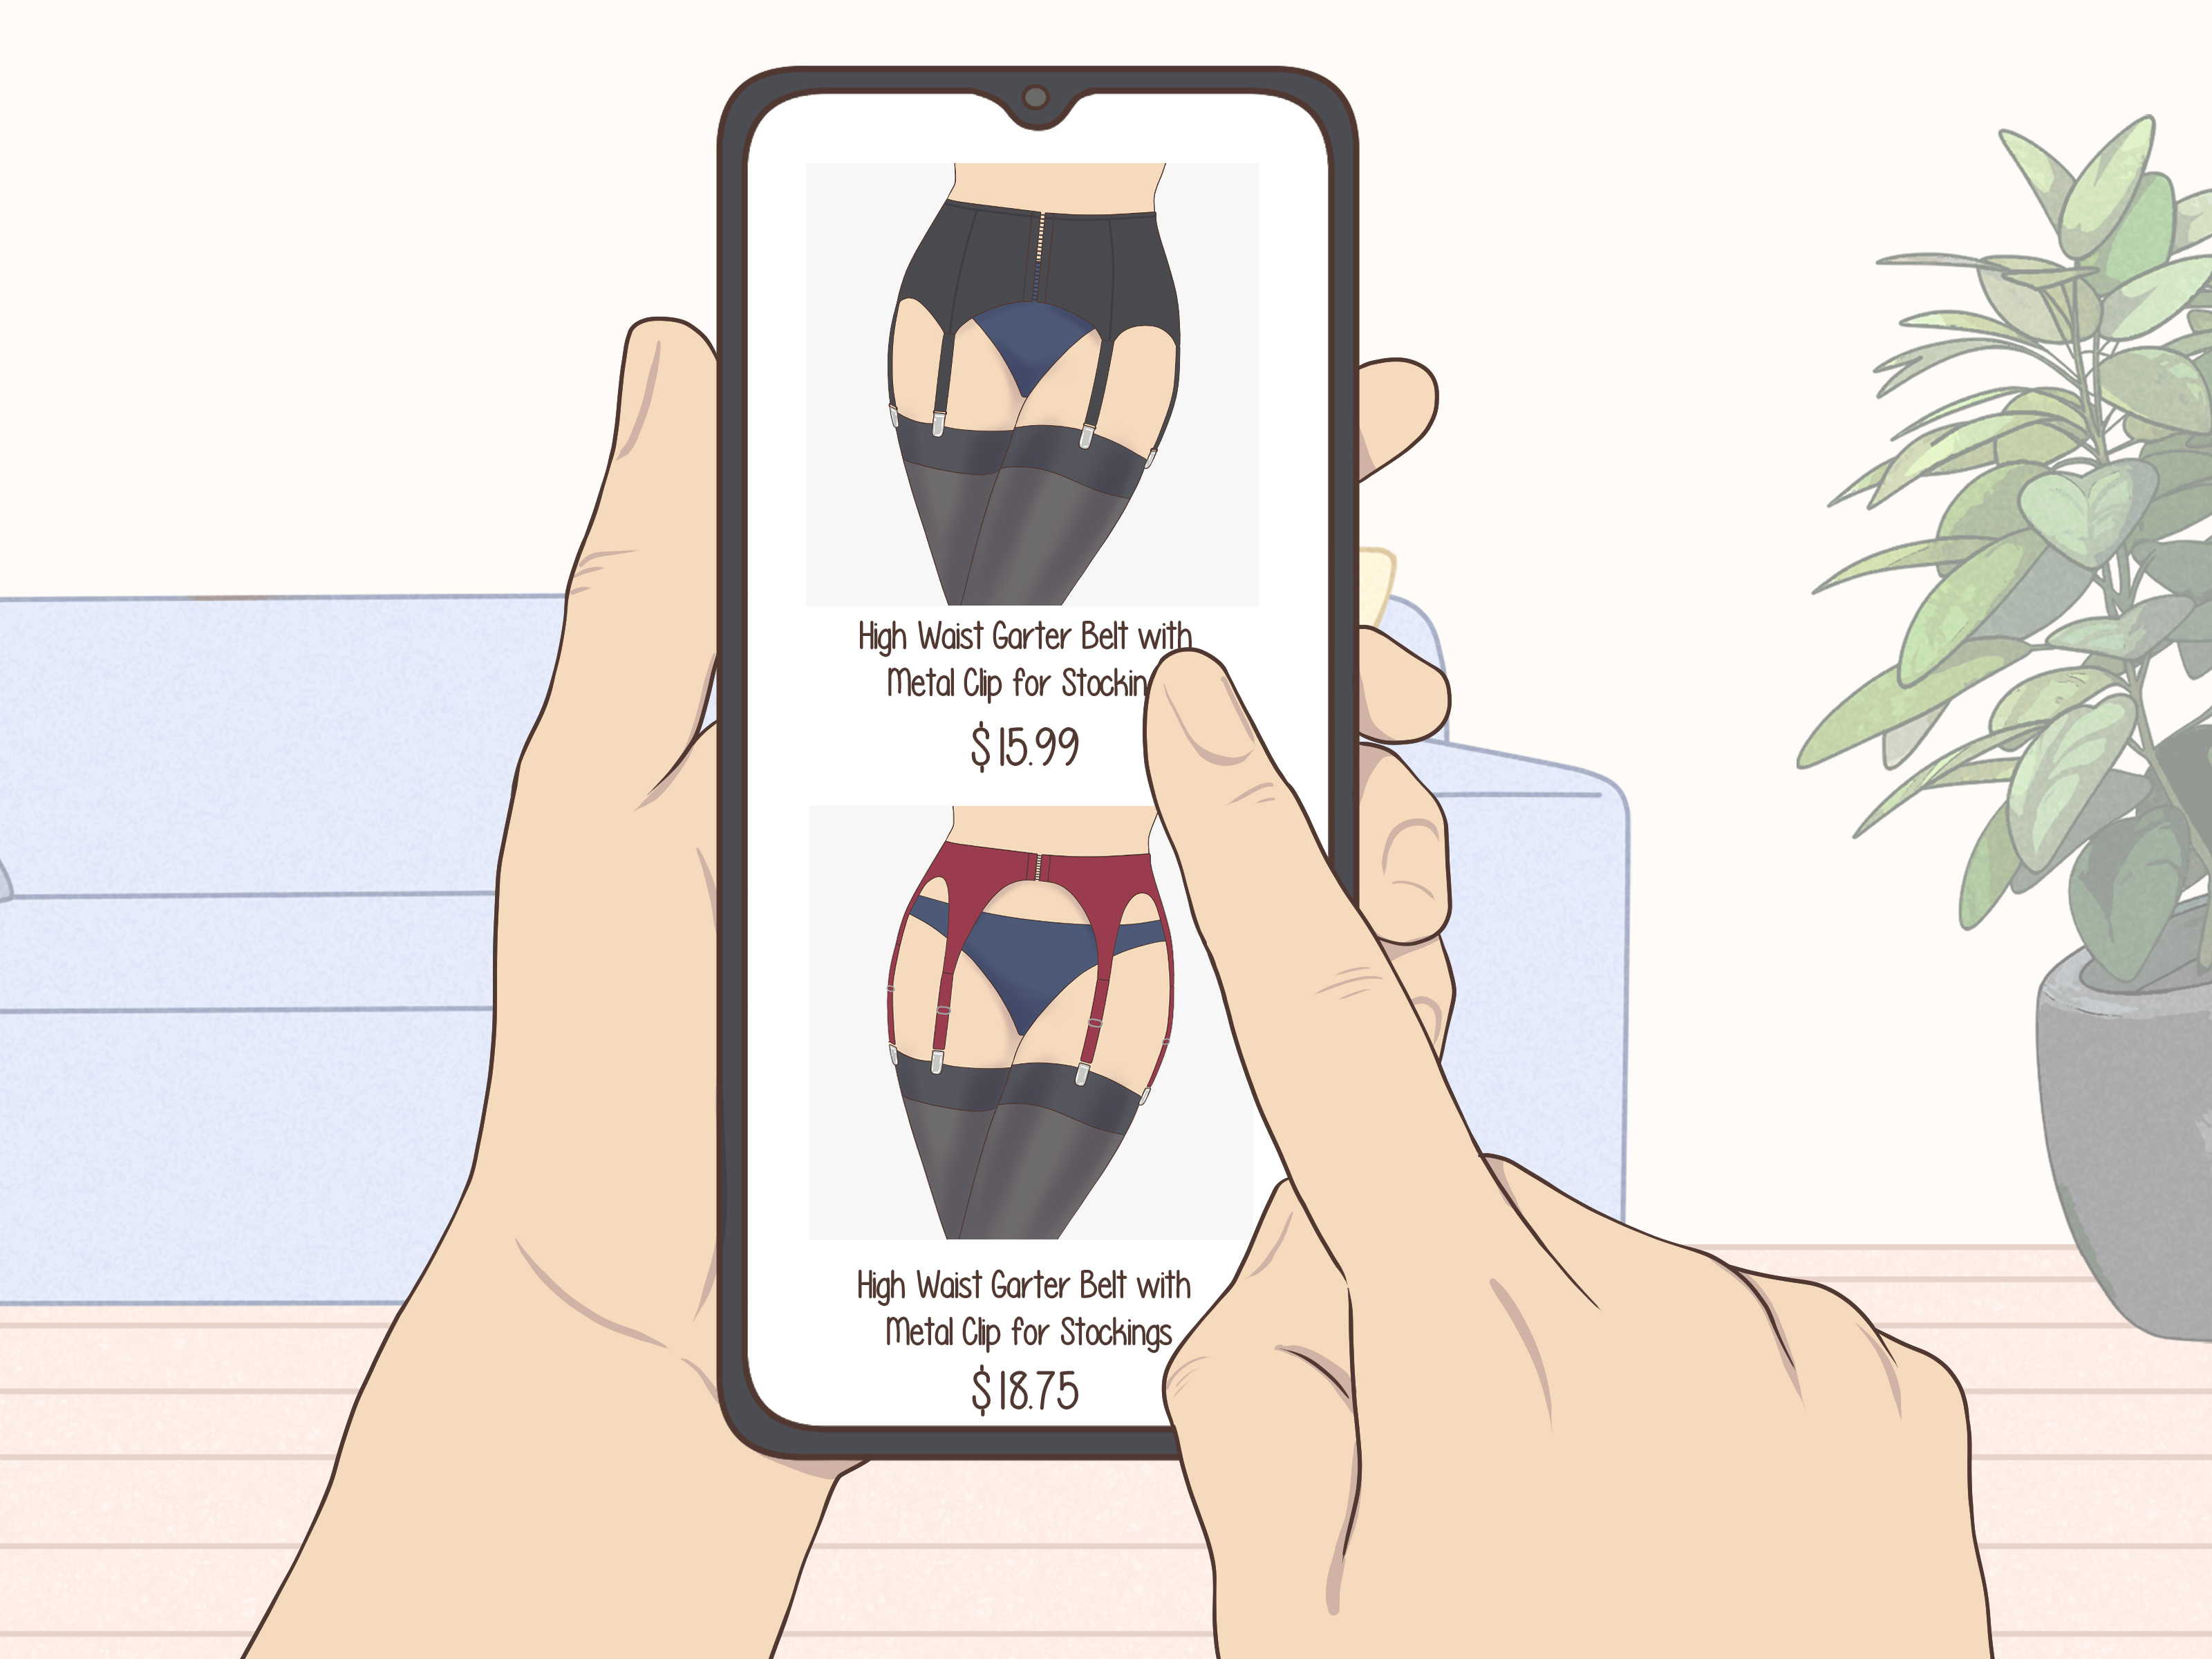
Traditional garter stockings are usually the easiest to attach because they have a plain or reinforced top made for clips. Stay-up thigh highs with silicone bands can also work, but thick lace or rubberized bands may be harder to fasten. If your clips struggle to close, try attaching them just below the thickest part of the band rather than forcing them over bulky fabric.
3. Strong Clips
Most garter clips have a small rubber or silicone button and a metal or plastic loop. The stocking fabric is placed between these two parts, then the button is pushed into the loop to lock it. Metal clips usually feel sturdier than plastic clips, especially if you plan to wear stockings for several hours.
4. A Mirror and a Little Patience
A full-length mirror is helpful, especially for checking whether the straps are straight. Patience matters too. The first try may feel awkward, but by the third or fourth time, you will be fastening garter clips like someone who has important jazz-age business to attend to.
Step-by-Step Guide: How to Attach Thigh Highs to a Garter Belt
Step 1: Put On the Garter Belt First
Wrap the garter belt around your waist or hips and fasten the hooks. Adjust it so the front straps fall straight down over the front of your thighs and the back straps sit behind your legs. The belt should lie flat against your body without bunching, rolling, or twisting.
If you are wearing underwear with the set, many people prefer putting underwear over the garter belt for easier bathroom access. For photos or styling, some people wear underwear underneath. Choose the order that makes the most sense for comfort and practicality.

Step 2: Roll the Thigh Highs Gently
Pick up one stocking and roll it down from the top to the toe, creating a small ring of fabric. Slip your toes in first, then slowly unroll the stocking up your leg. Do not yank it like you are starting a lawn mower. Hosiery is delicate, and sharp pulling can cause runs, snags, or stretched-out bands.
Bring the stocking to the desired height on your thigh. The top should sit high enough for the garter straps to reach easily, but not so high that the fabric pulls tightly when you sit or walk. Smooth out wrinkles around the ankle, calf, and knee before clipping.

Step 3: Open the Front Garter Clip
Start with the front strap because it is easiest to see. Hold the clip in one hand and locate the rubber button and the loop. Slide the loop upward or outward, depending on the clip design, until the button is free. This opens the clasp.
Do not worry if the clip feels confusing at first. Most garter clips are basically tiny sandwich makers: button, stocking fabric, loop. Your job is to place the stocking between the pieces and close the sandwich without pinching your skin.
Step 4: Place the Button Under the Stocking Top
Lift the top edge of the stocking slightly. Place the rubber button underneath the stocking fabric, near the top edge but not so close that it slips out. If the stocking has a reinforced welt, attach the clip to that sturdier section whenever possible.
Avoid gathering too much fabric inside the clip. Too much material can prevent the clasp from closing securely. A small, flat section of fabric works best. If you are attaching stay-up thigh highs with silicone bands, test the clip gently to make sure it closes without damaging the band.

Step 5: Push the Button Through the Loop
With the stocking fabric over the button, slide the loop down over the button until it locks. The fabric should be held firmly between the button and loop. Give the strap a light tug to check that the clasp is secure. If it pops open immediately, use less fabric or move the clip slightly lower on the stocking.
The front clip should hang straight, not at a sharp angle. Straight straps distribute tension more evenly and help the stocking stay smooth.

Step 6: Attach the Second Front Clip
Repeat the same process on the other front strap. Try to clip both stockings at the same height so they look balanced. If one side sits higher than the other, adjust before moving to the back straps. A tiny difference is normal; a dramatic difference may make one stocking pull more than the other.
Step 7: Attach the Back Straps
The back straps are usually the trickiest part because you cannot see them as easily. Turn slightly to the side, use a mirror, or place one foot on a low chair for balance. Open the back clip, place the button under the stocking top, and close the loop over the fabric just as you did in front.
Back straps often need to be a little longer than front straps. This gives you enough room to sit, bend, and walk without feeling like the stockings are staging a rebellion. If the back straps are too short, they may tug the stocking downward or cause the clips to pop open.

Step 8: Adjust the Strap Length
Once all clips are attached, stand up straight and adjust the sliders on each strap. The straps should feel gently taut, not tight enough to pull the stockings up aggressively. Think “secure support,” not “medieval pulley system.”
Walk a few steps, sit down, stand again, and check the fit. If the stockings sag, shorten the straps slightly. If the clips strain or the stockings feel too tight, lengthen the straps. Smooth the stockings one final time so the fabric lies evenly against your legs.
How Tight Should a Garter Belt Be?
A garter belt should be snug enough to stay in place when the stockings pull downward, but comfortable enough that you can breathe, sit, and move normally. If the belt rolls, slides, or digs into your skin, the fit is off. A wider band often feels more secure than a very narrow decorative belt, especially for everyday wear.
If your goal is function, choose a garter belt with adjustable straps, sturdy clips, and enough structure to resist slipping. Four straps can work for light wear, but six straps often provide better stability and help keep seams straighter if you are wearing back-seamed stockings.
Common Mistakes to Avoid
Clipping Too Much Fabric
More fabric does not mean more security. In fact, stuffing too much stocking material into the clasp can make it harder for the clip to lock. Use a small, flat section of the stocking top.
Pulling Stockings Too High
If the stockings are pulled too high, the garter straps may become too short and tight. This creates uncomfortable tension when you move. Position the stocking tops where the straps can reach naturally.
Leaving Straps Twisted
Twisted straps look messy and can feel irritating under clothing. Before clipping, check that each strap hangs flat from the belt to the stocking.
Using Weak Clips for Thick Stockings
Thick lace bands, fishnets, and opaque stockings may need stronger clips. If your garter clips are flimsy, they may open during wear. Metal hardware is usually a better choice for heavier hosiery.
Skipping the Walk Test
Always walk, sit, and bend slightly before heading out. This quick test reveals whether the stockings are secure or whether one strap is plotting drama.
Can You Wear Stay-Up Thigh Highs With a Garter Belt?
Yes, you can wear stay-up thigh highs with a garter belt, but they are not always the easiest option. Stay-ups often have silicone strips inside the band to help them grip the skin. That grip can be helpful, but the band may be too thick for some garter clips.
For the smoothest experience, use stockings designed for garter belts. These usually have a thinner, reinforced top that fits neatly into clips. If you already own stay-up thigh highs, test them at home first. Clip gently, avoid crushing thick silicone, and make sure the clasp closes securely.
How to Keep Thigh Highs From Slipping
If your thigh highs keep sliding down, check three things: stocking size, garter belt fit, and strap tension. Stockings that are too large may sag, while stockings that are too small may roll or pull. The garter belt should anchor firmly around your waist or hips. The straps should be adjusted evenly so the stockings are supported without being stretched too tightly.
Also avoid applying heavy lotion or oil right before wearing silicone stay-ups. Moisturizers can reduce grip and make the bands slide. If your skin is freshly moisturized, give it time to absorb before putting on stockings.
Styling Tips for Wearing Thigh Highs and a Garter Belt
For Everyday Wear
Choose a smooth, low-profile garter belt that will not show under clothing. Nude, black, or soft neutral stockings are versatile. Keep the straps adjusted comfortably and avoid bulky lace if you are wearing a fitted skirt or dress.
For Bridal Looks
White, ivory, champagne, or pale blush stockings pair beautifully with bridal lingerie. Test the full outfit before the wedding day, especially if your dress is fitted. You want confidence, not a surprise clip outline in the photos.
For Vintage-Inspired Outfits
Back-seamed stockings look classic with a structured garter belt. Use six straps if possible to help keep the seams straight. After attaching, check the back of your legs in a mirror and adjust until the seams run cleanly upward.
For Date-Night Styling
Black stockings, lace details, and a matching garter belt create a polished look without trying too hard. The key is comfort. If you feel like you need an engineering degree to survive the outfit, simplify the pieces.
How to Remove Thigh Highs From a Garter Belt
To remove the stockings, open each garter clip gently instead of pulling the stocking free. Hold the clip, slide the loop away from the button, and release the fabric. Pulling can stretch the stocking top or create snags. Once all clips are open, roll the stockings down carefully and store them flat or loosely folded.
If your stockings are delicate, hand-washing is usually the safest option. Use cool water and mild detergent, then lay them flat to dry. Avoid rough surfaces, jewelry, sharp nails, and laundry piles that contain zippers. Hosiery has enemies, and zippers are absolutely on the list.
Troubleshooting: Why Your Garter Clips Keep Popping Open
The Clip Has Too Much Fabric Inside
Remove the clip and try again with less fabric. The clasp should close over a thin, flat section of stocking.
The Stocking Band Is Too Thick
Move the clip slightly below the thick lace or silicone band. If it still will not close, use stockings made specifically for garter belts.
The Strap Is Too Short
Lengthen the strap before clipping. You can tighten it after everything is attached.
The Clips Are Weak
If the hardware bends, slips, or opens easily, the garter belt may be more decorative than functional. Look for stronger clips, preferably metal, if you want reliable wear.
Experience Section: What Wearing a Garter Belt Actually Teaches You
The first real lesson of attaching thigh highs to a garter belt is that slow is smooth, and smooth is secure. Rushing the process almost always leads to twisted straps, uneven stocking heights, or that one back clip you think is attached but is actually hanging there like a tiny decorative lie. Give yourself a few extra minutes, especially if you are wearing the set under an outfit for an event.
One helpful experience-based trick is to adjust the straps longer before clipping, then shorten them afterward. Long straps give you more room to work with, especially for the back clips. Once everything is connected, you can fine-tune the tension. This is much easier than trying to attach a short strap while bending like a yoga instructor who has misplaced her mat.
Another practical lesson: not all thigh highs behave the same. Sheer stockings with a reinforced top usually clip beautifully. Lace-top stay-ups can be gorgeous, but some have thick bands that make garter clips harder to close. Fishnet stockings may need careful placement because the clip can catch in the open weave. Opaque stockings can feel secure, but thicker fabric may require stronger hardware.
Comfort also depends on where the garter belt sits. A belt placed too low may slide down as the straps pull. A belt placed at the natural waist often feels more stable, especially for longer wear. If you plan to sit for dinner, dance, walk, or commute, do a movement test before leaving home. Sit down, cross and uncross your legs, take a few steps, and check whether anything pulls. This small test can save you from making emergency adjustments in a restroom stall the size of a shoebox.
People also learn quickly that quality matters. A flimsy costume garter belt may look cute in photos but fail during real wear. If you want thigh highs to stay attached for hours, choose a belt with sturdy elastic, adjustable straps, and reliable clips. Six straps can feel more secure than four, especially if you are wearing seamed stockings or moving around a lot. Four straps are fine for short wear, but six straps offer extra control.
Finally, confidence comes with repetition. The first attempt may take ten minutes and involve mild muttering. The second attempt is easier. By the fifth attempt, you will know exactly where the stockings should sit, how much fabric to place in the clips, and how tight the straps should feel. A garter belt is not complicated once you learn its rhythm. It is simply a classic piece of lingerie that rewards patience, good fit, and a little practice.
Conclusion
Learning how to attach thigh highs to a garter belt is mostly about understanding the clips, choosing compatible stockings, and adjusting the straps until everything feels secure. Start with the belt, roll the stockings gently, clip the front straps first, attach the back straps carefully, and finish with a quick walk-and-sit test. Once you get the hang of it, the process becomes easy, polished, and even a little fun.
The best results come from pairing the right pieces: a snug garter belt, stockings with a clip-friendly top, and hardware strong enough to hold without popping open. Keep the straps straight, avoid overstuffing the clips, and give yourself time to adjust. Your stockings should feel supported, not stretched, and your garter belt should stay in place without digging or sliding.