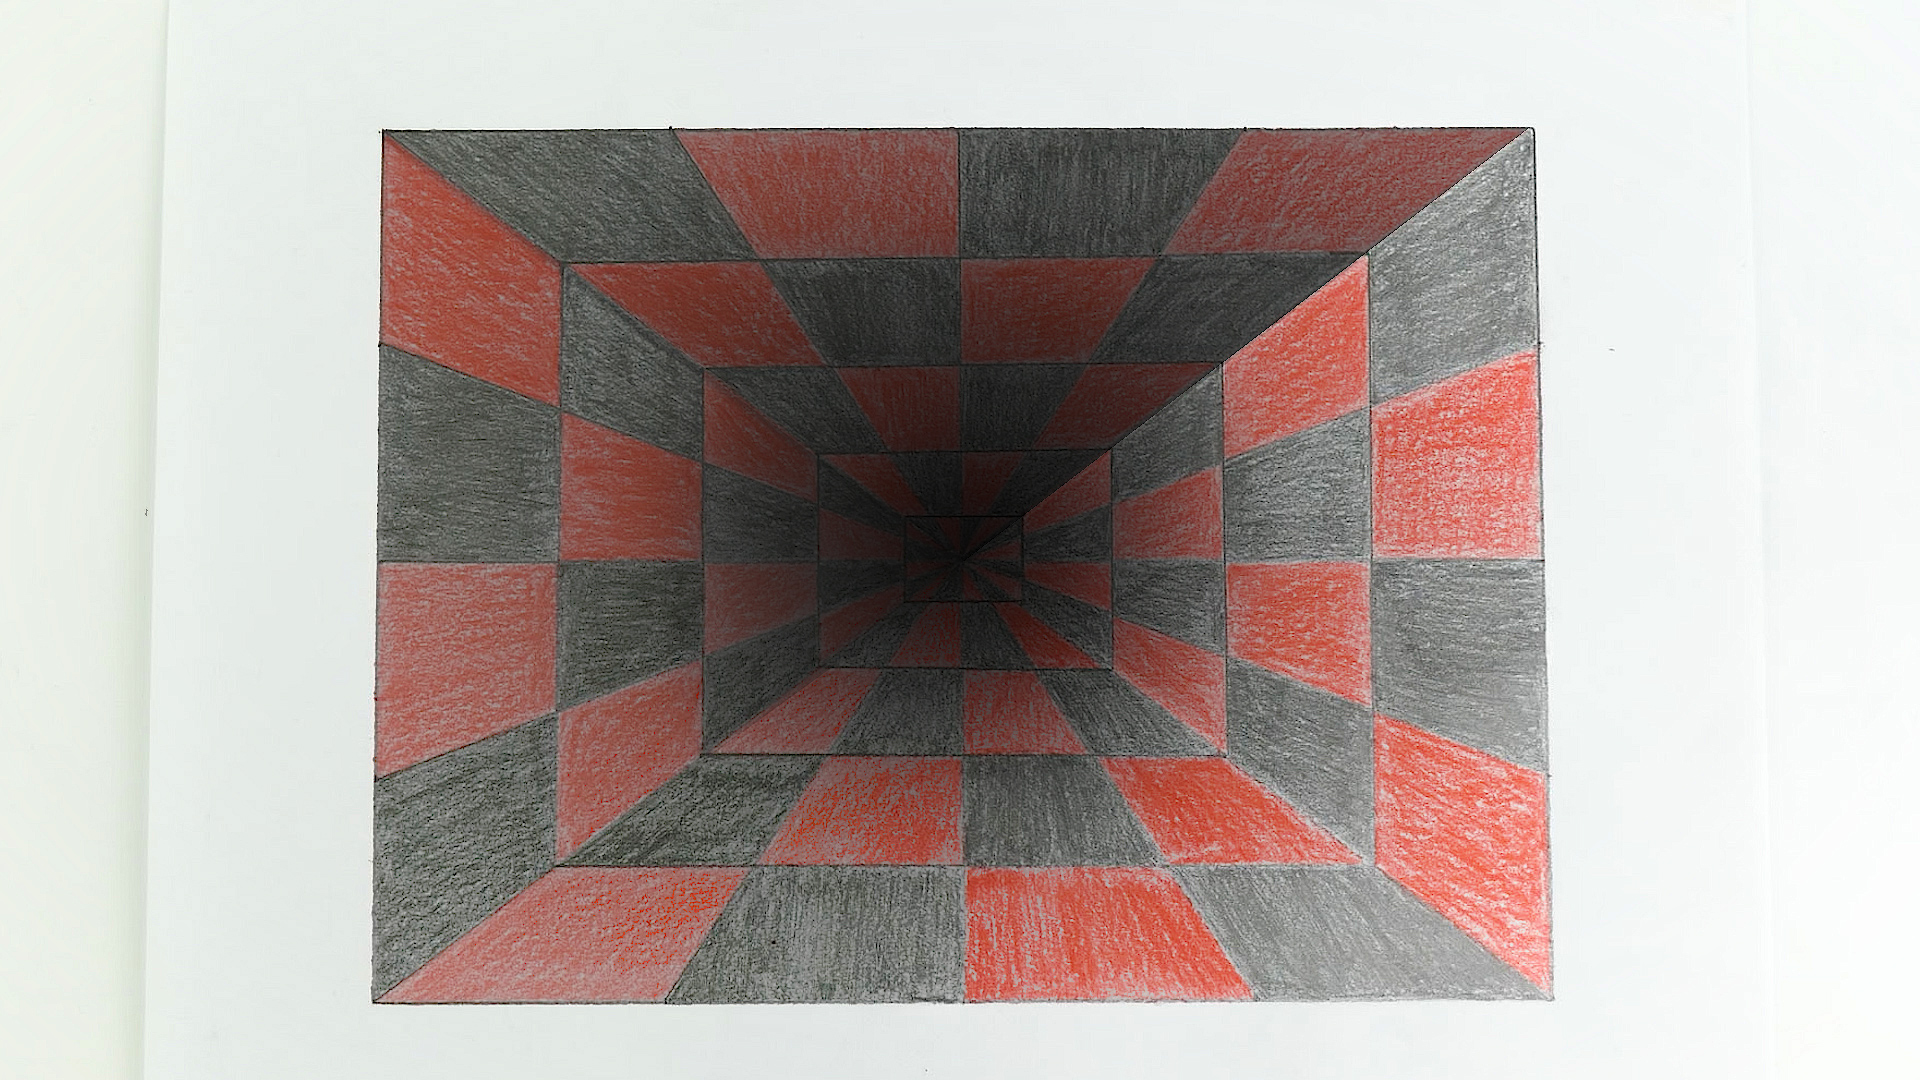
Op Art is the kind of drawing that makes people stop, squint, lean closer, and say, “Wait… is that thing moving?” It is clever, dramatic, and a little bit sneaky. Best of all, it looks far more complicated than it really is. That is excellent news for beginners, because sometimes the best art trick is making your sketchbook look like it went to graduate school while you are still holding a regular pencil and wondering where your eraser went.
If you want to learn easy ways to draw Op Art, you do not need a fancy studio, an expensive tablet, or a mysterious creative ritual involving candles and jazz. You need simple tools, a little patience, and a willingness to repeat lines until your hand starts negotiating with your brain. Op Art, short for optical art, uses shapes, spacing, contrast, and pattern to fool the eye into seeing movement, depth, vibration, curves, or bulges on a flat page.
This guide breaks the process down into beginner-friendly techniques that actually work. You will learn what makes an Op Art drawing look convincing, which designs are easiest to start with, how to avoid the most common mistakes, and how to make your finished piece look polished instead of like a checkerboard that had a stressful morning.
What Is Op Art, Exactly?
Op Art is a style of abstract art that creates optical illusions. Instead of drawing realistic objects, Op Art artists use repeated lines, geometric shapes, strong contrast, and carefully planned spacing to make the viewer’s eye experience motion or depth. A flat page can suddenly appear to ripple, curve, pulse, twist, or pop outward.
That sounds dramatic because it is dramatic. But the building blocks are wonderfully simple: line, shape, value, and pattern. In other words, the same basic ingredients you already use in drawing, just with a little more structure and a lot more visual mischief.
Most beginner Op Art designs rely on black and white because high contrast makes the illusion stronger. Once you understand the basic structure, you can add color to create even more energy. Bright color combinations, alternating warm and cool tones, and repeated stripes can all make the design feel more alive.
Why Op Art Is Great for Beginners
Many people assume Op Art is too hard because it looks precise. The truth is that it is often easier than realistic drawing. You do not need to master anatomy, perspective, or portrait proportions right away. You do not have to worry that your apple looks like a potato or your cat looks like a loaf of bread with opinions.
Op Art rewards planning more than raw talent. If you can draw a line, repeat a shape, and pay attention to spacing, you can make impressive optical illusion art. That is why Op Art drawing is so popular in classrooms and beginner art lessons. It mixes creativity with structure, and it teaches control, patience, and observation without feeling boring.
What You Need Before You Start
Keep your supply list simple:
- White drawing paper or sketchbook paper
- A sharp pencil
- A good eraser
- A ruler
- A black fineliner, marker, or pen
- Optional colored markers or pencils
The sharp pencil matters more than people think. Op Art depends on clean edges and measured spacing. A dull pencil creates fuzzy lines, and fuzzy lines are the sworn enemy of a convincing optical illusion. Draw lightly at first, then darken the final design after the structure is correct.
Easy Ways to Draw Op Art: Beginner Techniques That Look Impressive
1. Start With a Wavy Line Grid
This is one of the easiest Op Art drawing ideas for beginners because it teaches the basic illusion of movement. Draw several vertical lines from top to bottom across the page, spacing them evenly with a ruler. Then give each line the same gentle wave, as if a breeze moved through them all at once.
Next, draw horizontal lines across the page. Let those lines curve around the same imaginary wave pattern. When the vertical and horizontal lines bend together in a controlled way, the center of the page starts to feel like it is bulging or sinking.
The secret here is consistency. The lines do not need to be perfect, but they do need to follow the same rhythm. If one line suddenly decides to go on a personal adventure, the illusion weakens.
2. Draw a Curved Checkerboard
If you want fast results, a curved checkerboard is a winner. Start by drawing a square or rectangle. Divide it into even rows and columns. At first, it will look very ordinary, like the beginning of a math worksheet. Stay with it.
Now curve the grid lines inward or outward. You can make the center appear rounded by bowing the lines around a circular area. Once the grid has a curved shape, color every other square black, like a checkerboard. Suddenly the design looks as though it is stretching over a dome or dipping into a tunnel.
This method is perfect for learning how alternating value creates illusion. The black-and-white pattern does much of the heavy lifting, which is excellent because everybody appreciates a drawing that cooperates.
3. Make an Op Art Sphere
The Op Art sphere is beginner-friendly and strangely satisfying. Draw a circle in the middle of the page. Then lightly sketch horizontal guide lines across the circle, curving them to match the round form. The lines near the top and bottom should be shorter, while the middle ones stretch wider.
Inside those curved bands, alternate black and white sections. You can also add gradual shading along the edges of the bands to increase the round effect. The result is a sphere that appears to float or pop off the page.
This is a great exercise because it combines shape, contour, and value in one simple project. It also teaches you that Op Art is not just about flat patterns. It can create the illusion of three-dimensional form too.
4. Try a Simple Cube Illusion
A cube-based design is another easy way to draw Op Art because it relies on repetition. Start with a grid of equal squares. Then turn selected squares into cubes by adding angled lines that suggest depth. Repeat the cube structure across the page.
Once the cube pattern is in place, shade one side of each cube darker and leave another side lighter. That contrast helps the cubes appear stacked, raised, or recessed. Some versions look like blocks climbing off the page. Others create a woven or tessellated effect.
This design works especially well if you like neat, organized patterns. It is basically geometry wearing a dramatic cape.
5. Use Radiating Lines for a Vibration Effect
Draw a point in the center of your page. From that point, use a ruler to draw lines radiating outward like sunbeams. Keep the spacing as even as possible. Then add repeated shapes, such as circles, zigzags, or rings, across those rays.
Because the lines spread outward from a central point, the image feels energetic and unstable in a fun way. You can intensify the effect by darkening alternating wedges or adding a second layer of curved rings over the rays.
This kind of Op Art drawing feels bold and graphic. It is a good choice if you want a poster-like design that grabs attention quickly.
6. Create a Tunnel or Hole Illusion
Want a page that looks like it has fallen into another dimension? Start with a square or circular opening in the center. Then draw repeated rings around it, each one slightly larger than the last. Keep the spacing even.
Shade the rings in alternating dark and light values. If you curve the rings slightly or make them narrower toward the center, the opening starts to look deeper. The eye reads the repeated pattern as recession, almost like stairs going downward.
This is one of the easiest ways to make an Op Art drawing look dramatic without drawing complicated forms. It is also very fun to show friends who are not expecting paper to become a portal.
7. Add Color Without Losing the Illusion
Black and white is classic, but color can make Op Art even more striking. The safest beginner approach is to keep the structure simple and use color as a support, not a distraction. Try alternating two bold colors with white, or use warm and cool stripes next to each other.
For example, a wavy stripe design in blue, orange, and white can feel like it is shimmering. A checkerboard with red and pink may look like it is vibrating. The key is still contrast. If the colors are too similar in value, the illusion becomes weak.
So yes, color is welcome. It just needs to behave itself.
How to Make Your Op Art Look Better Instantly
Use Light Pencil Lines First
Do not carve your first lines into the page like you are engraving a historic monument. Sketch lightly, check the spacing, and only darken the final lines when everything looks right.
Measure More Than You Think You Need To
Op Art loves accuracy. Even spacing helps the illusion feel intentional. Use a ruler whenever possible, especially when setting up grids, borders, and repeated sections.
Keep Shading Even
Patchy shading can flatten the illusion. Fill dark areas consistently and avoid scribbling over borders. Smooth, controlled value changes make the drawing look cleaner and more professional.
Do Not Overcomplicate the First Piece
Beginners sometimes try to combine ten illusions in one drawing and end up creating a visual emergency. Start with one clear pattern. Once you understand how it works, then build complexity.
Common Mistakes to Avoid
- Uneven spacing: This is the fastest way to weaken the illusion.
- Pressing too hard: Deep pencil grooves are hard to erase and make editing difficult.
- Messy edges: Crisp outlines help the eye read the pattern.
- Too many ideas at once: One strong illusion beats five confused ones.
- Ignoring contrast: Without strong light and dark relationships, the design may look flat.
How to Practice Op Art Without Getting Overwhelmed
The easiest way to improve is to treat Op Art like a series of small experiments. Fill one sketchbook page with wavy lines. Fill another with curved checkerboards. Spend ten minutes making circles look round with striped bands. Try one cube pattern, one tunnel design, and one color variation.
When you repeat these exercises, your hand gets steadier and your eye becomes more sensitive to spacing. That is when the magic happens. You stop guessing and start controlling the illusion on purpose.
A good practice routine is simple: choose one pattern, draw it small, test a few variations, and then make a larger final version. That way, you are not gambling your whole sheet of paper on the first attempt. Even artists enjoy fewer dramatic plot twists.
Creative Ideas for Finished Op Art Projects
Once you know the basics, you can use Op Art in all kinds of projects:
- Bookmark designs with vibrating stripes
- Notebook covers with curved checkerboards
- Name art filled with optical illusion patterns
- Wall decor made from repeating spheres or cubes
- Greeting cards with bold black-and-white tunnels
- Mixed-media pieces that combine ink, marker, and colored pencil
These projects work well because Op Art is eye-catching from a distance and rewarding up close. It looks polished, graphic, and intentional, even when made with simple materials.
Common Experiences People Have When Learning Op Art
One of the most common experiences beginners have with Op Art is disbelief. At first, the process seems too simple to create such a strong visual effect. Someone draws a basic grid, curves a few lines, colors alternating spaces, and suddenly the page appears to bend. That moment feels a little like a magic trick and a little like your pencil just got promoted.
Another common experience is realizing that patience matters more than speed. People who usually rush through sketching quickly discover that Op Art has opinions about that. If the spacing gets sloppy, the illusion weakens. If the ruler slips, the design tells on you immediately. Many beginners say Op Art teaches them to slow down in a good way. Instead of chasing fast results, they begin to enjoy repetition, rhythm, and tiny improvements.
There is also a funny stage where the drawing starts to affect the artist as much as the viewer. After staring at repeated stripes, curved lines, or checkerboard patterns for a while, people often feel as if the page is wobbling. They lean back, blink, and wonder whether the art is working or whether lunch was not substantial enough. Usually, it is the art working. That is part of the charm.
Many learners also discover that Op Art builds confidence. A person who feels nervous about realistic drawing may struggle with faces, hands, or proportion, but Op Art offers a different path. It shows that strong art does not have to imitate reality. A page full of lines, contrast, and pattern can feel exciting, intelligent, and expressive. That shift is empowering. It helps beginners understand that drawing is not just about copying what you see. It is also about guiding how someone sees.
Students and hobby artists often mention how satisfying it feels to watch a design come together in stages. Early on, the page can look plain or even disappointing. A grid is just a grid. A circle filled with guide lines is still just a circle having a very organized day. But then the dark values go in, the spacing locks together, and the illusion arrives almost all at once. That delayed payoff makes the finished piece feel earned.
Another real experience is learning to accept minor imperfections. Beginners often think one slightly crooked line ruins everything. Usually, it does not. Op Art benefits from neatness, but it does not demand robotic perfection. In fact, hand-drawn Op Art has a character that digital perfection sometimes lacks. Tiny variations can remind viewers that a human made the image, not a machine with a superiority complex.
Finally, many people end up unexpectedly hooked. They start with one easy optical illusion drawing and then keep experimenting. A wavy grid turns into a sphere. The sphere turns into a tunnel. The tunnel turns into a whole sketchbook page of impossible-looking patterns. That is the real fun of Op Art. It invites curiosity. Once you see how lines and shapes can trick the eye, you start looking for more ways to bend the page without actually bending the page.
Final Thoughts on Easy Ways to Draw Op Art
Learning how to draw Op Art does not require advanced training. It requires a few basic tools, a willingness to measure carefully, and the confidence to let simple patterns do extraordinary things. Start with wavy lines, checkerboards, spheres, cubes, and tunnels. Focus on spacing, contrast, and clean edges. Practice one illusion at a time, and your drawings will quickly become more polished and more convincing.
The best part of Op Art is that it rewards curiosity. Every line you repeat teaches you something about movement, depth, or visual rhythm. So grab a ruler, sharpen your pencil, and let the page misbehave in the most beautiful way possible.