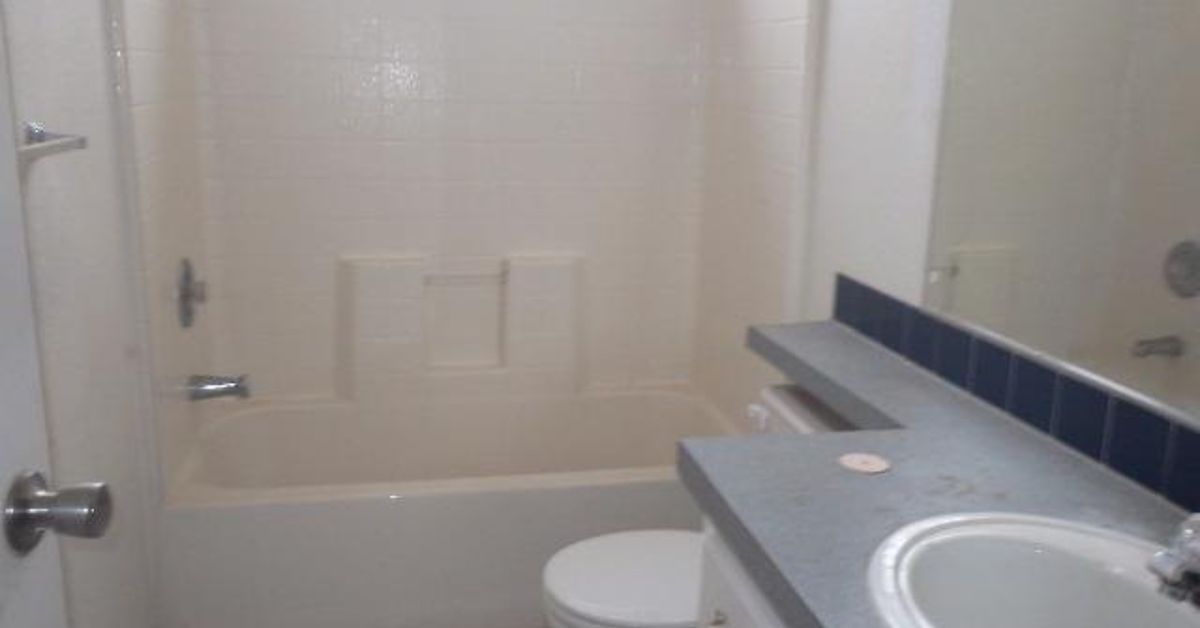
A DIY pallet bathroom can turn plain walls, builder-grade storage, and a forgettable vanity into a warm, character-filled space without demanding a luxury-remodel budget. The catch? Bathrooms are steamy little weather systems, and reclaimed wood does not naturally arrive wearing a raincoat.
The best pallet bathroom projects use carefully selected wood as a decorative finish rather than as waterproof construction. With safe sourcing, thorough preparation, a moisture-resistant finish, and reliable ventilation, pallet boards can become an accent wall, vanity wrap, mirror frame, towel rack, or storage shelf that looks intentionally rusticnot accidentally rescued from behind a grocery store.
Can Pallet Wood Really Be Used in a Bathroom?
Yes, but location and preparation determine whether the project ages gracefully or begins resembling driftwood after six months.
Pallet wood is suitable for decorative bathroom features outside direct wet areas. It can work behind a toilet, above a vanity, around a mirror, on a dry accent wall, or as the facing on a properly constructed cabinet. It should not replace cement board, waterproof membranes, tile, or other materials designed for shower and tub surrounds.
Avoid using pallet boards as shower walls, bathtub decking, sink countertops, or bathroom flooring. Even a durable clear coat can eventually be breached by standing water, movement, scratches, or neglected seams. Once moisture gets behind the finish, soft pallet boards may swell, cup, split, stain, or develop mold.
The safest rule for placement
Keep pallet wood away from areas that receive repeated splashing or direct spray. If a surface gets wet every time someone showers, washes a face, or supervises a child who treats the sink like a water park, choose a purpose-made moisture-resistant material instead.
Choose Safe Pallets Before Thinking About Style
Not every free pallet is a bargain. Pallets are shipping equipment, so their previous jobs may have involved food, chemicals, oil, machinery, fertilizer, or substances you would rather not invite into a small room filled with warm steam.
Look for an identifiable treatment mark
International wood packaging commonly carries an IPPC mark containing a country code, producer number, and treatment code. “HT” means the wood was heat-treated to control pests. “MB” indicates methyl bromide fumigation. For an indoor project, reject boards marked MB.
An unmarked pallet is not automatically chemically treated, especially if it was made for domestic use. However, an unknown pallet with an unknown history is a poor choice for an indoor bathroom. Use unmarked wood only when a trusted business can confirm what the pallet carried and where it came from.
Reject questionable boards
Do not use pallet wood that has:
- Oil stains, chemical odors, sticky patches, or unexplained discoloration
- Visible mold, insect activity, rot, or soft areas
- Heavy water damage or deeply embedded grime
- Paint or dye of unknown origin
- Numerous splits that weaken the board
- A history of transporting chemicals, pesticides, or hazardous materials
Cleaning and sealing cannot guarantee that absorbed contamination has been removed from porous wood. When the history is uncertain, leave the pallet alone. There will always be another piece of rustic lumber. Your bathroom does not need a mysterious backstory.
Consider new pallet-style lumber
If safe reclaimed boards are difficult to verify, buy rough-sawn pine, cedar, reclaimed barn wood from a reputable dealer, or new boards marketed for decorative wall projects. You still get the weathered appearance while gaining consistent thickness, cleaner surfaces, and far fewer questions about whether the wood once carried industrial solvents.
Best DIY Pallet Bathroom Projects
1. A pallet wood accent wall
An accent wall behind the toilet or opposite the shower adds texture without overwhelming the room. Horizontal boards can make a narrow bathroom appear wider, while vertical boards visually raise a low ceiling. A herringbone layout creates a more polished look but requires additional cutting, planning, and patience.
2. A pallet-wrapped vanity
Build or retain a structurally sound vanity cabinet, then attach thin pallet boards to its side panels and door fronts. The pallet wood should be decorative cladding, not the material supporting the sink. This approach delivers rustic style while keeping plumbing, hardware, and weight on a proper cabinet frame.
3. A reclaimed wood mirror frame
A mirror frame is one of the easiest ways to introduce pallet wood into a bathroom. It uses relatively little lumber and stays away from most standing water. Mitered corners look traditional, while square butt joints create a chunkier farmhouse appearance.
4. Floating shelves and over-toilet storage
Use selected pallet boards as shelf surfaces supported by commercial brackets or a securely anchored internal frame. Store towels, decorative jars, and lightweight supplies rather than heavy appliances. Fasten the supports into studs or suitable wall anchors instead of trusting drywall and positive thinking.
5. Towel racks and accessory boards
A sealed pallet board fitted with corrosion-resistant hooks can hold hand towels, robes, or baskets. It is a fast weekend project and an excellent way to use short offcuts left from a larger wall or vanity project.
Tools and Materials
The exact list depends on the project, but a typical pallet accent wall requires:
- Verified heat-treated pallet boards or clean reclaimed lumber
- Gloves, eye protection, and a properly fitted dust mask or respirator
- Pry bar, hammer, nail puller, and locking pliers
- Stud finder, tape measure, pencil, level, and square
- Circular saw, miter saw, or jigsaw
- Random-orbit sander and 80-, 120-, and 180-grit sandpaper
- Wood cleaner and clean cloths
- Stain-blocking primer if the boards will be painted
- Bathroom-suitable paint or a durable polyurethane finish
- Construction adhesive rated for wood and humid interiors, if appropriate
- Stainless-steel or coated finish nails and screws
- Furring strips for walls that need a level attachment surface
- Paintable or bathroom-grade silicone caulk for selected perimeter joints
How to Build a DIY Pallet Bathroom Accent Wall
Step 1: Inspect and dismantle the pallets
Confirm the treatment mark and history before dismantling anything. Wear gloves because pallet boards specialize in splinters, hidden staples, and nails that seem personally offended by removal.
Use a pallet-busting tool, reciprocating saw, or pry bar to separate the boards. Work gradually to reduce splitting. Remove every nail, screw, and staple before sending a board through a saw or sander.
Step 2: Clean and dry the boards
Brush away loose dirt and wash acceptable boards with mild detergent and a lightly dampened cloth or soft brush. Avoid soaking them. Rinse carefully, then allow the lumber to dry completely in a ventilated area.
Do not install damp pallet wood. Trapped moisture can interfere with adhesives and finishes while encouraging movement or biological growth.
Step 3: Sand without erasing the character
Start with coarse sandpaper where necessary to remove splinters and rough fibers. Continue with medium and fine grits until the boards can be touched safely. Preserve saw marks, knots, and color variation if they contribute to the desired appearance.
Pay extra attention to edges and corners. Rustic should mean texturednot capable of snagging every towel in the house.
Step 4: Acclimate the wood
Stack the prepared boards flat in or near the bathroom for several days, using spacers so air can circulate between them. This gives the wood time to adjust to the home’s temperature and humidity before installation.
Step 5: Seal every side
Apply the selected finish to the front, back, ends, edges, nail holes, and cut surfaces. Coating only the visible face leaves the remaining surfaces free to absorb moisture unevenly, increasing the risk of cupping and warping.
For a natural appearance, use multiple thin coats of a durable water-resistant polyurethane compatible with interior wood. Lightly sand between coats when the manufacturer instructs you to do so. For painted boards, use a stain-blocking primer followed by bathroom-rated paint.
Allow the coating to cure fully. “Dry to the touch” does not always mean ready for humid service, so follow the product’s recoat and cure instructions rather than improvising with a hair dryer.
Step 6: Prepare the wall
Repair leaks, peeling paint, soft drywall, and existing mold before covering the wall. Pallet boards are decoration, not camouflage for a moisture problem.
Locate studs and mark them. Make sure the wall is clean, dry, and reasonably flat. Where needed, attach level furring strips to the studs to create a reliable fastening surface.
Step 7: Plan the layout
Arrange the boards on the floor before installation. Mix light, dark, wide, and narrow pieces so similar boards do not form accidental stripes. Measure the wall and determine where cut pieces will land.
Use a level to establish a straight starting line. Floors and ceilings are not always level, especially in older houses, so blindly following one edge can produce a wall that slowly climbs toward the ceiling.
Step 8: Install the boards
Fasten the boards into studs or furring strips with corrosion-resistant nails or screws. Construction adhesive may help reduce movement, but it should be compatible with the wall, finish, and bathroom conditions.
Leave small expansion gaps where the wood meets the floor, ceiling, corners, vanity, and other fixed surfaces. Conceal the gaps with trim where desired. Keep the lowest board slightly above the finished floor so it cannot wick water from mopping, plumbing drips, or overflowing fixtures.
Step 9: Finish the details
Seal fresh cuts and fastener holes. Use caulk selectively at vulnerable perimeter locations, but do not trap known moisture behind the installation. Reinstall switch plates and accessories using box extenders or other code-compliant methods when the new wall thickness requires them.
Bathroom Ventilation Is Part of the Project
A beautiful finish cannot compensate for a bathroom that remains foggy long after every shower. Exhaust ventilation removes moisture before it repeatedly condenses on walls, ceilings, and wood surfaces.
Use a properly sized bathroom fan that exhausts outdoorsnot into an attic, crawl space, or enclosed ceiling cavity. Run it during bathing and long enough afterward to clear the humid air. Clean the grille and fan periodically because dust reduces airflow.
A small hygrometer can help reveal whether the room stays excessively humid. Persistent condensation, damp towels, peeling coatings, or a musty smell should be treated as warnings rather than normal bathroom personality traits.
Repair plumbing leaks promptly. No finish can protect pallet wood indefinitely from a leaking supply valve or a toilet that quietly drips behind the wall.
Finishing Options for Pallet Bathroom Wood
Clear polyurethane
A clear polyurethane emphasizes the grain and color variation while providing a durable, water-resistant surface. Satin finishes often suit reclaimed wood because they offer protection without making every dent shine like a showroom display.
Whitewash or color wash
A diluted paint effect softens mismatched boards while allowing the grain to remain visible. Seal the completed color wash with a compatible clear finish when additional protection is needed.
Paint
Paint creates a cleaner cottage or coastal appearance and helps unify boards from different pallet species. A stain-blocking primer is valuable because knots and tannins can bleed through lighter colors.
Stain and protective topcoat
Stain can make pale pallet boards resemble darker or older lumber, but stain alone is not a complete moisture barrier. Add a compatible protective finish after the stain dries according to its instructions.
Design Ideas That Keep the Room Balanced
- Modern farmhouse: Pair medium-brown boards with matte-black hardware, white walls, and simple lighting.
- Coastal: Use pale gray or whitewashed wood with brushed-nickel fixtures and soft blue accents.
- Industrial: Combine darker boards with black pipe-style shelving and concrete-look surfaces.
- Scandinavian rustic: Choose lightly finished boards, warm white walls, uncluttered storage, and natural textiles.
- Vintage cottage: Paint the pallet paneling a muted green, cream, or dusty blue and add traditional hooks.
In a small bathroom, one focal feature is usually enough. Covering every wall, cabinet, shelf, and accessory with reclaimed boards can make the space feel like a shipping warehouse with plumbing.
Common DIY Pallet Bathroom Mistakes
- Using an unknown, stained, moldy, or chemically treated pallet
- Installing pallet boards inside a shower or direct splash zone
- Finishing only the visible side of the wood
- Covering leaks, damaged drywall, or existing mold
- Skipping acclimation and installing damp boards
- Fastening heavy shelves only to drywall
- Using ordinary steel hardware that may rust in humid air
- Ignoring expansion gaps around fixed surfaces
- Relying on an open window instead of dependable exhaust ventilation
- Assuming “free wood” means a completely free project
Budget and Time Expectations
A small mirror frame or towel board may be completed in a day, excluding finish-curing time. A full accent wall commonly requires several work sessions for sourcing, dismantling, cleaning, sanding, sealing, layout, and installation.
Even when the lumber is free, budget for sandpaper, blades, fasteners, primer, stain, clear finish, caulk, trim, and safety equipment. Depending on the project size and tools already owned, a modest pallet bathroom feature may cost approximately $75 to $300. A new exhaust fan, electrical work, wall repairs, or custom cabinetry can raise the total.
Do not rush the drying and curing stages to save a weekend. The finish is what separates a durable bathroom feature from an elaborate moisture experiment.
Experience-Based Lessons From DIY Pallet Bathroom Projects
The most important lesson from successful pallet bathroom projects is that preparing the wood usually takes longer than installing it. In photographs, the project appears to begin with neat boards lined up beside a nail gun. In reality, it often begins with a pry bar, stubborn spiral nails, broken board ends, and one pallet that produces only three usable pieces.
Builders commonly discover that collecting extra material is essential. Pallet boards vary in width, thickness, species, color, and condition. Some crack during dismantling. Others reveal deep stains after sanding. A few are twisted enough to qualify as wooden propellers. Starting with roughly 25 percent more usable material than the measured coverage prevents the final section from becoming a patchwork of desperate leftovers.
Another recurring experience is that the roughest boards are not always the most attractive after installation. Deeply weathered lumber looks dramatic when stacked in a workshop, but it can be difficult to clean and may collect lint around a vanity or toilet. The best compromise is usually to retain visual marks while sanding the surface smooth enough to wipe with a damp cloth.
Color planning also matters more than expected. Random boards can look pleasantly varied on the floor but chaotic once they cover a vertical wall. Laying out the complete pattern before fastening anything makes it easier to distribute dark boards, nail holes, knots, and wide pieces evenly. Taking a photograph of the dry layout provides a useful installation map after the boards are moved.
Many first-time builders underestimate how strongly pallet wood can absorb stain. Soft, weathered areas may turn almost black while denser sections remain light. Testing the finish on several offcuts is more reliable than testing one “perfect” board. A wood conditioner, diluted stain, color wash, or clear coat may produce a more controlled result.
Ventilation often determines how the project looks a year later. In bathrooms with an effective fan and repaired plumbing, sealed boards generally remain stable and easy to maintain. In rooms where mirrors stay fogged for half an hour, movement and finish wear tend to appear sooner. The fan may be the least photogenic element of the makeover, but it quietly does more protective work than the decorative hardware.
Cleaning habits change too. Owners quickly learn to wipe splashes rather than letting water sit along the base of a wall or vanity. They also inspect caulk lines, plumbing valves, and the backs of shelves during routine cleaning. These small checks catch problems before a dark mark becomes a warped board.
Finally, the strongest pallet bathroom designs use restraint. One reclaimed wood feature adds warmth and history. Five competing features can make the room feel smaller, darker, and difficult to clean. A pallet accent wall paired with smooth painted surfaces, simple tile, and modern fixtures often feels more intentional than an entire room covered in distressed lumber.
The practical experience is therefore less about mastering complicated carpentry and more about making disciplined decisions: reject doubtful wood, prepare every surface, protect every edge, provide real ventilation, and stop adding rustic details before the bathroom begins asking for a forklift.
Conclusion
A DIY pallet bathroom can deliver impressive warmth, texture, and personality on a manageable budget. The safest and most durable approach is to use verified, clean pallet wood for decorative features outside direct wet zones. Seal all sides, install the boards securely, maintain expansion space, and control humidity with an exhaust fan that vents outdoors.
The project may begin with reclaimed shipping wood, but the finished bathroom should never look improvised. Careful sourcing and moisture management transform rough boards into an intentional design feature that can remain attractive long after the first dramatic before-and-after photograph.