If you love candlelight but also love not accidentally turning your living room into a “news story,” you’re going to
adore decorating with Luminara flameless candles. You get the cozy glow, the mood, the “Is that real?” double-take…
without the smoke, soot, drips, or that tiny voice in your head whispering, Did I blow it out?
In this guide, you’ll make two simple DIY candleholders designed specifically for Luminara:
a coastal rope-wrapped hurricane for pillar candles, and a modern set of faux-brass taper holders for taper candles.
They’re quick, customizable, and they look like you paid “boutique home store” priceswithout actually doing that.
Why Luminara Works So Well for DIY Candleholders
Luminara is known for its realistic, moving-flame look and the kind of convenience that makes you feel like you have
your life together. Many Luminara candles use a built-in “smart timer” style schedulecommonly
5 hours on, 19 hours off when the timer is enabledso you can set them once and enjoy the routine glow
daily without thinking too hard (a true luxury). Some remotes also offer multiple timer durations, depending on the set.
DIY-wise, flameless candles give you a huge advantage: you can safely decorate around them with things you’d never
put next to an open flamelike rope, faux greenery, dried accents, ribbons, and seasonal filler. Still, there are a few
practical design rules that keep your candleholders looking great:
- Leave access to the base so you can change batteries or use switches without performing furniture gymnastics.
- Stability matters: flameless doesn’t mean un-tippable. Build a wide base and add felt pads when needed.
- Size for realism: give the candle a little breathing room inside hurricanes so the glow reads “intentional,” not “crammed.”
Tools & Supplies You’ll Use for Both Projects
You don’t need a workshopjust a small “DIY starter pack” that’s mostly scissors and confidence.
- Measuring tape or ruler
- Scissors
- Hot glue gun + glue sticks (or a strong craft adhesive)
- Painter’s tape (for clean lines and temporary holds)
- Fine-grit sandpaper (for smoothing edges on the taper holder project)
- Felt pads (the quiet heroes of scratch-free decorating)
DIY #1: Rope-Wrapped Hurricane Holder for a Luminara Pillar
This one is the easiest “wow” you’ll do all week. The idea: take a simple glass hurricane/cylinder and wrap it in rope
for coastal texturethen style the inside with a Luminara pillar and a little filler. It looks high-end, but it’s basically
a fancy sweater for a vase.
What You’ll Need
- A glass cylinder vase or hurricane (straight sides are easiest)
- A Luminara pillar candle (choose a height that sits below the rim for a clean look)
- Jute rope, cotton rope, or twine (pick thickness based on your vibe)
- Hot glue or strong craft adhesive
- Optional filler: sand, small pebbles, faux moss, seashells, or seasonal greenery
- Optional: a simple tray or wood slice for extra stability
Step-by-Step
-
Clean the glass. Wipe the outside with a little rubbing alcohol (or glass cleaner) so the glue bonds well.
Let it dry completely. -
Plan your wrap. Decide if you want full coverage or “banded” stripes. A thick rope gives modern coastal.
Thin twine gives farmhouse and cottage. -
Start at the bottom edge. Add a small line of hot glue near the base and press the rope into it.
Hold for a few seconds so it grips. -
Wrap upward, tight and even. Work in small sections: glue a few inches, wrap, press, repeat.
(If you glue the whole thing at once, the glue will set before you’re ready and you’ll invent new words.) -
Finish the top neatly. Cut the rope cleanly, tuck the end under if possible, and glue it down.
If the edge isn’t perfect, don’t panicimperfection is basically the official language of handmade decor. -
Style the inside. Add a thin layer of sand or pebbles (optional) and set the Luminara pillar in the center.
Keep the candle stable and upright. -
Test the “battery access” reality check. Make sure you can still lift the candle out easily.
If you used filler, keep it shallow enough that it doesn’t bury the candle’s base.
Three Styling Ideas That Always Look Good
-
Coastal clean: White sand + a few small shells + an ivory Luminara pillar. Put it on a round tray with
a little driftwood (real or faux). -
Evergreen wrap (seasonal): For winter, press flat greenery to the outside of the glass (behind the rope banding
or above it) for a layered look. Keep it simple and tidy. -
Minimal modern: Skip filler. Use a tall pillar, a clear cylinder, and a rope band only around the bottom third.
It’s calm, clean, and looks intentional.
Troubleshooting
- Rope keeps sliding: Use painter’s tape to hold the rope in place while each glued section cools.
- Glue strings everywhere: Let the glue cool, then snip strings with small scissors. Don’t smear themsmearing makes it worse.
- Looks uneven: Wrap tighter and slow down. Also: most people notice the glow, not your rope alignment degree.
DIY #2: Modern Faux-Brass Taper Candleholders for Luminara Tapers
If you love the look of taper candles (instant “fancy dinner,” even if dinner is cereal), this project gives you a
sleek trio of candleholders with modern lines. The trick is using simple hardware materials to create a
faux-brass lookwithout needing a metal shop or a mysterious apprenticeship.
What You’ll Need
- Luminara flameless taper candles (check the diameter so your holder opening fits comfortably)
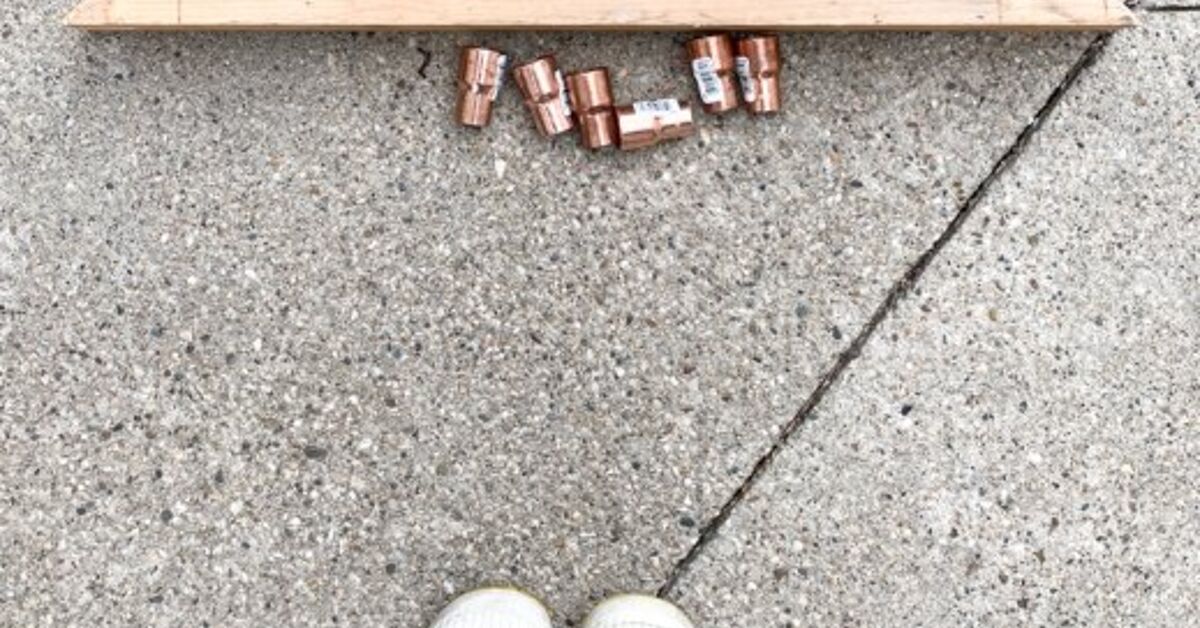
- Three short sections of metal tubing or pipe for the “stem” (or use pre-cut pieces)
- Three small wood rounds or wood blocks for bases (wide enough to prevent tipping)
- Strong adhesive suitable for wood-to-metal bonding
- Optional: metallic spray paint (brass/gold look) and primer (if your pipe isn’t already the right finish)
- Optional: rubber grommets or adhesive foam strips (to snug the taper fit if needed)
- Felt pads for the base
Step-by-Step
-
Pick your heights. A classic trio looks best in three levels (for example: short, medium, tall).
The variation gives your tablescape that designer “rhythm” without trying too hard. -
Smooth the edges. Lightly sand the cut ends of your pipe/tubing so they’re not sharp and sit flat.
(This is the step that keeps your DIY from feeling “hardware aisle chic” in the wrong way.) -
Attach the stems to the bases. Center each pipe section on a wood base and glue it down.
Let it cure fully. If it shifts, use painter’s tape as a temporary clamp. -
Create a snug taper fit. Test your Luminara taper in the opening. If it’s loose, add a thin rubber grommet
inside the top or use a narrow strip of adhesive foam to cushion and grip.
The goal: stable, straight, and removable. -
Paint (optional, but pretty). If you want a uniform brass finish, spray paint the stems (and even the bases)
in light coats. Let it dry completely before inserting candles. - Protect your surfaces. Add felt pads under each base so they slide smoothly without scratching your table.
-
Style and “walk test.” Put all three on a table and gently bump the surface like a normal human would.
If they wobble, widen the bases or add weight (a thicker wood base works wonders).
Easy Ways to Make Them Look Expensive
- Go monochrome: Pair ivory tapers with warm brass holders for a classic, high-end look.
- Make a centerpiece runner: Place the trio on a long tray with a few bud vases. Keep flowers low so the candles stay the stars.
- Mix textures: Brass + linen table runner + a simple ceramic bowl nearby = instant “styled.”
How to Style Both Candleholders in Real Rooms
Candleholders can look like “clutter” if they don’t have a planso here are a few foolproof placements:
-
Mantel: Put the rope hurricane on one side, the taper trio on the other, and add something reflective
(mirror, framed art, or a glossy vase) in the middle to bounce the glow. -
Dining table: Use the taper trio as the main event and place the hurricane off-center as a “supporting glow.”
Keep the tallest candleholder below eye level if you’re seating people across from each other. - Entry table: One hurricane + a small dish for keys + a stack of books. It’s a five-second vibe upgrade.
Timer, Batteries, and Other Tiny Realities
Flameless candles are low maintenance, but not “no maintenance.” The biggest tip: build your candleholders so you can
remove the candle easilybecause batteries and switches are part of the deal.
- If your candle turns on at the same time every day: that’s usually the timer cycle doing its thing.
- If the flicker looks dim: try fresh batteries before you redesign your entire tablescape in frustration.
- If you’re using a remote: keep it where you’ll actually find it (the “decor drawer” is a myth; it’s just a drawer of chaos).
Safety Notes (Yes, Even With Flameless)
Flameless candles reduce fire risk in a big way, but smart home safety still matters. Keep battery-powered decor away
from water sources, and store spare batteries where younger kids can’t access them. If you ever mix real candles into
your decor, follow standard candle safety rules: keep flames away from anything that can burn, and never leave them unattended.
DIY Diary: What This Project Feels Like in Real Life (About )
Here’s the honest “what you’ll experience” versionbecause DIY rarely looks like the perfectly lit tutorial photo on the first try,
and that’s normal. The rope hurricane usually starts with big optimism: “This will take 10 minutes.” Then you realize
rope has opinions. Thick rope wants to drift upward. Thin twine wants to twist. Hot glue wants to leave stringy evidence
of your choices like it’s building a case file. The good news? The fix is simple: slow down and glue in short sections.
The moment you stop trying to rush it, the wrap gets cleaner and suddenly the whole thing looks intentional.
Styling the inside is where most people discover the difference between “cute” and “magazine-ready.” A little filler is great;
a lot of filler looks like you’re hiding something. The sweet spot is just enough sand or pebbles to anchor the candle visually
and keep it centered. If you add shells or greenery, pick two or three pieces with similar color tones, not a dozen random items.
(Your hurricane is a candleholder, not a tiny museum gift shop.) One of the best surprises with Luminara is how forgiving the glow is:
even simple filler looks elevated because the light feels warm and realistic.
The taper holders bring their own “aha” moments. The first is stability. A taper candle looks elegant because it’s tall and slender
which also means the holder needs a base that isn’t. If your base is too narrow, you’ll notice it immediately when you set the trio down.
The easy win is using wider wood rounds or heavier bases than you think you need. The second moment is fit. Flameless tapers can vary slightly,
so testing the candle in the holder before everything cures is huge. If it wobbles, a small rubber grommet or a thin strip of foam is a
surprisingly classy solution; it disappears once the candle is in place, and suddenly everything stands straight like it’s on its best behavior.
Then there’s the “living with it” part. Once your candleholders are in place, you’ll start noticing how much you enjoy light on a schedule.
When the timer kicks on in the evening, the room feels softerespecially on shelves, mantels, or a dining table. And because there’s no soot
or dripping wax, you don’t get that slow creep of mess that makes you avoid lighting candles altogether. You’ll also figure out your routine:
some people love a daily automatic glow; others prefer the remote so they can switch it on only when they’re actually in the room.
Either way, the candleholders you made keep the setup looking styled instead of “I put a candle here because I panicked about lighting.”
Finally, expect compliments. Not the polite kind. The real kind where someone picks up the hurricane and asks where you bought it.
That’s your cue to smile and say, “Oh, this old thing?” (Optional.) Then you can admit it was DIY. (Also optional.)
Conclusion
With Luminara flameless candles, you can lean into cozy lighting without the stress of open flamesand DIY candleholders make the whole setup
look custom, curated, and intentionally “you.” The rope-wrapped hurricane brings texture and a warm coastal vibe, while the modern taper trio
adds height and elegance for mantels, tablescapes, and everyday ambiance. Build them to be stable, keep battery access in mind, and let the glow
do the heavy lifting. Your home will feel softer, warmer, and just a little more “I definitely have my life together,” even if your junk drawer disagrees.