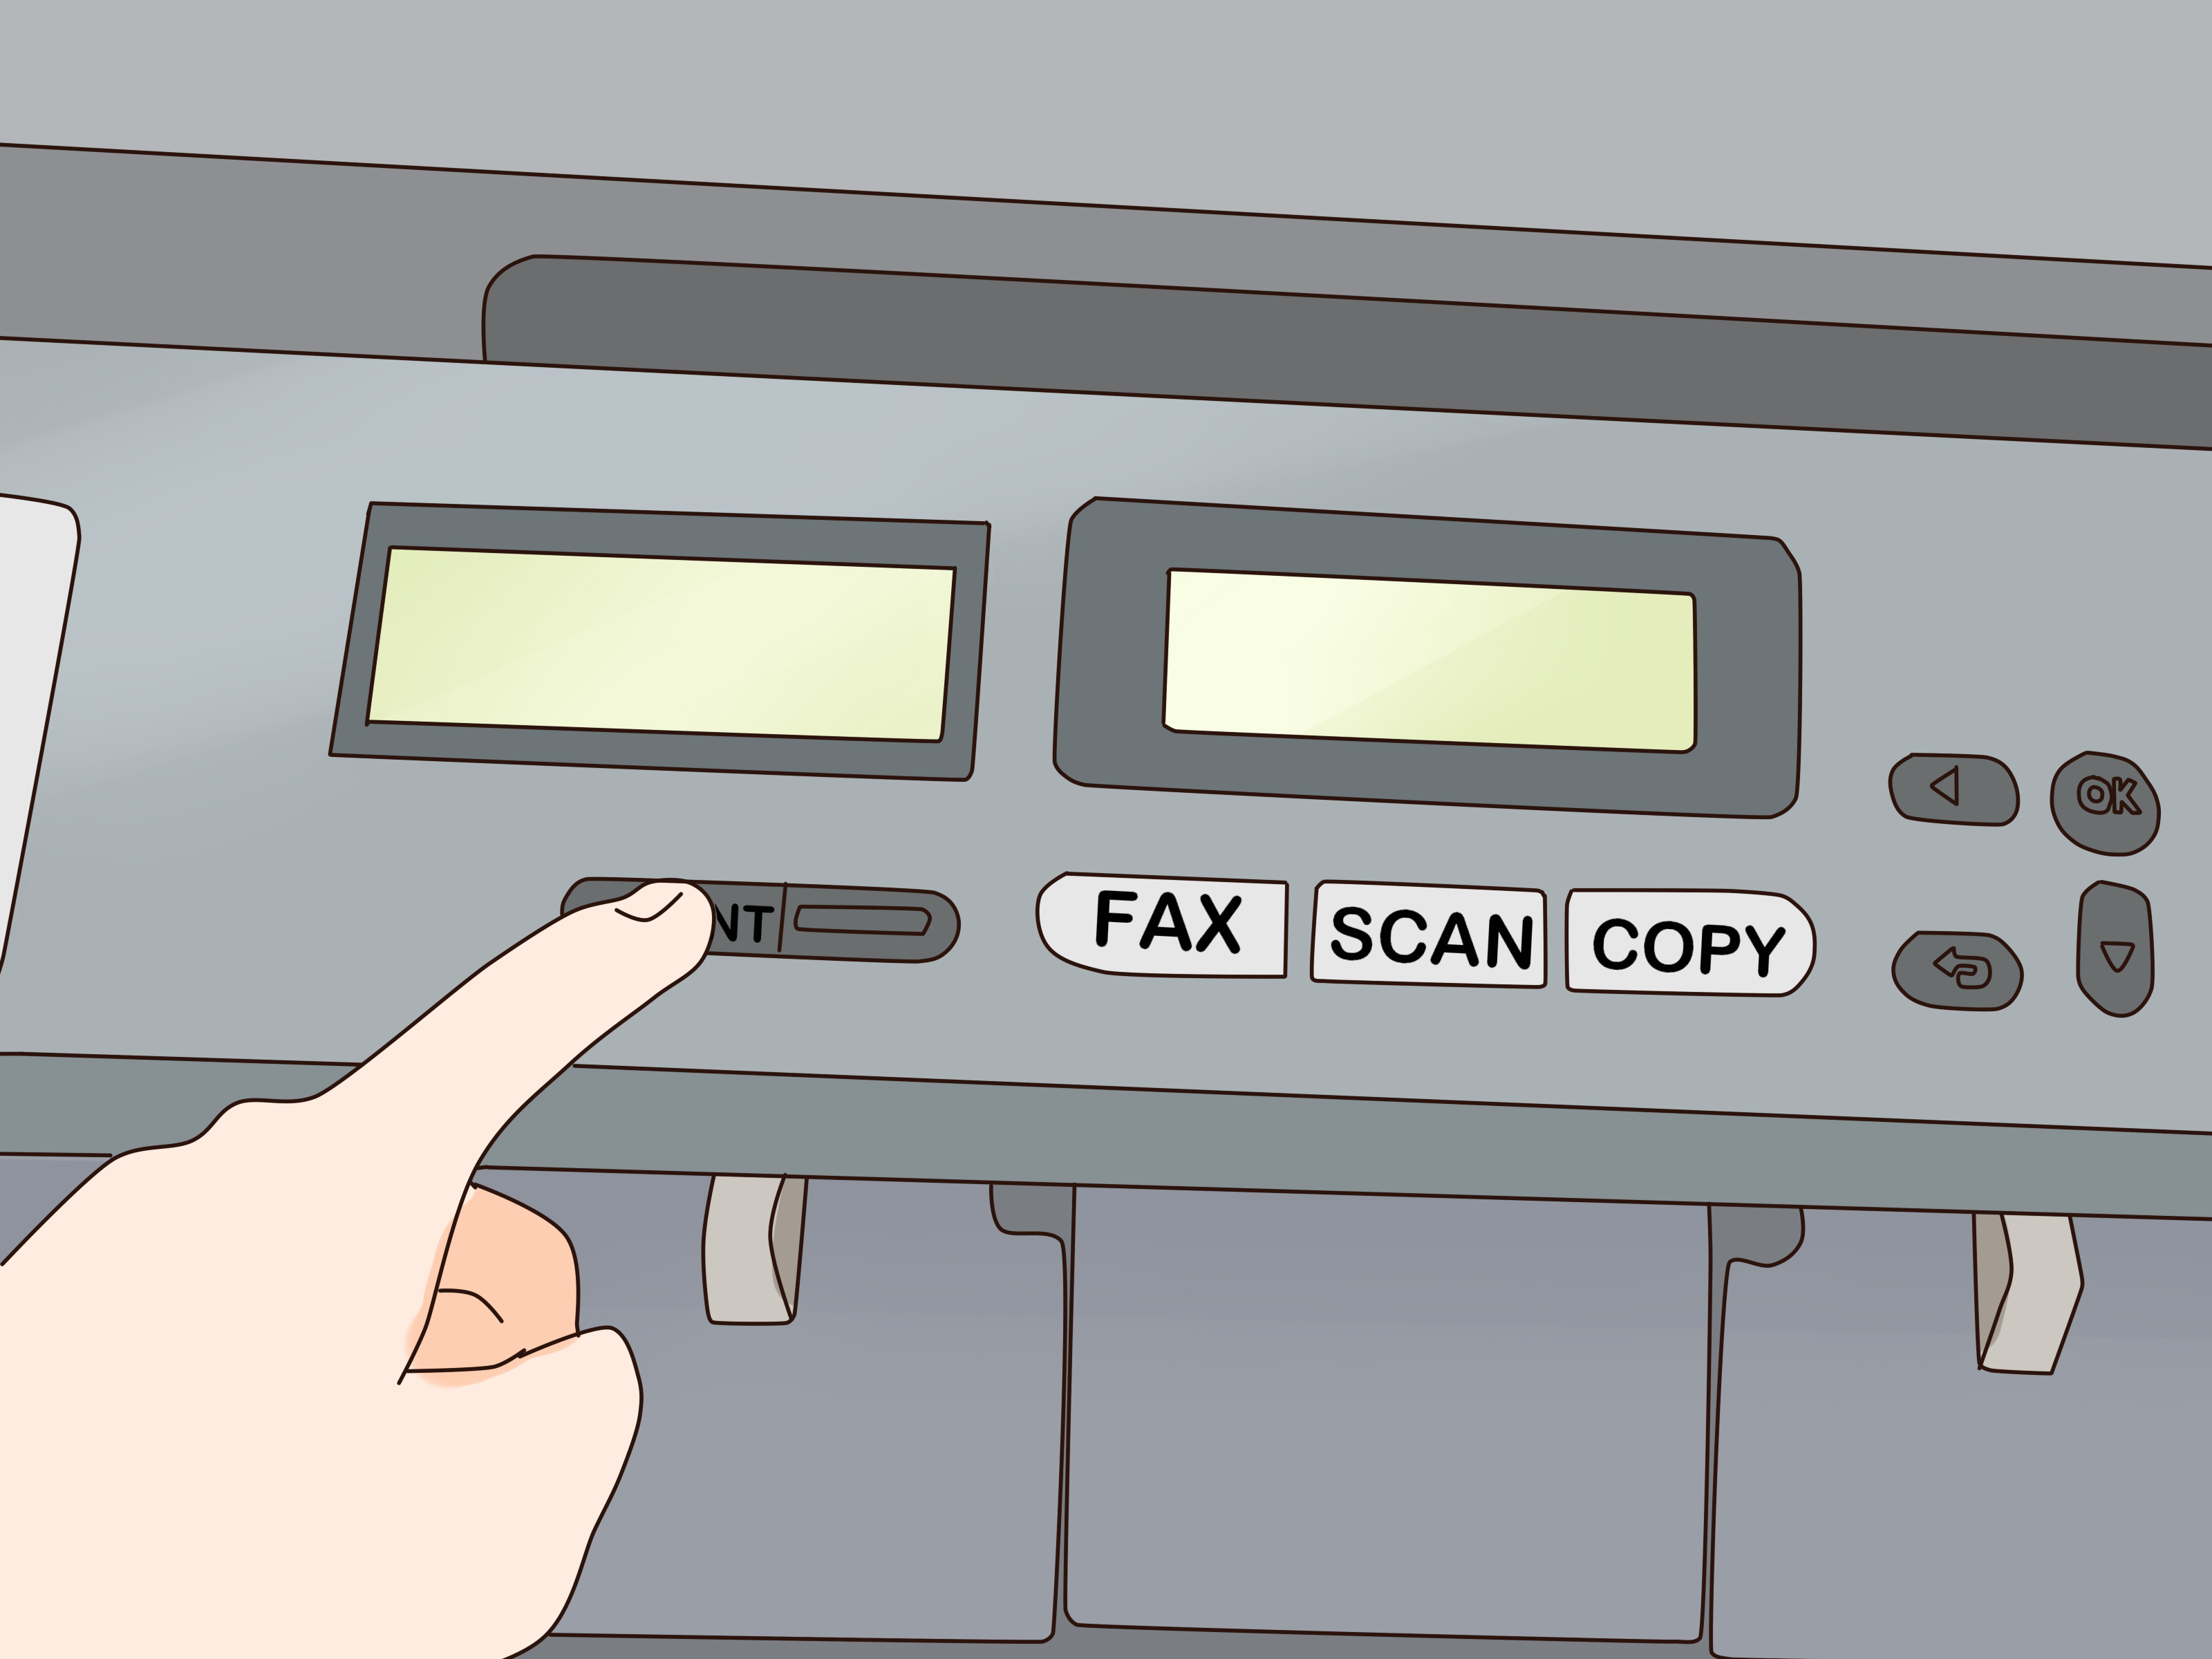
Replacing a toner cartridge in a laser printer sounds like one of those office chores that should require a badge, a secret handshake, and perhaps a tiny screwdriver set. Good news: it usually does not. Most modern laser printers are built so everyday users can swap toner without turning the break room into a black-and-cyan crime scene.
Still, doing it correctly matters. A poorly installed toner cartridge can cause streaky pages, faded printing, error messages, paper jams, or the classic “why is the printer mad at me?” moment. Whether you use an HP LaserJet, Brother laser printer, Canon imageCLASS, Xerox, Dell, Lexmark, OKI, Samsung-branded printer supported by HP, or another laser model, the general process is similar: use the right cartridge, handle it carefully, remove the protective packaging, seat it firmly, and test the print.
This guide explains how to replace a toner cartridge in a laser printer in nine practical steps. It also covers safety tips, common mistakes, troubleshooting, recycling, and real-world experience from replacing toner in home offices, school offices, and small businesses where the printer always seems to run out exactly five minutes before something important is due.
What Is a Toner Cartridge?
A toner cartridge is the replaceable container that holds toner powder for a laser printer. Unlike inkjet printers, which spray liquid ink onto paper, laser printers use a fine powder that bonds to the page through heat and pressure. That is why laser prints usually come out dry, crisp, and smudge-resistant.
Some printers use a separate toner cartridge and drum unit. Others combine toner and drum into one cartridge assembly. Before replacing anything, check your printer model. Removing the wrong part is not the end of the world, but it can lead to confusion, mess, or a printer that stares at you with a blinking error light like it knows what you did.
Before You Begin: Safety and Preparation
Before changing a laser printer toner cartridge, make sure you have the correct replacement cartridge. Check the printer model number, the old cartridge label, the manufacturer’s website, or the printer manual. Cartridges often look similar but are not always interchangeable. A cartridge that “almost fits” is not a cartridge; it is a future support ticket.
Prepare a clean, flat workspace. Keep a trash bag or the new cartridge packaging nearby so you can place the used toner cartridge somewhere safe. If toner spills, avoid using hot water because heat can set toner into fabric. Use a dry, lint-free cloth for small spills and follow the manufacturer’s cleanup instructions.
How to Replace a Toner Cartridge in a Laser Printer: 9 Steps
Step 1: Confirm the Printer Really Needs Toner
Start by reading the printer’s message. Common alerts include “Toner Low,” “Replace Toner,” “Toner Empty,” or “Cartridge End of Life.” A low-toner message means the cartridge is close to empty, but the printer may still print for a while. A replace-toner or toner-empty message usually means it is time to install a new cartridge.
Print quality is another clue. Faded text, light bands, missing areas, gray backgrounds, or repeated streaks can indicate low toner. However, not every print-quality issue is caused by toner. A dirty drum, worn imaging unit, paper dust, incorrect paper settings, or humidity can also cause problems. If the printer says toner is empty and your pages look like they were printed during a power outage, the cartridge is a strong suspect.
Step 2: Buy the Correct Replacement Toner Cartridge
Find the exact cartridge number for your printer. You can usually locate it in four places: on the old cartridge, inside the printer door, in the printer manual, or on the manufacturer’s supply page. For example, many printer brands require different cartridges for standard yield and high-yield versions. Both may fit, but the page capacity and price per page can differ.
Choose between original equipment manufacturer cartridges, compatible cartridges, and remanufactured cartridges. OEM cartridges are made by the printer manufacturer and are designed specifically for that model. Compatible cartridges are made by third-party companies. Remanufactured cartridges are used cartridges that have been cleaned, refilled, and tested. Whatever you choose, verify compatibility before opening the package.
Step 3: Turn Off the Printer and Let It Cool
Many toner replacements can be done with the printer powered on, depending on the model, but turning it off is often the safer option for home users. Laser printers use heat in the fuser area, so if the printer has been working hard, give it a few minutes to cool. This is especially smart in busy offices where the printer has just completed a 200-page document and is emotionally and thermally exhausted.
Do not unplug the printer in the middle of an active job unless the manufacturer’s instructions say to do so. Wait until printing stops. Then turn the printer off using the power button. If your model’s instructions specifically tell you to leave it on during cartridge replacement, follow the manual for that machine.
Step 4: Open the Toner Access Door
Open the printer’s front cover, top cover, scanner assembly, or toner access panel. The location depends on the model. Small monochrome laser printers often have a front door. Multifunction printers may require lifting the scanner unit first. Color laser printers usually have separate slots for black, cyan, magenta, and yellow toner cartridges.
Move slowly. Printer doors are designed to open in a certain direction, not through sheer determination. If a panel does not open easily, check for a release button or latch. Forcing the cover can break hinges or plastic tabs, and then the toner replacement becomes a repair story.
Step 5: Remove the Used Toner Cartridge
Grip the handle of the old toner cartridge and pull it straight out. Some printers require you to press a colored release button, rotate a lever, or slide the cartridge along rails. Blue, green, or orange plastic parts often indicate touch points, locks, or release mechanisms.
Hold the cartridge level as you remove it. Tilting or shaking the used cartridge can spill toner powder. Place it on paper, in the empty packaging, or inside a bag. Avoid touching the drum surface if your cartridge includes the drum. The drum is sensitive to light, fingerprints, and scratches. It is also very dramatic about all three.
Step 6: Unpack and Prepare the New Toner Cartridge
Remove the new toner cartridge from its box and protective bag. Keep the packaging because many manufacturers use it for returning or recycling the old cartridge. Before installation, gently rock the new cartridge from side to side several times. This helps distribute the toner evenly inside.
Next, remove all protective materials. This may include plastic covers, orange shipping tabs, foam pieces, tape, seals, or a pull strip. Missing this step is one of the most common toner replacement mistakes. If the cartridge is installed with a seal still attached, the printer may produce blank pages or show a cartridge error. In printer language, that means, “Nice try, but no.”
Step 7: Insert the New Cartridge Correctly
Align the cartridge with the printer’s guides, rails, arrows, or color-coded slot. Slide it in slowly and evenly until it clicks or seats firmly. Do not slam it. A toner cartridge should fit with steady pressure, not with a wrestling move.
For color laser printers, install each cartridge in the correct slot. Black goes in black, cyan in cyan, magenta in magenta, and yellow in yellow. Mixing up cartridges can cause error messages or strange color output. If your business proposal suddenly prints with a purple logo and yellow shadows, check the cartridge positions before blaming the design team.
Step 8: Close the Printer and Print a Test Page
Close the toner access door securely. Some printers will not recognize the new cartridge unless every cover is fully closed. Turn the printer back on if you powered it down. Wait for the printer to initialize. It may make a few normal mechanical sounds as it checks the cartridge and prepares the toner system.
Print a test page. Many printers have a test-page option in the control panel, printer settings, or computer print menu. Look for clear text, even coverage, and no streaks or missing areas. If the first page is slightly uneven, print two or three more pages. Toner sometimes needs a moment to settle after installation.
Step 9: Recycle the Old Cartridge Responsibly
Do not throw a used toner cartridge into a fire, and do not leave it rolling around in a drawer like a mysterious office fossil. Toner cartridges contain plastic, metal, and residual toner, and many can be recycled or returned through manufacturer take-back programs, office supply stores, or electronics recycling centers.
Check the packaging for a prepaid return label. HP, Brother, Canon, Xerox, Dell, Lexmark, Ricoh, Sharp, and other brands may offer recycling programs depending on the cartridge and location. Retailers such as Best Buy and office supply stores may also accept ink and toner cartridges. When in doubt, search the manufacturer’s recycling page for your specific cartridge brand.
Common Mistakes to Avoid When Replacing Toner
Using the Wrong Cartridge
The most common mistake is buying a cartridge that looks right but is not made for your printer. Always match the cartridge number and printer model. Even cartridges from the same brand can have different chips, shapes, yields, and regional compatibility.
Forgetting to Remove the Seal
Protective seals exist to keep toner contained during shipping. They are not supposed to stay on during printing. If your printer produces blank pages after a toner replacement, check whether a pull tab or sealing strip was left inside the cartridge.
Touching the Drum
If the toner cartridge includes a drum, avoid touching the shiny or colored drum surface. Fingerprints and scratches can cause repeating marks on printed pages. Hold the cartridge by its handle or plastic sides.
Forcing the Cartridge
If the cartridge does not slide in easily, remove it and check the alignment. A misaligned cartridge can damage the printer’s internal rails or locking mechanism. Printers are stubborn machines, but they usually respond better to patience than to brute force.
Ignoring Error Messages
If the printer still says “Replace Toner” after installation, do not panic. Open the cover and reseat the cartridge. Check for remaining packaging, close all doors firmly, and restart the printer. Some models require a toner counter reset, especially if the cartridge is replaced before the printer declares it empty.
Troubleshooting After Toner Replacement
The Printer Still Says “Replace Toner”
Remove the cartridge and reinstall it. Make sure it is fully seated. Confirm that it is the correct cartridge for the printer model. Look for shipping tabs or seals that were not removed. If the cartridge has a chip, make sure the chip area is clean and undamaged.
Pages Are Blank
Blank pages often mean the toner seal is still attached, the cartridge is not seated correctly, or the cartridge is defective. Remove the cartridge, check the pull strip, and reinstall it. Also confirm that you did not accidentally replace the drum unit instead of the toner cartridge.
Prints Are Faded
Faded print after installing new toner can happen if the toner was not distributed evenly. Remove the cartridge and gently rock it side to side. Also check printer settings. Draft mode, eco mode, or toner-save mode can make pages look lighter.
There Are Streaks or Spots
Streaks may come from toner on the cartridge, a dirty drum, a worn imaging unit, or paper dust inside the printer. Print several pages first. If the streaks continue, consult the printer manual for cleaning steps. Avoid using household cleaners inside the printer unless the manufacturer specifically recommends them.
How Often Should You Replace a Toner Cartridge?
Replacement frequency depends on page yield, print coverage, and usage. A standard toner cartridge may print hundreds or a few thousand pages. A high-yield cartridge may print significantly more. Page yield is usually based on a standard coverage estimate, often around typical text-document use. If you print heavy graphics, dense forms, shipping labels, or full-page designs, the cartridge will run out sooner.
For home users, one toner cartridge may last months or even years. For offices, schools, clinics, and shipping departments, toner can disappear quickly. The best habit is to keep one spare cartridge on hand. Waiting until the printer stops is risky because printers have a sixth sense for running out during deadlines.
Should You Shake a Toner Cartridge?
You can gently rock a new toner cartridge from side to side before installation if the manufacturer recommends it. This helps distribute toner evenly. Do not shake it aggressively. Toner is a fine powder, and vigorous shaking can cause leaks or mess.
Some people also remove a low cartridge and gently rock it to get a few more pages. This can work temporarily, but it is not a long-term fix. Once print quality drops or the printer displays a replacement message, install a new cartridge as soon as practical.
OEM vs. Compatible vs. Remanufactured Toner
OEM toner cartridges are made by the printer manufacturer. They typically offer reliable fit, predictable print quality, and full compatibility with printer sensors and firmware. They also tend to cost more.
Compatible toner cartridges are made by third-party companies. Good compatible cartridges can save money, especially for high-volume printing. However, quality varies. Poorly made cartridges can leak, print unevenly, or fail to communicate with the printer.
Remanufactured toner cartridges reuse parts from original cartridges. They can be a more sustainable option when made by a reputable supplier. Look for clear warranty terms, page-yield information, and compatibility guarantees before buying.
Real-World Experience: What Actually Happens When People Replace Toner
In real life, replacing toner is rarely as elegant as the diagram in the manual. The manual shows calm hands, perfect lighting, and a printer that behaves like a cooperative appliance. Actual office life includes someone standing beside the printer holding a half-open cartridge box while asking, “Is this the ink thing?” even though it is toner, not ink.
The first practical lesson is simple: keep the old cartridge nearby until the new one is working. The old cartridge label is your best reference if the printer model sticker is hidden behind cables or dust. Many people throw the old cartridge into the recycling bag too early, then realize they need the cartridge number to order more. That creates the classic office treasure hunt, except the treasure is a plastic container full of powder.
The second lesson is to open the replacement toner only when you are ready to install it. Toner cartridges are sealed to protect the powder and sensitive parts. Leaving a cartridge unpacked on a desk near sunlight, heat, or curious hands is not ideal. If your printer uses a drum-integrated cartridge, light exposure can affect print quality. In other words, do not treat toner like a decorative desk accessory.
The third lesson is that protective tape is sneaky. Some cartridges have one obvious orange tab. Others have a side cover, a pull strip, a black paper shield, or multiple plastic pieces. If the cartridge does not fit, do not force it. Stop and inspect it. Most “defective” new cartridges in everyday office situations are not defective at all; they are still wearing their shipping armor.
The fourth lesson is to expect the printer to take a moment after installation. Many laser printers click, hum, rotate, calibrate, or display “processing” after a new cartridge is installed. That does not mean something is wrong. It means the printer is waking up, checking the cartridge, and deciding whether it approves of your life choices.
The fifth lesson is to print a test page before announcing success. A printer can accept a cartridge and still produce faded pages if the toner was not distributed evenly or if eco mode is enabled. Print a simple document with black text and, for color printers, a small color graphic. This quick test can save embarrassment later, especially before printing invoices, school forms, labels, or presentation handouts.
The sixth lesson is to recycle immediately. Used cartridges have a magical ability to pile up in supply closets. Put the old cartridge in the new cartridge’s bag, place it in the return box, and handle recycling the same day if possible. If your workplace prints often, set up a labeled recycling bin for cartridges. A little organization prevents the “toner graveyard” from forming under the supply shelf.
The seventh lesson is that toner replacement becomes easy after the first time. Once you know where the cover opens, how the cartridge slides out, and where the new one clicks in, the whole job can take just a few minutes. The hardest part is usually finding the correct cartridge, not installing it. Labeling spare cartridges by printer model can make future replacements much faster.
Finally, keep a tiny toner routine: confirm the printer model, wash and dry your hands, open the access door gently, remove the old cartridge level, prepare the new cartridge carefully, install it without force, print a test page, and recycle the used cartridge. That routine works for most laser printers and keeps the process calm, clean, and drama-free. The printer may still beep at you, but at least you will know you did your part.
Conclusion
Learning how to replace a toner cartridge in a laser printer is a small skill that saves time, reduces frustration, and keeps your documents looking sharp. The key is to move carefully: confirm the correct cartridge, power down or follow your model’s instructions, open the access panel, remove the old cartridge, prepare the new one, remove all seals, insert it correctly, print a test page, and recycle the used cartridge responsibly.
Most toner replacement problems come from simple issues: wrong cartridge, leftover packaging, loose seating, or a cover that is not fully closed. Once you know what to look for, the process becomes less mysterious. You do not need to be an IT expert. You just need the right cartridge, a little patience, and the confidence to ignore the printer’s dramatic blinking lights long enough to solve the problem.