If your vehicle still uses rear drum brakes, congratulations: you own one of the last remaining places on a modern car where springs, levers, clips, and mild emotional chaos still live together in harmony. Learning how to change rear brake shoes is absolutely doable for a careful DIYer, but it is not the kind of job you should rush through with one socket, a butter knife, and optimism.
The good news is that rear brake shoe replacement follows a clear pattern. The better news is that once you understand how the pieces work together, the job stops looking like a metal spider exploded inside your brake drum. In this guide, you’ll learn how to change rear brake shoes safely, what tools you need, what mistakes to avoid, and what real-world experiences teach you that repair manuals usually leave out.
First: Make Sure Your Vehicle Actually Has Rear Brake Shoes
Not every car has rear brake shoes. Rear brake shoes are used with rear drum brakes, while rear disc systems use brake pads. Many economy cars, older sedans, compact SUVs, and some light-duty trucks still use drum brakes on the rear axle because they are durable, cost-effective, and work well with parking brake systems.
If you look behind the rear wheel and see a round metal drum instead of a shiny brake rotor and caliper, you’re in brake-shoe territory. If you see a disc brake setup, stop here and find the correct guide for rear brake pads. Starting the wrong repair is a very expensive way to become “hands-on.”
Signs Your Rear Brake Shoes May Need Replacement
You do not need to wait until your brakes sound like a shopping cart in a gravel parking lot. Common signs of worn rear brake shoes include:
- Squeaking, scraping, or grinding from the rear brakes
- A parking brake that needs more travel than usual
- Reduced stopping confidence or a low brake pedal feel
- Rear brake chatter, grabbing, or noise after contamination
- Visible brake fluid near the wheel cylinder area
- Drums that are scored, overheated, or out of round
Sometimes the shoes are simply worn. Sometimes the real culprit is a leaking wheel cylinder, stretched springs, or a frozen star wheel adjuster. That is why a rear drum brake service should always include inspection, not just part-swapping.
Tools and Parts You’ll Want Before You Start
A smooth brake shoe replacement begins before the first lug nut comes off. Gather everything first so you are not standing in the driveway with one wheel off and a spring in your eyebrow.
Basic tools
- Floor jack and jack stands
- Wheel chocks
- Lug wrench or impact wrench
- Brake spring tool or brake pliers
- Needle-nose pliers
- Screwdrivers
- Brake spoon or flat screwdriver for adjustment
- Socket set and ratchet
- Torque wrench
- Brake cleaner
- Shop rags
Parts and supplies
- New rear brake shoes
- Drum brake hardware kit
- High-temperature brake grease
- New brake drums if the old ones are worn or damaged
- Wheel cylinders if yours are leaking or seized
A brake hardware kit is strongly recommended. Reusing tired springs and hold-down hardware can lead to noise, poor shoe return, and an annoying second repair you did not want to do the first time.
Safety Before Speed
Work on a flat surface. Chock the front wheels. Put the transmission in Park or in gear, depending on your vehicle. Release the parking brake before trying to remove the rear drums, unless your service manual says otherwise. Never rely on the jack alone. Support the vehicle on jack stands and make sure it is stable before crawling anywhere near it.
Also, do not blast brake dust with compressed air. Older friction dust can be hazardous. Use brake cleaner and careful cleaning methods instead. This is one of those moments where “I’ll just blow it off real quick” is a terrible sentence.
How to Change Rear Brake Shoes: Step by Step
1. Loosen the lug nuts and raise the rear of the vehicle
Break the rear lug nuts loose while the tires are still touching the ground. Raise the rear of the vehicle using the correct lift point, place it securely on jack stands, and remove both rear wheels. Servicing both sides at the same time makes comparison easier and helps you replace the brake shoes as an axle set.
2. Remove the brake drum
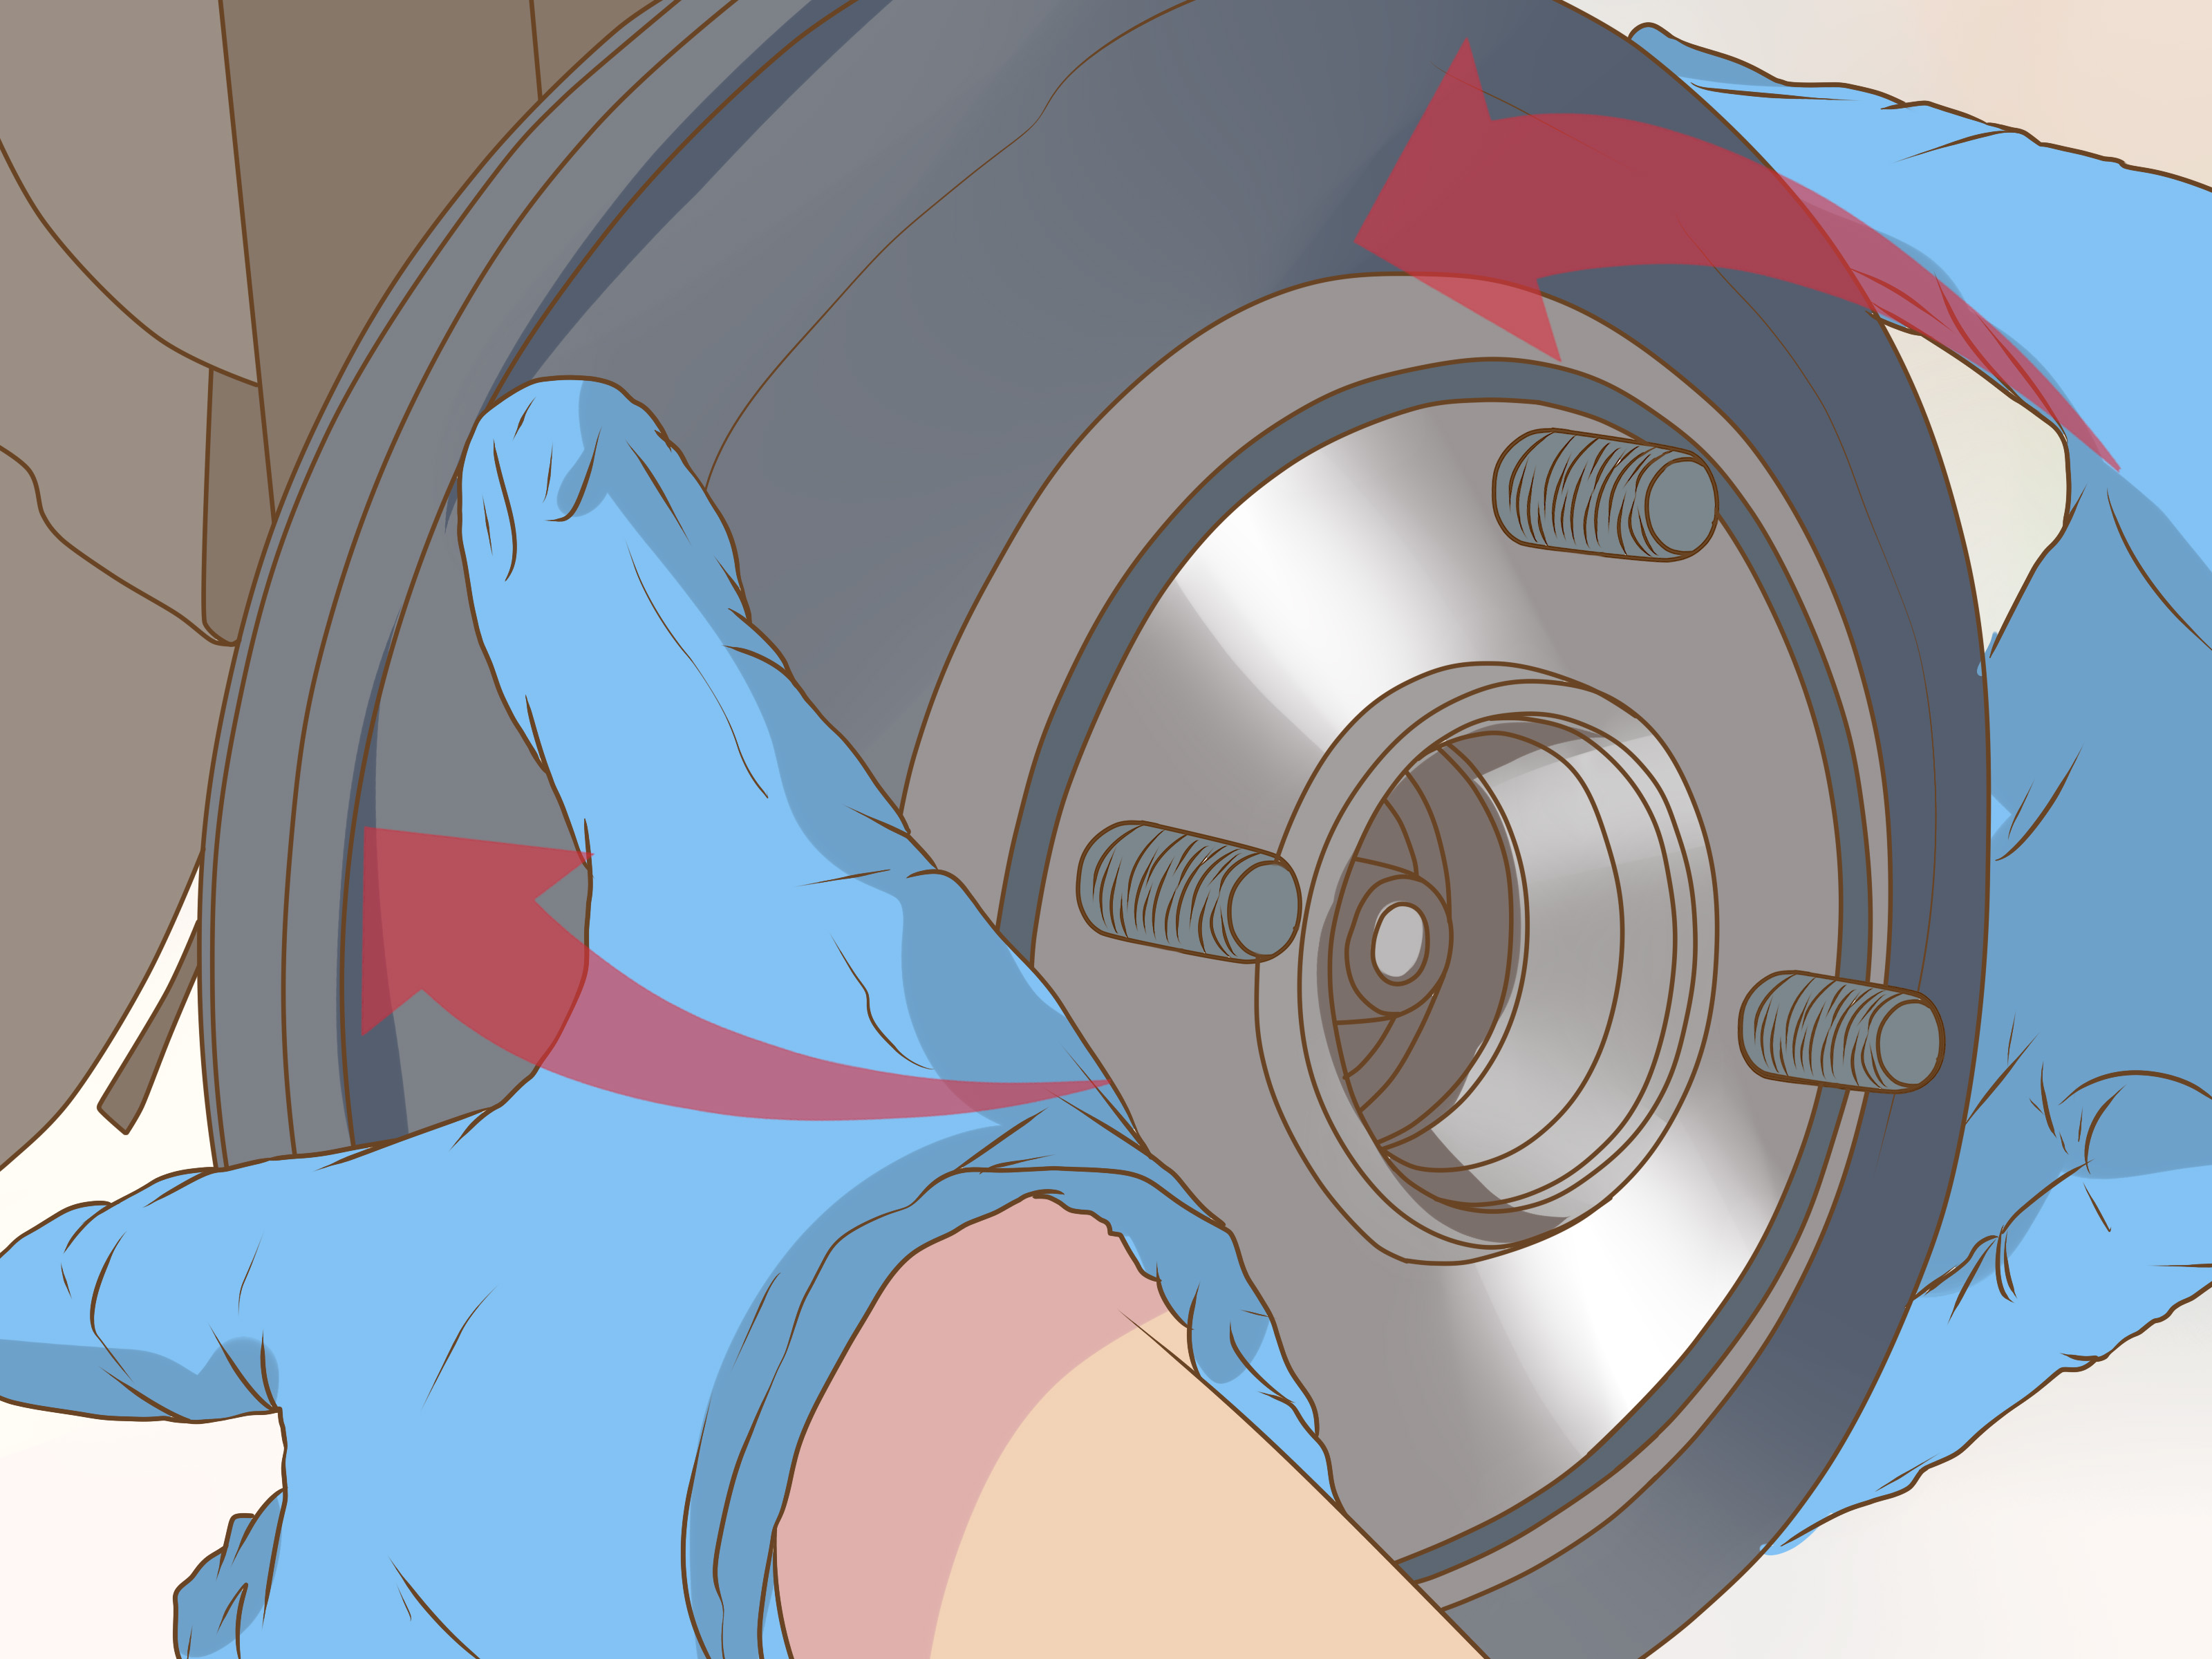
Some drums slide right off. Others act like they were welded on during a full moon. If the drum will not budge, there may be a ridge worn into the drum or the shoes may be adjusted too tightly. Remove the rubber inspection plug on the backing plate, locate the star wheel adjuster, and back off the shoes until the drum loosens.
If corrosion is holding the drum to the hub, gentle taps around the drum face can help. Do not beat it like it owes you money. A damaged drum is not a badge of mechanical courage.
3. Take a photo before removing anything
This step deserves its own standing ovation. Take several clear photos of the brake assembly from different angles. The springs, adjuster, parking brake lever, and hold-down pins all need to go back in the correct places. Rear drum brakes are famous for looking “obvious” until they are in five separate pieces on the ground.
4. Clean and inspect the assembly
Spray the assembly with brake cleaner and let the dust run down into a catch rag or pan. Now inspect everything:
- Brake shoes: worn lining, cracking, contamination, or uneven wear
- Wheel cylinder: wetness, fluid leakage, torn boots, or sticking pistons
- Brake drum: scoring, heat checking, heavy grooves, or out-of-round wear
- Adjuster: rust, binding, or damaged threads
- Backing plate pads: grooves where the shoes ride
- Springs and hardware: weak, rusted, or distorted parts
If the wheel cylinder is leaking, replace it before installing new shoes. Brake fluid will soak into the friction material and ruin the new set. If the drum is beyond specification, replace or resurface it according to the vehicle manufacturer’s limits.
5. Remove the springs and hold-down hardware
Use your brake tool or pliers to remove the return springs, hold-down pins, and retaining cups. Then remove the adjuster and separate the shoes. Some setups include a self-adjuster cable and guide, and many include a parking brake lever attached to one shoe.
Keep parts organized in the order they came off, especially if the left and right side use mirrored layouts. One good trick is to leave one side assembled until the other side is finished, so you have a live reference. It is like keeping one answer key in a test where the springs fight back.
6. Transfer reusable parts to the new brake shoes
If your system uses a parking brake lever, adjuster lever, or other reusable hardware that does not come in the new kit, transfer it from the old shoes to the new ones. Compare the new shoes to the originals before installation. Match the curvature, holes, and friction lining positions exactly.
Some vehicles use shoes with slightly different lining lengths or front/rear positions. If your old and new parts do not match perfectly, stop and verify the part number before continuing.
7. Clean and lubricate the correct contact points
Apply a very light film of high-temperature brake grease to the raised pads on the backing plate where the shoes make contact, and lightly lubricate the threads of the star wheel adjuster if the service information allows it. Less is more here.
Do not get grease on the brake shoe lining or the inside of the drum. If that happens, you have not created “extra smooth brakes.” You have created a problem.
8. Install the new shoes and hardware
Install the new shoes in place, attach the hold-down hardware, reinstall the adjuster, fit the parking brake lever and cable, and reinstall the return springs. Make sure the self-adjuster cable, lever, and guide are routed exactly as designed. Rear drum brakes punish improvisation with weird noises and poor braking.
Once the assembly is together, the shoes should sit evenly against the backing plate, the springs should be secure, and the adjuster should turn properly.
9. Adjust the brake shoes
Turn the star wheel adjuster outward until the shoes expand enough that the drum fits over them with slight resistance. Reinstall the drum and continue adjusting until you feel a light, even drag when rotating the drum by hand. You do not want the drum spinning freely forever, and you do not want it locked up like a submarine hatch.
This initial adjustment matters. Drum brakes that are too loose can create long pedal travel and weak parking brake performance. Too tight, and you get overheating, noise, and premature wear.
10. Reinstall the wheels and repeat on the other side
Once the first side is correct, reinstall the wheel temporarily or move straight to the second side. Repeat the entire process on the opposite rear wheel. Always replace rear brake shoes in pairs. Doing only one side can cause uneven braking and pull.
11. Final checks before driving
After both sides are complete, reinstall the wheels, lower the vehicle, and torque the lug nuts to specification. Pump the brake pedal several times until it feels firm. Apply and release the parking brake to help settle the mechanism. Check the brake fluid level, especially if you replaced a wheel cylinder or opened the hydraulic system.
If you replaced a wheel cylinder, you will also need to bleed the brakes before driving. Then perform a slow test drive in a safe area, listening for dragging, scraping, or odd rear brake noises.
Common Mistakes to Avoid
- Replacing shoes on only one rear wheel
- Skipping photos and forgetting spring orientation
- Reusing weak springs and old hardware
- Ignoring a leaking wheel cylinder
- Installing contaminated shoes or greasy drums
- Forgetting to adjust the star wheel
- Mixing up left and right side hardware
- Driving before pumping the brake pedal
Also, do not assume every drum that looks “kind of okay” actually is okay. A glazed, cracked, or oversized brake drum can make new shoes perform badly from day one.
When It Makes Sense to Replace More Than Just the Shoes
A basic rear brake shoe replacement can turn into a smarter, more complete brake job if inspection reveals other problems. Replace or service additional parts when:
- The brake drum is heavily grooved, heat-spotted, cracked, or out of spec
- The wheel cylinder shows any sign of leakage
- The adjuster is rusted solid or stripped
- The parking brake hardware is worn or seized
- The springs look weak, corroded, or distorted
This is not overspending. It is avoiding the classic DIY plot twist where a cheap old part ruins your brand-new repair.
How Long Does It Take?
For a first-timer, changing rear brake shoes can take anywhere from two to four hours, sometimes more if the drums are stuck or the hardware fights back. An experienced DIYer can often do the job faster, but speed should never be the goal. Correct assembly, clean working habits, and proper adjustment matter much more than bragging rights.
Real-World Experience: What People Learn the First Time They Change Rear Brake Shoes
Ask ten people about their first rear drum brake job and you will hear the same plot points over and over. The first drum usually comes off with only mild persuasion. The second one acts like it was installed by a blacksmith with a personal grudge. That is when most people discover the magic of the adjuster access slot and learn that backing off the shoes is not optional theater; it is the difference between a normal repair and an afternoon of muttering.
Another common experience is underestimating how helpful a photo can be. Plenty of DIYers think, “I’ll remember where these springs go.” Then one spring launches, the adjuster falls out, the parking brake lever twists sideways, and suddenly the whole assembly looks like a mechanical riddle. The people who snap photos before disassembly usually finish with far less stress. The people who do not often wind up studying the untouched side of the car like archaeologists translating an ancient brake language.
There is also the moment when someone discovers that worn shoes were only part of the problem. Maybe one side shows fluid behind the wheel cylinder boot. Maybe the self-adjuster is frozen with rust. Maybe the old brake drum has a deep lip worn into it, and the new shoes will never seat correctly against that surface. Those discoveries are frustrating in the moment, but they are also why drum brake jobs should never be treated like “just slap in new shoes and go.” The inspection is the repair.
People also learn that using a hardware kit is worth every penny. Fresh springs and hold-down parts make the assembly feel tighter, quieter, and more predictable. Reused springs may look acceptable on the bench, but weak hardware can cause vibration, slow shoe return, and mystery noises that send you right back into the garage. A new hardware kit is one of those small expenses that often saves a large amount of annoyance.
Adjustment is another lesson that only really clicks once you have done it yourself. Too loose, and the pedal feels lazy and the parking brake feels like a polite suggestion. Too tight, and the rear drums heat up, the wheels drag, and the car lets you know you were a little too enthusiastic with the star wheel. The sweet spot is subtle: just enough drag to tell you the shoes are close, not enough to make the drum fight every rotation.
Perhaps the biggest lesson is that rear brake shoe replacement rewards patience more than strength. The people who clean parts carefully, compare old and new hardware, inspect the wheel cylinder, and pause when something seems wrong usually end up with a smooth, quiet brake job. The people who force things, skip the details, or try to freestyle the spring layout usually end up doing the work twice. Rear drum brakes may look old-school, but they still demand modern respect.
Conclusion
Learning how to change rear brake shoes is one of those repairs that can make you feel like a wizard once it finally clicks. The job is not difficult because it is mysterious; it is difficult because it is detailed. If you take photos, replace the shoes on both sides, inspect the drum brake hardware, check the wheel cylinder, keep grease away from the friction surfaces, and adjust the shoes correctly, you can get excellent results.
Take your time, respect the safety steps, and do not be afraid to replace related parts when inspection says they are done. Rear drum brakes may be a little old-fashioned, but when serviced properly, they are dependable, durable, and surprisingly satisfying to get right.