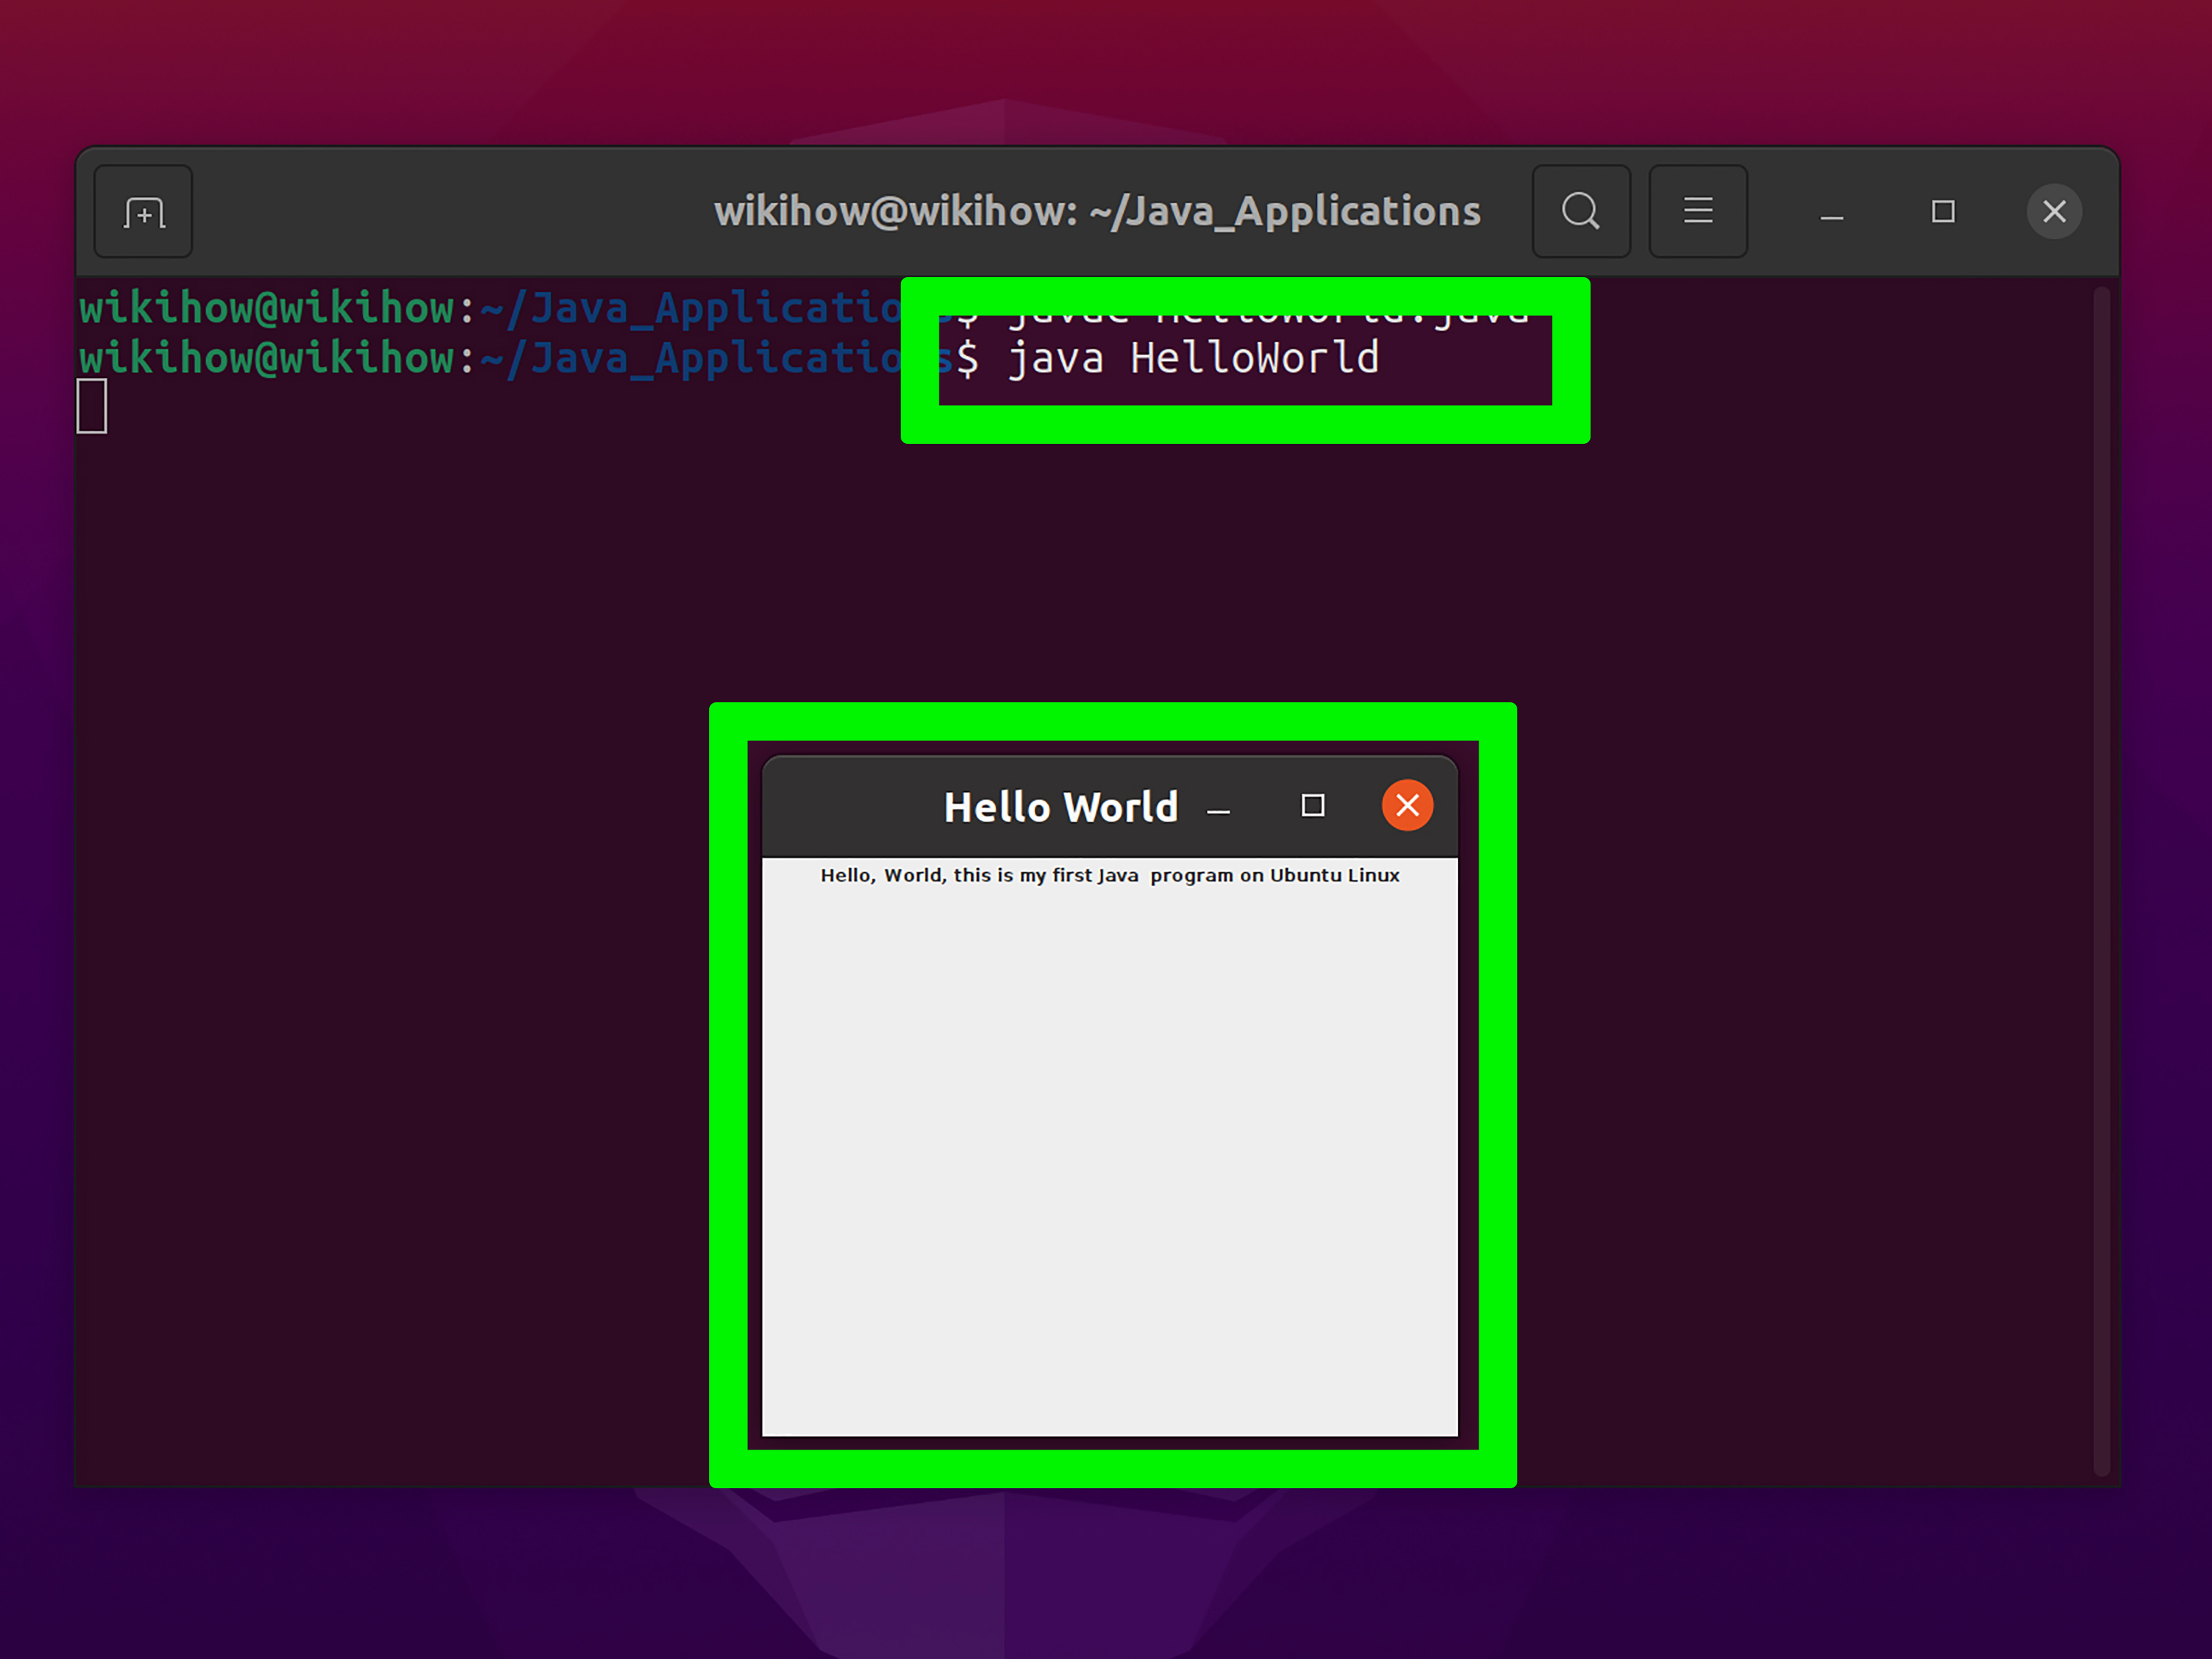
Writing your first Java program on Ubuntu Linux is a little like making your first cup of coffee with a serious espresso machine: the buttons look dramatic, the steam sounds suspicious, and yet the result is surprisingly simple once you know what each part does. In this guide, you will install the Java Development Kit, create a tiny Java file, compile it from the terminal, run it, and understand what happened behind the scenes.
The main goal is simple: by the end, your Ubuntu terminal will print a friendly message from a Java program you wrote yourself. No magic. No mystery. No “I copied a command from the internet and now my laptop is haunted.” Just clean, beginner-friendly Java development on Linux.
What You Need Before You Start
To create your first Java program on Ubuntu Linux, you need three basic things: an Ubuntu system, access to the terminal, and the Java Development Kit, commonly called the JDK. The JDK includes the tools required to write, compile, and run Java programs. The most important tools for beginners are javac, which compiles Java source code, and java, which runs the compiled program.
You do not need an expensive laptop, a giant external monitor, or a hoodie that says “I code therefore I am.” Any reasonably modern Ubuntu desktop or server installation should work fine. You can use Ubuntu 22.04 LTS, Ubuntu 24.04 LTS, or a newer release. Package versions may vary slightly, but the core process remains the same.
Step 1: Open the Ubuntu Terminal
The terminal is where most beginner Java tutorials on Ubuntu begin. It may look intimidating at first, but it is simply a text-based way to talk to your computer. To open it, press Ctrl + Alt + T. You can also search for “Terminal” in the Ubuntu application menu.
Once the terminal opens, you should see a prompt showing your username and computer name. This is where you will type commands. Think of it as texting your computer, except your computer is extremely literal and does not understand sarcasm.
Step 2: Update Ubuntu Package Information
Before installing Java, update Ubuntu’s package list. This does not upgrade your whole system by itself; it simply refreshes the list of available software packages so Ubuntu knows what it can install.
Ubuntu may ask for your password. When you type it, the terminal usually will not show dots or stars. That is normal. Your keyboard is working; Ubuntu is just being secretive for security reasons.
Step 3: Install the Java Development Kit
For most beginners, the easiest option is to install the default JDK from Ubuntu’s repositories. This gives you a reliable OpenJDK version that fits your Ubuntu release.
When Ubuntu asks for confirmation, type Y and press Enter. The installation may take a minute, depending on your internet speed and whether Ubuntu has already downloaded related packages.
Why Install the JDK Instead of Only the JRE?
The JRE, or Java Runtime Environment, is enough to run existing Java applications. However, it is not enough for writing and compiling your own Java code. Since you are creating your first Java program, you need the JDK. The JDK includes the JRE plus development tools such as the Java compiler.
Step 4: Check That Java Installed Correctly
After installation, check the Java version:
Then check the Java compiler:
If both commands return version numbers, congratulations: your Ubuntu system is ready for Java development. If java works but javac does not, you may have installed only the runtime instead of the development kit. Installing default-jdk usually fixes that problem.
Step 5: Create a Folder for Your First Java Program
Keeping your code organized from the beginning is a good habit. Create a project folder in your home directory:
The mkdir command creates a directory, and cd moves you into it. The -p option tells Ubuntu not to complain if part of the path already exists. Very polite. Very Linux.
Step 6: Create Your First Java File
Now create a file named HelloUbuntu.java. You can use Nano, a simple terminal text editor that is friendly enough for beginners and does not require a survival manual.
Type the following Java code into the editor:
To save the file in Nano, press Ctrl + O, then press Enter. To exit Nano, press Ctrl + X.
Important: Java File Names Are Case-Sensitive
On Ubuntu Linux, file names are case-sensitive. That means HelloUbuntu.java, helloubuntu.java, and HelloUBUNTU.java are different names. Java also expects the public class name to match the file name exactly. Since the class is named HelloUbuntu, the file must be named HelloUbuntu.java.
Step 7: Compile the Java Program
Java source code is written in a .java file. Before the computer can run it, you must compile it into bytecode. Use the javac command:
If the command finishes without showing an error, that is good news. In programming, silence often means success. You can confirm that a new file was created by typing:
You should see something like this:
The .class file contains Java bytecode. This bytecode runs on the Java Virtual Machine, often called the JVM. That is one reason Java is known for being portable across different systems.
Step 8: Run Your First Java Program
Now run your program with the java command:
Notice that you do not type HelloUbuntu.class. You only type the class name. If everything worked, the terminal prints:
That tiny line is a big milestone. You installed Java on Ubuntu, wrote a valid Java class, compiled it, and ran it from the Linux terminal. Somewhere, a rubber duck debugging mascot is quietly proud of you.
Understanding Your First Java Program
Let’s break down the code so it does not feel like ancient wizard script.
public class HelloUbuntu
This line defines a class named HelloUbuntu. In Java, almost everything lives inside a class. The word public means the class can be accessed from outside its file or package context. For your first program, the key rule is simple: the public class name must match the file name.
public static void main(String[] args)
This is the main method. Java starts running your program here. It may look like a keyboard sneezed, but each word has a purpose. public allows Java to access it, static lets it run without creating an object first, void means it does not return a value, and String[] args allows the program to accept command-line arguments.
System.out.println()
This prints text to the terminal. In your example, it prints Hello, Ubuntu Linux!. The ln part means “line,” so after printing the message, Java moves to the next line.
Common Errors and How to Fix Them
Error: javac: command not found
This usually means the JDK is not installed. Run:
Then check again with:
Error: Class Name Does Not Match File Name
If your file is named HelloUbuntu.java but your code says public class HelloWorld, Java will complain. Make the file name and public class name match exactly, including capital letters.
Error: Could Not Find or Load Main Class
This often happens when you run the program from the wrong folder or include the file extension by mistake. First, make sure you are inside the correct directory:
Then run the program like this:
Do not type java HelloUbuntu.class. Java wants the class name, not the file name.
Make the Program More Interactive
Printing a message is great, but asking the user for input makes your first Java program feel more alive. Create a new file:
Add this code:
Save and exit, then compile and run it:
This version uses Scanner to read text from the keyboard. The program asks for your name and then prints a personalized greeting. It is still simple, but it introduces one of the most important programming ideas: input, processing, and output.
Should You Use an IDE or the Terminal?
For your first Java program on Ubuntu Linux, the terminal is the best teacher. It shows you exactly what happens when you compile and run code. You learn the difference between source files, class files, compiler errors, and runtime behavior.
Later, you may want to use an IDE or code editor such as Visual Studio Code, IntelliJ IDEA, Eclipse, or NetBeans. These tools can provide syntax highlighting, debugging, auto-completion, project management, and helpful warnings. However, learning the terminal workflow first gives you a stronger foundation. It is like learning to chop vegetables before buying a fancy food processor.
Best Practices for Beginner Java Projects on Ubuntu
Use Clear File and Class Names
Java developers commonly use PascalCase for class names, such as HelloUbuntu, GreetingApp, or TemperatureConverter. Choose names that describe what the program does. Your future self will thank you, especially at 1:00 a.m. when you find a file named finalFinalReallyFinal.java.
Keep One Beginner Program Per Folder
When you are starting out, create a separate folder for each small experiment. This prevents old .class files from confusing you. A clean folder makes it easier to understand what was compiled and what is being run.
Read Error Messages Slowly
Java error messages can look scary, but they often tell you the exact line and problem. Look for the file name, line number, and first meaningful error. Beginners sometimes panic at the entire stack of text, but the first error is usually the real clue.
Practice Small Changes
Change the message. Add another print line. Ask for a favorite food. Create a simple calculator. Small experiments help you understand Java faster than passively reading a giant tutorial. Programming is learned by doing, breaking, fixing, and occasionally whispering “why are you like this?” at the screen.
Where to Go After Your First Java Program
Once you can create, compile, and run a Java program on Ubuntu, you are ready for the next layer. Learn variables, data types, conditions, loops, methods, arrays, and object-oriented programming. After that, explore build tools such as Maven or Gradle, version control with Git, and beginner-friendly Java projects.
Good next projects include a command-line calculator, a number guessing game, a temperature converter, a simple contact list, or a text-based quiz app. These projects are small enough for beginners but practical enough to teach real programming patterns.
Real Beginner Experience: What It Feels Like to Write Java on Ubuntu
The first time you create a Java program on Ubuntu Linux, the hardest part is not usually Java itself. The harder part is understanding the workflow. Beginners often expect the computer to run the .java file directly, the way a browser opens an HTML file. Java works differently. You write source code, compile it into bytecode, and then run the compiled class through the JVM.
That sounds like extra work at first, but it quickly becomes satisfying. There is something wonderfully clear about typing javac HelloUbuntu.java, seeing no errors, and knowing your code passed the compiler’s inspection. It feels like getting a tiny approval stamp from a very strict librarian.
Ubuntu also teaches useful habits early. Because Linux file names are case-sensitive, you quickly learn to pay attention to details. HelloUbuntu.java is not the same as helloubuntu.java. That may feel annoying on day one, but it builds discipline. In programming, details matter. A missing semicolon can stop an entire program. A lowercase letter in the wrong place can turn success into a debugging treasure hunt.
Another common beginner experience is discovering that error messages are not enemies. They are more like grumpy tour guides. They may not be charming, but they usually point you toward the problem. If Java says it expected a semicolon, check the previous line. If it says the public class should be declared in a file named a certain way, check your file name. If Ubuntu says javac is not found, check whether the JDK is installed.
After a few runs, the terminal starts to feel less mysterious. You learn that cd changes folders, ls lists files, nano edits text, javac compiles Java, and java runs the program. These commands become a small toolkit. You do not need to memorize every Linux command in existence. You only need enough to move around, edit files, and run your code.
The best learning trick is to modify your first program immediately. Do not stop at Hello, Ubuntu Linux!. Print your name. Print two lines. Add a question. Use Scanner. Make the program respond differently based on input. Every tiny change teaches cause and effect. When you break something, fix it. When it works, improve it. That cycle is the real heart of programming.
Creating your first Java program on Ubuntu is not just about producing one line of output. It is about learning how source code becomes a running application. It is about gaining confidence with the Linux terminal. It is about realizing that programming is not reserved for mythical geniuses who dream in binary. It is a practical skill built one command, one file, and one “Aha!” moment at a time.
Conclusion
Creating your first Java program on Ubuntu Linux is a simple but important step into software development. You installed the JDK, checked the Java and compiler versions, created a project folder, wrote a Java source file, compiled it with javac, and ran it with java. You also learned why file names matter, how class files work, and how to troubleshoot common beginner errors.
From here, keep experimenting. Java rewards steady practice. Ubuntu gives you a clean, powerful environment for learning. Together, they make a strong setup for beginners who want to move from “I wonder how coding works” to “I just built that.” And yes, printing one line in the terminal absolutely counts as building something. Every developer starts somewhere.
Note: This article is written as publish-ready HTML body content and is based on current, real-world Java and Ubuntu development practices.