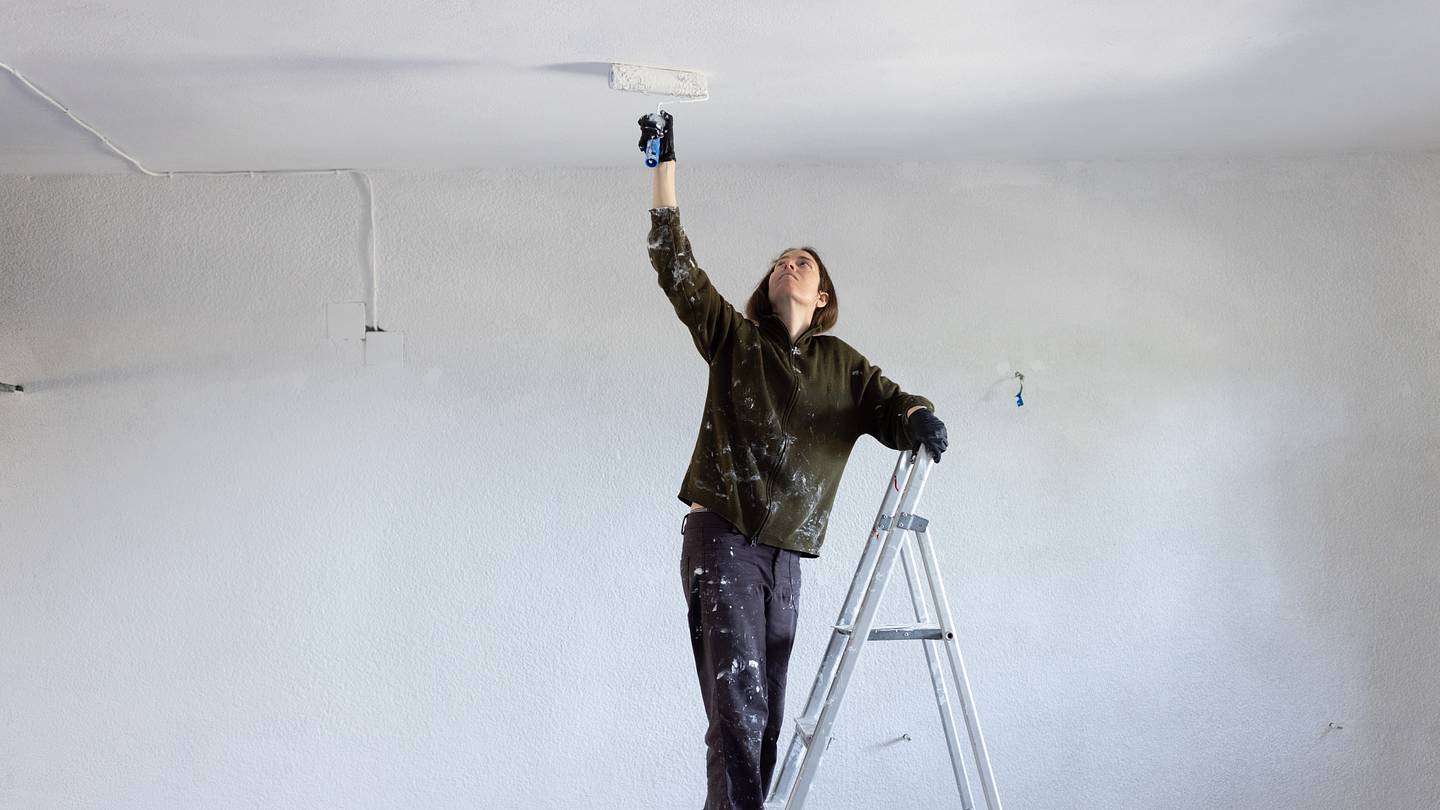
Painting a ceiling sounds simple until gravity joins the project team. One minute you are imagining a clean, bright room; the next, you are blinking through tiny paint freckles, wondering why your floor looks like it lost a fight with a vanilla milkshake. Ceiling painting is one of those home improvement jobs that seems easy from a distance and deeply personal once the roller is directly above your forehead.
The good news? You do not need a professional crew, a hazmat suit, or the emotional resilience of a drywall contractor to get it done. The ingenious trick is surprisingly humble: use a simple paper plate or a roller splatter shield as a guard beneath your roller. When placed correctly, this little barrier catches many of the tiny drips and splatters before they land on your face, glasses, hair, furniture, or freshly mopped floor.
Of course, the shield is only part of the story. To paint your ceiling without splatter, you also need the right roller nap, the right amount of paint, smart prep, slow controlled strokes, and a plan that keeps the paint moving while it is still wet. Think of the paper plate trick as the umbrella, not the entire weather system. It protects you, but technique keeps the storm from happening in the first place.
Why Ceiling Painting Gets So Messy
Ceilings are unforgiving because you are working overhead. Any extra paint on the roller has only one direction to travel: down. A roller that is too wet, moving too fast, or pressed too hard can fling fine paint droplets outward. The result is splatter on your floor, furniture, trim, walls, glasses, arms, and occasionally the dog, who absolutely did not sign up for this renovation.
Another common cause is using the wrong roller cover. A smooth drywall ceiling usually needs a shorter nap, while a textured ceiling needs a thicker nap to reach into the uneven surface. If the nap is too thick for a smooth ceiling, it can hold too much paint and release it unevenly. If it is too thin for a textured ceiling, you may push harder to get coverage, which creates more splatter and more frustration.
Paint choice also matters. Ceiling paint is often flat or matte because it hides minor imperfections and reduces glare. Many ceiling paints are designed to be thicker than standard wall paint, which can help reduce drips. Still, even good ceiling paint can splatter if the roller is overloaded or whipped around like you are trying to start a lawn mower.
The Ingenious Trick: Use a Paper Plate as a Paint Guard
The easiest DIY splatter guard starts with a sturdy paper plate. Poke a small hole in the center of the plate, slide the roller handle through it, and push the plate upward until it sits below the roller frame. The plate should face upward like a little tray, ready to catch drips that fall from the roller while you paint overhead.
This trick is especially useful for small ceiling touch-ups, closets, hallways, bathrooms, laundry rooms, and any job where you do not want to buy another gadget. It is not fancy. It will not appear in a luxury tool catalog next to brushed-steel cabinet pulls. But it works because it solves the simplest part of the problem: falling paint needs something to fall onto before it reaches you.
How to Set Up the Paper Plate Guard
Use a coated or heavy-duty paper plate if possible. A flimsy plate can sag when it catches paint, and then you have invented a new problem. Make the center hole just large enough for the handle to pass through. If the hole is too big, the plate may slide around while you work. If it is too small, you may tear the plate before the project even begins, which is a humbling start.
Once the plate is in place, test the roller movement before dipping it in paint. You want the plate to sit below the roller without rubbing against the roller cover. If it touches the wet roller, it can smear, drag, or collect too much paint. The plate should act like a shield, not a second painting tool.
When a Store-Bought Splatter Shield Is Better
For larger rooms, a dedicated roller splatter shield may be worth it. These plastic guards attach near the roller and are designed to block drips and backsplash while you paint walls or ceilings. They are sturdier than paper plates and easier to wipe clean. Some models also adjust their angle, which helps when painting corners, sloped ceilings, or awkward areas above cabinets.
However, a shield does not give permission to overload the roller. If paint is raining from the ceiling, the tool is not the only issue. A shield catches accidents; it should not become a bucket.
Choose the Right Roller for a Cleaner Ceiling
The best way to paint a ceiling without splatter is to start with the right roller cover. For smooth ceilings, a 3/8-inch nap is a common choice because it holds enough paint for good coverage without becoming too heavy. For lightly textured ceilings, a 1/2-inch nap may work better. For heavier texture, such as popcorn-style surfaces, a 3/4-inch nap or specialty acoustic ceiling roller may be needed.
A quality roller cover also matters. Cheap rollers can shed lint, apply paint unevenly, and make you press harder than necessary. Before painting, remove loose fibers with painter’s tape or rinse the roller cover if the manufacturer recommends it. A clean roller gives you a smoother finish and fewer mystery fuzzies embedded in your ceiling forever like tiny renovation fossils.
Load the Roller Without Creating a Paint Grenade
Most ceiling splatter begins in the tray. Dip the roller into the paint, then roll it several times across the ridged area of the tray to distribute paint evenly. The roller should look full but not dripping. If paint runs off the roller before it reaches the ceiling, it is overloaded.
A slightly damp roller cover can help paint load more evenly, but it should not be wet. After dampening, shake out excess water and blot it with a paper towel. Too much water can thin the paint on the roller and create uneven coverage. The goal is a roller that accepts paint smoothly, not one that behaves like a sponge at a car wash.
Prep the Room Like You Expect Gravity to Win
Even with the paper plate trick, protect the room. Move furniture out if possible. If not, gather it in the center and cover it with plastic sheeting or canvas drop cloths. Cover the floor from wall to wall, especially under your work zone. Paint splatter has a gift for finding the one uncovered square inch you were sure would be fine.
Remove light fixtures or cover them carefully. Take down vents, smoke detector covers, and ceiling hooks if practical. Tape the top edge of the walls if you are not painting them afterward. If you plan to paint the walls too, paint the ceiling first and let any minor overlap onto the wall disappear under the wall color later.
Cut In Before Rolling
Cutting in means painting the edges where the ceiling meets the wall, corners, and areas around fixtures with a brush. Use a quality angled brush and work in manageable sections. Do not cut in the entire room and then take a snack break long enough to reconsider your life choices. If the brushed edge dries before you roll into it, you may see darker borders or lap marks.
The cleaner method is to cut in a section, then roll that area while the edge is still wet. This helps blend brush and roller texture, giving the ceiling a more uniform finish. It also keeps you moving in a rhythm, which is important for avoiding streaks.
Roll in Small Sections, Not Random Clouds
Work in sections about three to five feet wide. Start near a corner and roll in a grid-like pattern, then smooth the section with light, even strokes. Overlap each pass slightly so you do not leave gaps. Keep a wet edge as you move across the ceiling, which means each new section should blend into the previous one before it dries.
Avoid pressing hard. Heavy pressure squeezes paint out of the roller and increases splatter. It can also leave ridges along the roller edges. Let the roller cover do the work. If you feel like you are bench-pressing the ceiling, reload the roller or check whether you are using the right nap.
Use Slow, Controlled Strokes
Speed is the enemy of clean ceiling painting. Fast rolling throws paint droplets outward. Instead, use slow, steady strokes with even pressure. Imagine you are spreading frosting on a very inconvenient cake above your head. Smooth, patient movement gives better coverage and keeps paint where it belongs.
Finish Each Section With Light Feathering
After filling a section, lightly roll over it in one direction to even out the texture. This is often called laying off or feathering. Use very light pressure and avoid overworking the paint. Too many passes can pull partially drying paint back up and create streaks.
Use an Extension Pole to Reduce Splatter and Neck Pain
An extension pole is not just for reaching high places. It also helps you maintain a better angle, smoother pressure, and more consistent movement. Standing directly under the roller with a short handle makes you more likely to tilt the roller awkwardly, overload one side, and wear paint as an accessory.
Choose a pole long enough that you can stand comfortably with your arms below full extension. Your shoulders should not feel like they are filing a complaint. A stable stance makes it easier to roll slowly and evenly, which is one of the best ways to reduce splatter.
Pick the Right Ceiling Paint Finish
Flat ceiling paint is popular because it hides surface flaws and does not bounce light around the room. A glossy ceiling may sound dramatic, but it can highlight every drywall seam, patch, roller mark, and tiny imperfection. For most living rooms, bedrooms, hallways, and dining rooms, flat white ceiling paint is the practical choice.
Bathrooms, laundry rooms, and kitchens may need paint with better moisture resistance. In those spaces, look for products designed for humid rooms or mildew resistance. The goal is still a smooth, low-splatter application, but durability becomes more important when steam and condensation enter the chat.
Common Mistakes That Cause Ceiling Splatter
The first mistake is dipping too deep into the paint tray. You do not need to drown the roller. Load it gradually and roll off the excess. The second mistake is rolling too fast. A roller moving quickly across an overhead surface can fling droplets in every direction.
The third mistake is using low-quality tools. A bargain roller may seem harmless, but if it sheds, skips, or holds paint unevenly, you will spend more time fixing the finish. The fourth mistake is skipping prep because “it is just the ceiling.” Famous last words. The ceiling may be above you, but splatter lands below.
Finally, many DIYers press too hard when coverage looks uneven. Instead of forcing the roller, reload it properly and use the right nap for the ceiling texture. Pressure does not replace paint; it just relocates it onto your shirt.
Step-by-Step: How to Paint a Ceiling Without Splatter
1. Clear and Cover the Room
Remove what you can, cover what remains, and protect the entire floor. Tape plastic over fixtures if you cannot remove them.
2. Clean and Repair the Ceiling
Dust the ceiling, remove cobwebs, patch cracks, and sand rough areas. Prime stains with a stain-blocking primer so they do not bleed through the new paint.
3. Prepare the Roller Guard
Slide a sturdy paper plate onto the roller handle or attach a dedicated splatter shield. Make sure it does not interfere with roller movement.
4. Cut In the Edges
Use an angled brush around the perimeter and fixtures. Work in sections so the edge stays wet when you roll.
5. Load the Roller Correctly
Dip, roll off excess, and check for drips. The roller should be evenly coated, not soaked.
6. Roll Slowly in Sections
Paint three-to-five-foot areas, overlapping each pass slightly. Keep the roller moving steadily and avoid heavy pressure.
7. Feather the Finish
Lightly roll in one direction to smooth the section. Move to the next area while the edge is still wet.
8. Let It Dry Before Deciding on a Second Coat
Ceiling paint can look patchy while drying. Wait for the recommended dry time before judging the finish. If needed, apply a second coat perpendicular to the first for more even coverage.
Extra Experience: What Actually Works When You Paint a Ceiling
Here is the real-life truth: the paper plate trick feels almost too simple until you try painting overhead without it. On small projects, especially bathroom ceilings or quick touch-ups near a vent, it can save you from those annoying little dots of paint that land on your face right when your hands are full. It is not magic, but it creates a tiny safety net between the roller and everything you would rather not clean.
One practical lesson is to keep a few plates nearby. The first plate may stay clean for a while, but once it catches enough paint, replace it. Do not wait until it bends, drips, or becomes a modern art object. A fresh plate costs almost nothing and keeps the guard working properly. If you are using a plastic splatter shield, wipe it occasionally with a damp rag so old paint does not slide off at the worst possible moment.
Another experience-based tip: never start in the center of the room unless you enjoy confusion. Begin at the corner farthest from the exit and work your way out. This gives you a logical path and prevents you from stepping around wet tools, drop cloth wrinkles, and that one paint tray that somehow keeps moving closer to your foot.
Lighting also makes a bigger difference than most people expect. A ceiling can look perfect from one angle and streaky from another. Bring in extra lamps or a portable work light and check the ceiling from different spots in the room. Natural light can reveal roller marks, especially near windows. If the room has strong daylight from one direction, rolling with consistent final strokes can help the finish look more even.
Do not underestimate breaks. Ceiling painting is tiring because your arms, neck, and shoulders are working overhead. Fatigue leads to sloppy loading, faster rolling, and more splatter. Plan short pauses between sections, but do not stop in the middle of a wet edge. Finish a section, set the roller in the tray, stretch, drink water, and then continue. Your ceiling will look better, and you will be less likely to paint your own eyebrow.
If you wear glasses, consider safety goggles over them. Paint mist is sneaky, and wiping glasses with a painty finger only makes the situation more theatrical. A hat or old hoodie helps too. Choose clothes that have already accepted their fate. Even with great technique, ceiling painting is not a tuxedo activity.
Finally, keep expectations realistic. The goal is not zero mess in a laboratory sense. The goal is controlled mess: protected surfaces, fewer drips, less splatter, and a ceiling that looks smooth when the room is back together. The paper plate trick, paired with a good roller and patient technique, turns ceiling painting from a chaotic overhead battle into a manageable weekend project. You may still get one dot of paint on your arm, but that is just the ceiling signing its work.
Conclusion
Painting a ceiling without splatter is not about one miracle product. It is about stacking smart habits: protect the room, use the right roller, avoid overloading it, roll slowly, keep a wet edge, and add a simple guard beneath the roller. The paper plate trick is clever because it is cheap, fast, and surprisingly effective. It catches the little drips that make ceiling painting feel messier than it needs to be.
For small jobs, a sturdy paper plate can be enough. For bigger rooms, a proper roller splatter shield may be more comfortable and durable. Either way, the best results come from combining the guard with calm technique. Slow down, use light pressure, work in sections, and let the paint do its job. Your ceiling gets a fresh new look, and you get to finish the project without looking like you stood under a flock of paint pigeons.